I have just finished Graeme Callister’s Waterloo – the Attack of I Corps. This book was published last year, and is interesting as an up to date history of what has always been for me the most interesting episode of the battle. I can’t help but to view it through a wargamer’s eye though!
And that has always posed a challenge. They say hard cases make bad law. In the same way Waterloo makes for bad wargames rules – it is such an exception battle in so many ways. That is truer of D’Erlon’s attack than any other part of the battle. Indeed it is a test of any set of rules I write: how well it copes with this episode is a challenge indeed. All I ask is that the overall outcome is within the range of possibilities. It rarely is.
Mr Callister’s book follows all the usual sources: the limited number of eye-witness accounts and official reports. To this he has added a detailed examination of the official French personnel records. This was the new trove of data first trawled by Paul Dawson in his very flawed works on the campaign. This helps give a detailed picture of the French units that took part. The Allied units were always more familiar territory, but he has examined the records for these too. He starts the story from Napoleon’s seizure of power and re-formation of his army, and tracks the units of both sides up to the attack of I Corps on 18th June, the counterattack by British cavalry, and the interventions by French, British and Netherlands cavalry after this. I Corps’s Waterloo does not end there, but Mr Callister does not explore its later history – which is a pity.
A thorough analysis of the personnel records does help us rate the troops – though Mr Dawson has done something similar before, with similar conclusions. The French infantry can be rated as “Line” in GDA terms. The ranks were filled with veterans, but they hadn’t had the time to be knocked into fully cohesive units. And many of the veterans were ex-prisoners who hadn’t seen combat for some time. The British of Pack’s and Kempt’s brigades were genuine veteran formations, which can this be Veterans or Drilled Grenadiers. The exception was 2/44th – Line or Grenadier. The Netherlands militia would count as Reservist. It should be noted that these British and Netherlands troops took heavy losses at Quatre Bras, and might be down-graded as a result (the same would apply to Bachelu’s division on the French side, not involved in this combat). The British Heavy cavalry were well-mounted and had high esprit, though not a great deal of battle experience: genuine heavy cavalry, with a Grenadier rating – perhaps Elite for the Life and Horse Guards. The rule about British cavalry not rallying after a Victory very much applies though – including to the Light Dragoons. I’m not so sure where to put the rest of the cavalry, as I haven’t really internalised how the GDA classifications work.
Mr Callister makes one suggestion that I haven’t read before: he says that the French practice of putting the taller men in the front rank would have limited their effectiveness in musketry duels, as the second and third ranks would have been blocked. He expands this idea at length. I’m not entirely convinced. If this was a serious problem I’m sure that we’d have heard more about it. It’s the sort of thing that re-enactors could help us get to the bottom of. Beyond this the book gives an admirably clear account of the course of the combat and the evidence that we have of what happened. He does not discuss the suggestion made by Mr Dawson that Donzelot’s division had dropped behind the divisions on either side and so suffered little in the attack. But he does observe that this division remained largely cohesive after the attack, along with the 85th regiment detached from Durutte’s division.
It is interesting to see how the generally accepted history has evolved over the years. I first read about Waterloo in the 1970s. At this time British historians (and they are the only ones I read) painted the whole episode as a standard French attack as seen repeatedly, so they suggested, in the Peninsula War. Wellington adopted a reverse slope position, which sheltered his troops from artillery fire, and allowed British infantry lines to deliver a decisive ambush attack on the French columns. Then the cavalry went in and finished the job off. Wellington himself talked of the French coming at him in the “same old way”. Bijlandt’s Netherlands division, which was not inured into Wellengton’s cunning ways and stood on the forward slope as “Continentals” were wont to do, got carved up by artillery, and broke as the French approached. This general narrative was supported by numerous accounts of veterans published in the 19th Century.
Then came the revisionists. They had a lot to work with. It wasn’t a classic reverse slope position (which was not a tactic unique to Wellington) as these slopes were gentle and rolling – and not good protection against artillery. Bijlandt withdrew to sheltered position before the artillery bombardment started and his men stood and fought before being pushed back – a record not dissimilar to Pack’s British brigade (which, like the Netherlanders, had suffered badly at Quatre Bras two days before). Kempt’s British did better, but only after Bijlandt’s men had done their bit. The French columns were in fact gigantic brigade or divisional affairs unlike the battalion columns used in the Peninsula, with different strengths and weaknesses (more on that later). Then various details were questioned. The 80-gun grand battery mentioned by early sources (not least Napoleon himself) was perhaps just over 50, and not positioned on the Belle Alliance ridge with the main army, but deployed 400m or so further forward on a slightly lower ridge, which became known as “Grand Battery Ridge”. The infantry started behind the battery on the Belle Alliance ridge and pushed through it to deliver the attack. This is how it is shown in Mark Adkin’s lavish Waterloo Companion, which is everybody’s favourite Waterloo book (including me!).
Then Mr Dawson came along to revise the revisionists. Mr Callister stands alongside this in a much more measured and coherent way – but upholds many of Mr Dawson’s conclusions. I recommend this book.
And now readers, if you tuned in just to find out about this book, and you are a sane and normal person, I advise you stop reading reading right here. I’m now going to scratch the Waterloo itch and talk about a number of issues that this book has raised with me, and which have a bearing on wargaming, as well as historical interpretation. I will divide this with headings into a number of topics.
Gaiters
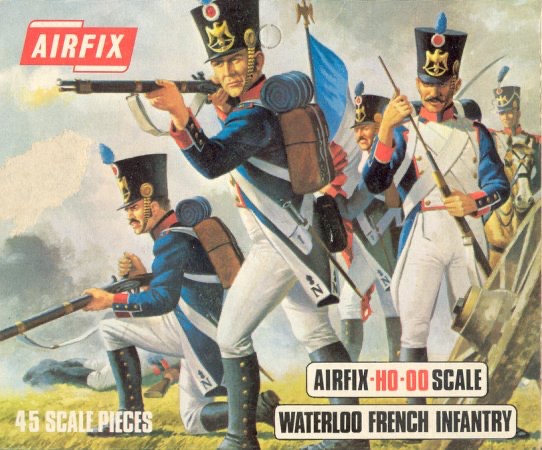
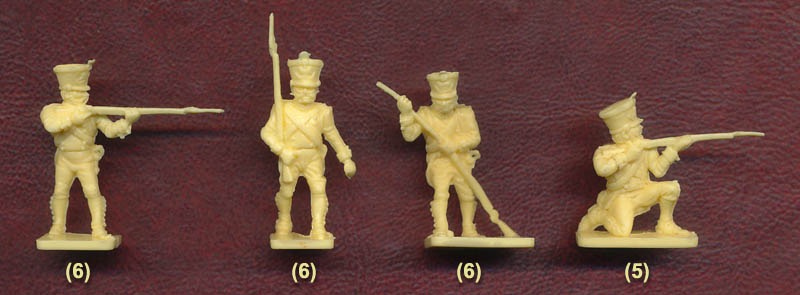
Let’s start with the most trivial. I got into Waterloo back in the 1970s thanks to Airfix’s OO/HO soft plastic figures, produced mostly in a ghastly pale yellow. The French line infantry were not especially accurate (having cross belts and sabres), but they were wearing gaiters and breeches in accordance with parade regulations. I have always felt this is the way French infantry should look. And it is how the bulk of my little men are turned out – they are in mid-war uniform with the gaiters going above the knee.
Alas virtually all figure manufacturers, including my beloved AB, have them wearing trousers, in the belief that this is how they looked on campaign. This is not without evidence. Some contemporary pictures show this. It was clearly how it was in Spain after the troops had been there a few months, and had to source clothing locally. One (not entirely reliable) memoirist French officer claimed that the first thing infantry did on campaign was throw out the gaiters and breeches and replace them with more comfortable trousers. And yet.
I saw a programme on TV many years ago about excavations of French mass graves outside Vilnius, where many soldiers met their end in the winter of 1812. They were wearing breeches and gaiters (the above knee ones too), even after a gruelling campaign (of course they may have purloined fresh stocks on their retreat).
Two of the French soldiers in this account of Waterloo mention that the difficult ground that d’Erlon’s troops had to cross broke their gaiters. They were wearing gaiters! Of course they may have been wearing trousers over the top, but it is small scrap of evidence.
I am planning six battalions of new infantry for my French. These will be the first of my 18mm collection in late war uniforms (gaiters below the knee). These are mainly AB and wearing trousers, as the core is a number of Young Guard figures I bought from a friend a few years ago. However I bought one battalion’s worth in gaiters from Eureka’s own-label range. Unfortunately these don’t have as wide a range of poses, but the core will be properly turned out.
The reverse slope
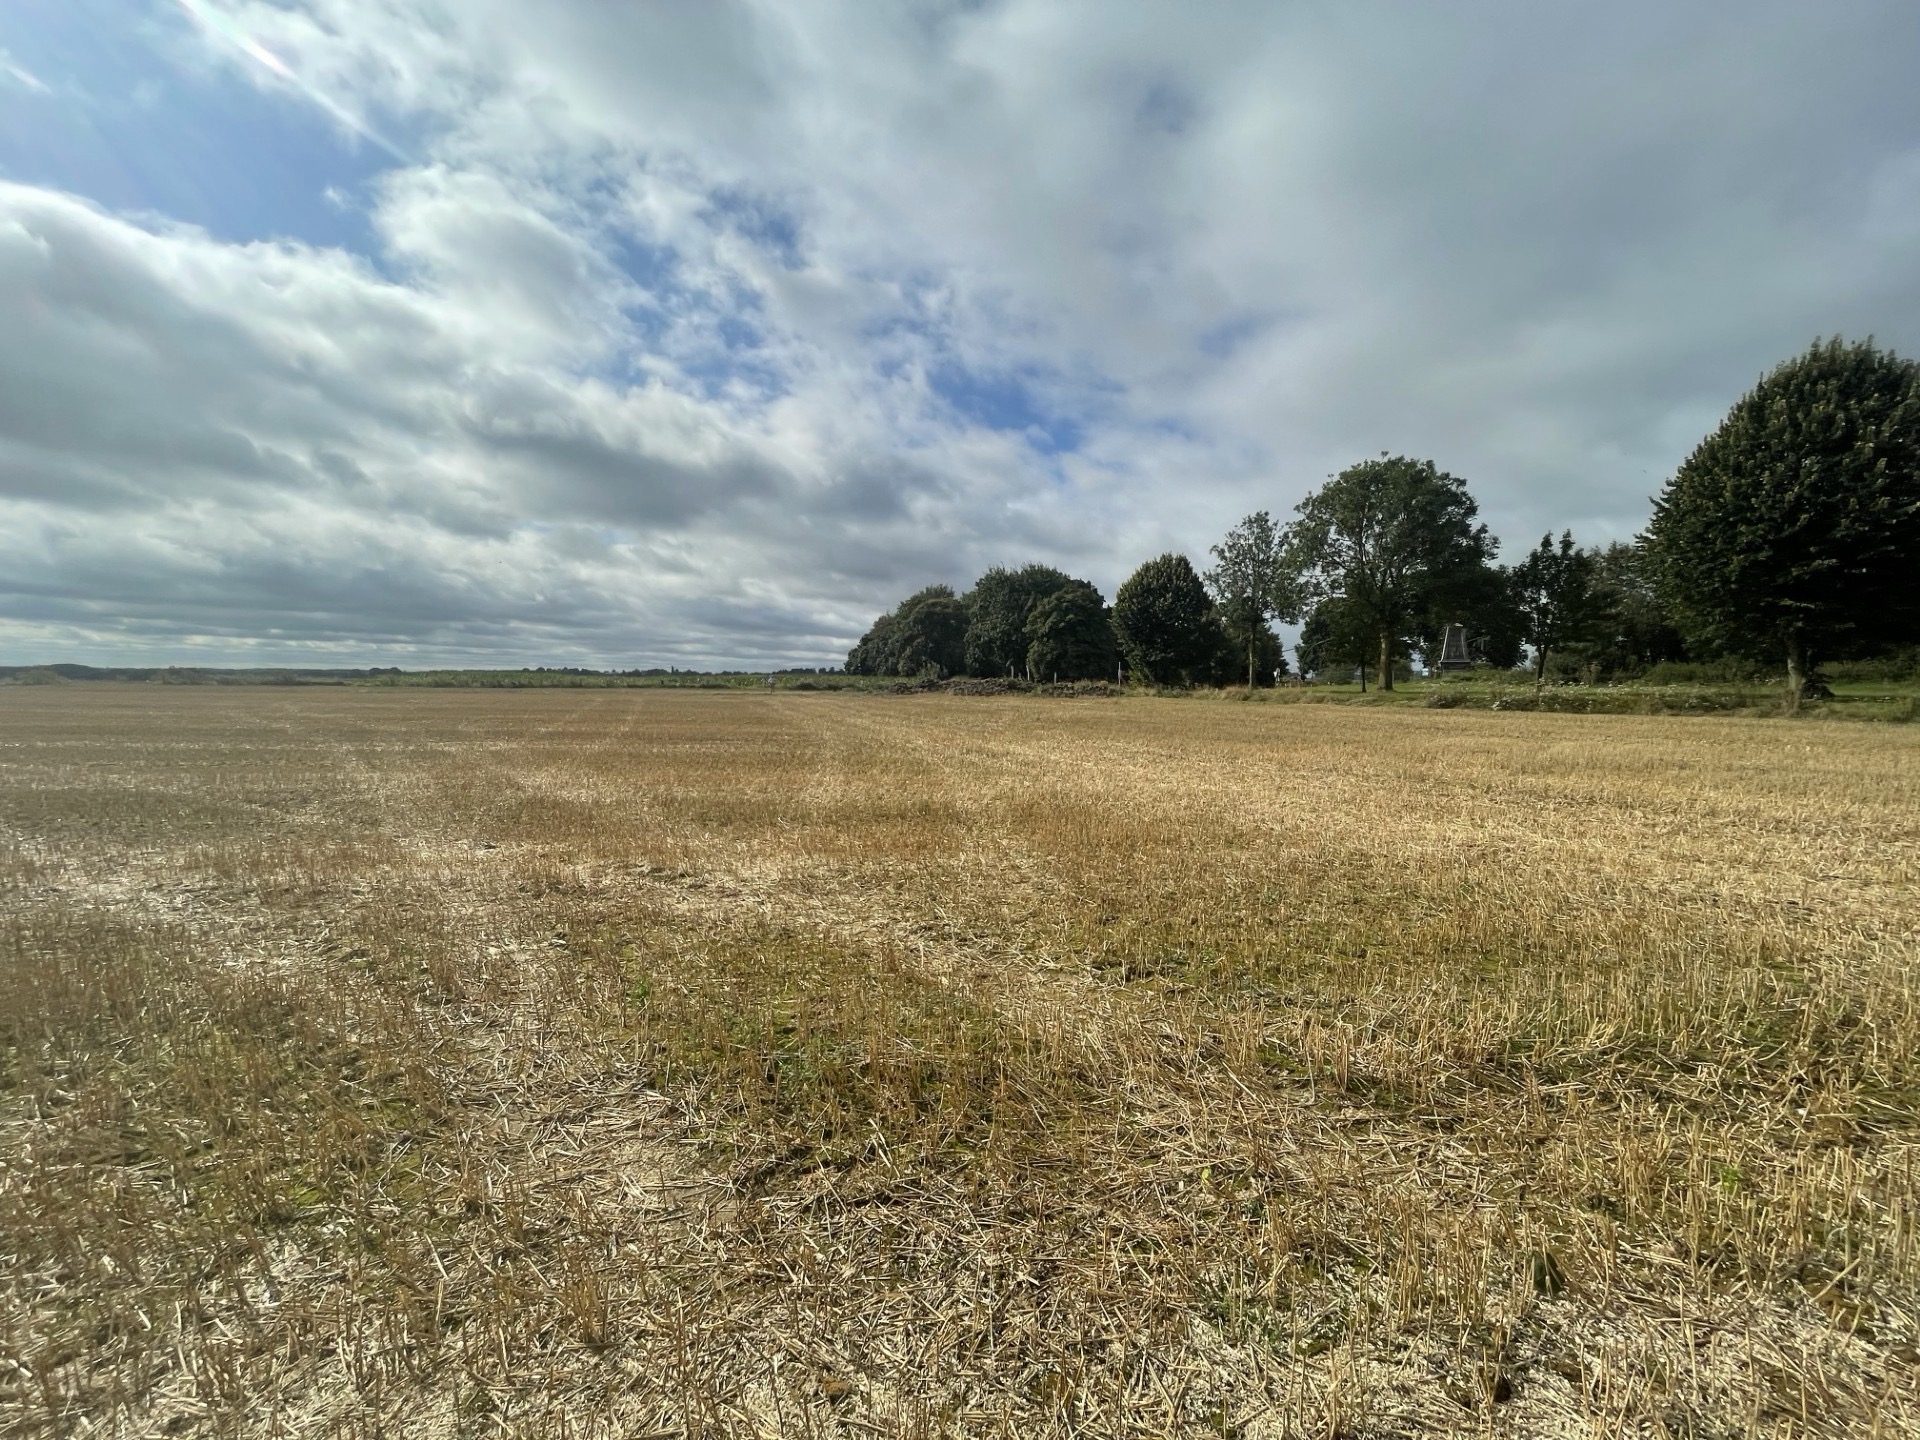
Mr Callister doesn’t discuss the topography much. He goes along with the general narrative that the Allies occupied a reverse slope position, with only artillery and skirmishers visible from French positions, once Bijlandt had pulled his men back. This is widely corroborated from his sources, from both sides. It was interesting, however, to pick up on Facebook post by Andrew Jones on the Waterloo Association page drawing attention to an article in the Waterloo Journal challenging this. It features the above picture, which is close to the Brussels road, on the eastern side, looking towards the French position – in other words the general area where Bijlandt and Kempt were deployed. It’s hard to discern much relief! It’s possible the ground has been flattened a bit from the building of the memorial mound, and a couple of centuries of agriculture – though the main terrain alterations are to the west of this.
The contention of the article, I think, is that the allied deployment area was in fact visible from the Belle Alliance ridge, and not concealed by a reverse slope. The main evidence cited is the heavy casualties suffered by the British 27th later in the battle when it was in square in this area – mainly from artillery it is thought: it must’ve been visible. Of course while this position may have been visible from the Belle Alliance ridge, which was slightly higher – and which I think is visible on the horizon in this picture – once off that ridge and into the valley, including on the “grand battery” intermediate ridge, then these positions would have been invisible. That might account for the eyewitness accounts saying that the main British positions could not be seen.
What is clear is that Napoleon had a pretty decent idea of where the Allied army was deployed. D’Erlon’s attack was precisely targeted at its weakest point. It is also clear that allied positions, as far back as the third line of cavalry, were exposed to the fire of the grand battery – and sought out hollows for shelter, according to one witness. The British position was more of a plateau with slight folds than a ridge – and still less a reverse slope.
This all reflects an attempt by British historians to ram the battle into a Peninsular War template that not even the Peninsular War, fits that well. It is also suggested that the reverse slope tactic was not widely adopted by “Continental” generals. None of this stands up to close scrutiny. The British position bears a striking resemblance to that adopted by Austria’s Archduke Charles on the first day at Wagram in 1809, fought on another gently undulating plain. That didn’t go well for the French either.
The grand battery
Mr Callister does spend some time discussing the grand battery – and rightly so. It is an interesting topic. Initially it was widely accepted that a battery of 80 guns was deployed on the Belle Alliance ridge – as described by Napoleon himself. But as researchers dug into the data, two problems emerged. The first problem was that while generally corroborating this account, the artillery general of I Corps, Desales, mentions only the batteries from his corps, reinforced by the 12pdr batteries from II and VI Corps. That’s just 56 guns, or 62 if you include the horse battery. The numbers can be reconciled if you include an extra three batteries (24 guns) from the Guard sent over by Napoleon. There isn’t much direct evidence for this, but one eyewitness does mention the presence of guns from the guard. These are usually identified as 6pdr batteries attached to the Guard (not the three batteries of 12pdrs, “Napoleon’s daughters”) – some of which were manned by the Navy. I’m happy enough that these were indeed deployed here, though perhaps under a separate command.
The second problem was the location. The Belle Alliance ridge was located about 1km from the Allied positions, and more like 1,400m to the rearward echelons. Effective artillery range is usually described as no more than 700m. My GDA rules suggest that the Allied forward positions were just within the extreme range of 6pdrs firing from an elevated position (which would count here), but the rearward positions would have been completely out of range of even the 12pdrs.
But fear not! Modern historians found a solution. If you reposition the battery further forward by about 400m to an intermediate ridge, the problem is solved. I think this is a clear case of wargamers trying to rewrite history so that it conforms their rules. This idea took hold after wargaming become fashionable in the 1970s. The trouble is that there is little or no direct evidence for it. And the forward position is very exposed; the left of the position is not far from the forward Allied position of La Haye Sainte. A further problem is that it would have presented a significant obstacle to the advancing infantry. This narrative requires the infantry to form up in their divisional columns on the Belle Alliance ridge, and advance through the battery. This is easily done on the wargames table – most wargames rules allow for the easy passage of troops through deployed batteries – but surely less easy in life, considering the limbers, caissons and such associated with them, and the density of the infantry formation used. There is no eyewitness account of this awkward passage.
Instead Mr Callister suggests that the infantry advanced through the battery before it started firing as individual battalions and assembled into divisional formations in the dip in front of the battery. Once they moved off at least some of the battery’s units then moved forward to the intermediate ridge, as indeed Desales’s account suggests. These advanced batteries were then caught exposed by the British cavalry in their follow-on charge (along with perhaps some still on the ridge behind). This all fits the evidence much better.
And that leaves wargamers with a headache. Why did the foremost military leader of the age, and an artilleryman at that, order an artillery bombardment whose targets were out of range? As it turned out, the artillery did not do much damage – though eye witnesses attribute a lot of this to the soft ground. Others suggest that the fire was too elevated (!). The fire was worrisome enough for the cavalry, some 1,500m away, to take evasive action.
On weapons ranges, incidentally, the von Reisswitz Kriegspiel, a near contemporary source, puts the 12pdr range as 1,500 paces for elevation fire and 2,000 paces for “rollschuss” (i.e. ricochet), that is 1,125m and 1,500m. The equivalents for 6pdrs were 1,200 (900) and 1,800 (1,350); howitzers could reach up to the same range as the guns they were posted with. This is for Prussian ordnance – but these were pretty similar weapons to the French. This puts the Allied troops within extended range, though the rear echelons would have been subject to ricochet rather than bounce through fire. Wargamers often restrict these long ranges not because the weapons couldn’t reach, but because they regard them to be ineffective, based on quotes from soldiers at the time.
Another notable point is that overhead fire by artillery was clearly Standard Operating Procedure. I mention this because the generally excellent rule-writer Sam Mustafa adamantly states that it never happened, so bans it in his rules systems. To be fair in his Blücher grand scale, I don’t think the artillery range issue would be a problem. Neither range nor overhead firing is a problem (or not much) for Bloody Big Battles, a system that is sometimes used for Napoleonics, either. The key is that when designing big battle rules to keep maximum artillery ranges long. The problem comes when trying to scale up rules designed for smaller battles. Ranges that are ineffective for a single battery might not be so for three or more batteries firing together. Also the French seem to have been using something of an area fire tactic – but then again note my comments on the reverse slope that wasn’t. Having said that, fall of shot would be very hard to see at these long ranges, accounting for the poor ranging noted by some observers.
Those columns
Which brings me to the biggest issue raised by this episode: the formation adopted by I Corps’s four divisions. These were divisional columns by battalion. In two cases all 8 battalions in the division were deployed in line and arrayed one behind the other, as little as three paces apart. The other divisions deployed with fewer battalions as they detailed troops on flanking operations (including an attack on La Haye Sainte). This was a huge dense mass of men. I don’t think it has much precedent, perhaps beyond massive pike blocks deployed in early modern times, and by Alexandrian armies in ancient times. It was not an accident; it may have been on Napoleon’s direct orders. Some of the officers thought it unwise, but they all seem to understand what was required.
The first question is whether this formation was unprecedented, or part of SOP, and perhaps used more often than we realise. I remember reading that it was a formation used by French conscripts in the revolutionary wars. I don’t think this was based on much in-depth research. I’m no expert on those wars, and in my various readings I have found no definitive reference to the French having adopted such a formation. Indeed I think that far from being a good way of deploying raw conscripts, it required pretty well-drilled troops to operate. In my various readings I have found just two possible examples, both used by the Austrians in the war of the Second Coalition, 1799-1800.
The first is at the battle of Novi (I think) and it is so insubstantial that it hardly counts. Apparently the Austrians are shown as using the formation on a contemporary map. I don’t know which particular units, and which map. There are some candidates when I search for the battle. I don’t know the history of the battle at all, and I wouldn’t even mention it if it wasn’t for the second example.
This is the attack of the grenadiers at the end of the Battle of Marengo in 1800. David Chandler shows them having adopted this formation. What gives this a bit more substance is that the formation was routed by a small number of French cavalry – in a something close to a rerun (pre-run?) of the events that befell Marcognet’s column at Waterloo.
All of which is a very long time before Waterloo, with no examples from the Empire period that I know about. What did the French think they were doing? One suggestion has been that with a full battalion in line, its firepower would match opposing infantry. Mr Callister dismisses this – citing his theory about the weakness of French infantry fire because of putting the tallest men in the front rank. Regardless of whether this makes sense, it is evident that the troops themselves expected to plough on without a shot. In fact it seems to have been a momentum thing. The front ranks had nowhere to retreat and would be carried forward by the troops behind them. The formation was also very compact, allowing the French to drive all their troops into the target area quickly. Splitting into battalion level formations would have taken much more space. Indeed the French would probably have not been able to send more than two divisions in on the first wave. And managing 30-odd battalion columns would have created its own issues.
The interesting thing is that this appears to have nearly worked. Bourgeois’s two regiment (four battalion) formation on the left pushed Bjlandt’s men out of the way. They were then attacked by Kempt’s brigade. It does seem to have been pushed the column back, but it was by no means broken when the cavalry struck. Something similar is reported with Donzelot’s column, the next in the sequence. The first ranks were pushed back, but the column as a whole did not break. Donzelot’s column also largely withstood the cavalry attack (from the Inniskillings) that followed. It is likely that the thin British line would have exhausted itself before defeating the whole column.
The situation is a bit clearer with Marcognet’s column. It encountered two waves of British troops (the 2/44th and 3/1st, followed by the Highlanders of the 92nd). The first wave seems to have been brushed aside; the second led to some hand to hand fighting (a bit of a rarity in open ground in the horse and musket era), which the French started to get the better of – doubtless the numbers started to tell. And then the cavalry (the Scots Greys) struck, and the French column collapsed completely.
The conclusion from all this is hard to avoid: without the cavalry counterattack, the French would have overwhelmed the troops facing them and reached Mont St John, leaving a pocket on their right – two Hanoverian brigades, a Nassau brigade and two brigades of cavalry, which would have been contained by Durutte’s division. Wellington did have reserves to call on face this breakthrough, but it would have been a very different battle. If the cavalry had struck later, the chances are that the French would have seen it, and closed up their columns to be invulnerable. Uxbridge saved the day.
The massive column is not a formation catered for in wargames rules. Insanity awaits rule-writers who try to devise rules that cover every historical peculiarity. In most rules, battalion is king, and multi-battalion formations are not catered for. In fact multi-battalion squares were commonplace. There are two examples from this episode alone. One of the Hanoverian brigades formed a four-battalion brigade square. The French 85th Line, detached from the rest of Durutte’s division, formed a two battalion regimental square, which withstood the British breakthrough charge easily (which the rest of Durutte’s division appears not to have done – though casualties were much fewer than for Marcognet and Bourgeois). Functionally these big squares are not so different from the small ones, so not a great deal is lost.
The multi-unit column is another matter. When do you treat the units as individuals? When do you look at the formation as a whole? The Waterloo experience points to treating the units individually for the infantry combat, but collectively for the cavalry one. There’s no easy way of doing this. When replaying this attack, players will doubtless form their French units in battalion columns. In grand tactical rules, with units representing brigades or even larger (as with BBB), it is easier to fudge.
Conclusion
The difficulties for wargamers don’t stop with the columns. The cavalry attacks pose interesting challenges too. The British follow-up charge was pretty devastating – especially for the French artillery. The French lancers adopted a sort of open order formation in their pursuit. But in general these are the types of things that wargames rules handle reasonably well.
The challenges posed by long-range artillery fire and multi-unit columns are headache enough if you want to try and recreate this dramatic episode on the tabletop!
Postscript. Andrew Jones got in touch about his reverse slope posting – and I have made some corrections to this post.
Leave a Reply