Regular followers will know that I have been trying to develop my own rules for Napoleonic army-level games, and that meanwhile I have using “house rules” to adapt Bloody Big Battles (BBB) to the Napoleonic era. These two ideas have taken a big step towards convergence when we played a game using a draft version of new rules which are a rewrite of the BBB house rules, with further modifications, and are free-standing. The umbilical cord with BBB has been cut.
This follows a change in my thinking on the project. I have quietly been drafting more radical Napoleonic rules in parallel with the BBB house rules, though the two sets overlap. A couple of excellent articles in October’s Miniature Wargames have forced on me some home truths about wargames rules. First was by Conrad Kinch on the features of successful rules systems. This told me what I really knew already, that any rules I develop will attract no more than a few hobbyists of a certain age. To develop them into something more mainstream I would have to team up with people who have the time and inclination to create a more complete offer. Still it has got me thinking about how you might create a successful army-level Napoleonic game. One point made by Conrad is the strong link to successful rules and the miniatures. I use 15mm (or 18mm in fact) for a number of reasons, not least is that I already own hundreds of them. Nowadays, though, the big fashion is for 28mm. This really won’t do for army-level games without a massive table. In fact even 15mm is too big. A system based on 6mm or 10mm would look better, especially if a range of terrain aids, like battle mats and so on, could be developed to give the games a really good look without having to invest enormous amounts of time and money.
Very interesting, but the second article was more directly relevant to my project: Core Mechanics in Game Design, by Joseph A McCollough, who wrote fantasy rules Frostgrave, amongst many others. His theme is that rules should focus innovation onto one or at most two core mechanisms, which dictate the flavour of the game, while leaving the rest to be generic. There is much wisdom in this. Having started to play at the club (South London Warlords) I have learnt much about developing rules systems that get buy-in from other gamers. Too much innovation creates bafflement and confusion; a more moderate amount generates interest and intrigue. There is another point which Joseph doesn’t make. The more innovation, the bigger the tendency for bugs and unforeseen problems, which can either lead to major delays, or to systems that don’t work (I can think of at least one of those…).
The core mechanism for BBB is the Movement Throw, as it is for the Fire and Fury system it is based on. This is where players’ decisions are mainly focused. Each player picks a unit takes the Movement Throw, which dictates how far the unit can move, and whether it rallies from disruption. The rest of the system has its quirks but is pretty generic and doesn’t need to involve players in much decision making. In my parallel rules project I have a number of innovative ideas, but there is a clear core mechanism, which is based on orders and activation. What I need to do is to keep the rest of the rules simple and generic.
Which brings me to my development of BBB. I am calling this Big Napoleonic Battles (BNB) for now. This retains the BBB core mechanism, but refines the generic mechanisms around it. Generally speaking these mechanisms are simpler (and even more generic) than BBB (a lot of which is down to the simpler technology of the era being represented). The exception is cavalry, which needs a new set of outcomes and modifiers for combats between it and infantry, and where squares are incorporated. What I hope to achieve down the road is a merger between these generic mechanisms and my new core mechanism.
The development of BNB has been interesting. Rewriting the rules has offered the opportunity to tidy up a lot minor aspects. Compared to our previous house rules, the main changes are the dropping of skirmishers, as discussed in my last post, and a new movement system, based loosely on Sam Mustafa’s Blucher. I also changed the Zone of Control rules a bit (what happens when opposing units get close to each other). I had to finish them in a hurry, so they are untidy with lots of typos, etc. For that reason I’m not publishing just yet.
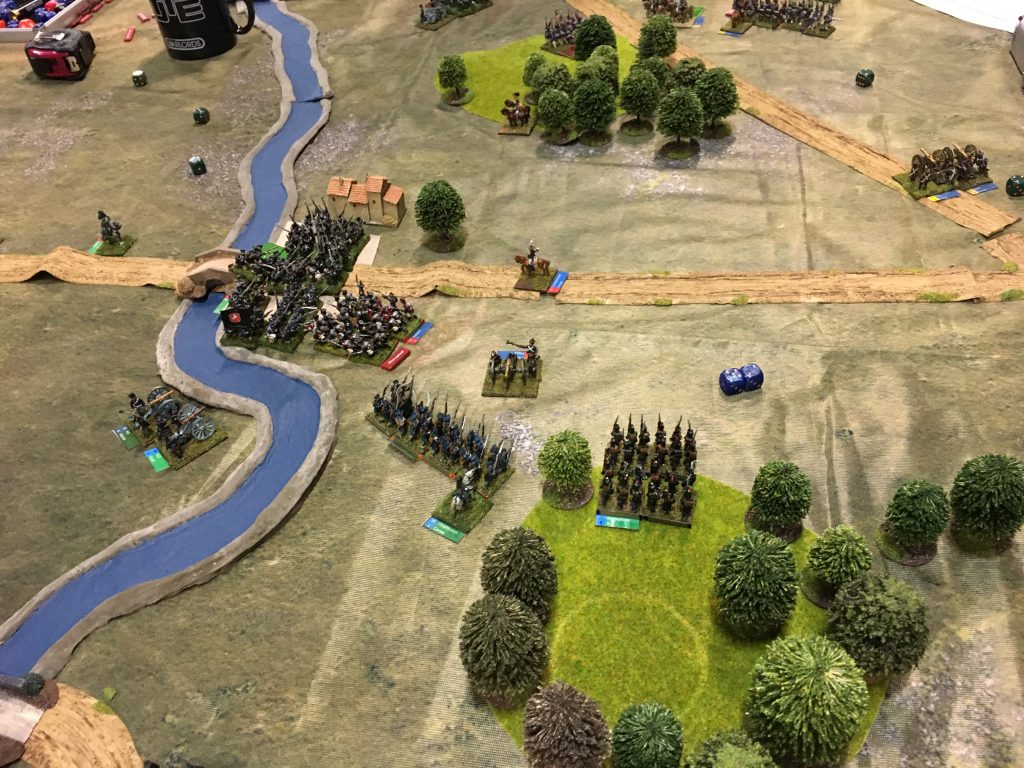
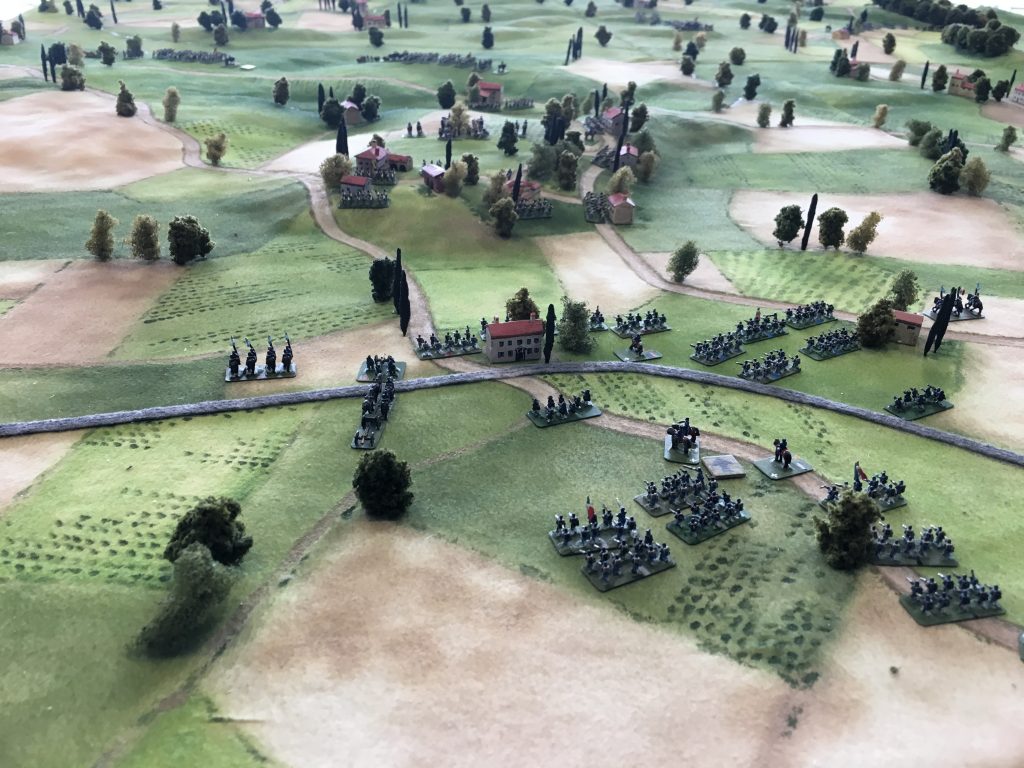
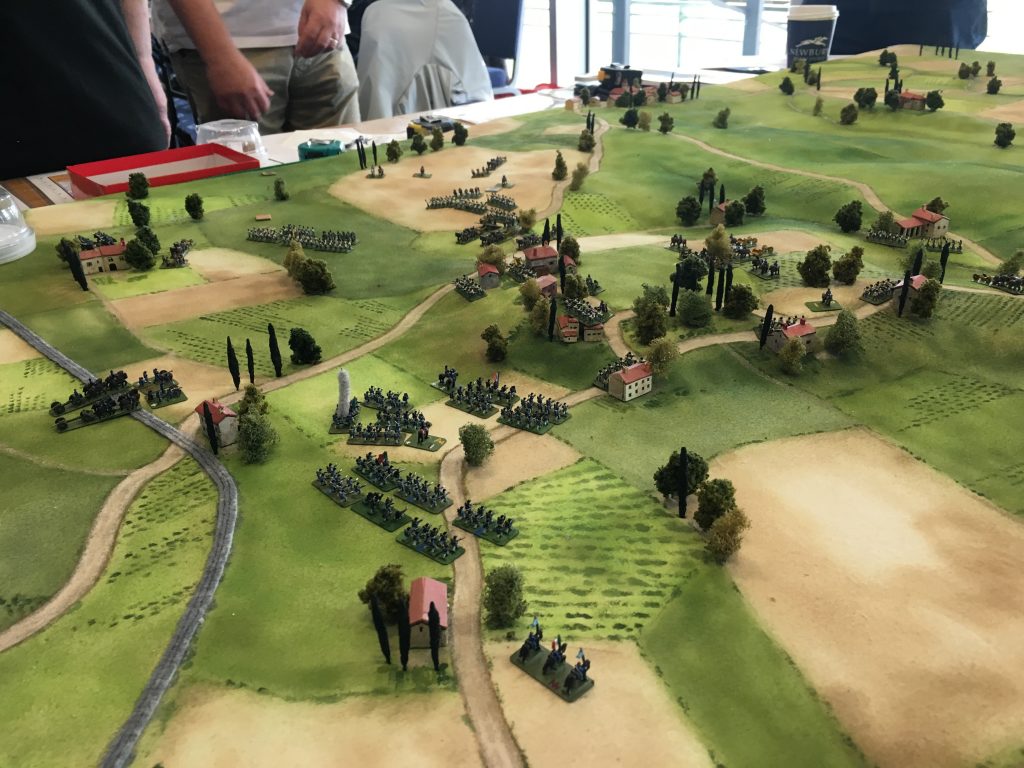
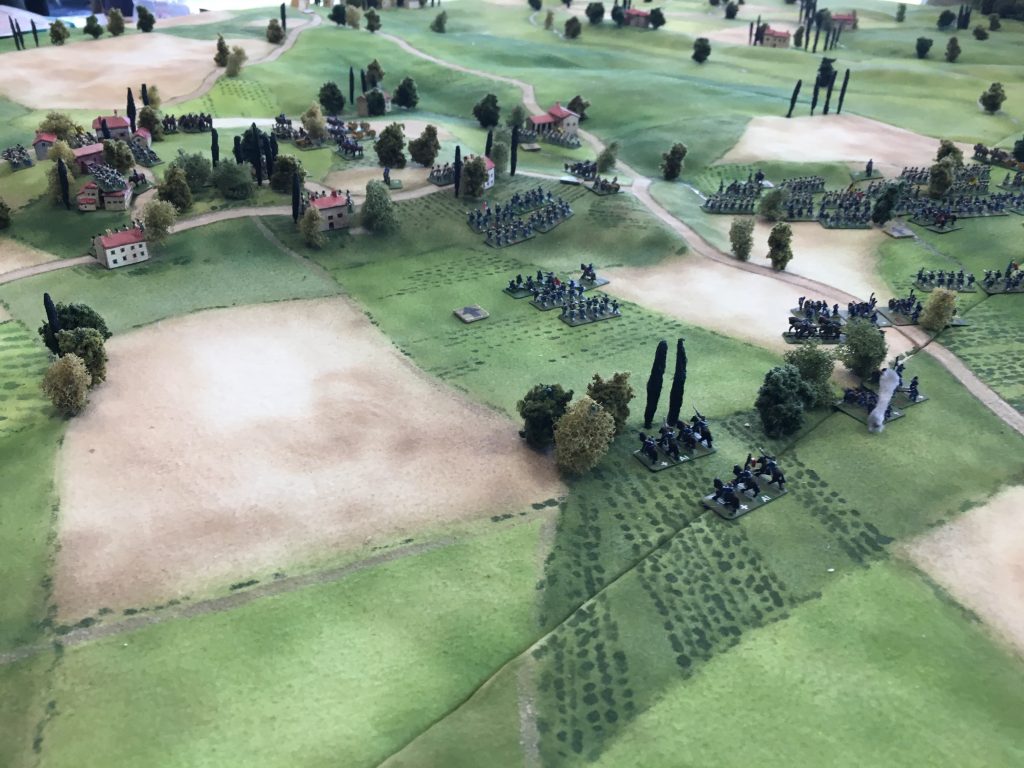
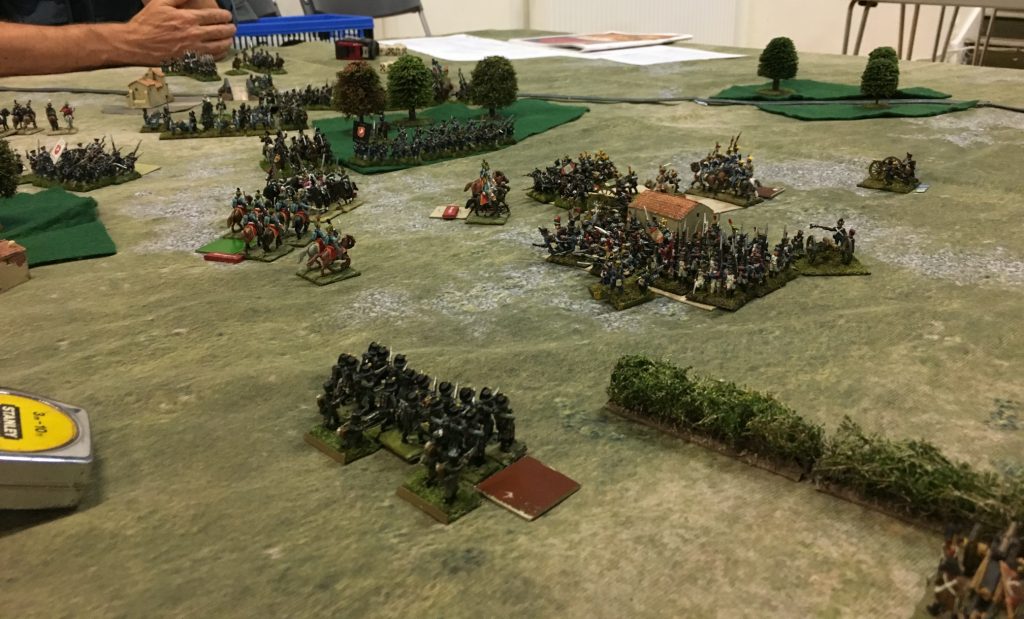
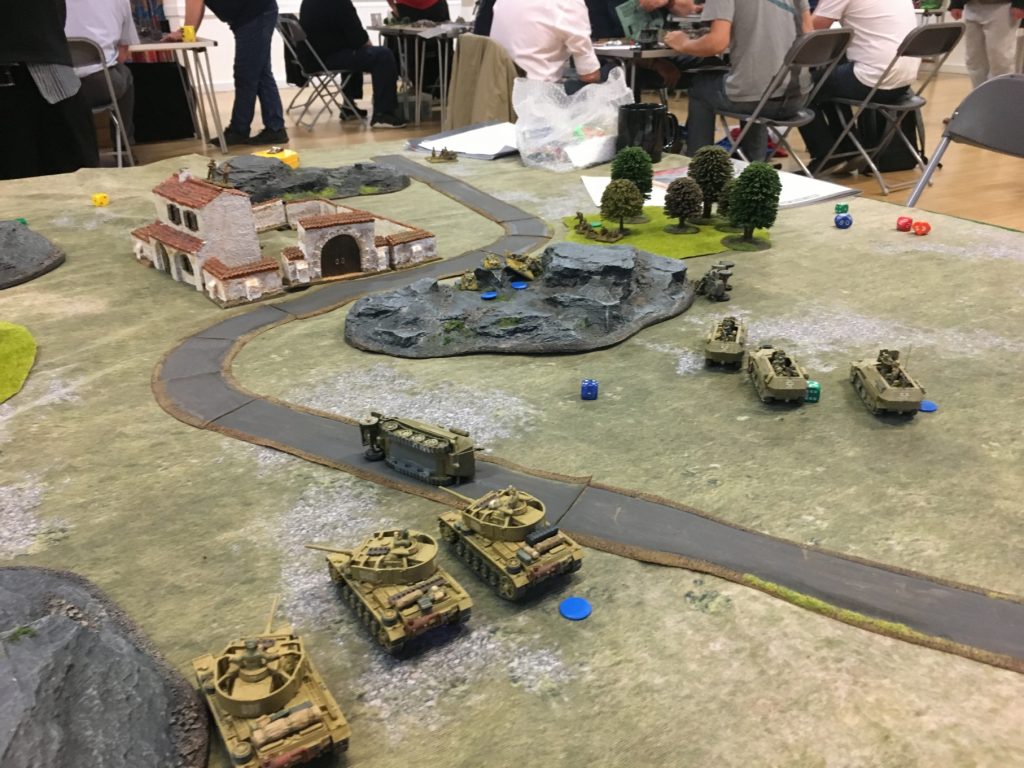
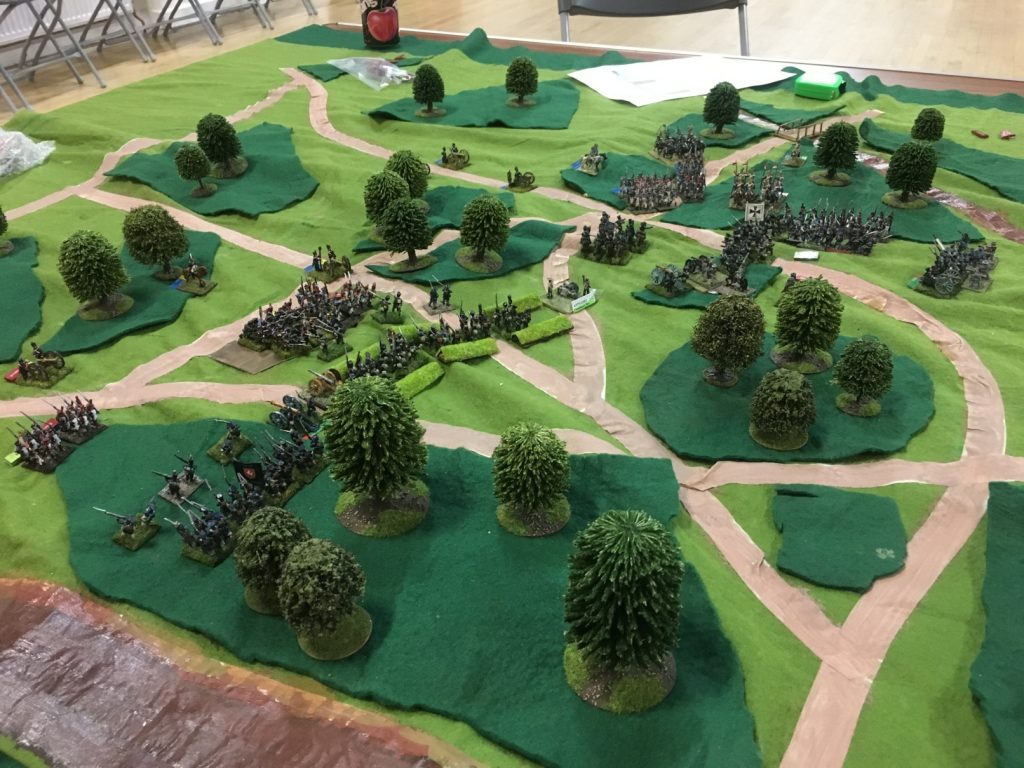
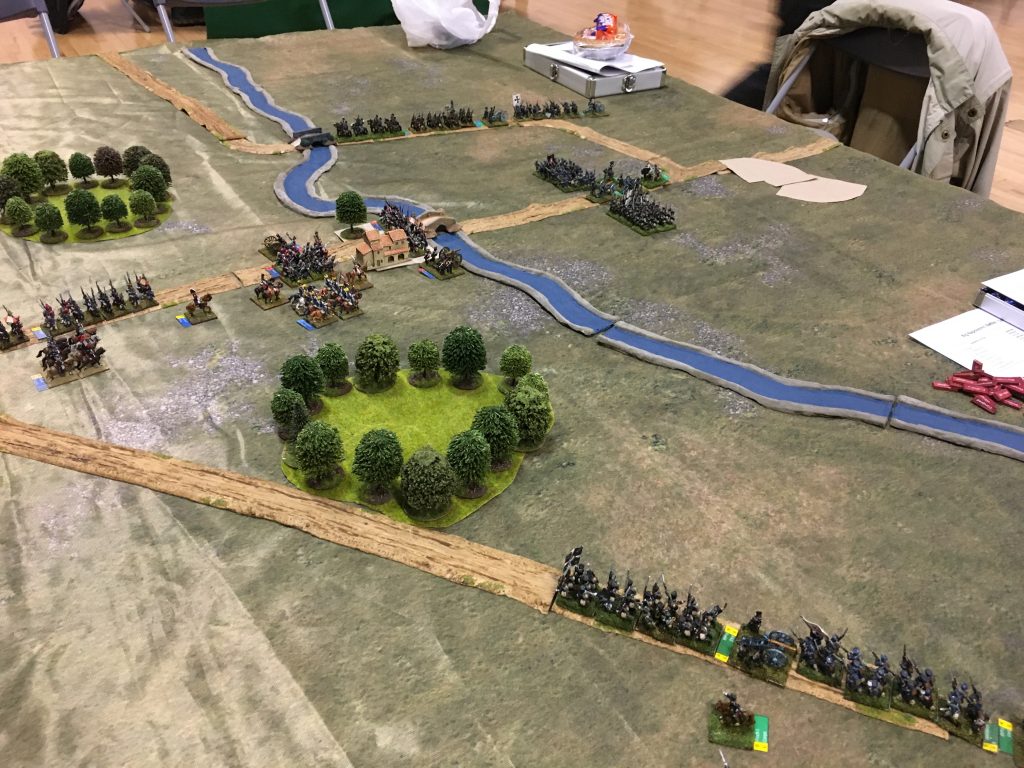
The game? It was for five players. I gave each a corps (two French and three Prussian) consisting of two infantry units and two batteries, and for four of them a cavalry unit; the fifth, the central Prussian unit, had two large infantry units instead. The idea was that the Prussians were converging on the French and had to capture a river crossing and the crossroads behind it in 6 turns, before French reinforcements would arrive (not part of the game). The forces were based loosely those at Ligny in 1815, but the scenario came out of the air. It went pretty well. The six moves were completed before 10pm, which was what was required. At long last I found that the players were able to do much of their gaming without me (as games master) needing to explain it. Doubtless a few details were missed, but the flow was a bit quicker. The size of the player commands was right for the length of game – though larger commands could be attempted with fewer players. The Prussians were able to storm the river crossing at Turn 5, and the French position in the centre was close to collapse (though it was better to their right), but the crossroads was not under serious threat. The Prussian players said they didn’t realise that it was part of the objective. Nevertheless I thought the main problem was that they didn’t press hard enough and got too distracted by the French cavalry.
Two main aspects of the rules need fixing. When it came the Prussian storming of the bridge was a bit too easy. It wasn’t quite as unbelievable as the French player suggested, as there had been quite a bit of preparatory shooting, and no doubt the French garrison was feeling ground down. Also the movement rules didn’t quite work for half moves in the “Manoeuvre” category for more complex moves. Another complaint was an old one, that firing too often drew a blank. In principle that could be dealt with evening out the fire results (so making it less devastating for high throws) – something it might be worth experimenting with. But overall I was very pleased with this first outing.
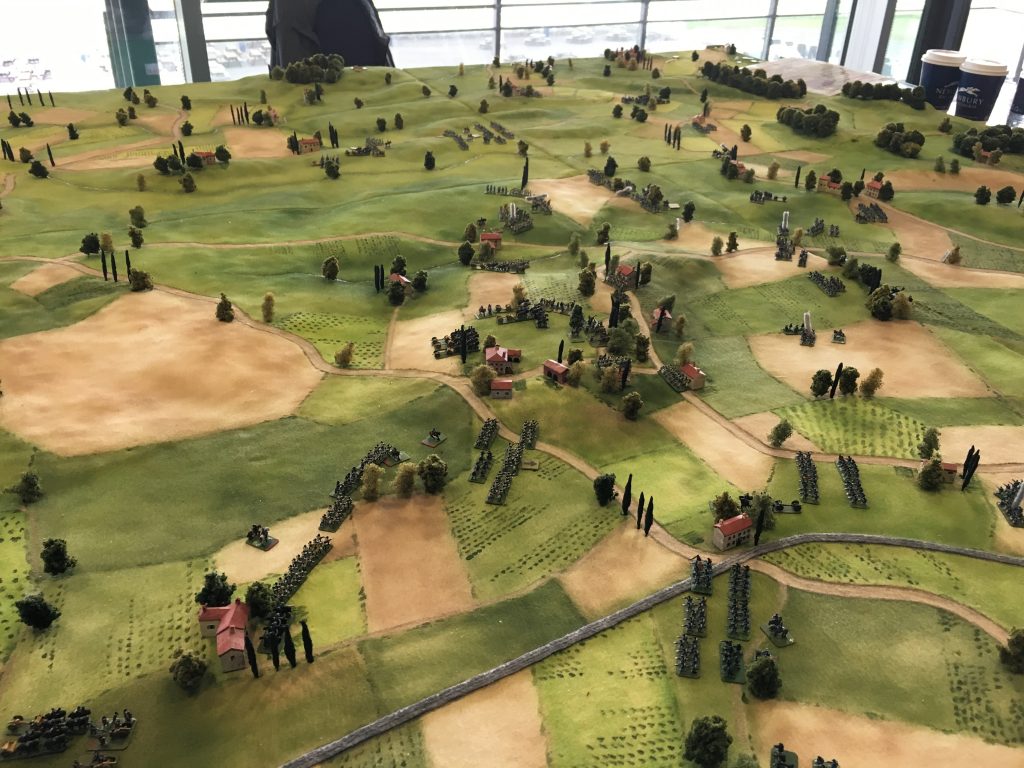
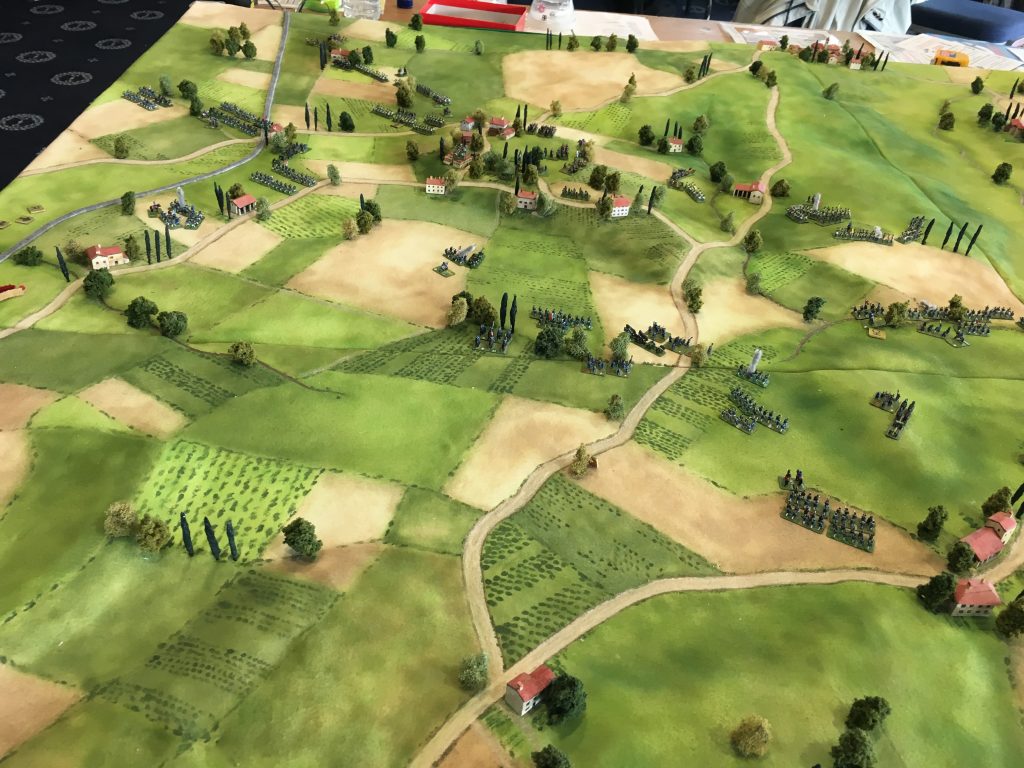
Finally some thoughts on the appearance. I am trying to think of ways to make the game look better, even on a club night. The game was set up with standard club equipment: the map, the roads and the river. I supplied the bridges (10mm TimeCast) and buildings (6mm Total Battle Miniatures). The biggest issue is the mat (from Tiny), partly because it represents prairie rather than European fields, and also because it is thin and shiny. I’m not a fan of the trees either – these are standard wargames items, and very robust (so very suitable for club stock), but based on the shape of single trees out in the open. They work a lot less well for woods, even when grouped at the edge, as I tried to do. I did not even attempt hills – increasingly looking to use proxies to achieve a similar effect. I think the next step is to look for a felt mat that achieves a nice generic field pattern.