In my regular updates I have referred to a secret modelling project. Now is the reveal. It is this 1/72 model of an RAF Wessex helicopter. It was a present to a friend who is having a significant birthday this year – hence the secrecy. He has now received it – so the secrecy is not longer required.
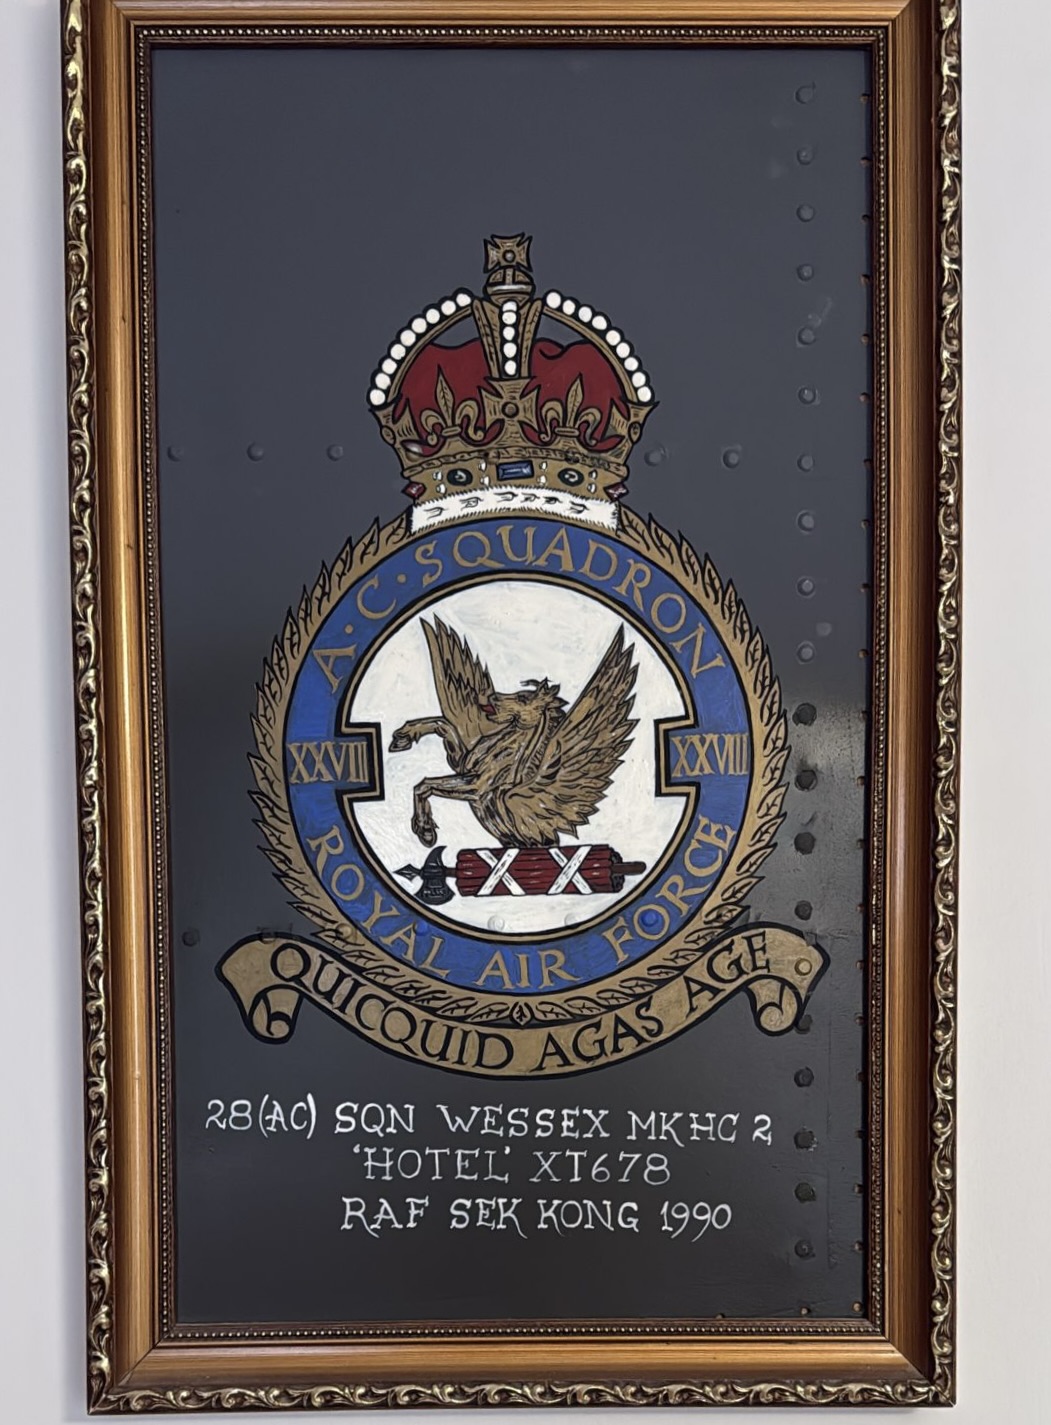
My friend is Gordon Evans, who served in the RAF, rising to Group Captain. The model is of a machine from 28 Squadron, which operated in Hong Kong, with which he was associated. His first tour was in 1980 (I think), when he was a fresh young officer. His logbook does refer to this aircraft, amongst others, though he wasn’t a pilot at this stage. He returned to 28 Squadron in 1990, as officer in command. This was one of two machines he regularly flew then, and the one with which he was mostly closely associated (his name was on it – though I didn’t reproduce this!). It may have been the one in which he flew Princess Diana during a royal visit. Indeed he was presented with this memento, made from a piece of the aircraft’s skin:
The idea for doing this model came last year when Airfix released their Wessex kit. One of the three featured schemes was for one of 28 Squadron’s machines. It was actually one that had crashed in its early days, but lived an after life at Sek Kong for fire safety training.
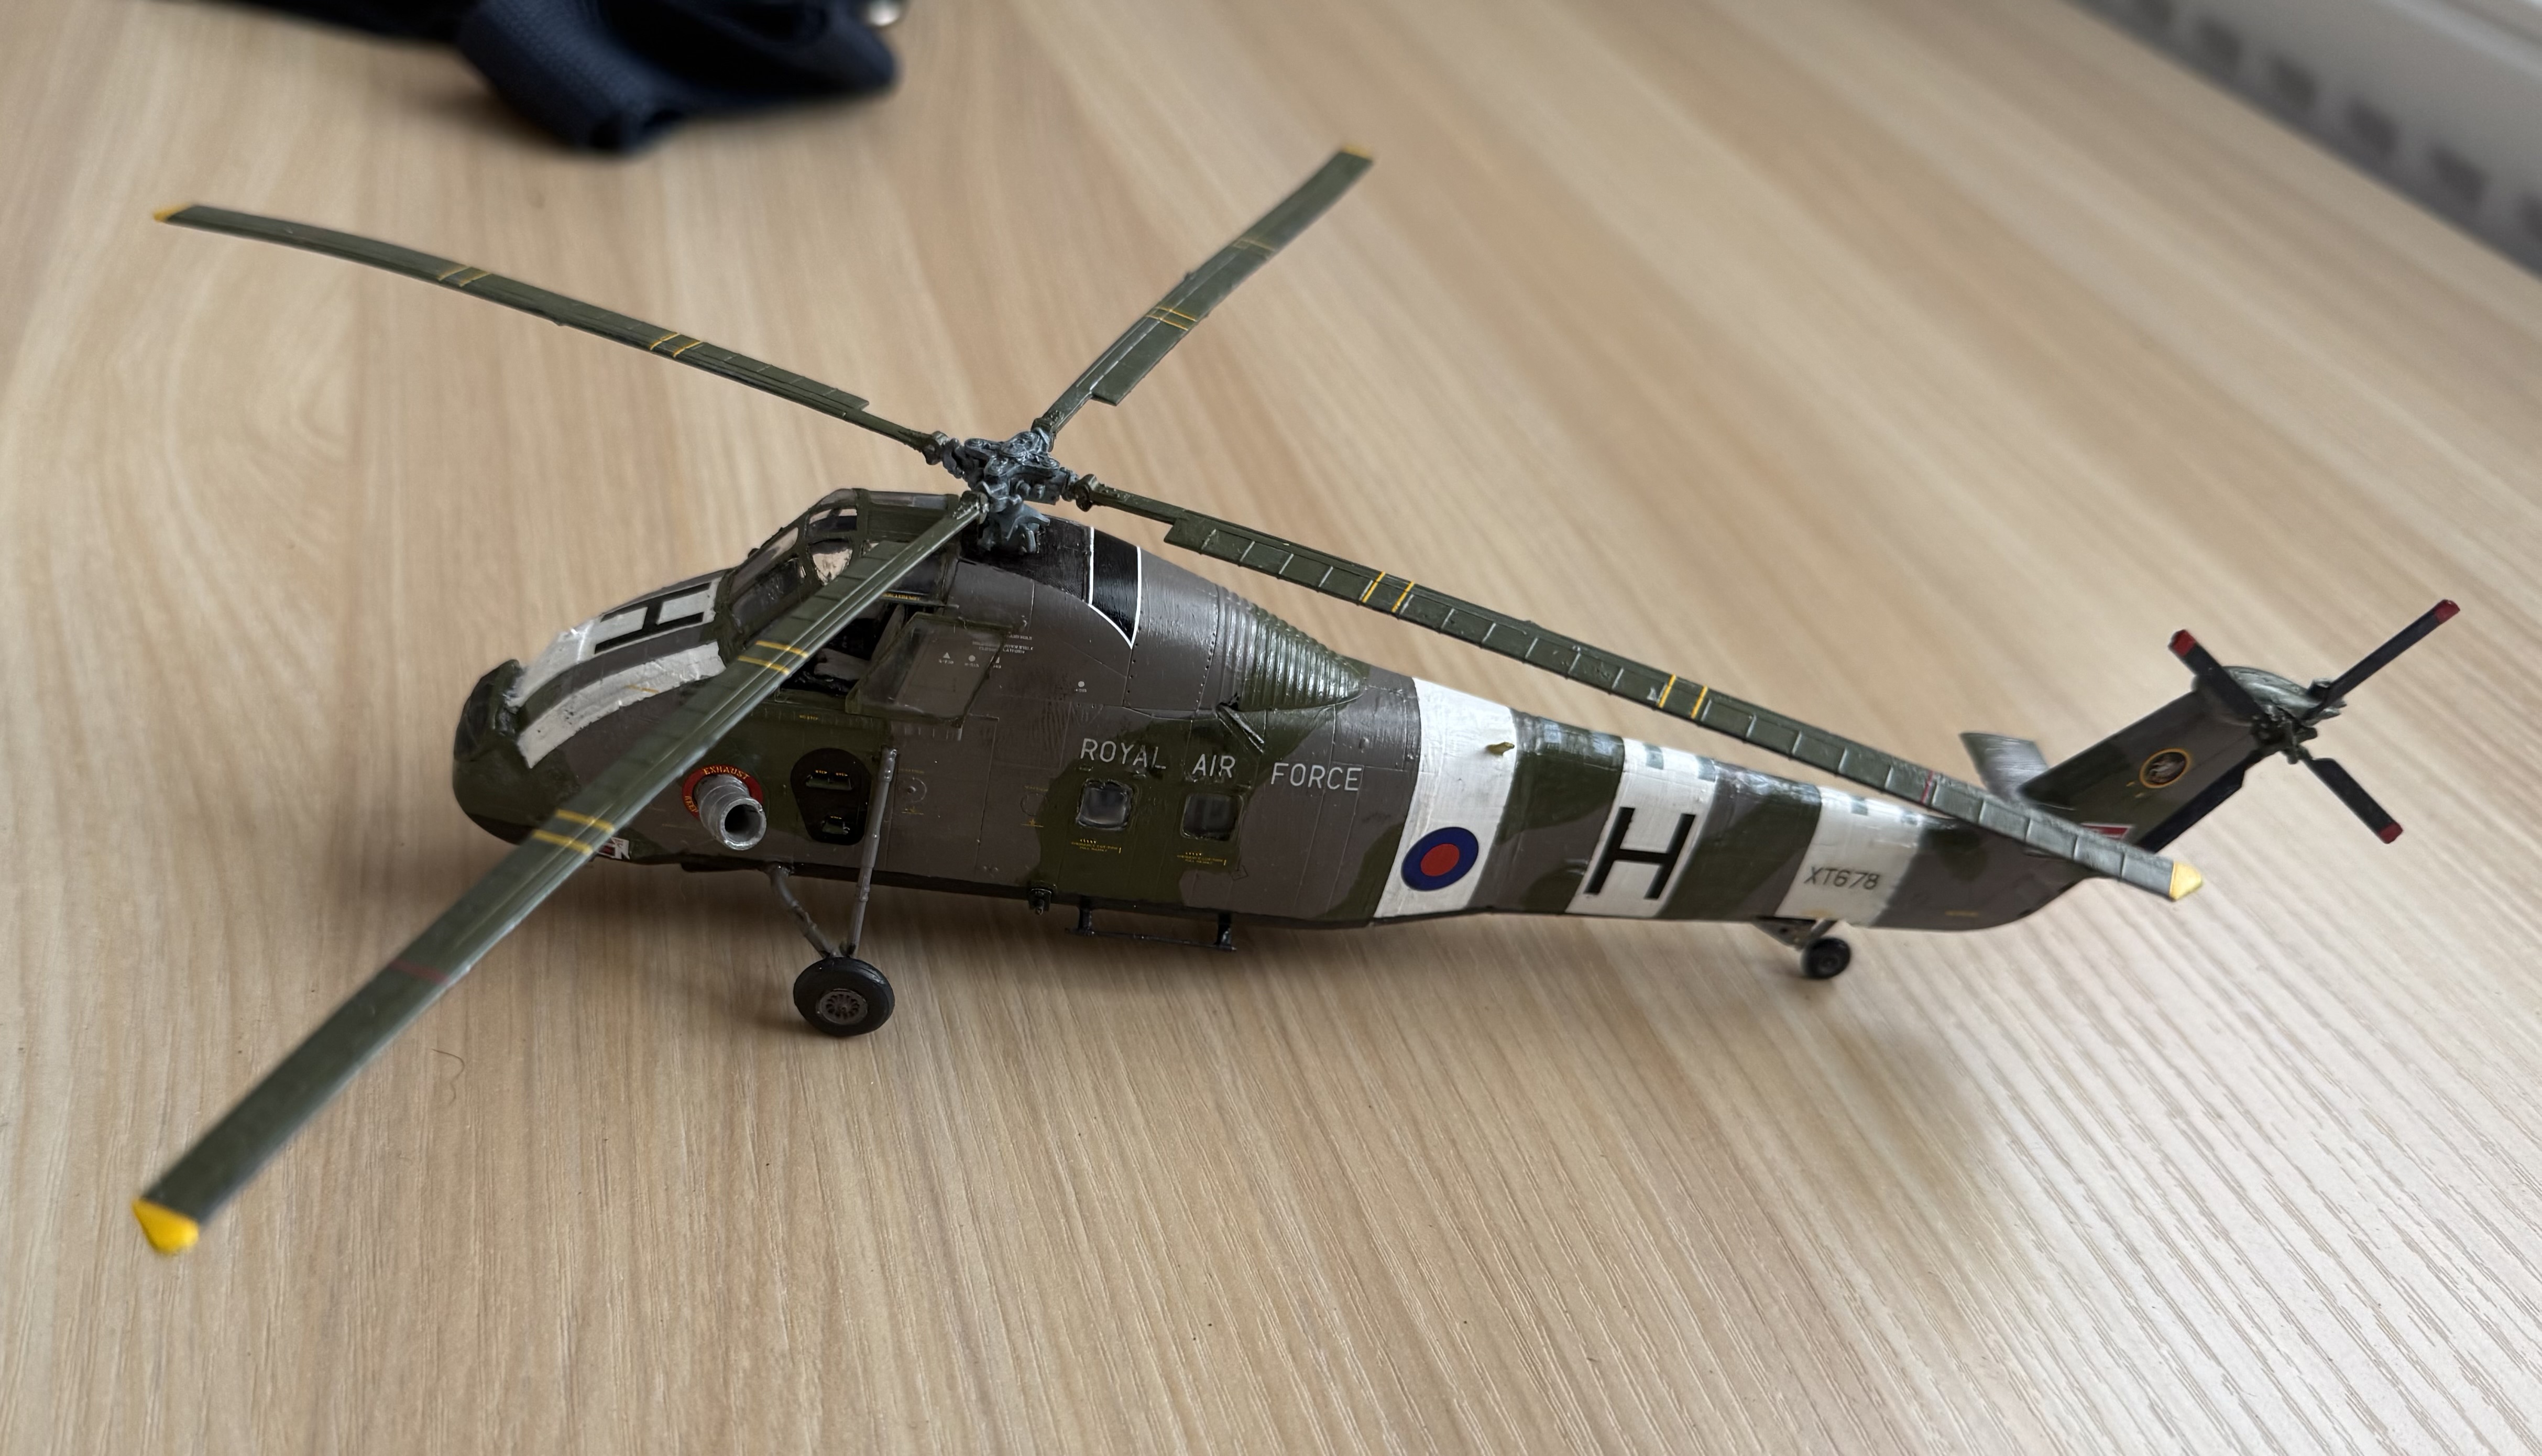
There were a number of challenges to overcome. First were the white “conspicuity” stripes – the only context that I’m aware that word has been used, though the spell-checker has passed it. These were introduced for the Hong Kong Wessexes after a near miss, I believe – I think during Gordon’s first tour. Then, of course I had to source decals for the XT678 serial on the tail, and the large H ID letters. Also the “Royal Air Force” lettering on the side were in white at this time – not the black in the Airfix decal set.
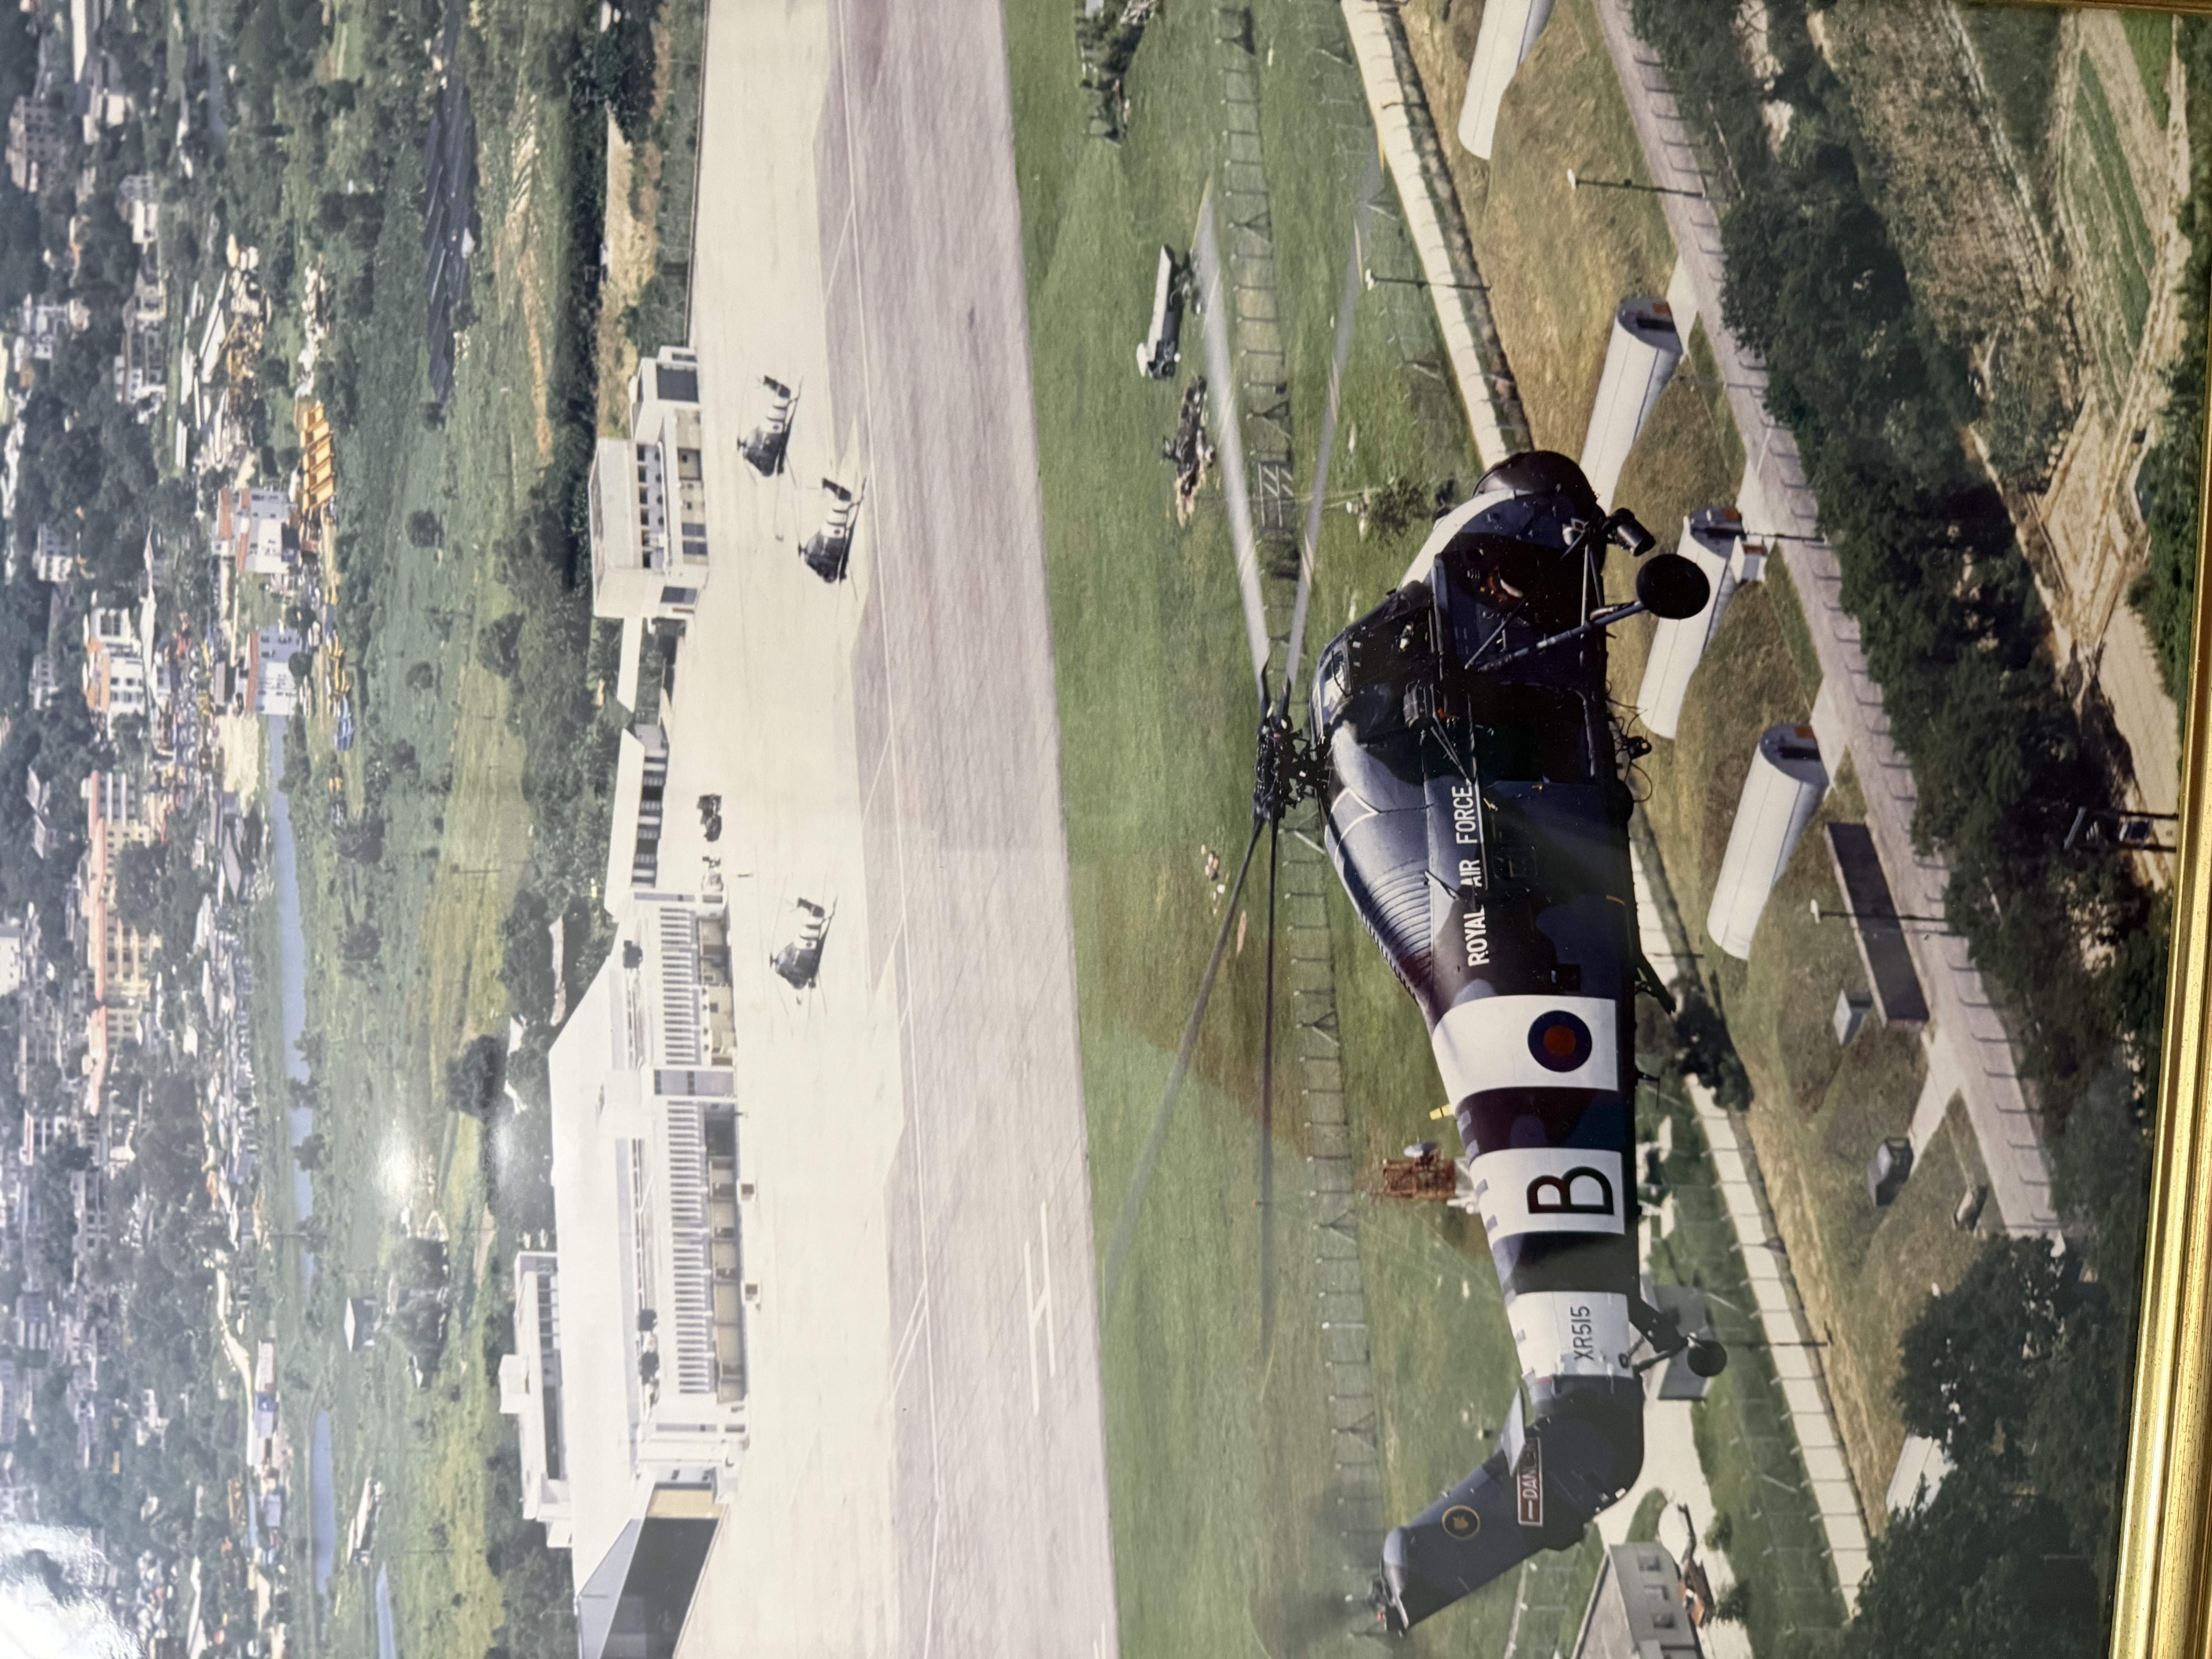
I could find no photos of Hotel – though there were useful shots of other machines in the squadron. One ambitious modeller on Britmodeller (“hendie”) did make a very impressive model of it in 1/48, and this was a useful source. Amongst his many posts I didn’t find why he picked this machine (depicted at 1982/83); apparently he was part of the maintenance crew at RAF Sek Kong.
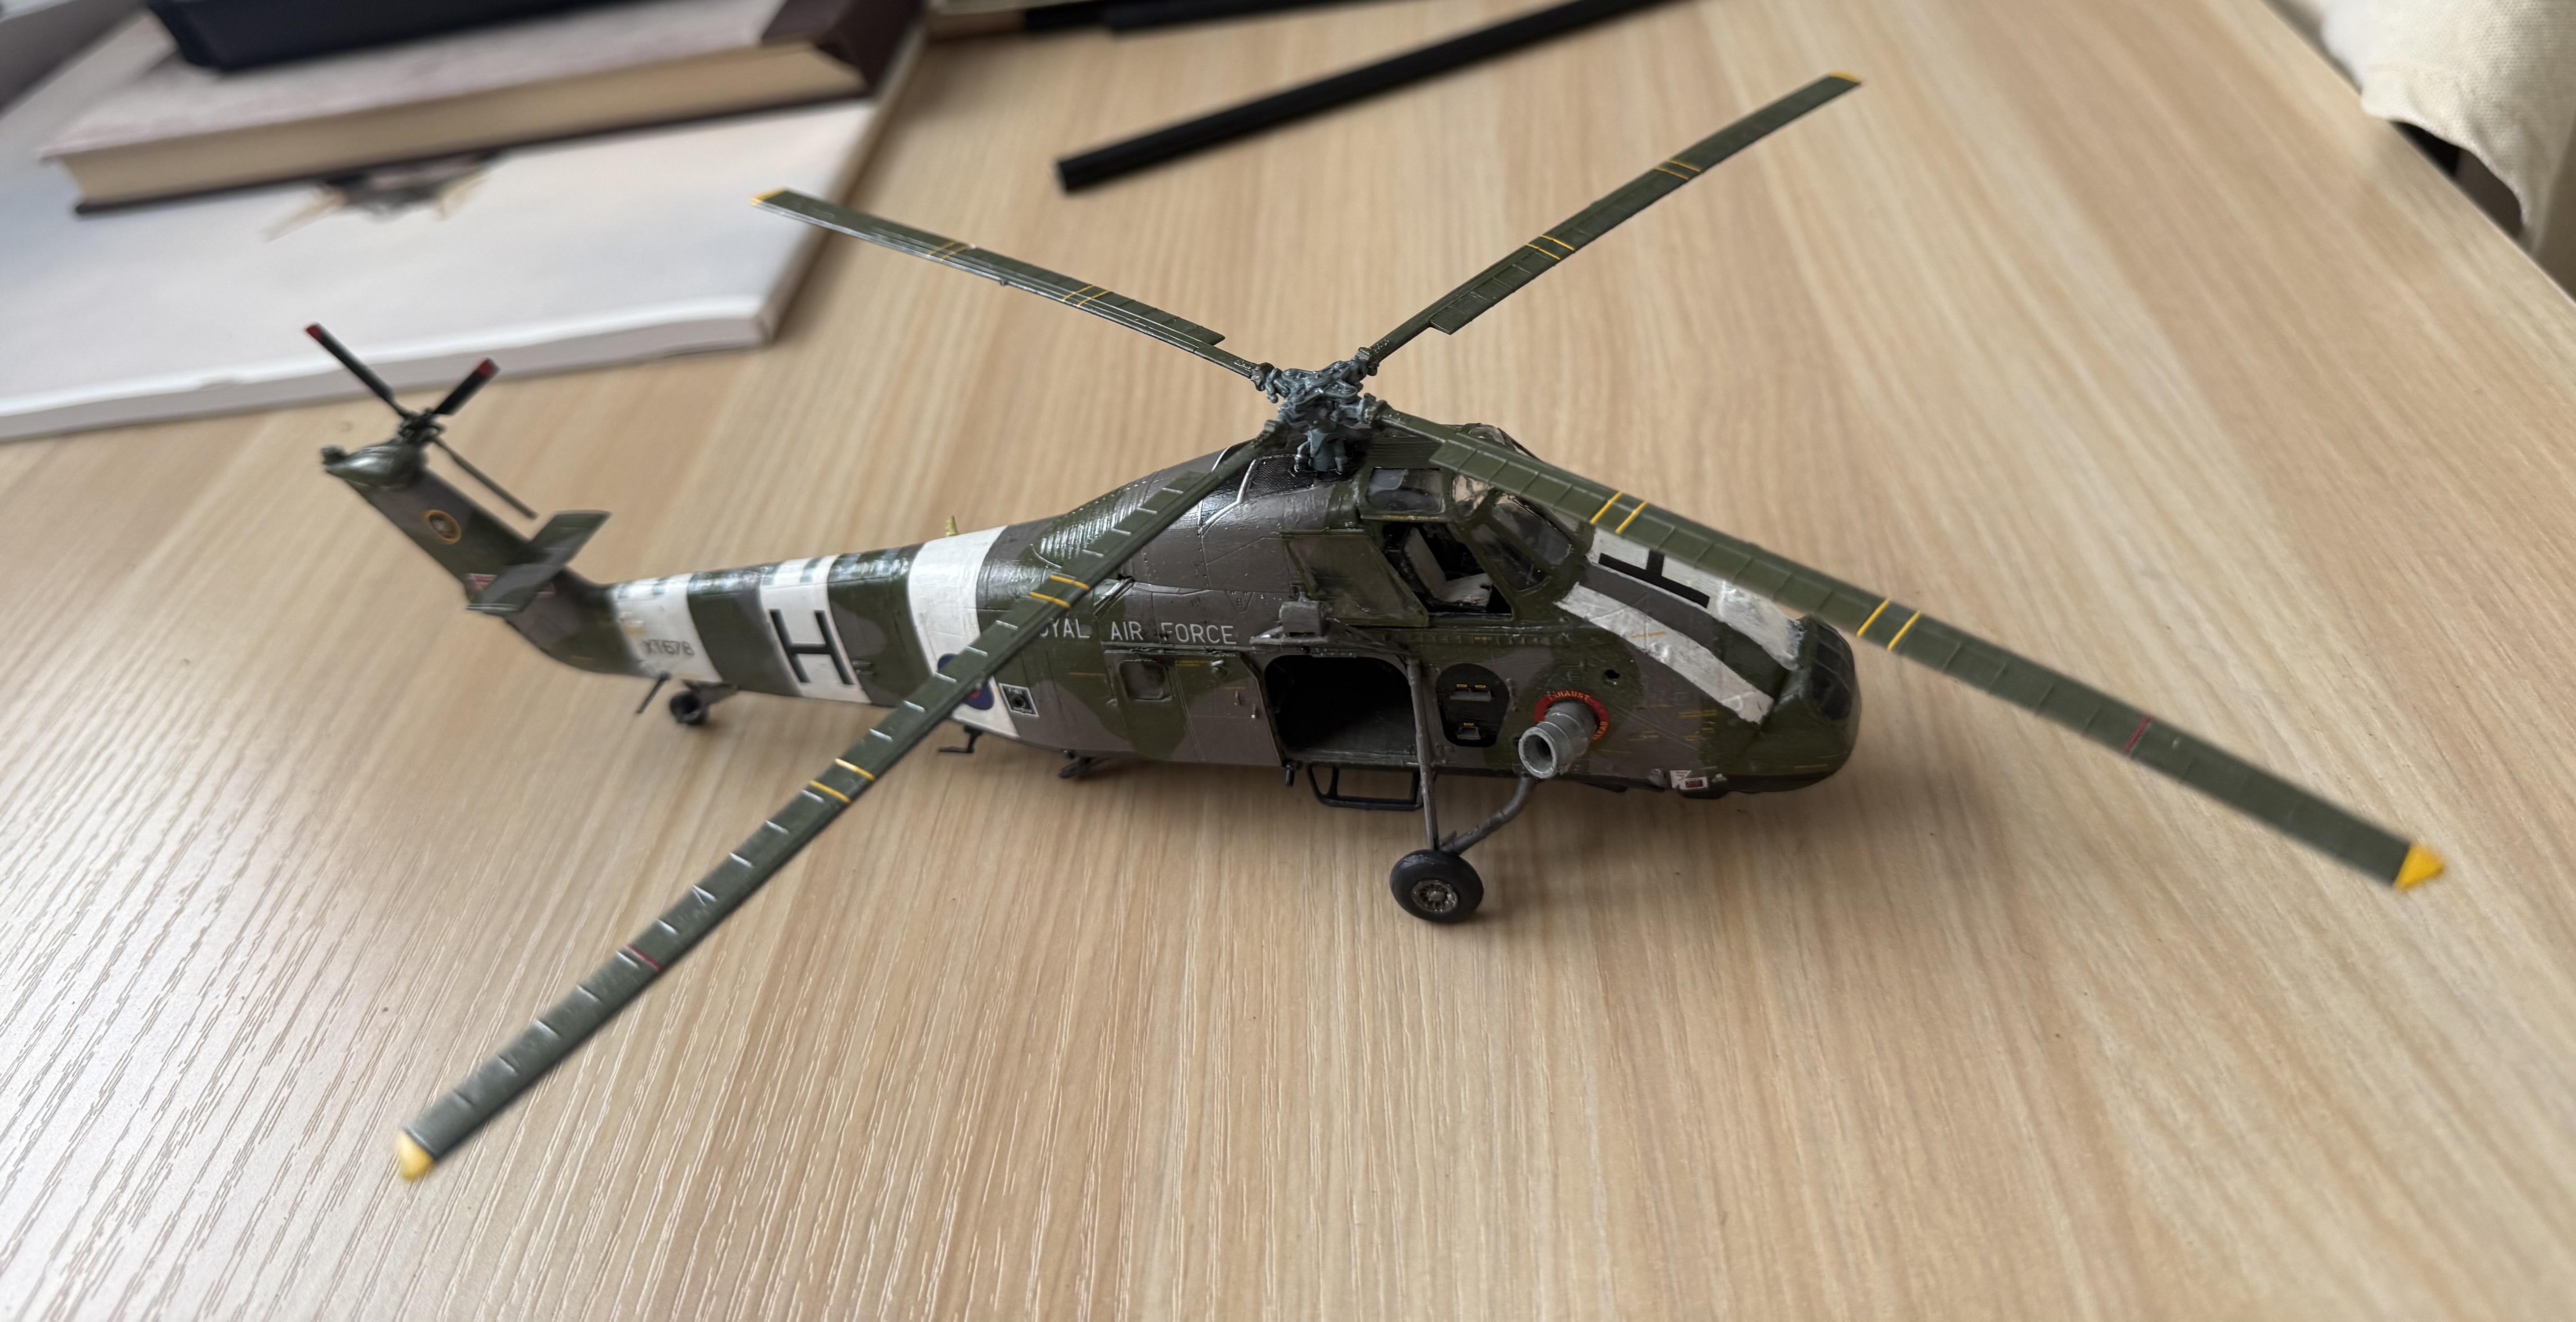
I opted for a bog standard build, with the main door open, and the side cockpit windows open too – so that some of the interior would be visible. Assembly was generally straightforward, though I did have to putty some cracks. The hairiest bit were the main wheels, for which the struts were not firmly set on the model – and getting them in the right position and matching on both sides was tricky (I don’t think I got this 100% correct…). As usual I mixed my own paints from artists pigments, tweaked with a bit of acrylic ink. I decided to paint with a brush rather than airbrush. That was a mistake. Another mistake was to prime in olive drab (I had some Vallejo primer in that colour) rather than white. The conspicuity stripes required several coats and the surface ended up distinctly on the rough side. I painted these before the camouflage colours, and then masked – having learned before about how hard pale on dark can be. The primer was bad enough. Elsewhere the surface was less than smooth too. You can get away with using a brush (and I have on other models), but the paint has to be pretty thin – which often means more than one coat.
The serial numbers and Royal Air Force were in 8in (or 20cm?) lettering. I found a decal sheet in my 1970s leftovers designed for Fleet Air Arm planes (I can’t remember for which project) and was able to use these, cutting out individual letters/numbers, except for the “Royal”, which came from a “Royal Navy”. The good news was that the large H’s closely matched WW2 Luftwaffe lettering, used underwing on some bombers, etc. I had one of these left over from one of my 1970s models, and a couple more from a Letraset sheet that I used then for one of my last projects – a Ju88 night fighter. Alas the Letraset letters disintegrated – but I was able to find a decal sheet on eBay. In principle I could have made my own decals for these and the serial numbers (which were also black – white lettering can’t be home printed) – and I even found close enough matches in my font collection and created a Word document for them. Alas my current home printer just wasn’t up to it.
The rest of the decals came from the kit, mostly from the 28 squadron set, but some from the others, which seemed to fit the later-dated model better. For my earlier 1/72 aircraft models, designed for use on the wargames table, I haven’t bothered with the tiny lettering and markings that modern models are now provided with. I used them this time, which was fiddly, and I did lose one – but it certainly enhanced the look of the model for display purposes.
As for finishing, there was no need for weathering – as the 28 squadron machines were kept in immaculate condition. I still patinated the finished model with oil paint and some linseed oil – placing small dots of white and brown pain on the model and brushing it out. The effect is so subtle as to be just about invisible, but it gave the whole model a slight sheen, and perhaps helped integrate the decals. One thing I didn’t do was use a wash to bring out the panel lines. This is de rigeur for modern modellers, but photos don’t show much in the way of visible panel lines – some of which were lost anyway when I fileded down the putty used to fill cracks.
Once the model was finished I started to think about how I was going to present it. I decided to buy a display case – the model fitted one of the standard sizes very neatly. But I quickly realised that I would need to construct a base that portrayed the tarmac at Sek Kong. I could get a general idea of this from photos. There was a large painted circle to mark the reach of the main rotor blades, and smaller one to mark the main wheels. The tarmac (or concrete) came in slabs separated by lines of bitumen (?).
Making the base proved harder than I expected. My first attempt was gluing sandpaper “slabs” to a foam board base. The sandpaper at first didn’t adhere properly, and when it did, the foam board warped. Instead I cut the base from some spare hardboard, and glued cardboard slabs (from the backing of paper pads) to it. This wasn’t 100% flat, but near enough. I primed it with gesso mixed with a bit of plaster, and then painted in with the usual acrylics (student grade this time). An attempt to paint the yellow circles and lines using masking tape, didn’t really work, so these had to touched up by hand.
Alas I don’t have a good picture of the finished result. While I was out (wargaming) my wife tied a lovely light blue bow around the display case, before I had taken any pictures. Gordon isn’t taking this off until the big day arrives. This is the best I could do – I will try again when I next visit – but he lives in Devon and I am in Sussex.
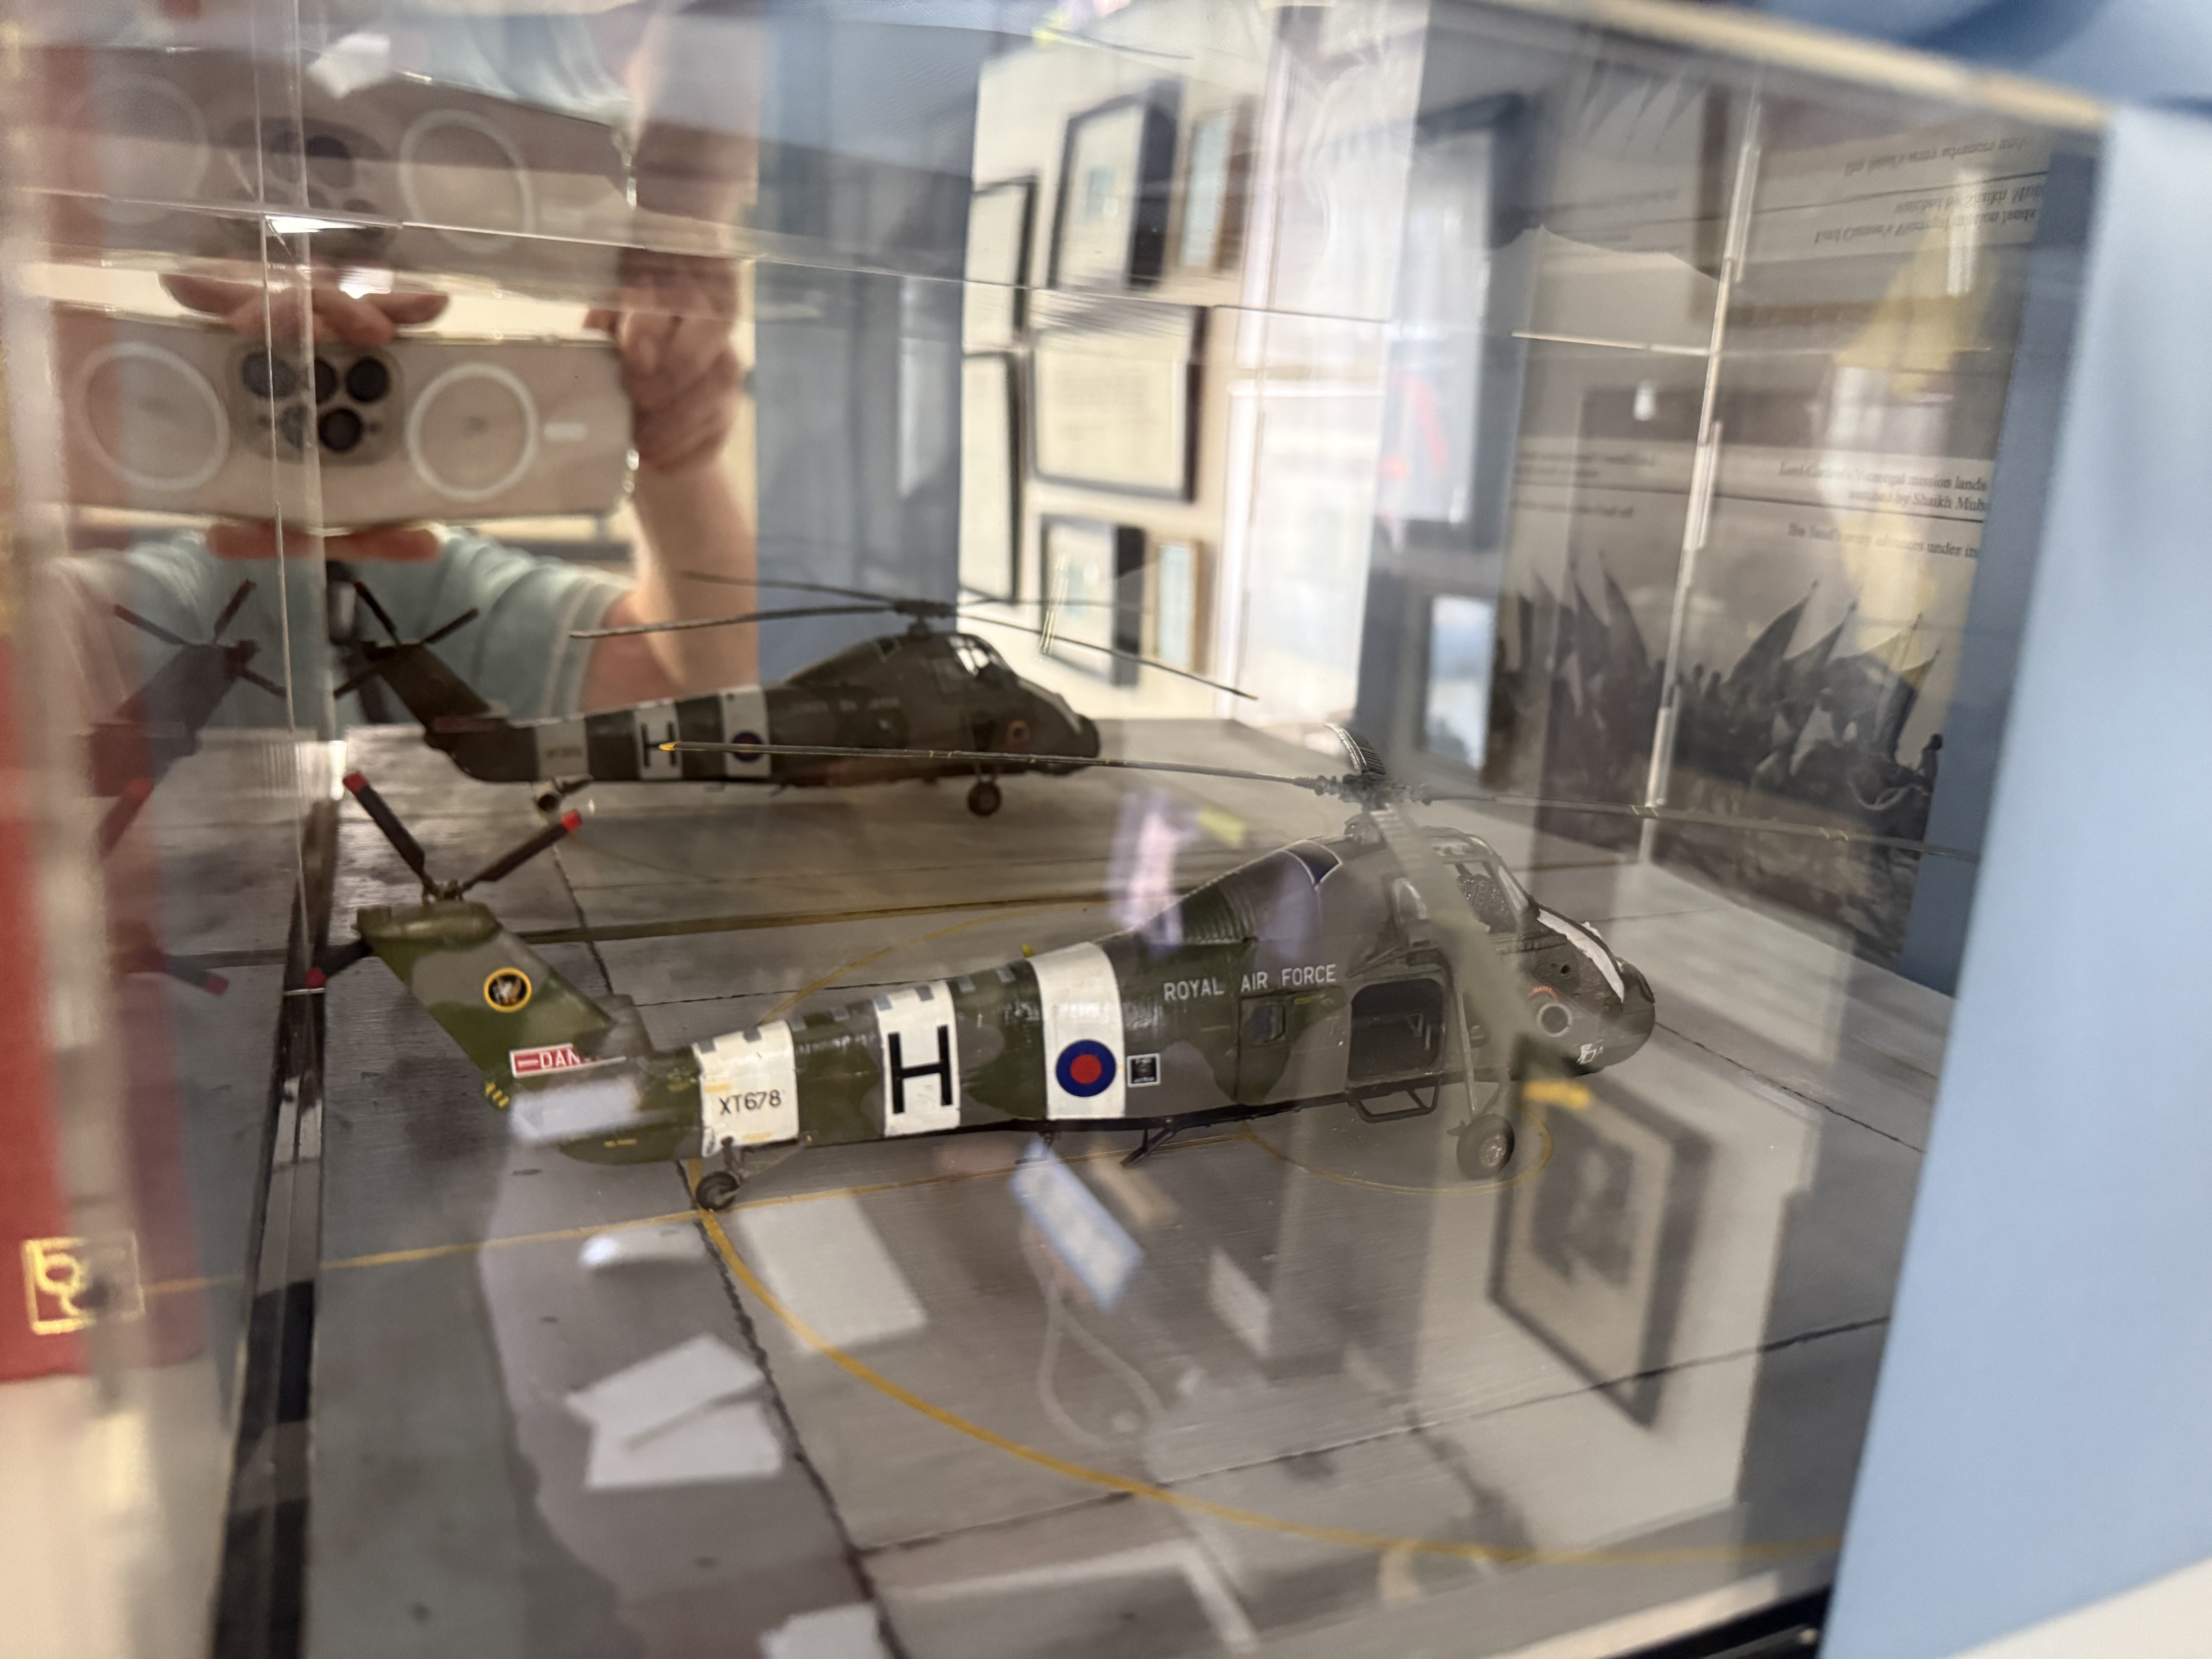
There are not a few imperfections with the model, but Gordon was very pleased with it!
Leave a Reply