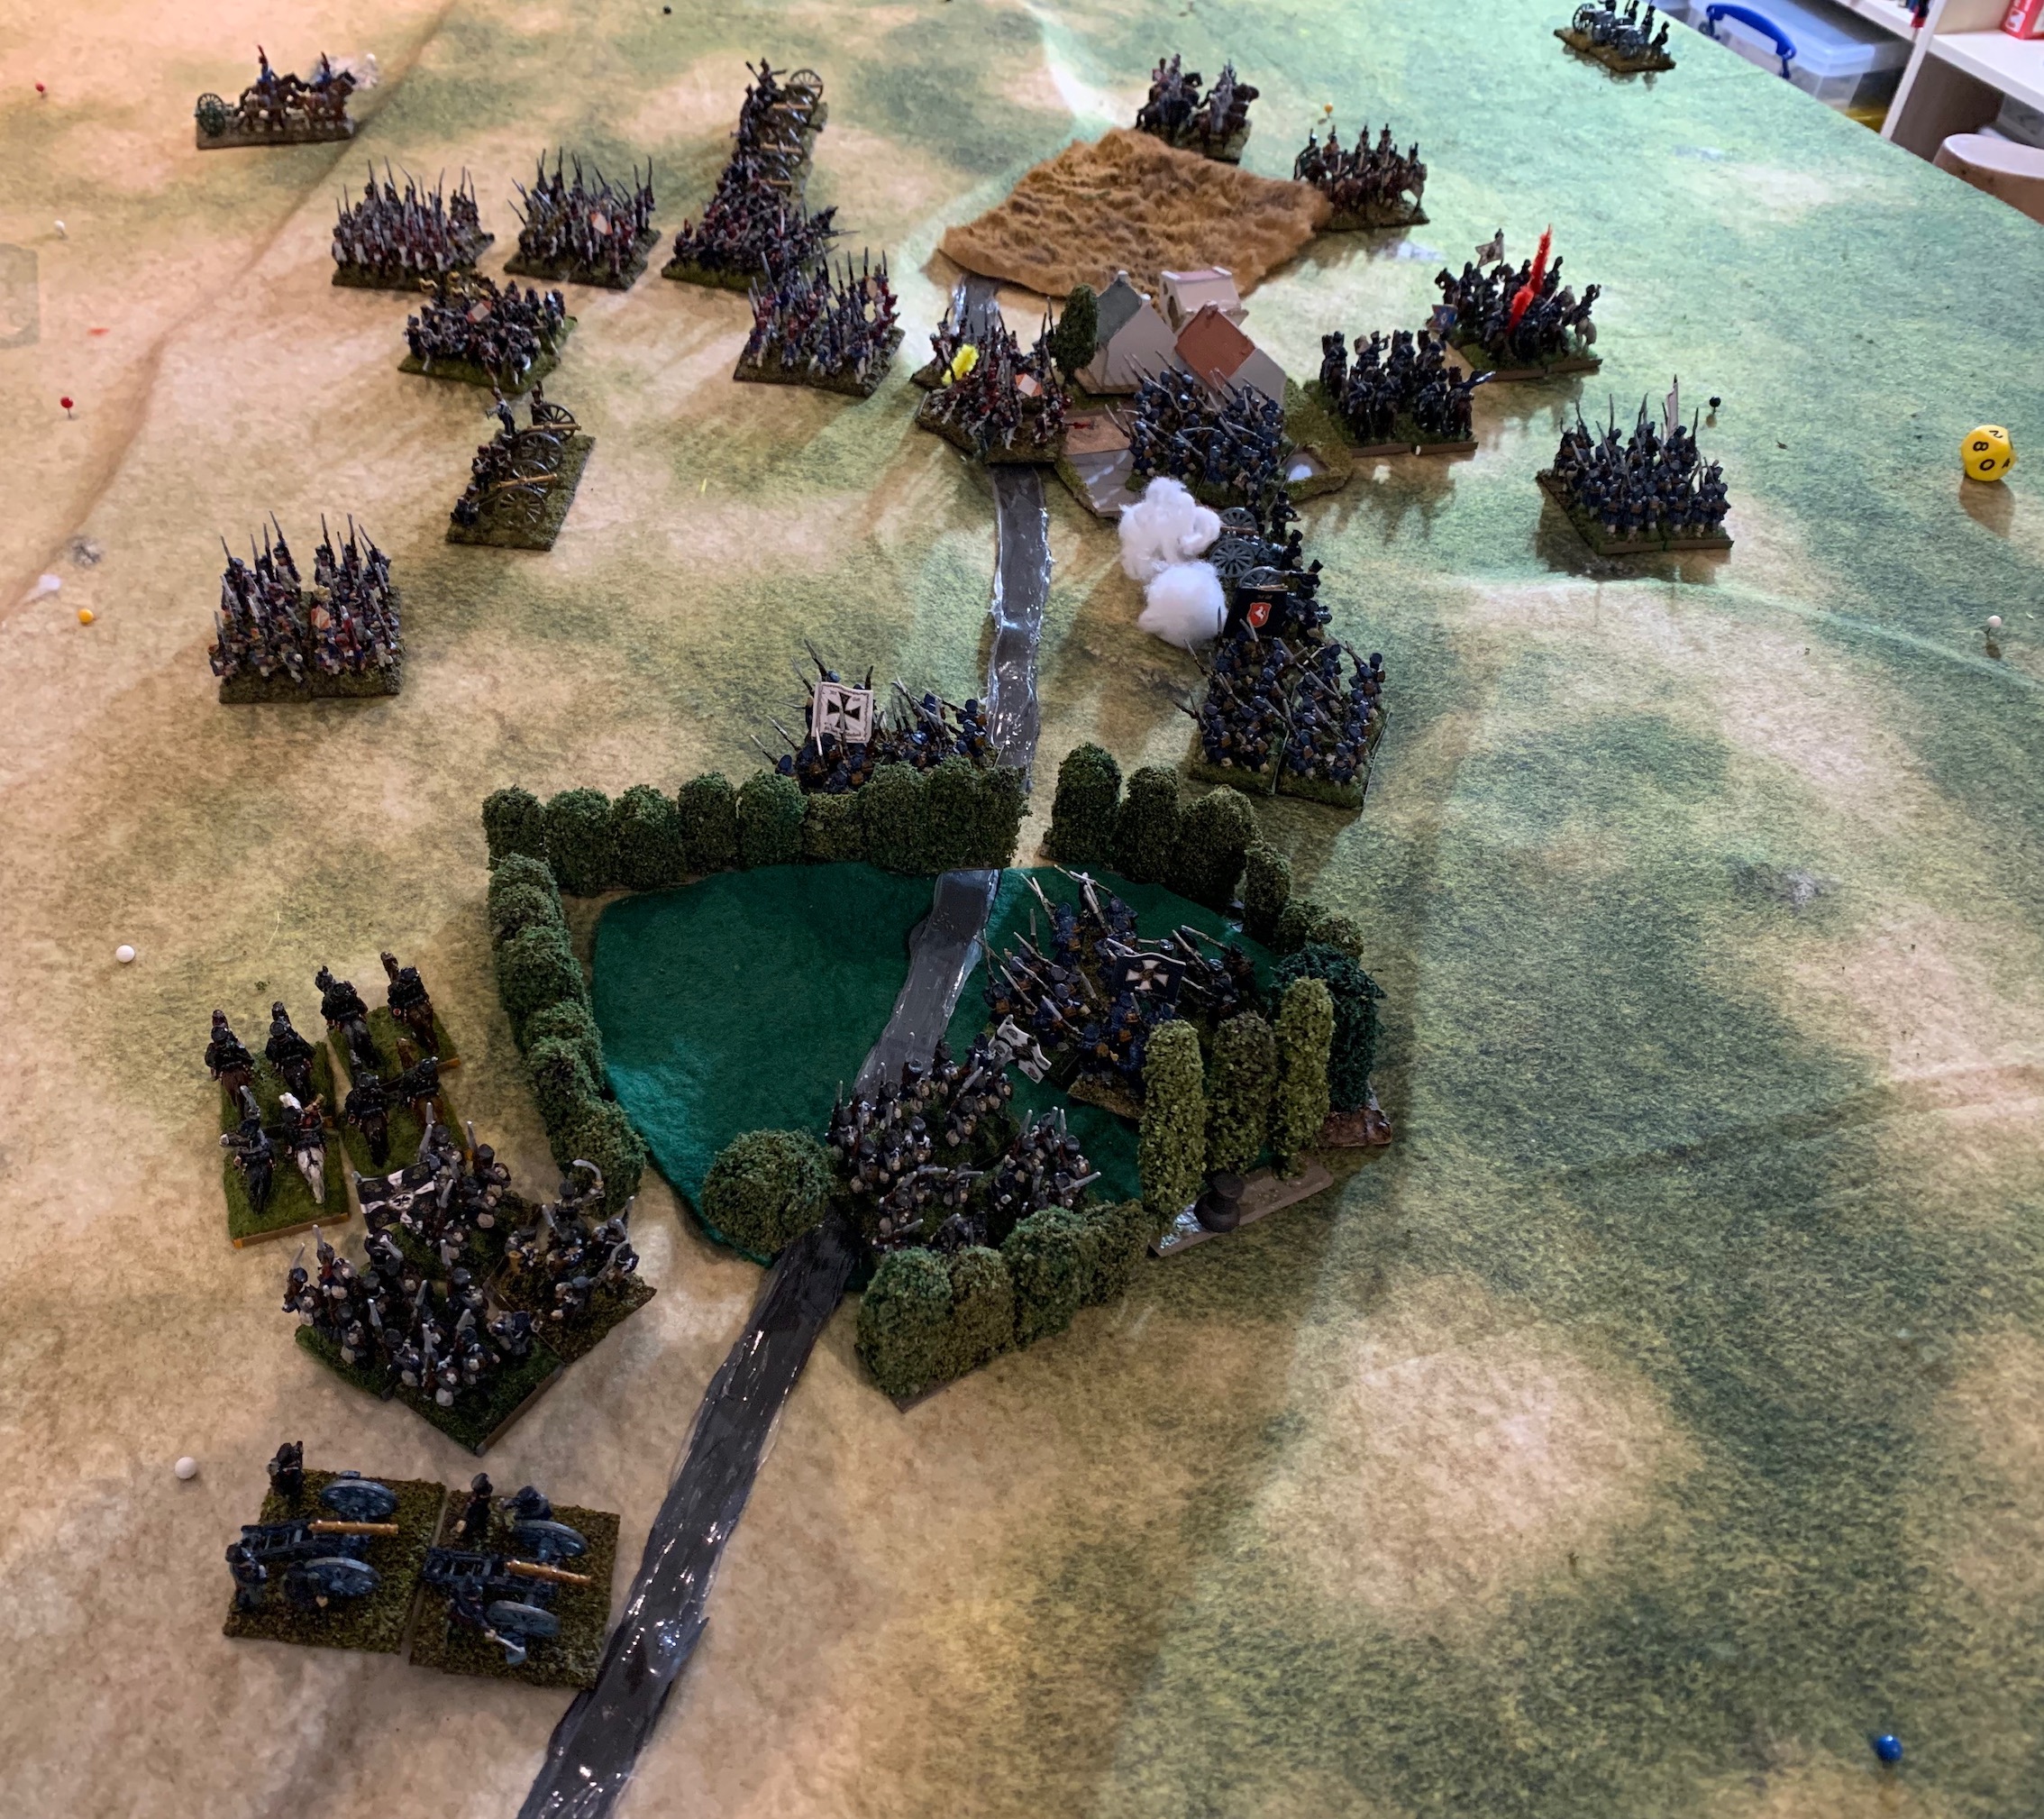
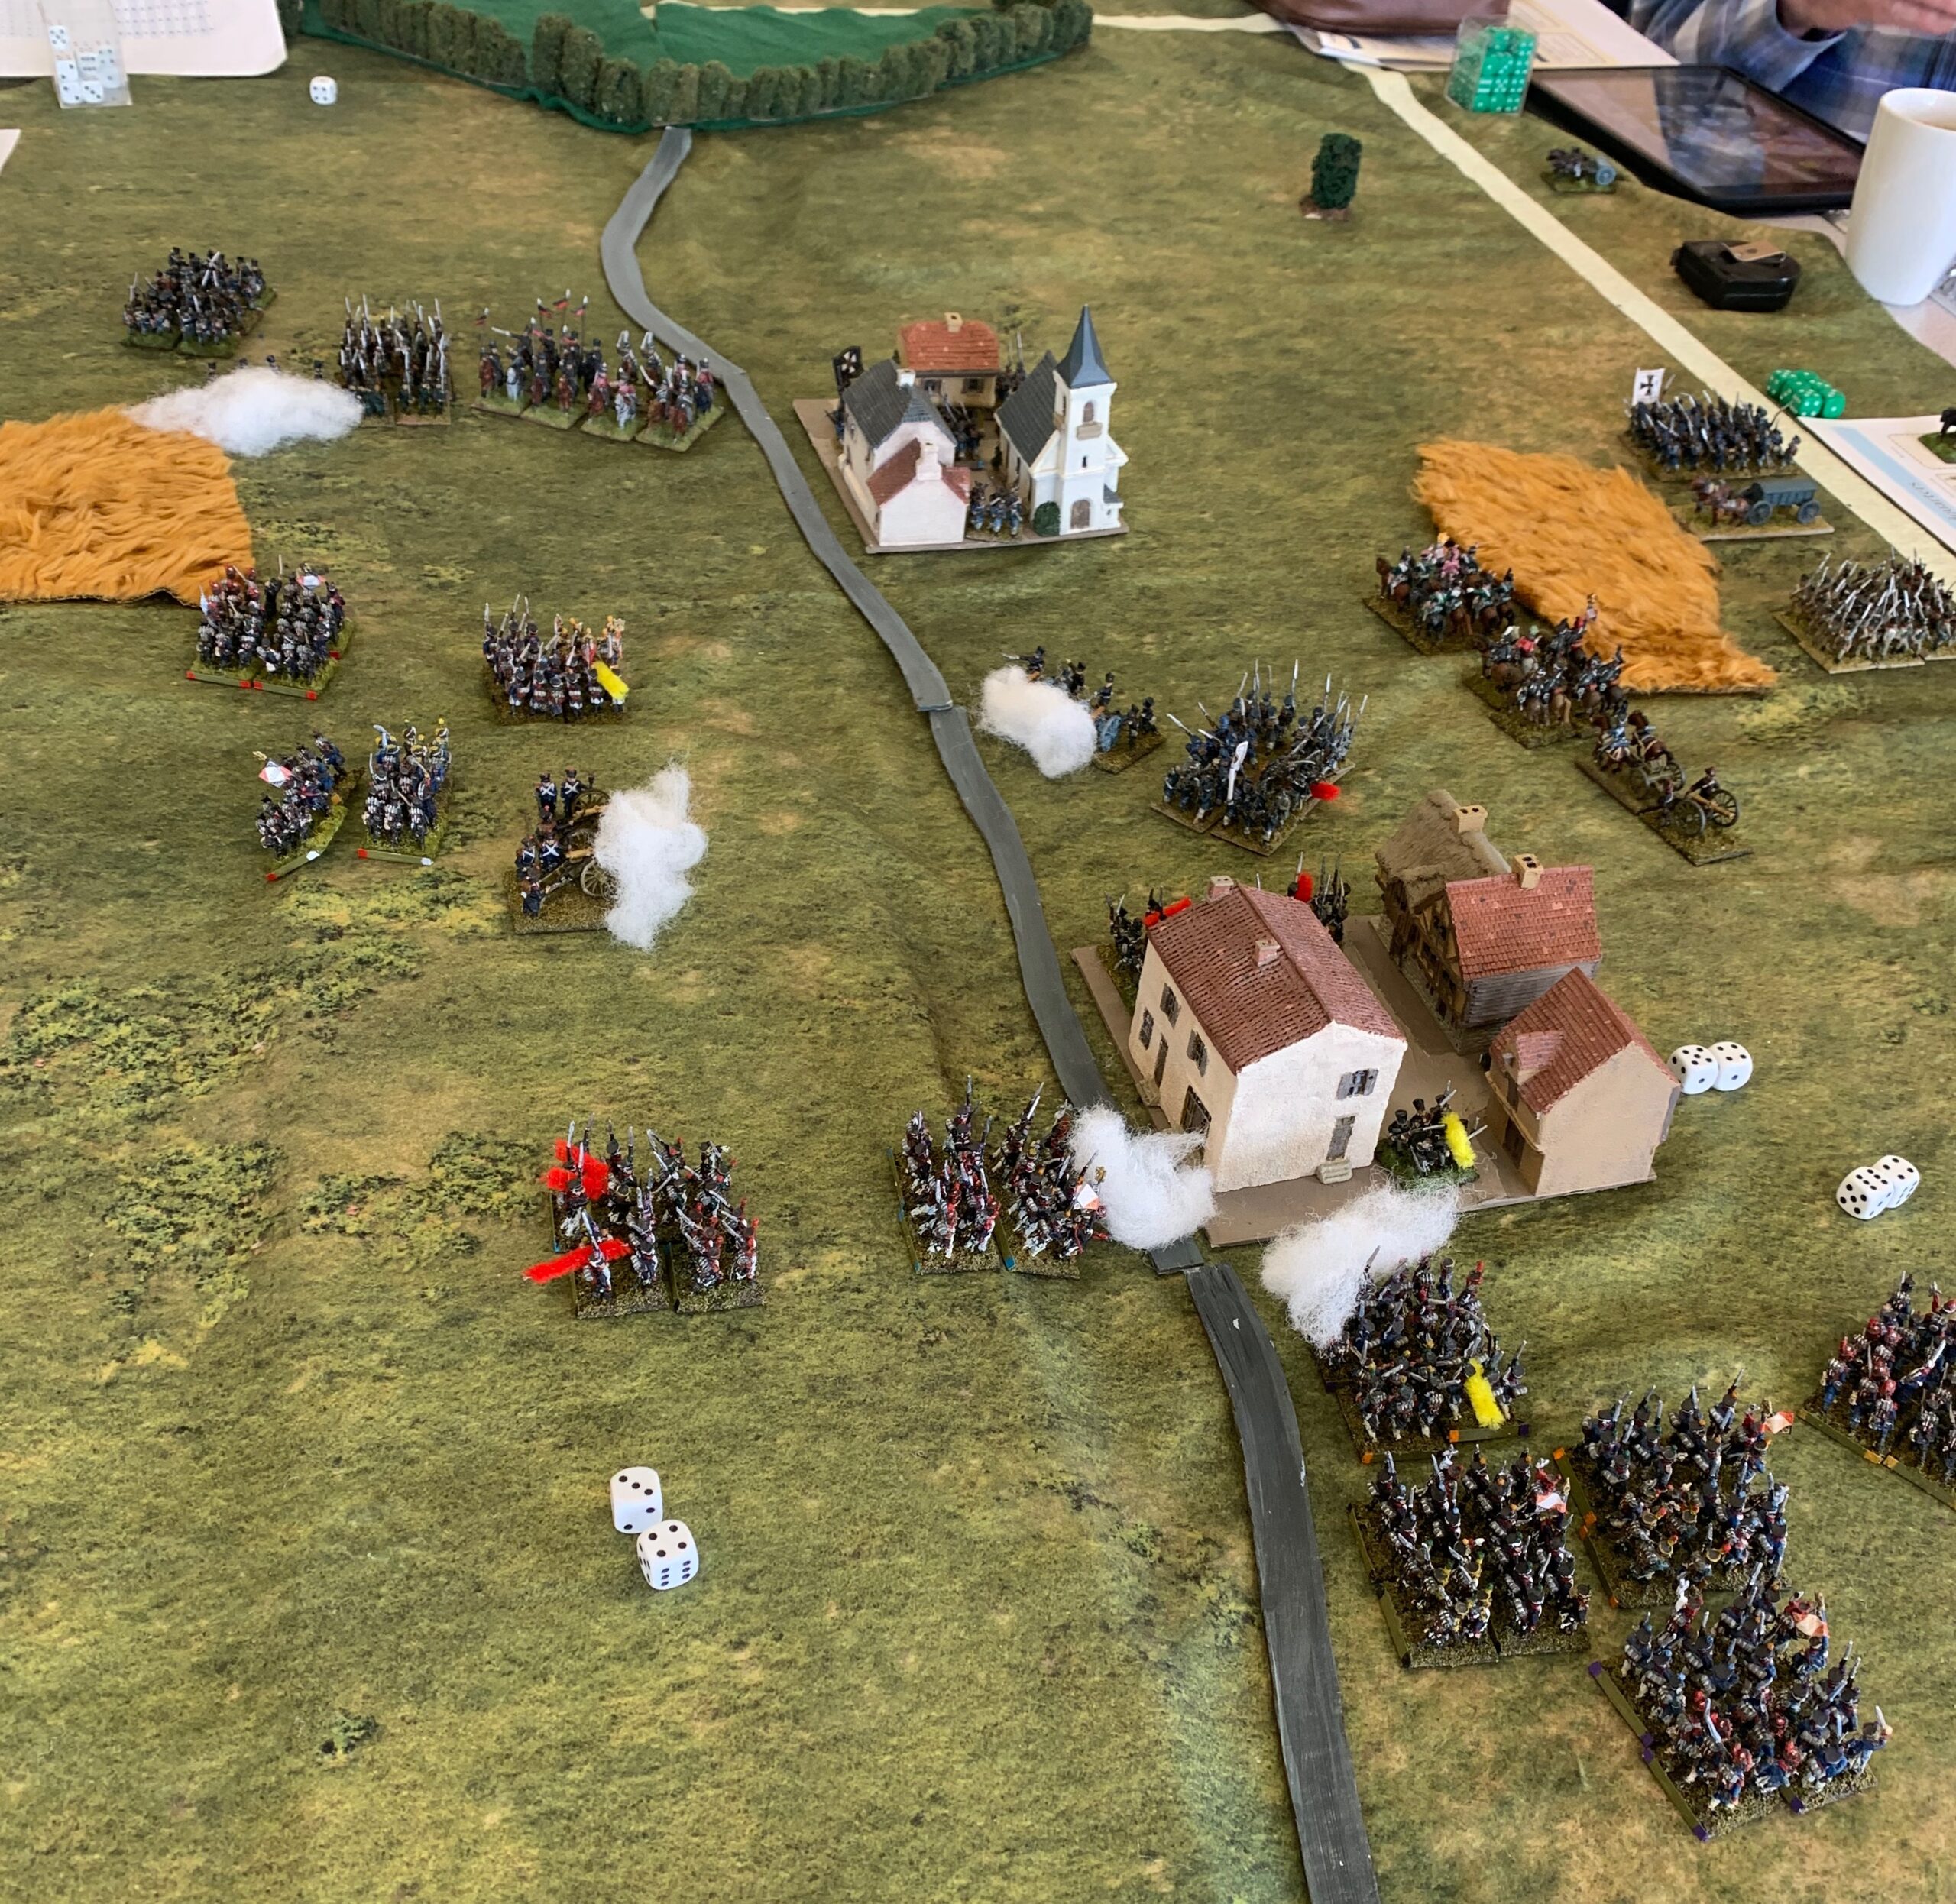
I have been using Lasalle 2 for my club wargames, gradually working through the scenarios in the rule book. But I’m tiring of it. It is far too abstracted and too gamey – by which I mean the players is more concerned with the operation of game mechanisms than things that a historical commander might consider. Many important features of a Napoleonic battlefield (such as generals and skirmishers) are abstracted away. In my last game I found myself pushing my cavalry towards a random patch of earth because it represented a victory point. This allowed me to snatch a draw from a losing game – and it felt like a lot of nonsense. It’s always possible to rationalise explanations when odd things happen, but I prefer it when tabletop events look more historically plausible. At the same meeting, one of the other club members raved about the General d’Armée 2nd edition rules. I have also seen being praised by some members of my last club – so I thought it was time to investigate.
Now I had heard about GDA and GDA2 before – but because they were designed around divisional or corps-sized games, I had not investigated further. My main focus is bigger battles – and I thought that the well-written Lasalle 2 rules would suffice for club games. But if these rules were gaining popularity at my club, then they were surely worth a look. So I went to the Reisswitz Press section of the Too Fat Lardies website and ordered the pdf and hard copy package. I wasn’t disappointed.
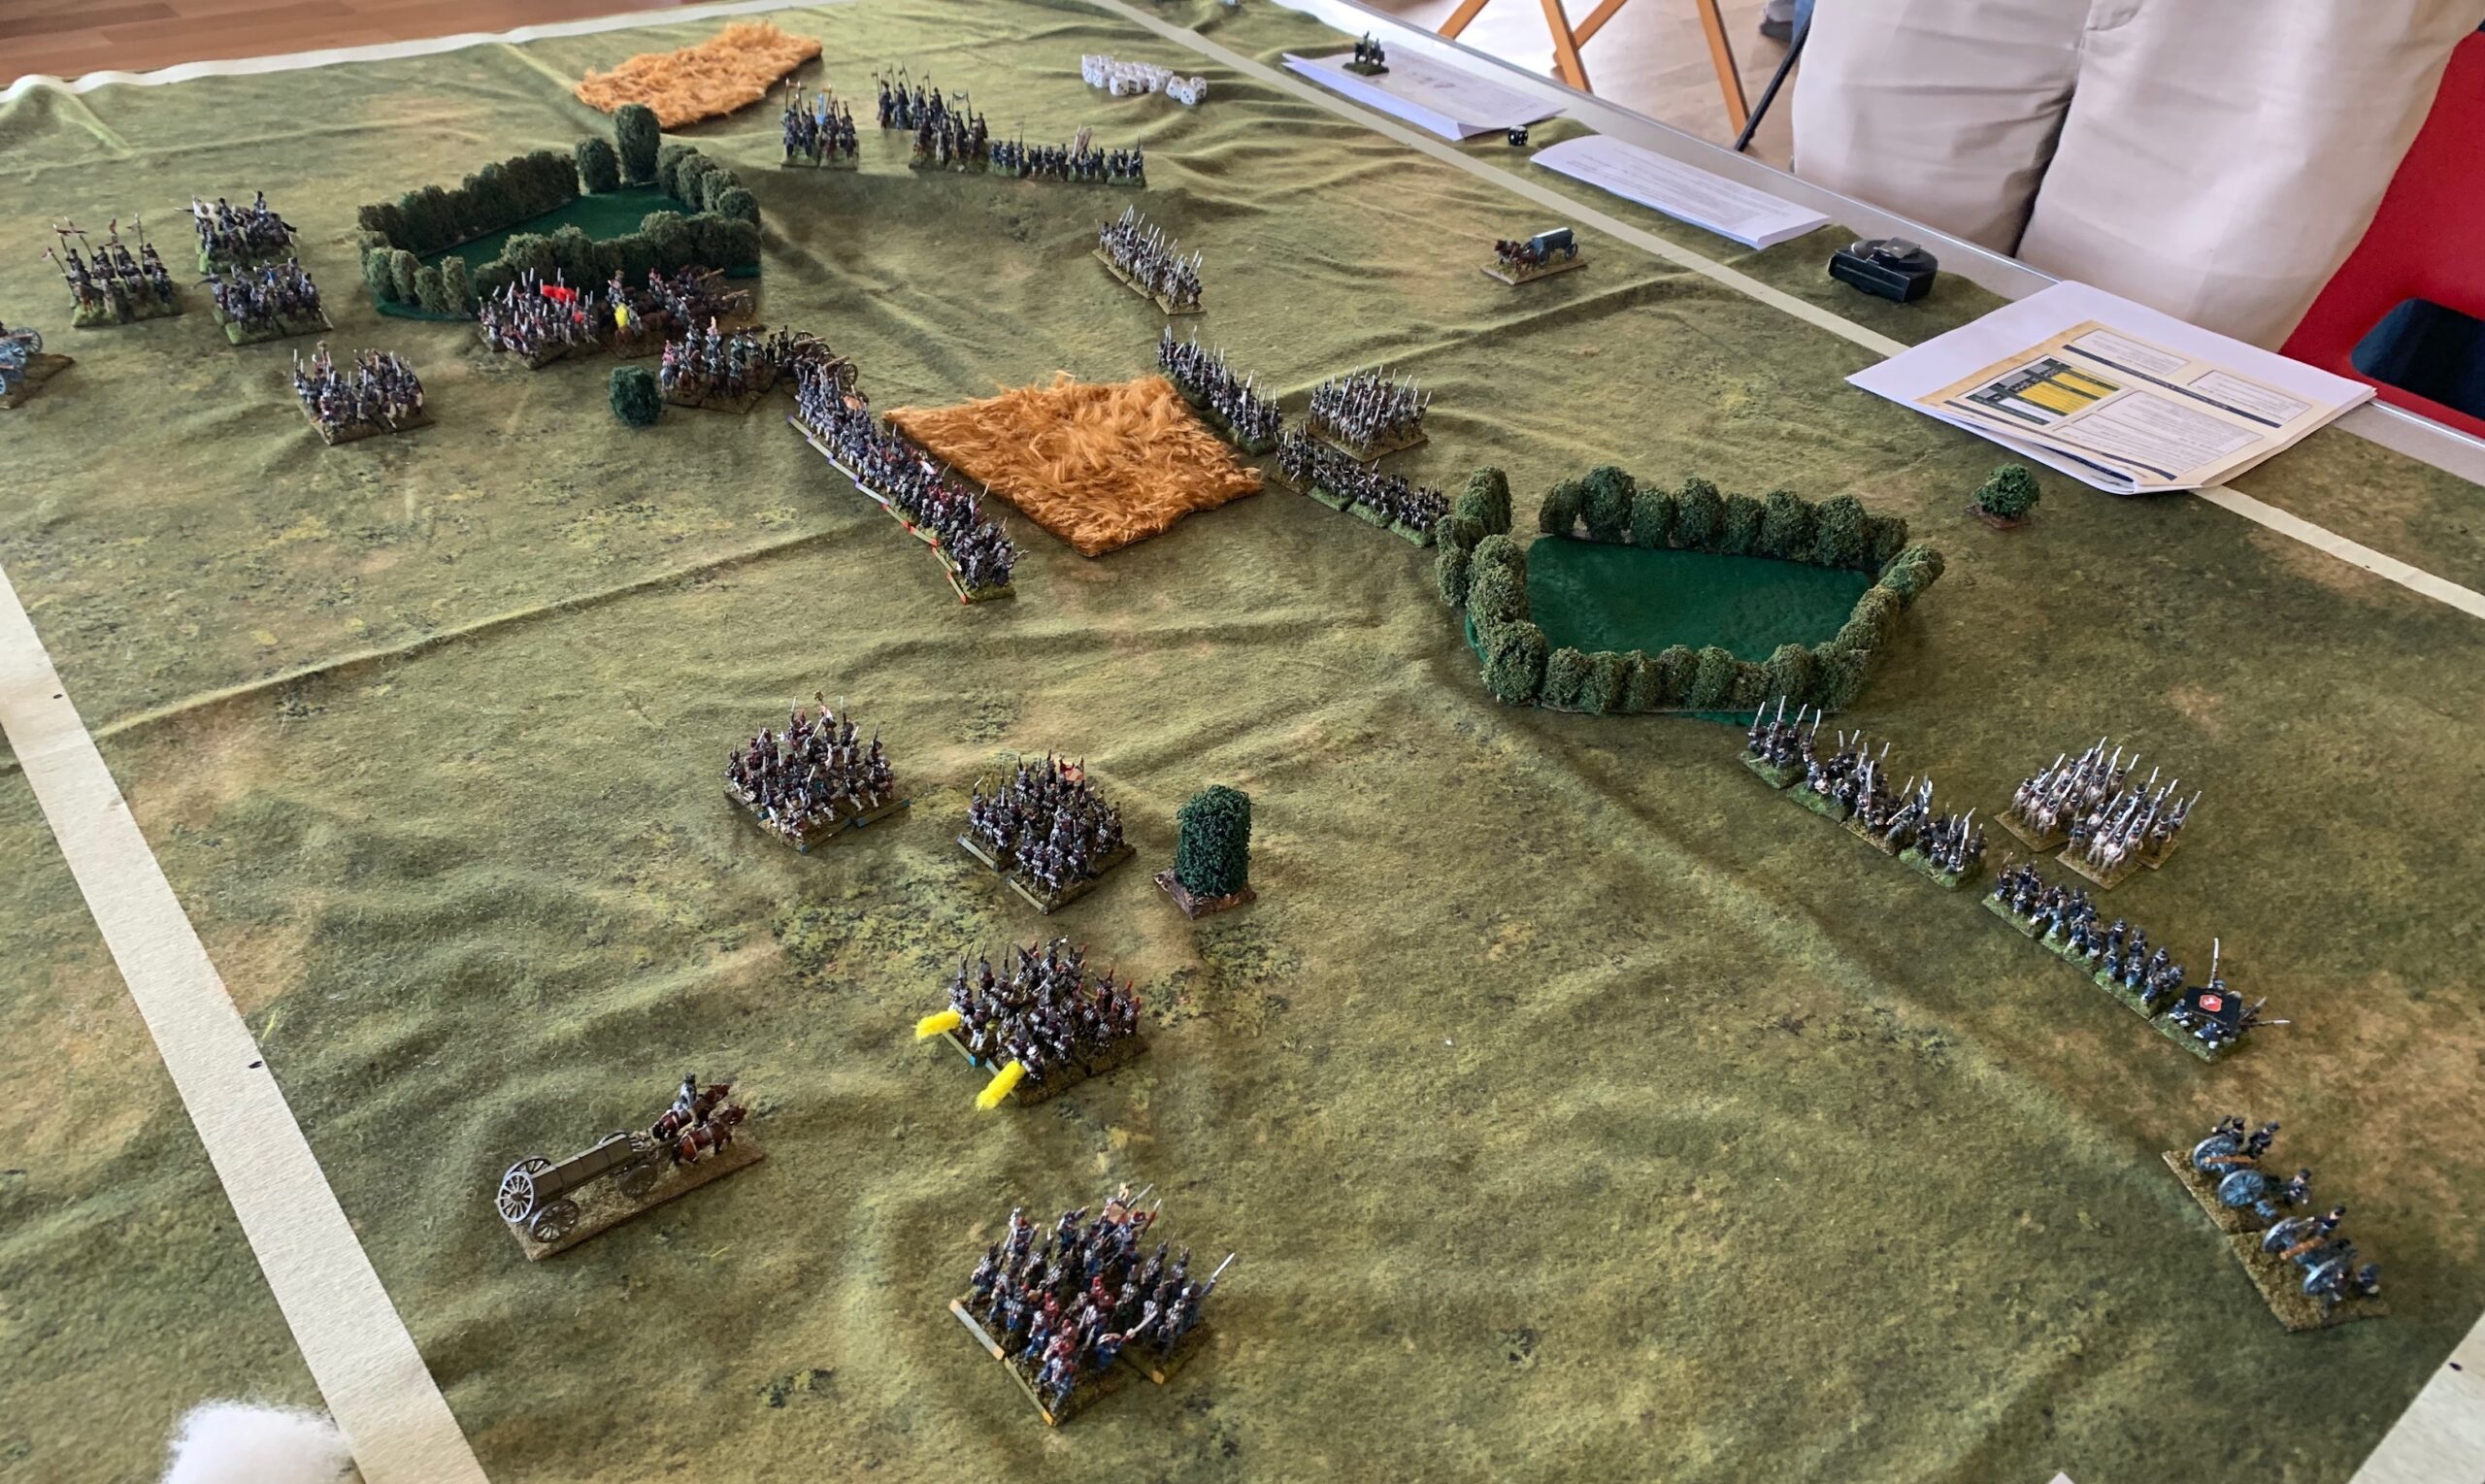
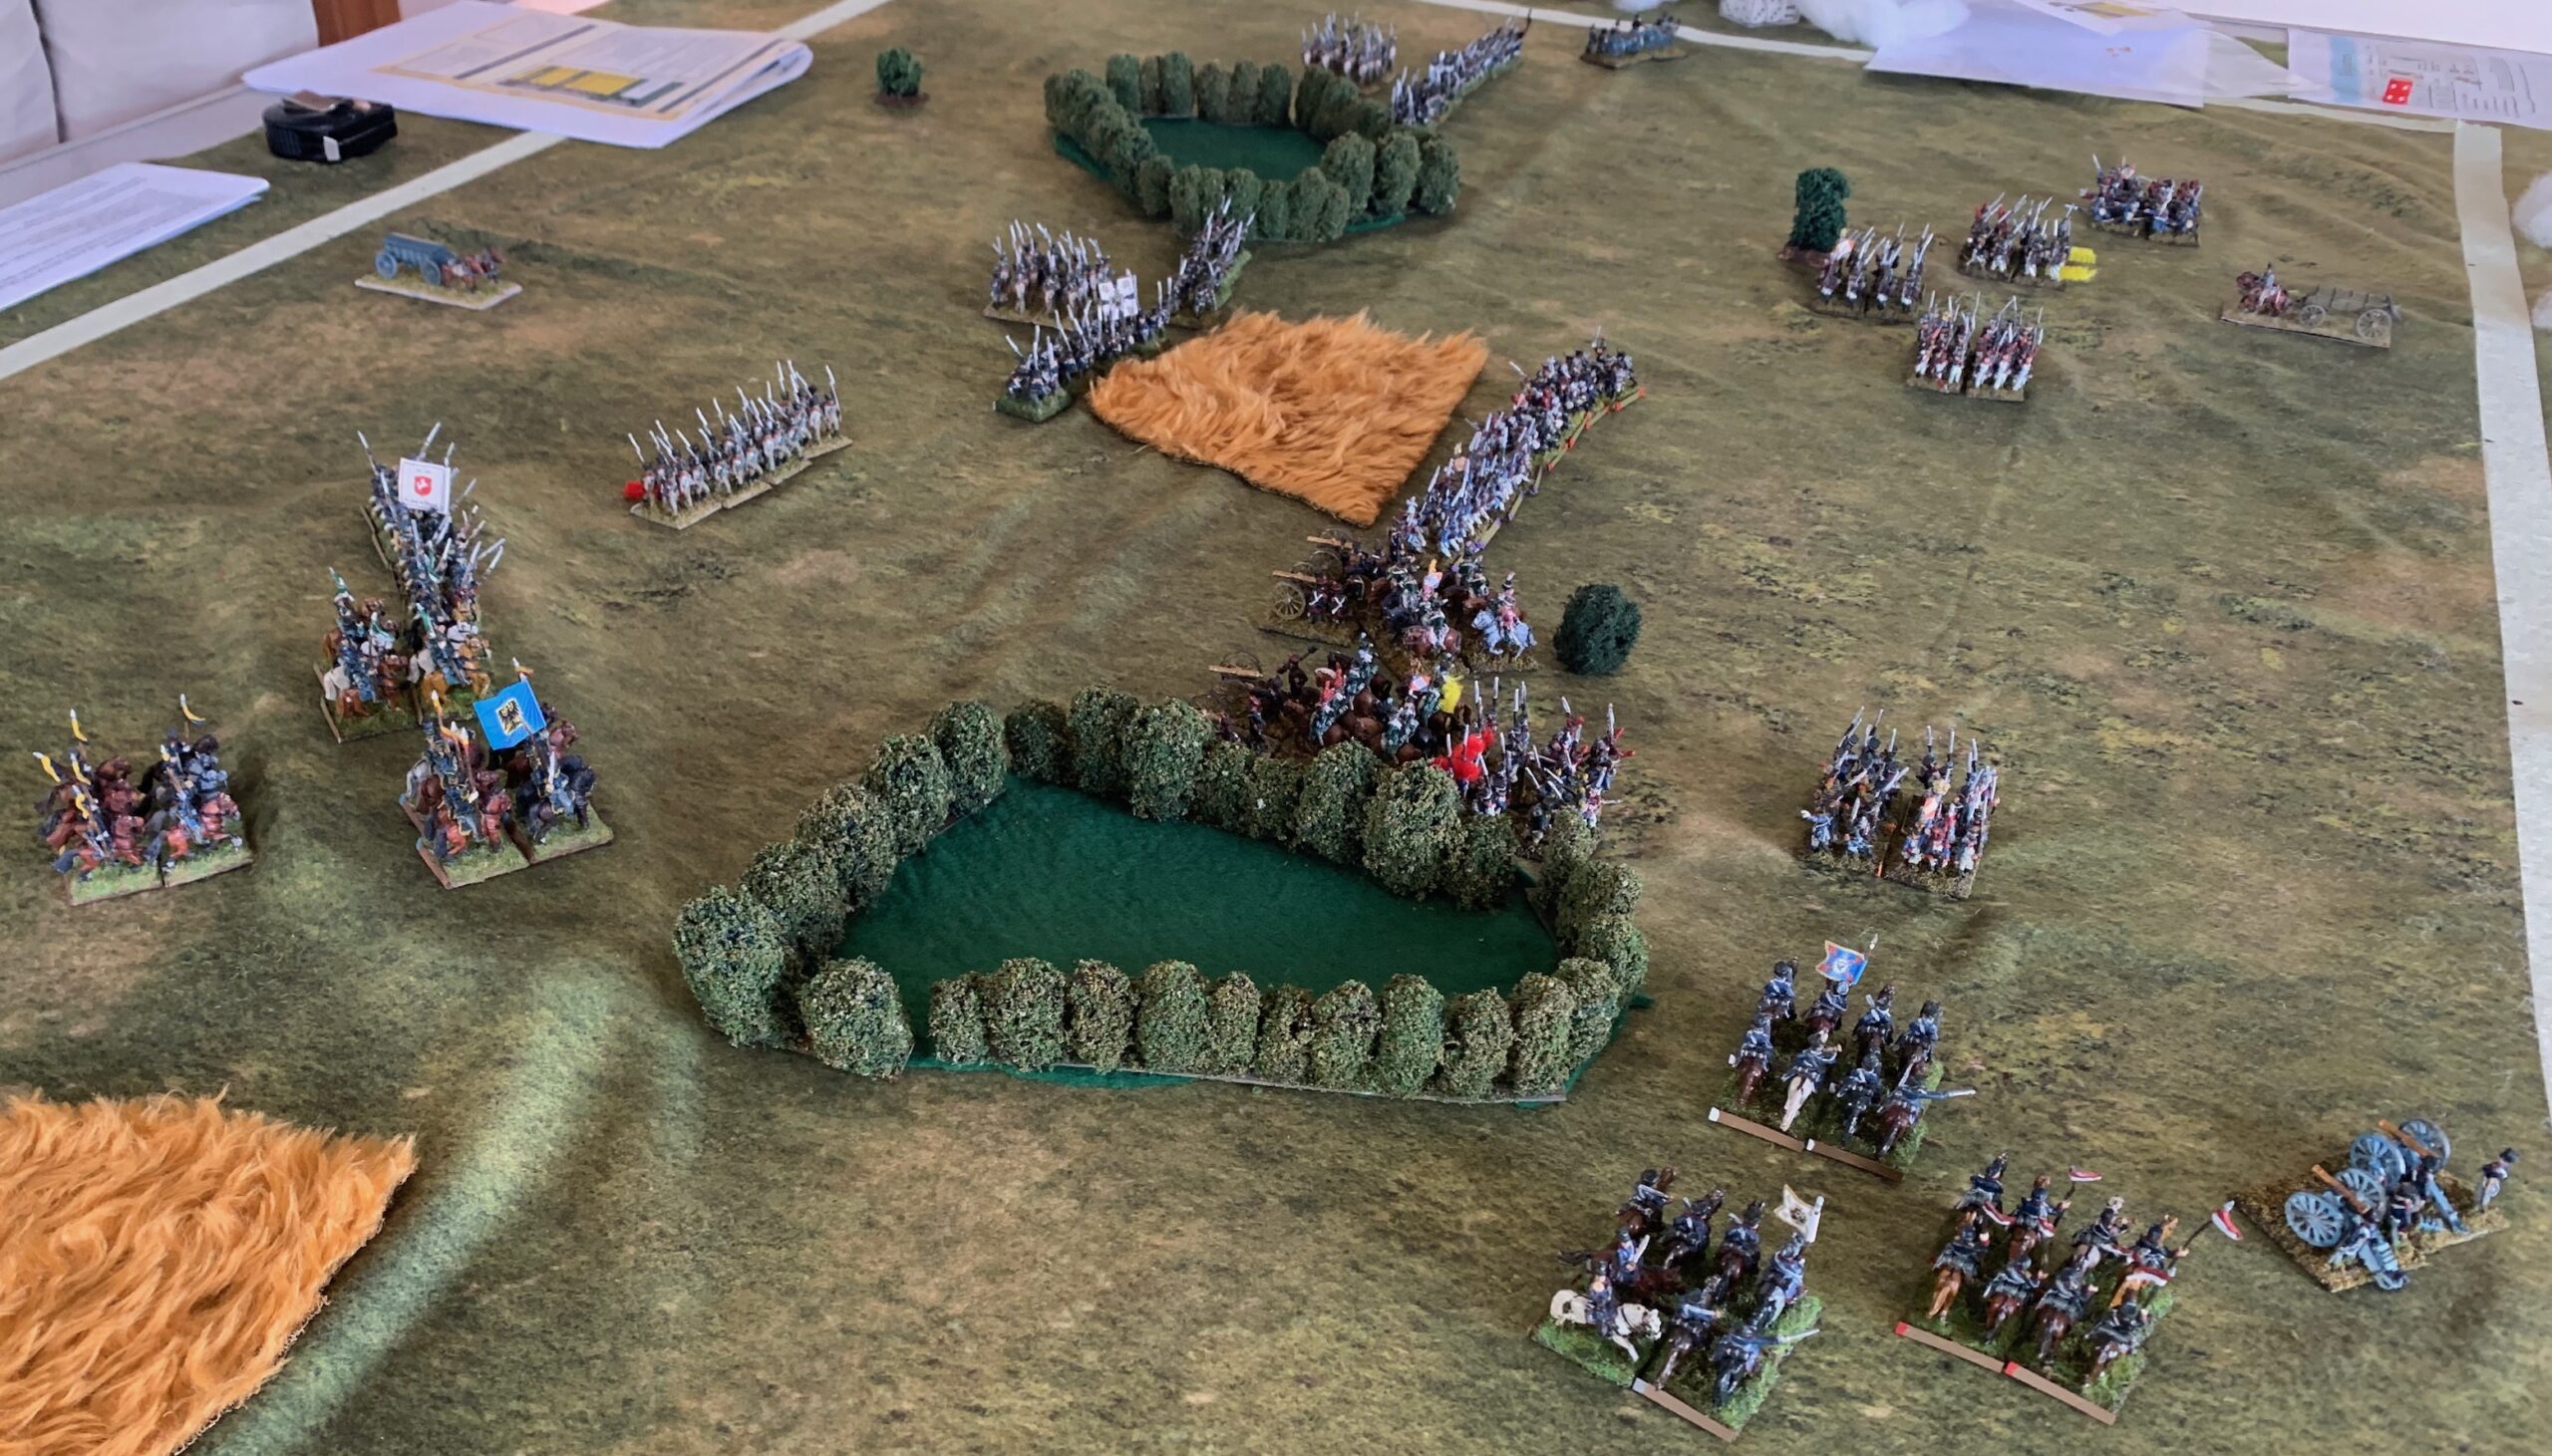
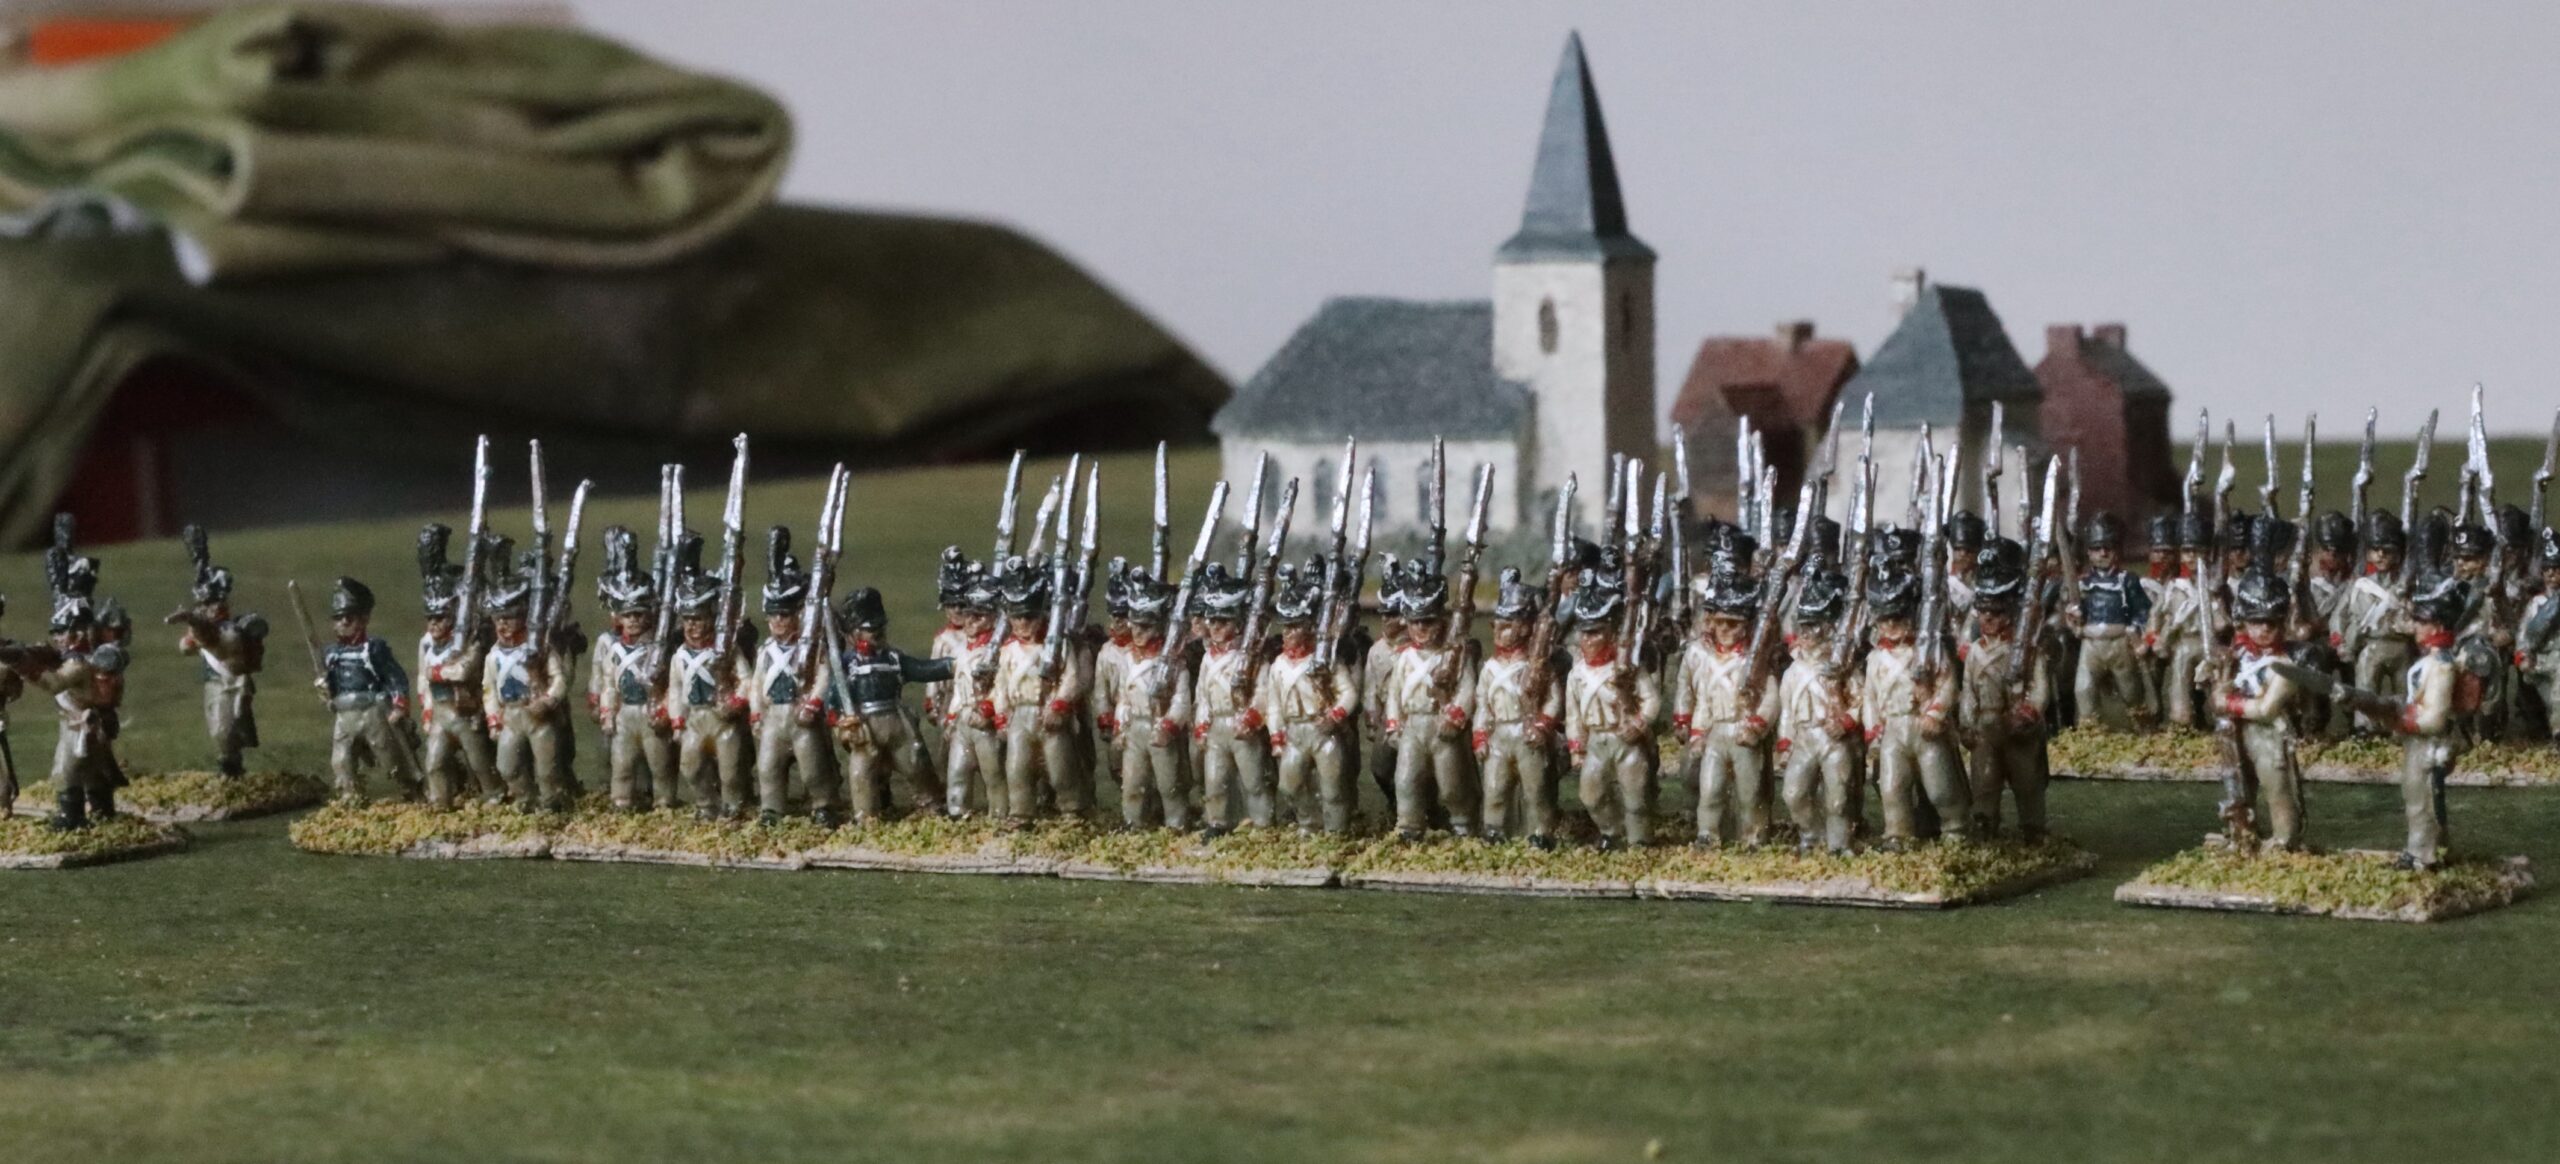
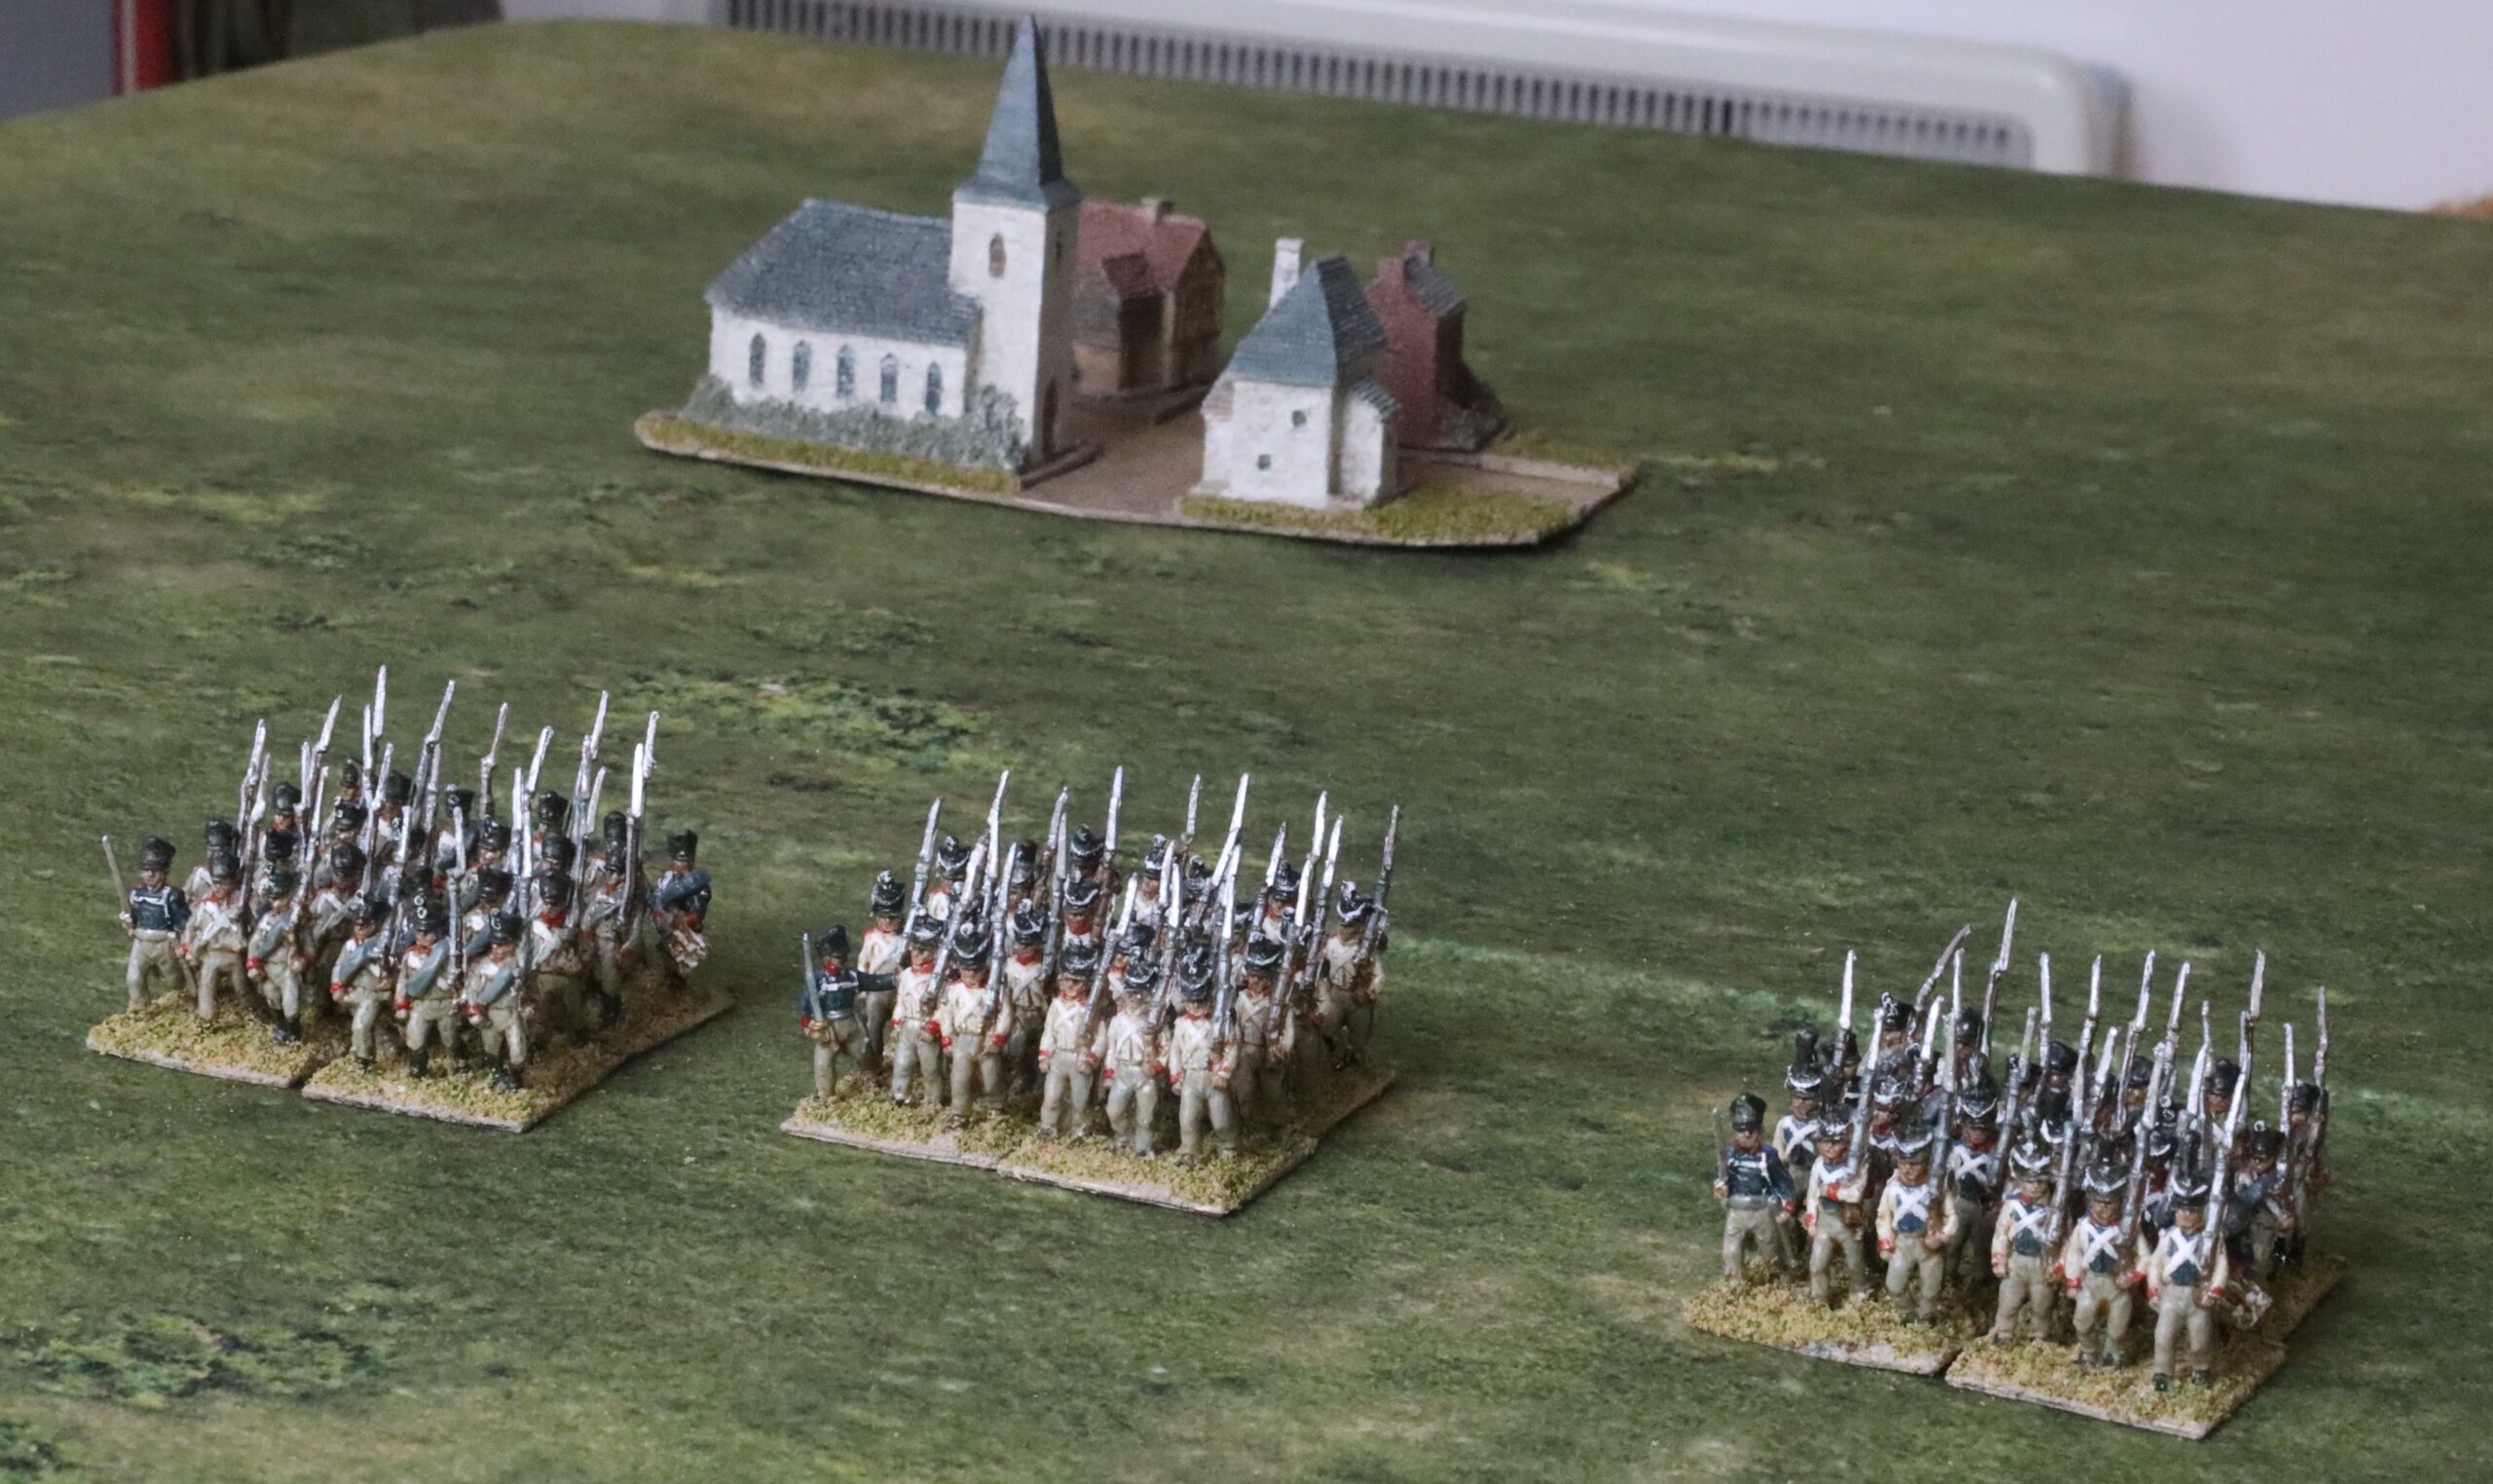
I discovered that they covered remarkably similar space to Lasalle 2 – the typical two-player encounter would be between forces of four to six brigades – being a reinforced division. The basic unit is a battalion for both with typically four bases (this uniform in Lasalle 2 but there is variation in GDA2), allowing only the most basic of formations to be represented: line, column and square – with the column representing all manner of different column types. They are both carefully written. GDA2 covers some 90 pages of A4; Lasalle 2 has some 120 pages of smaller 7in by 10in paper. But GDA2 feels much weightier. More space is given to diagrams in Lasalle 2, and the writing is more spaced out. And Lasalle 2 is split between basic rules (100 pages) and advanced rules. There is no basic game in GDA2 – you plunge straight into the advanced game equivalent. Its quick reference sheets are a full four sides of closely packed A4, with many more tables and categories than Lasalle 2 (whose QR is much briefer but leaves too much out).
Quite a lot is abstracted away in GDA2, of course. But it feels much less. The generals are represented on the table and issue what amount to orders. There are skirmish bases rather than an off-table system. You need a dozen or so hits to destroy a unit in GDA2, rather than the typical seven in Lasalle 2. There are more unit statuses; in Lasalle 2 units are fresh, shaken or broken (though their effectiveness diminishes with each hit); in GDA units can be unformed, brigades can be hesitant, and so on. Somehow GDA2 feels much more serious and detailed.
Write-ups for GDA2 suggest that its the critical innovation in game design is the allocation of Aides-de-Campe (ADCs) from the commander to the brigades. This is a bit oversold. The ADC system is really a variation on the old idea of command points or command capacity. They only superficially represent the role of real ADCs. I have had the idea of using ADC figures to represent command points for allocation each turn in my own rule systems. It is a good idea though – contemporary prints of battles often show individual horseman charging around the field, as well as skirmishers, and these prints should be an inspiration for the tabletop, as they operate under similar constraints. What is much more interesting are the stylised orders that these ADCs transmit, which operate at brigade level – they are called “Taskings”, terminology that I dislike: surely “orders” would be better. They are supplemented by “C-in-C Commands” to represent the impact of the commander taking personal control, which can only happen a limited number of times. Brigades can’t do very much without these orders. This system achieves the same thing as MO in Lasalle 2, but it is less abstracted. It is much easier to understand what is actually supposed to be going on on the field.
One interesting aspect of the brigade order system is that only one unit in a brigade can charge per turn. Amongst other things this stops the wargames tactic of two or more columns ganging up on a unit deployed in line (which happened in my last game but one of Lasalle 2), which is totally unhistorical – a function of how different a wargames tabletop is from a real battlefield. This is an arbitrary rule but a very sound idea.
The turn itself follows a fairly classic Igo-Ugo format, with different phases for command, charges, movement, firing and close combat, each played alternately. This has the big advantage of making multi-player games easier to run – though only one player can allocate the ADCs. The more complex card-driven or other systems so fashionable in modern wargames systems can produce interesting game situations, but are harder to rationalise. They are more suited to skirmish games than one where each commander dominates the whole field of play – as was the case in Napoleonic battles at this level – though perhaps less so for big multi-corps situations. The need to manage multiplayer games without players from the same side having to wait for each other all the time is still the best reason for the traditional alternate move system – and it’s an important consideration for me. It’s the big weakness of Lasalle 2, though the author does make suggestions as to how to run multiplayer games.
There will always be things in a rule system to quibble over from somebody that has been into wargaming and Napoleonic history as long as I have. From a gaming point of view my biggest one is that I would have much preferred a simplified basic game, to which more complexities can be added as people get the hang of it. It’s not hard to see how that might be done. The basic game would focus solely on divisional encounters (the rules do cater for corps games too), with a reduced menu of ADC Taskings (leave out CinC Command, Skirmishers, Artillery Assault, Scouts and Reserve) – and the CinC Commands altogether. No reserves, scouting, simplified troops types, no light infantry skirmish deployment or reinforcing skirmish screens (or you could leave out the skirmish screen altogether), and simplify the troops types a bit (no drilled or enthusiastic) and do away with small (and perhaps large) units. I’m tempted to create such a basic version myself, but currently I have bigger priorities for my limited hobby time. As it is taking on my first game with my usual club partner is going to be a bit daunting.
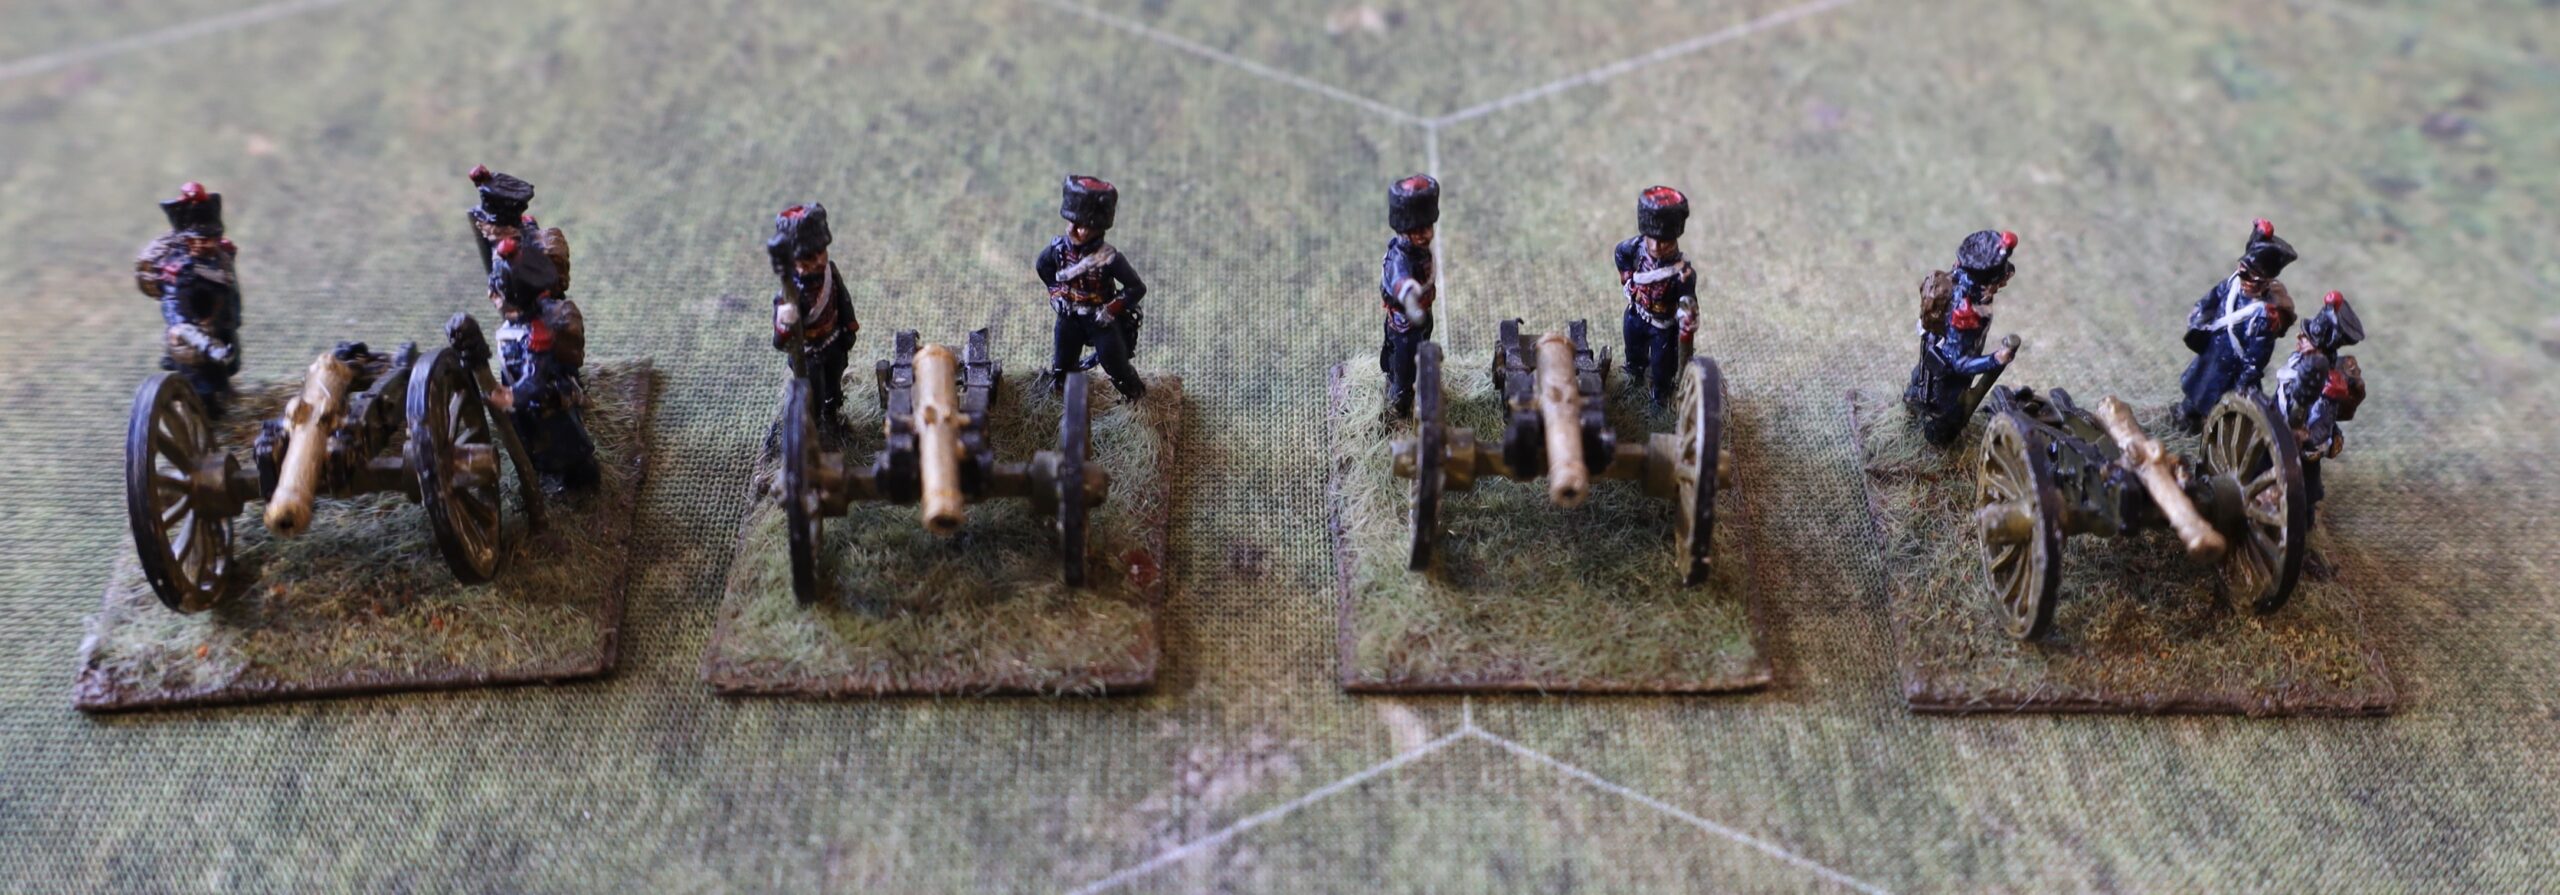
Other quibbles are pretty minor. I don’t buy the logic that six and eight gun batteries are the same at this level (“If simply having more guns guaranteed superior firepower, then surely every nation would have deployed 12 gun batteries,” the author asks. Then why didn’t everybody use six-gun ones?). It wouldn’t have be too hard to build a bit more depth to the larger batteries, even if there is no firepower distinction. The author isn’t familiar with later Prussian command doctrine, whereby commands at “brigade” level (i.e. the game brigade – the actual Prussian Brigade is a game division) were task-oriented, and it was usual for them to be composed of battalions from two or three different regiments. I would like to see the ability to form converged howitzer batteries. I’m a little less than convinced by the skirmish rules, especially what the deployment of light battalions into full skirmish actually means. It would be pretty much impossible to deploy a whole battalion into skirmish order and to maintain any meaningful control of it – it would disperse over a very wide area. This presumably actually means some combination of a dense screen and formed reserves. And I don’t think this happened much (or at all?) in the Empire era. Commanders often reinforced skirmish screens by drawing off companies/third ranks from formed units – but the rules provide for this already. And yet this is all grumpy old man territory – the issues are either easy to fix or don’t really matter.
The important thing is that these rules are steeped in a Napoleonic feel. Achieving this with relatively simple game mechanisms is quite a feat. Incidentally, I don’t think they would work that well for either Seven Years War, or the mid-19th Century ones. I really want to give these rules a go!
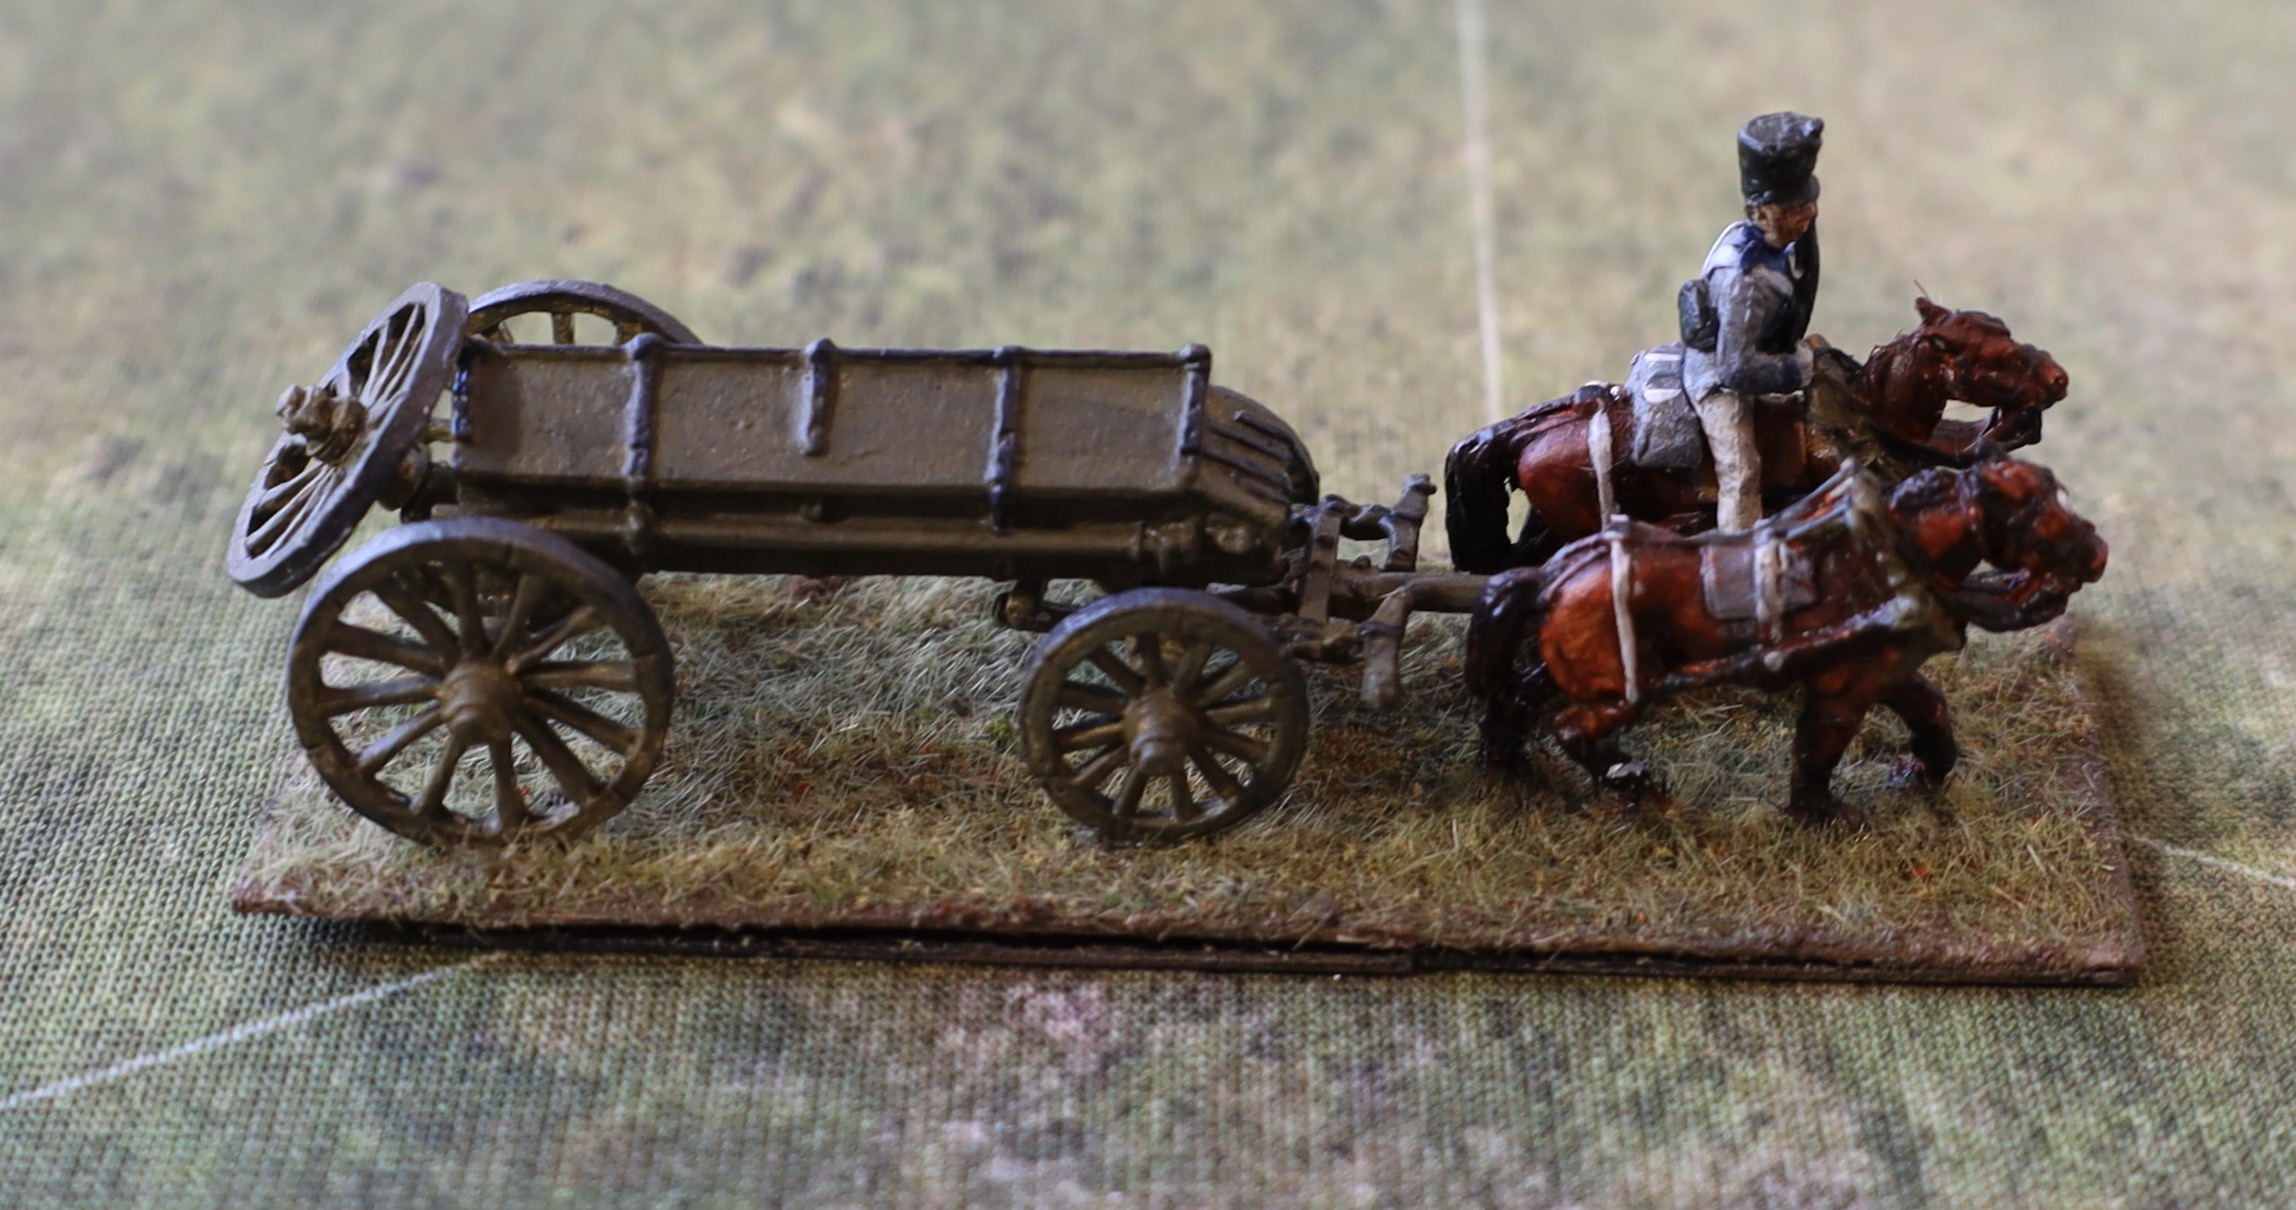
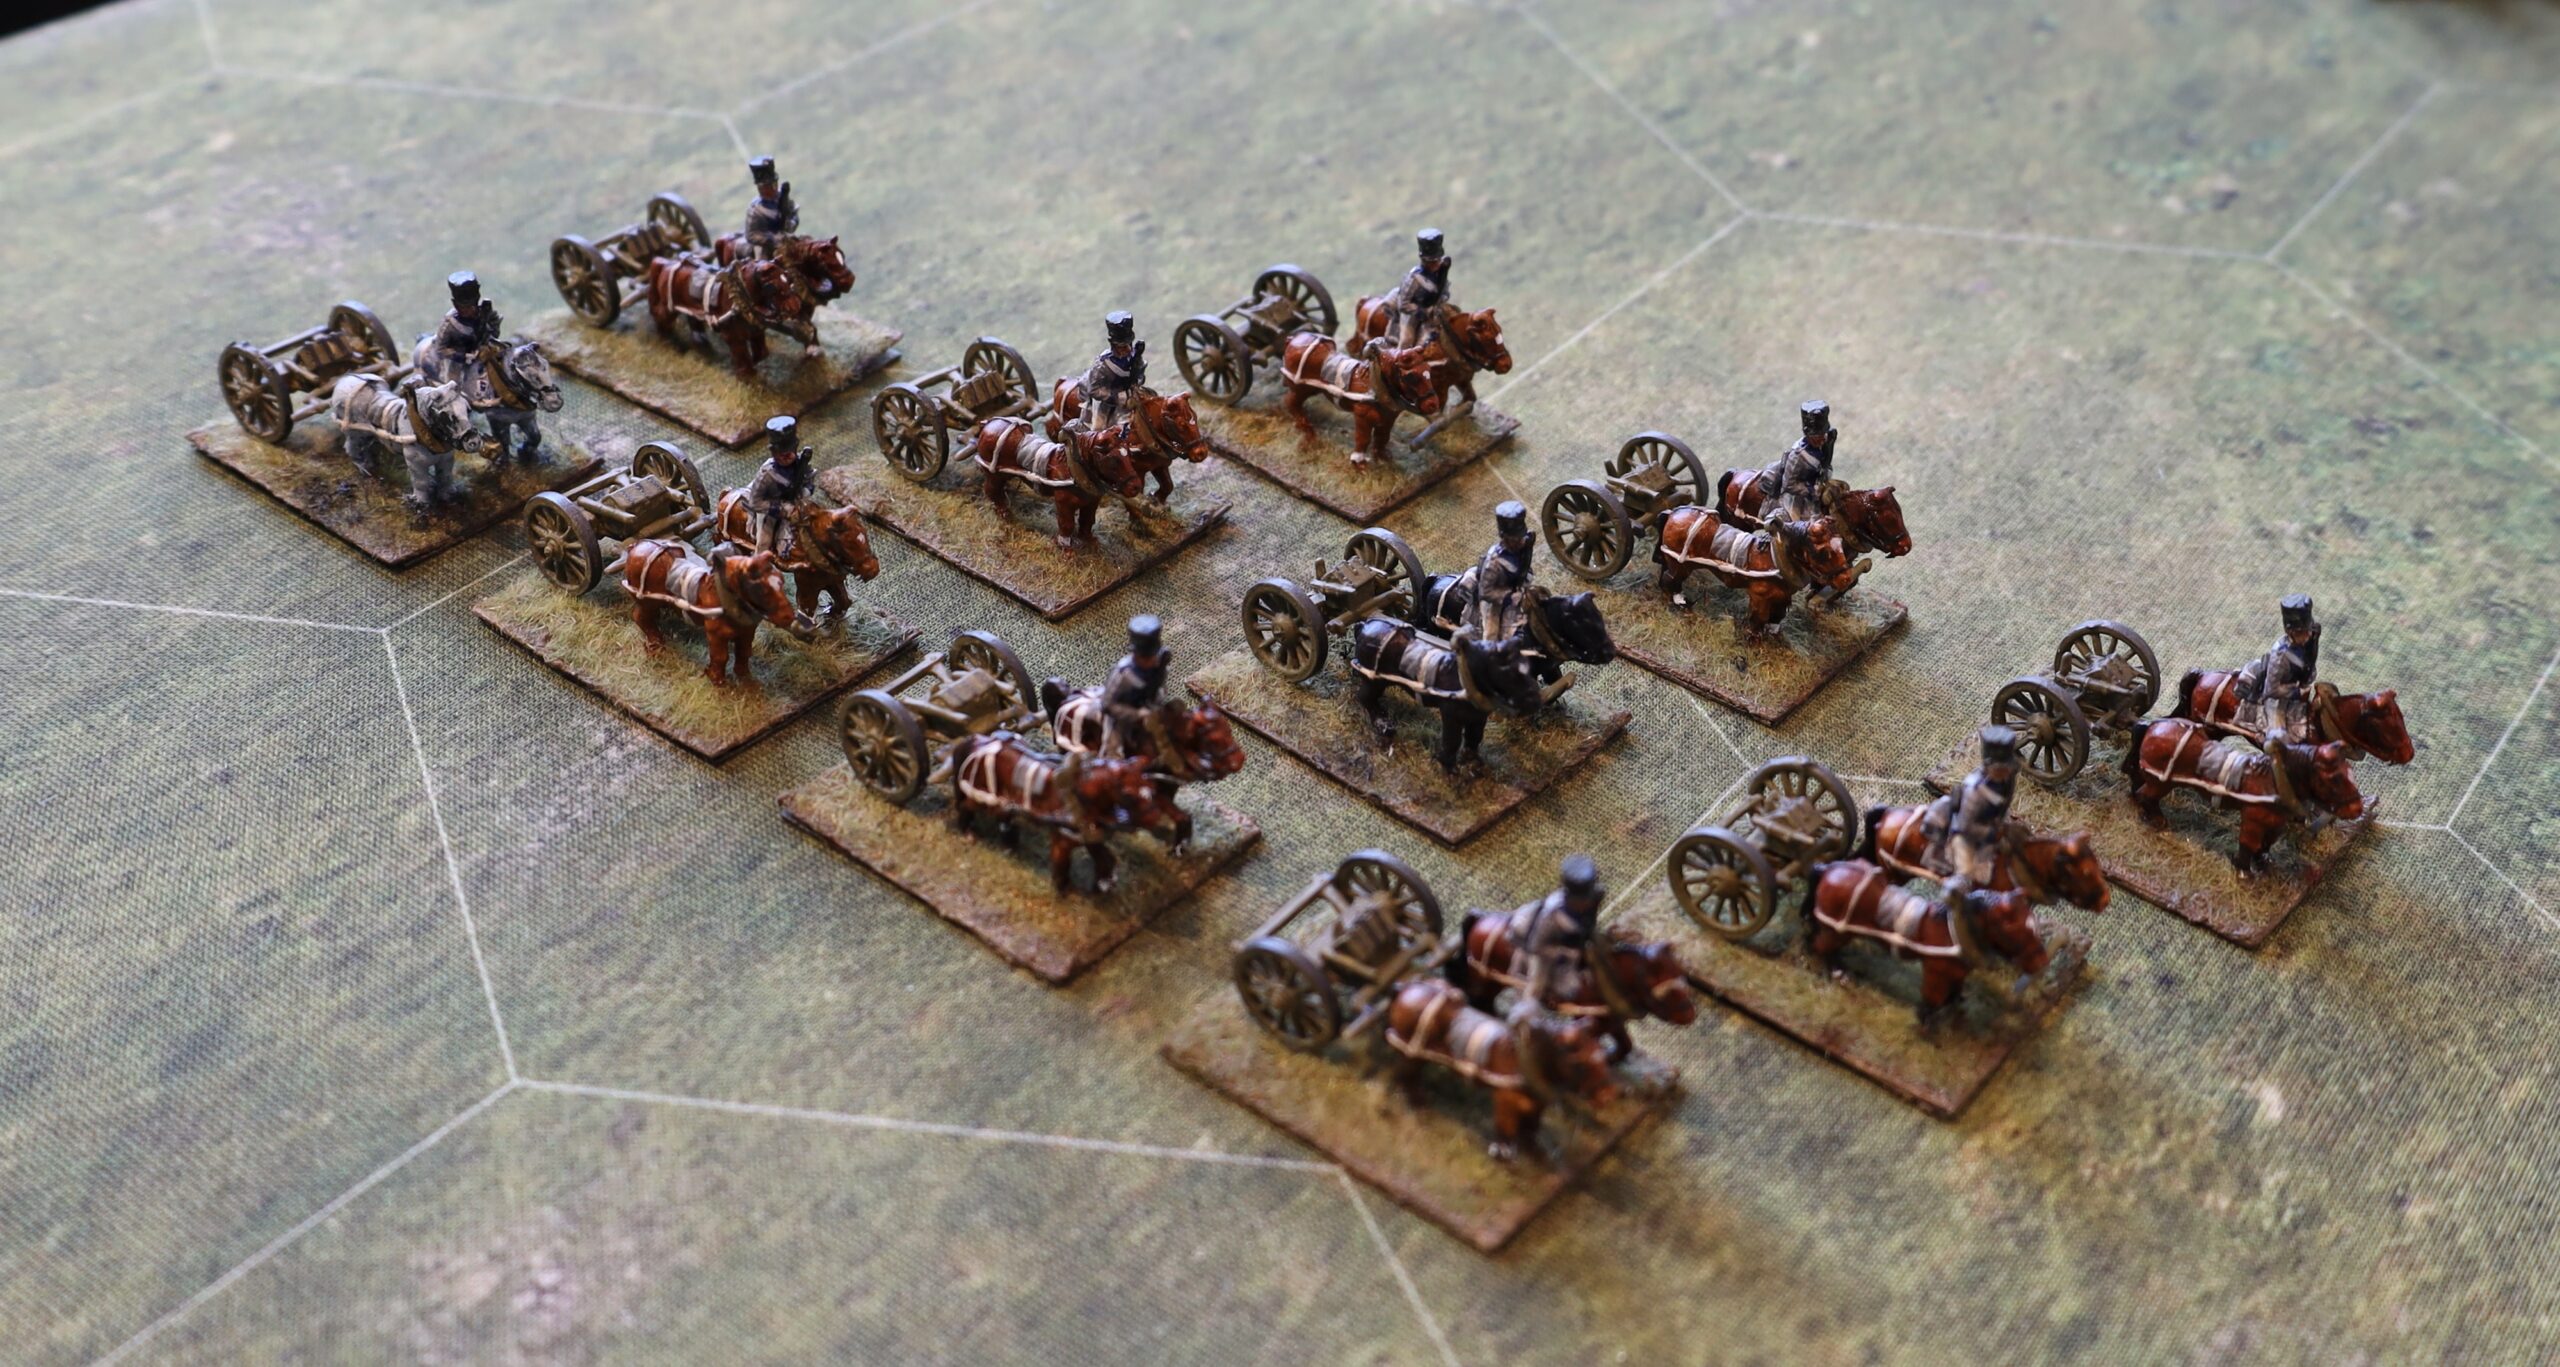
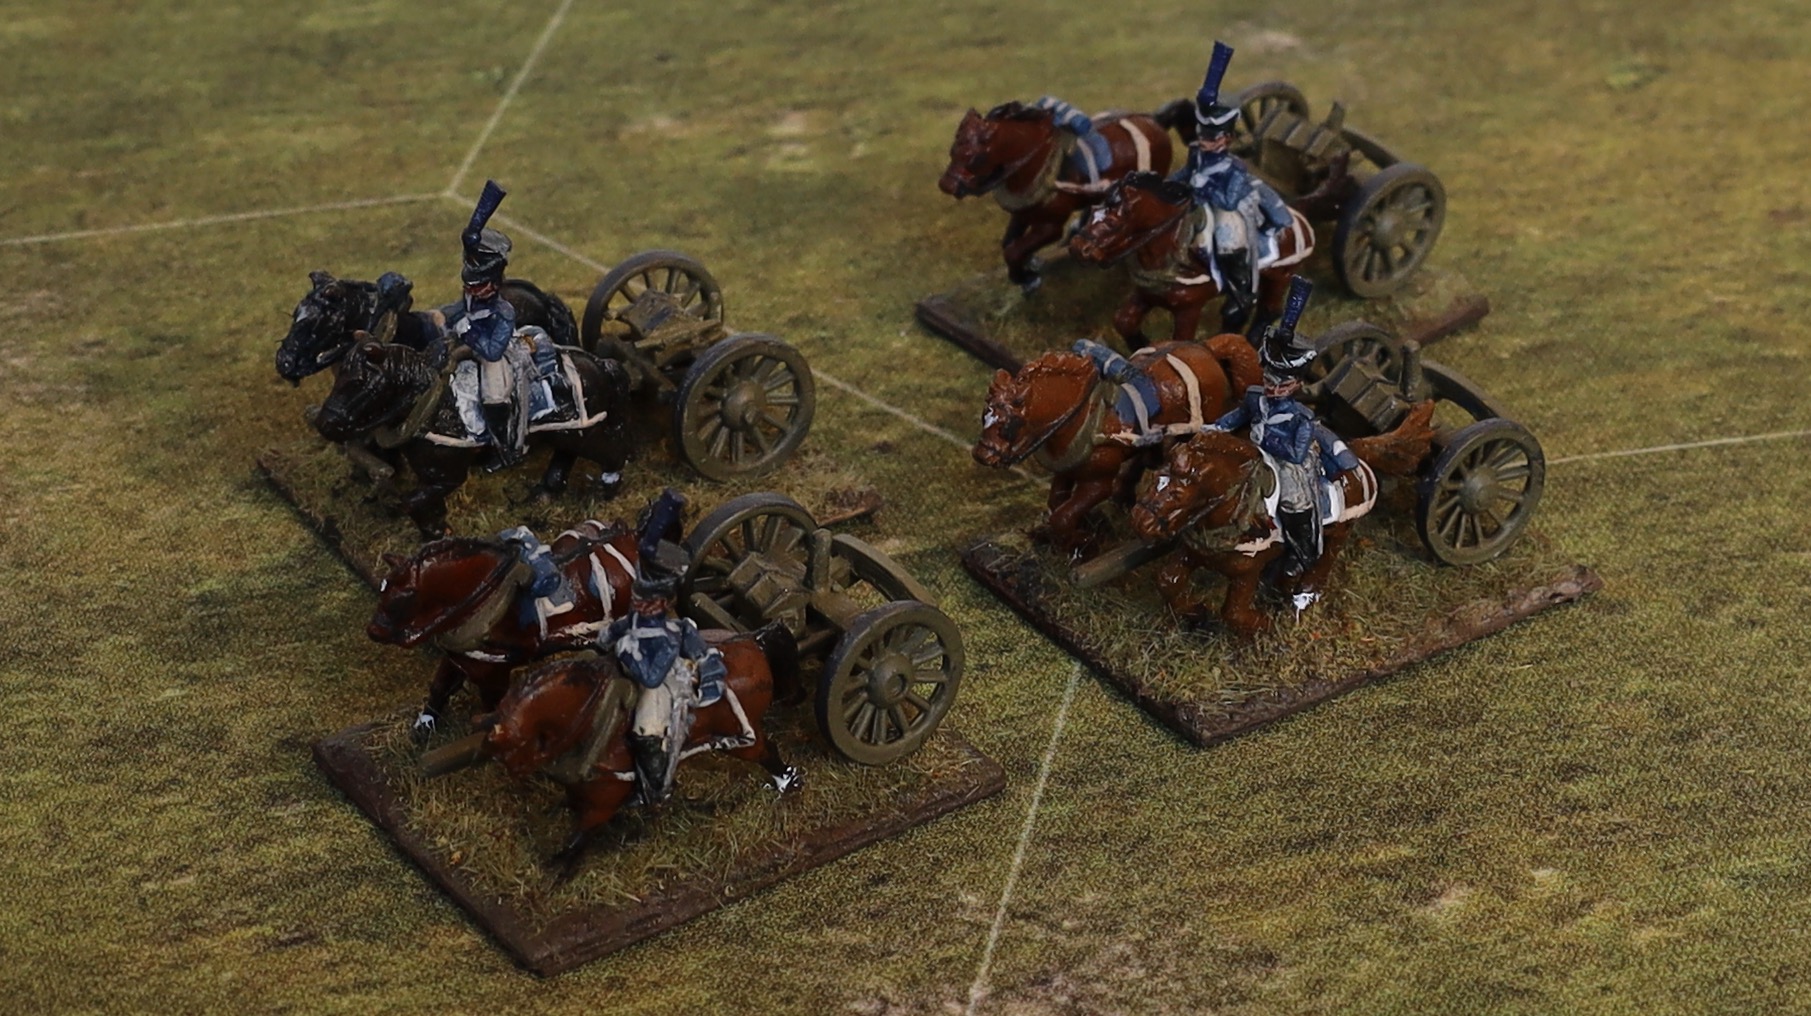
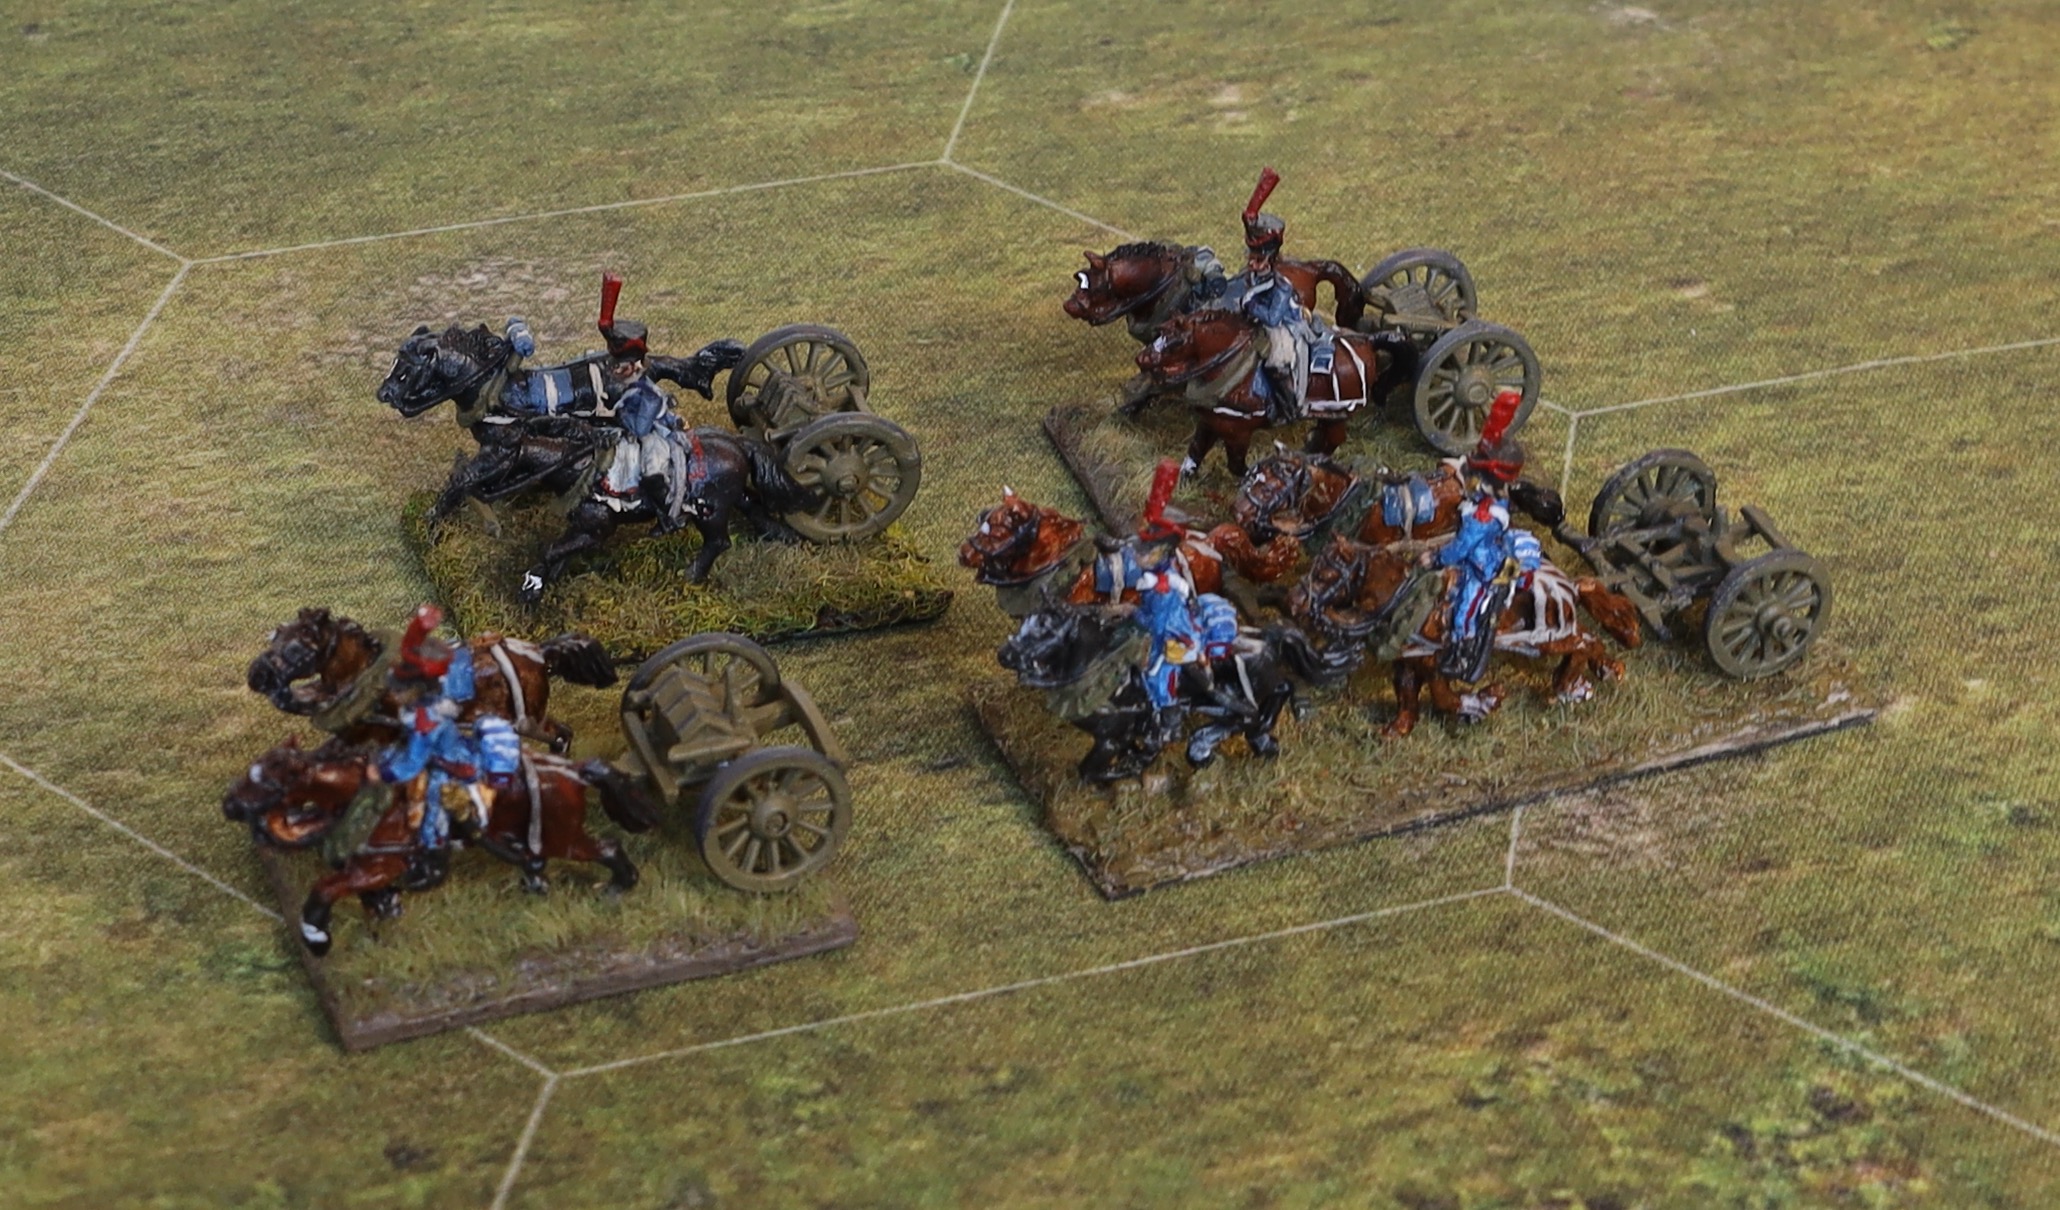
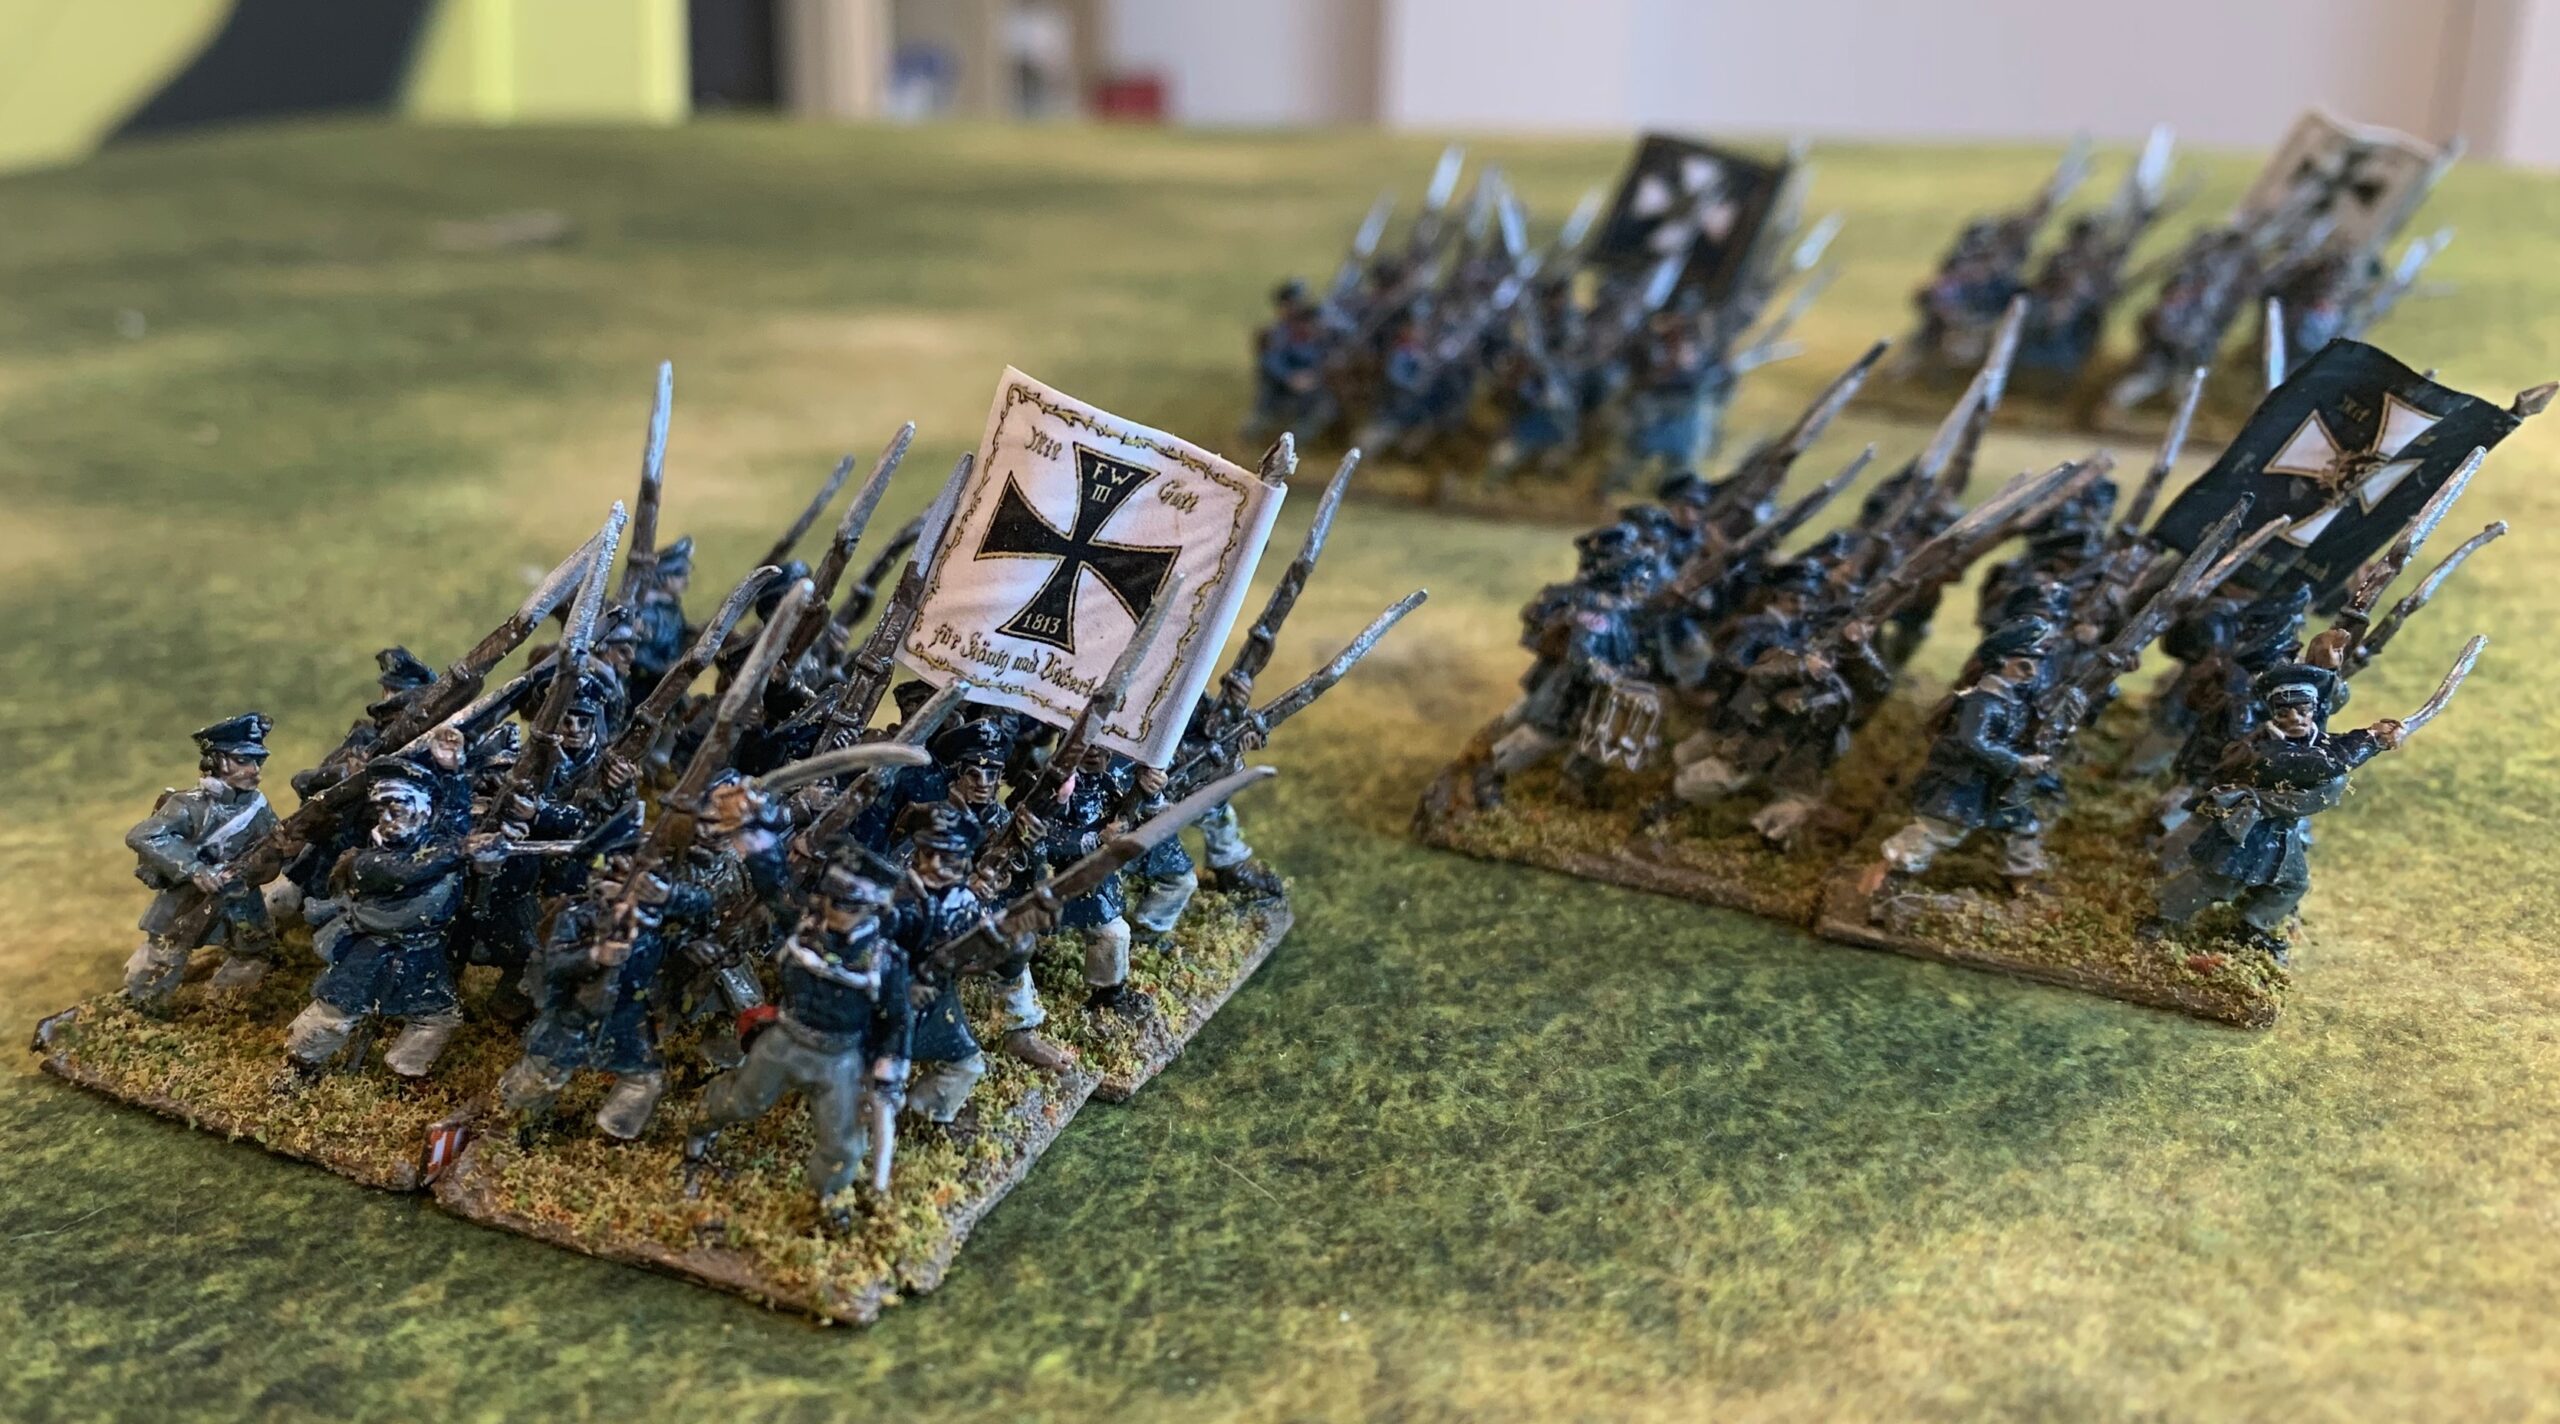
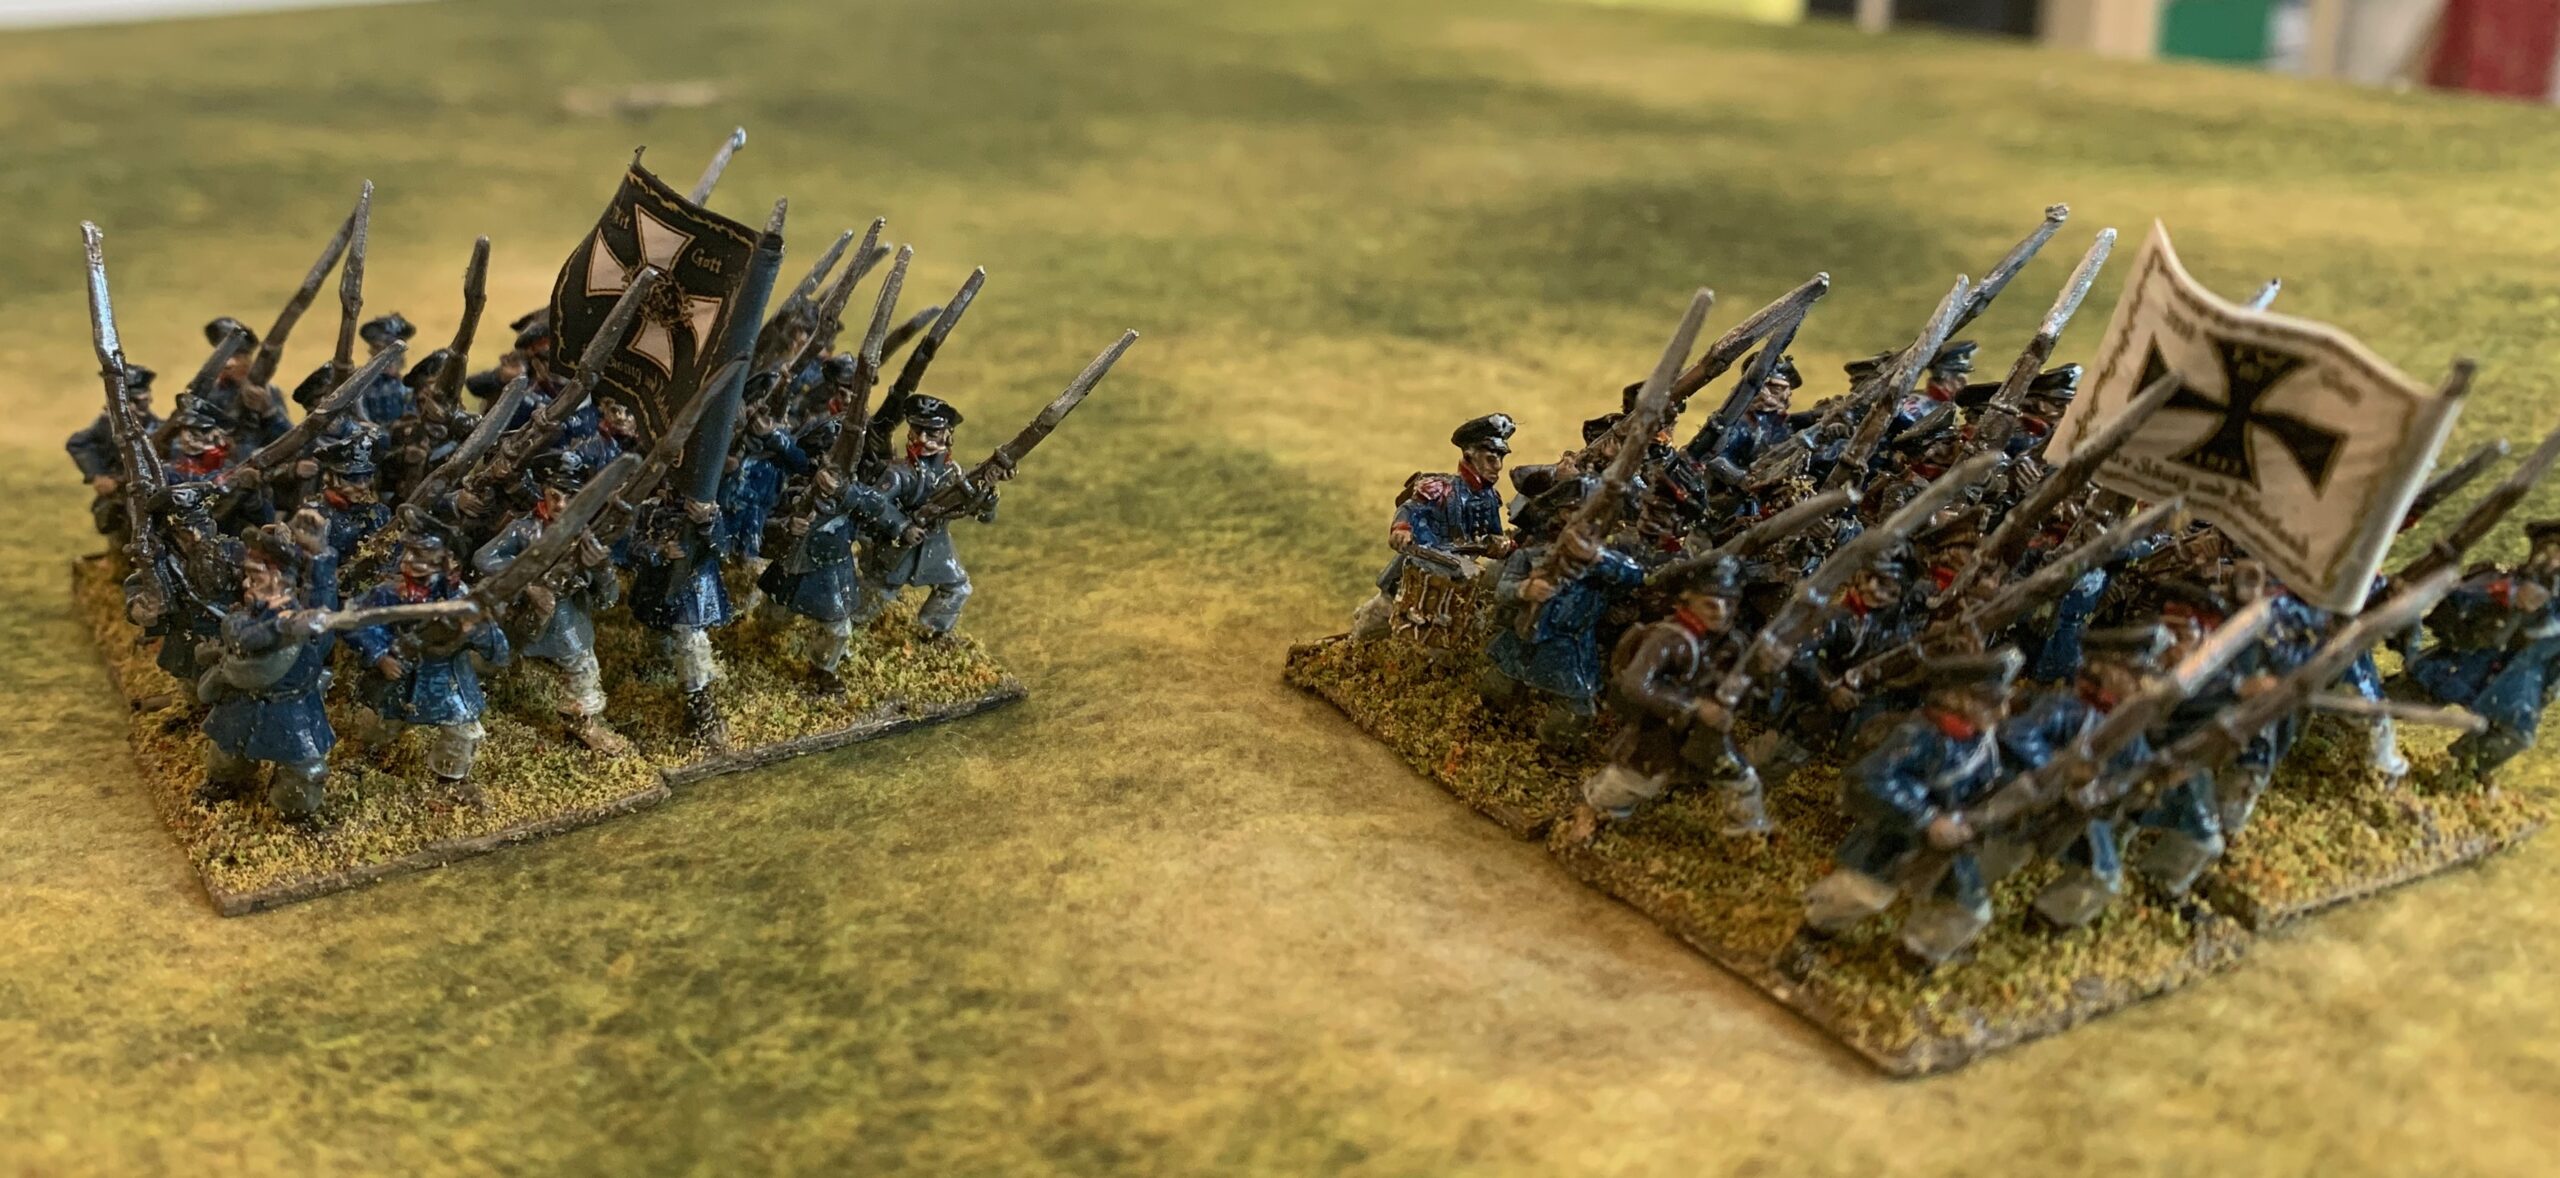
Which leaves the question of how I adapt my Napoleonic armies to the system. I have 18mm men on bases 25mm square (with some on 30mm squares) – six infantry or two cavalry per base. Artillery are on 35-45mm bases. I also have skirmisher bases which are 25mm by 15mm deep, with a pair of figures. The rules say that a standard battalion should have a frontage of about the same as musket range. On the standard scale for 15mm troops (1mm to a yard), this would mean 15cm. That’s six bases (or five if they are 30mm) – with say 8 bases for a large unit (which would be normal for my 1815 Prussians). This is a lot of metal: 36 miniatures for a standard battalion, though it would doubtless be visually impressive. I would prefer to use the basing I already use for Lasalle 2 – four bases to a standard unit, six bases for a large one (using house rules). That would mean using the recommended distance scale for 10mm miniatures – where musket range is 9cm. That’s a bit tight, but it roughly equates to what I’ve been using for Lasalle 2 in terms of distances (musket range is four base-widths). The distances in GDA2 are all (almost) in units of 50 yards – which is 5cm for 15mm, 3in for 28mm, and 3cm for 10mm. So I could try 4cm for 50 yards. – but then all the QRFs etc would have to be redone. Batteries would be two bases, as per Lasalle 2.
In breaking news, I have already agreed to have my first game this coming weekend at the club. And somebody is bringing a set of status markers – which you are encouraged to buy separately, as there are no printable sheets, but which are out of stock. We still have to mark casualties somehow. I think I might stick to pipe cleaners with yellow/white being singles and red being 5s. I will try and simplify the rules (i.e. leave bits of the standard game out).
My aim is to try this system out for club games with generally non-historical scenarios – in place of Lasalle 2 (perhaps using Lasalle scenarios). For big, historical battles, like Ligny, I still want to develop a different system. The authors suggest that GDA2 can be “bathtubbed” for bigger battles, with each unit representing a brigade, and so on up. That’s not a bad idea, but I prefer systems developed specifically for the scale. Anyway, watch this space!