What to do about artillery limbers in Napoleonic wargames? Back in the day (we’re talking the old Airfix plastics in the early 1970s here) I would faithfully make up four horse limbers for every gun (about two per side…). But it was a faff, and took up a lot of space on the table. When I took up 15mm metal miniatures in the 1980s, I moved to two horse limbers, using old Minifigs. Then I started ignoring them altogether, in accordance with the changing fashion. But I decided that I wanted them for my current project, and while I’ve been doing them in parallel with the guns for the Prussians, the French were sadly neglected. Until now. I wanted to finish the French artillery for my 1815 project. That meant four more deployed artillery bases, a caisson model (useful for Lasalle)… and 17 new limber assemblies.
I wasn’t looking to do an A1 job on the limbers – they don’t have a staring role on the table. To keep the space down, the horses were reduced to just two – and I am making no attempt to include the limbered gun. The limber will simply be put together with the deployed base to show limbered status, and then removed to somewhere nearby but out of the way once deployed. Artillery limbers and caissons did take up quite bit of space historically – but they could be spread out and fitted around other units when deployed. They were only a serious nuisance when the guns were in transit, especially on roads – hence why I wanted them on the table.
First I needed to source the models. I already had two limbers painted up – for the French Guard. This was mainly sourced from an AB model, which had six horses. I took one pair away and put it with a Minifigs limber. I considered taking two more horses away to create another limber – but I didn’t need to do this to get the right number, so I left the rather impressive four-horse limber for the Guard 12 pdrs. I had an unpainted AB line caisson, also with six horses. I could take four horses from this – though annoyingly the riders (with saddle, etc) had gone awol in the two decades or so that I owned the metal. So far as the actual limbers were concerned, I had 12 Minifigs ones, including the one I had already used for the Guard. These were four each of new Minifigs French, old Minifigs French and Old Minifigs Austrian. There is a difference between the Austrian and French limbers, but not one that hits you in the face. I’m sure the French took over captured ones… The problem with the Minifigs limbers is that the wheels are too small (though this may be realistic for the Austrian ones) – but this was easily solved as I have lots of spare wheels from my old Minifigs artillery, which I have replaced, including plenty of the right size.
That left me six limbers short. The easiest solution would have been to buy more Minifigs ones – but these struck me as being quite pricey, given that they don’t come with horses. I needed lots more horses, but I only wanted to use the Minifigs ones for horse artillery. In the past I have found that Naismith Miniatures produce limber horses that work well (I used them for my Prussians). But I couldn’t find them at the time – though I have now at Keep Wargaming (but out of stock). I decided to buy six limbers from Essex miniatures – which came with four horses and two drivers each. I was short of horses and drivers, so that worked out fine. I already had a pack of French Guard horse artillery drivers. With a bit of juggling, and using my Minifigs horses, it meant I had enough of everything – and I didn’t need to use my old Minifigs riders, which I didn’t much like.
Artillery crews
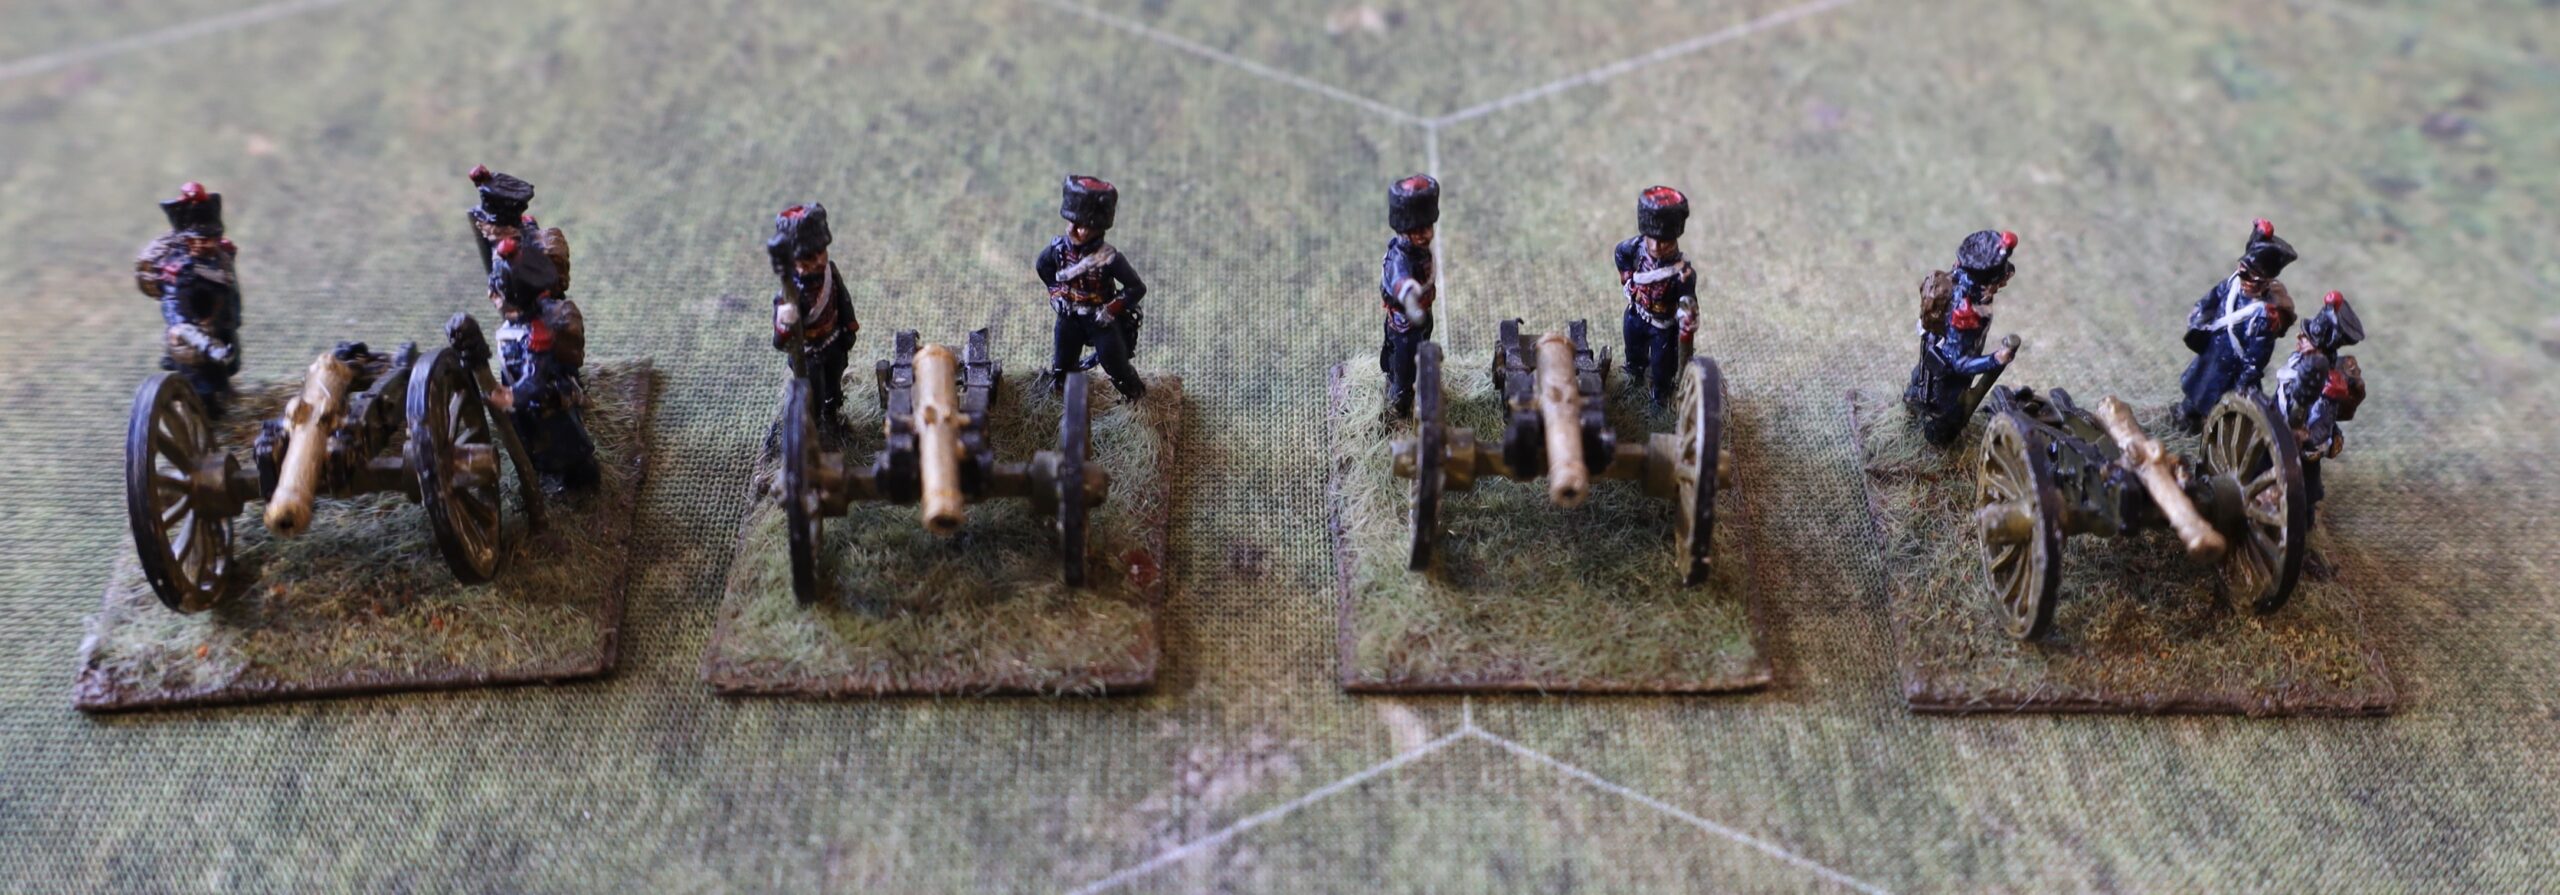
I found that I was four artillery crews short for my Waterloo French – two each for line foot and Guard horse, though I had a surplus of line horse bases. I bought the Guard crews from AB, and used up some spare line crews left over from earlier projects – in greatcoat, I think from Fantassin. Nothing special to note here. I followed my convention of two crewmen for horse guns, and three for field guns. The AB figures were pretty nice – I have been disappointed in their French artillery in the past, including the Guard foot. Not a very good picture I’m afraid, as I’m still learning how to get the best out of my new camera. probably just as well as the figures a slightly impressionistic and untidy. They pass the 3-foot test though.
The caisson
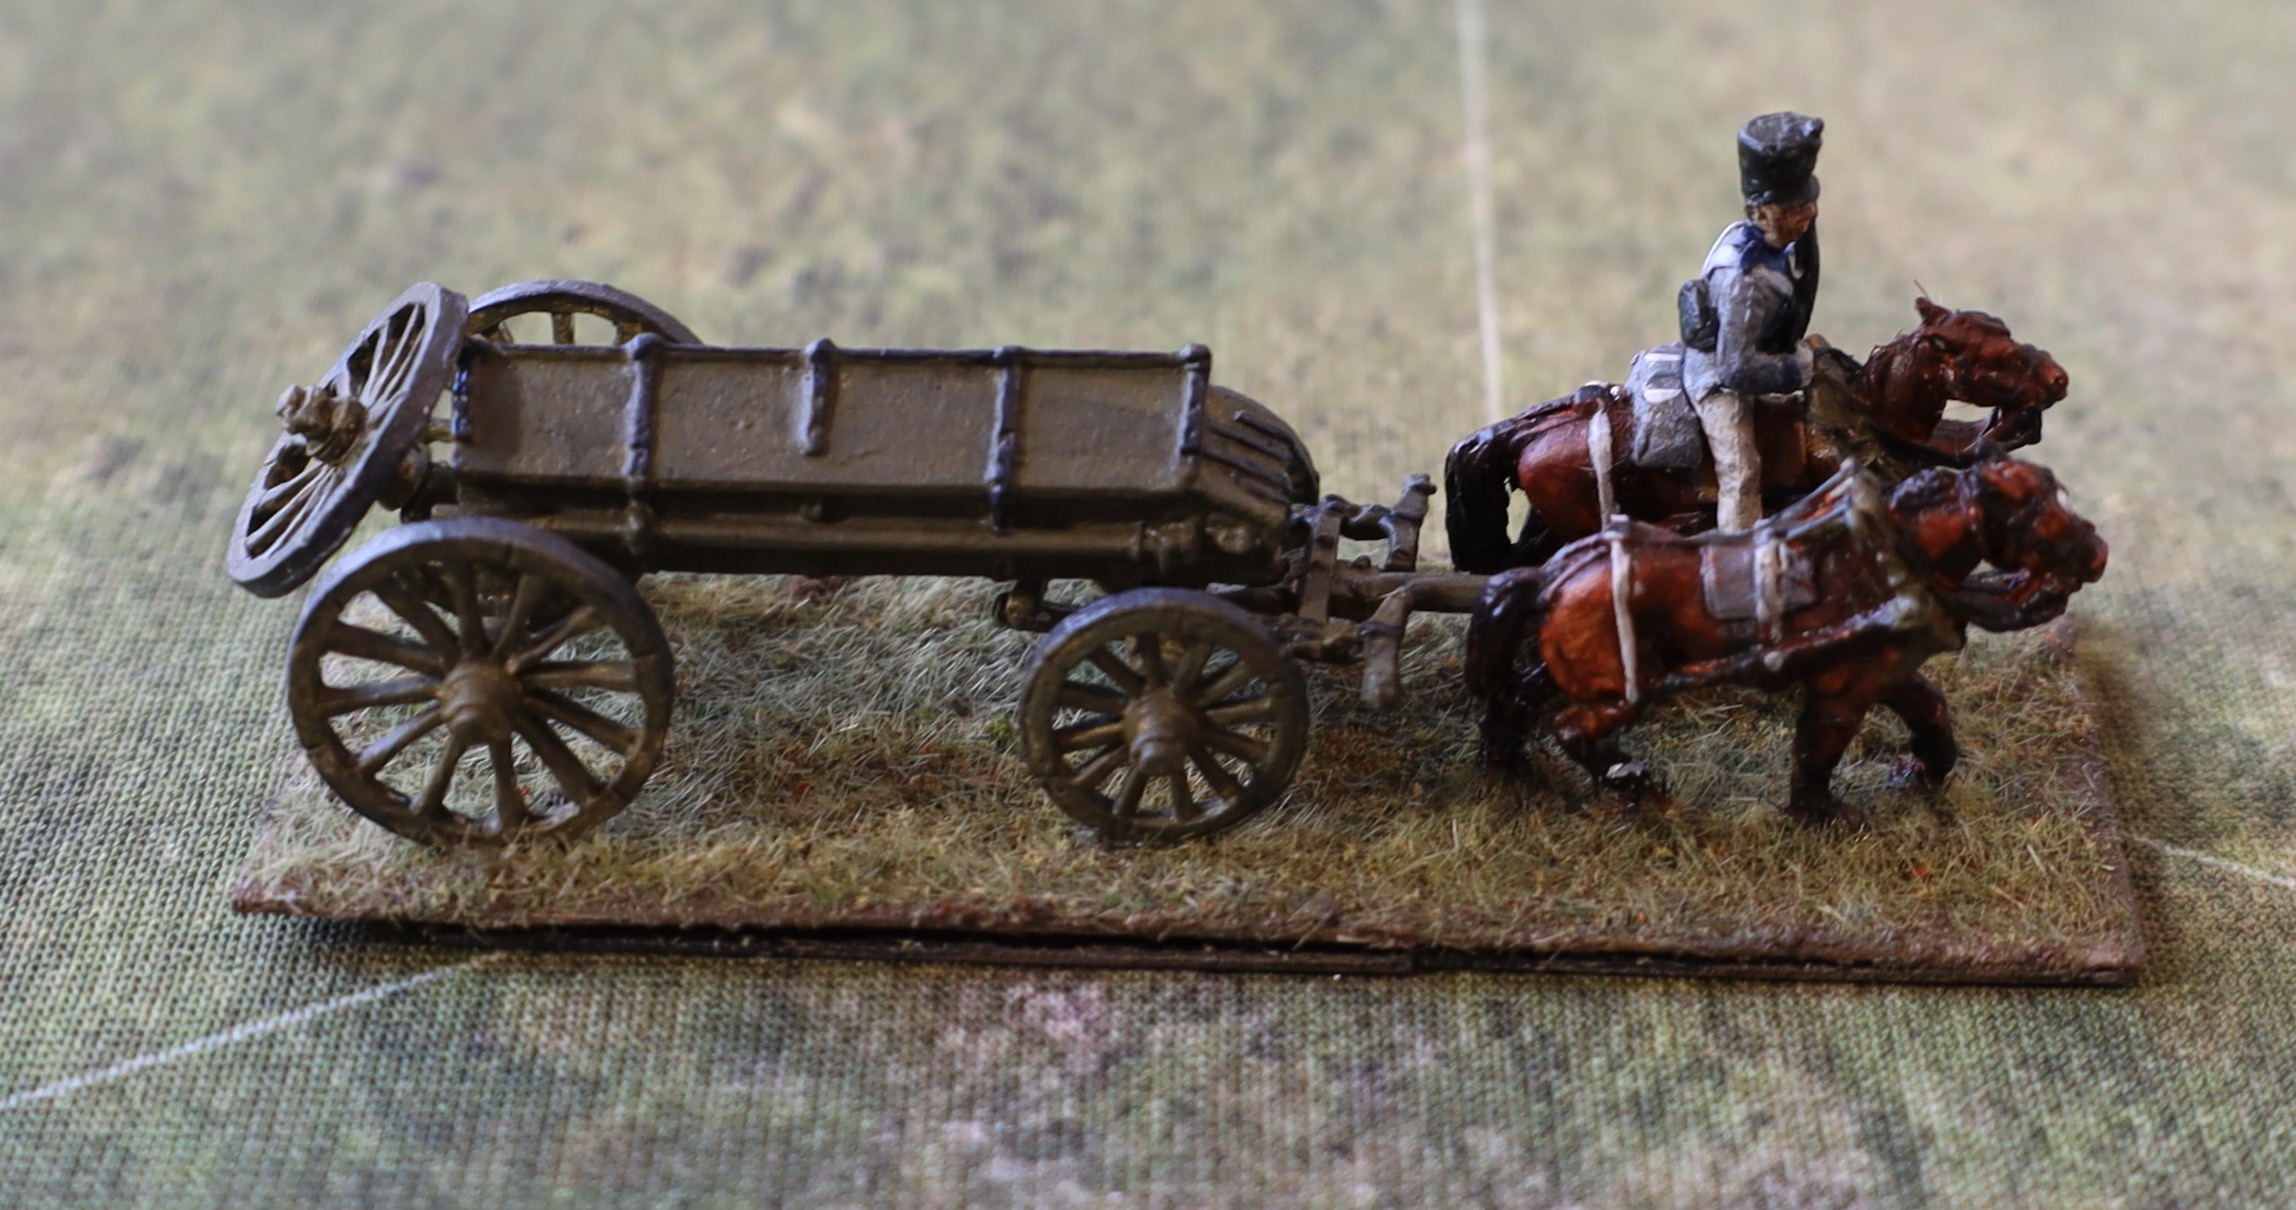
I’ve had this AB model lying around for a couple of decades, and I have finally got around to painting it up. Lasalle 2 requires a baggage marker for each side – and a caisson is the easiest way to do this. As noted above though, in my time of ownership the riders/saddle arrangement went AWOL – and I couldn’t find them. I expect they will turn up when I least expect it. The rider figures weren’t a problem – as I had spares from Essex. The saddle arrangement had to be reconstructed, which I did with paper and plasticine. It doesn’t stand up to close examination, but it is OK from a distance.
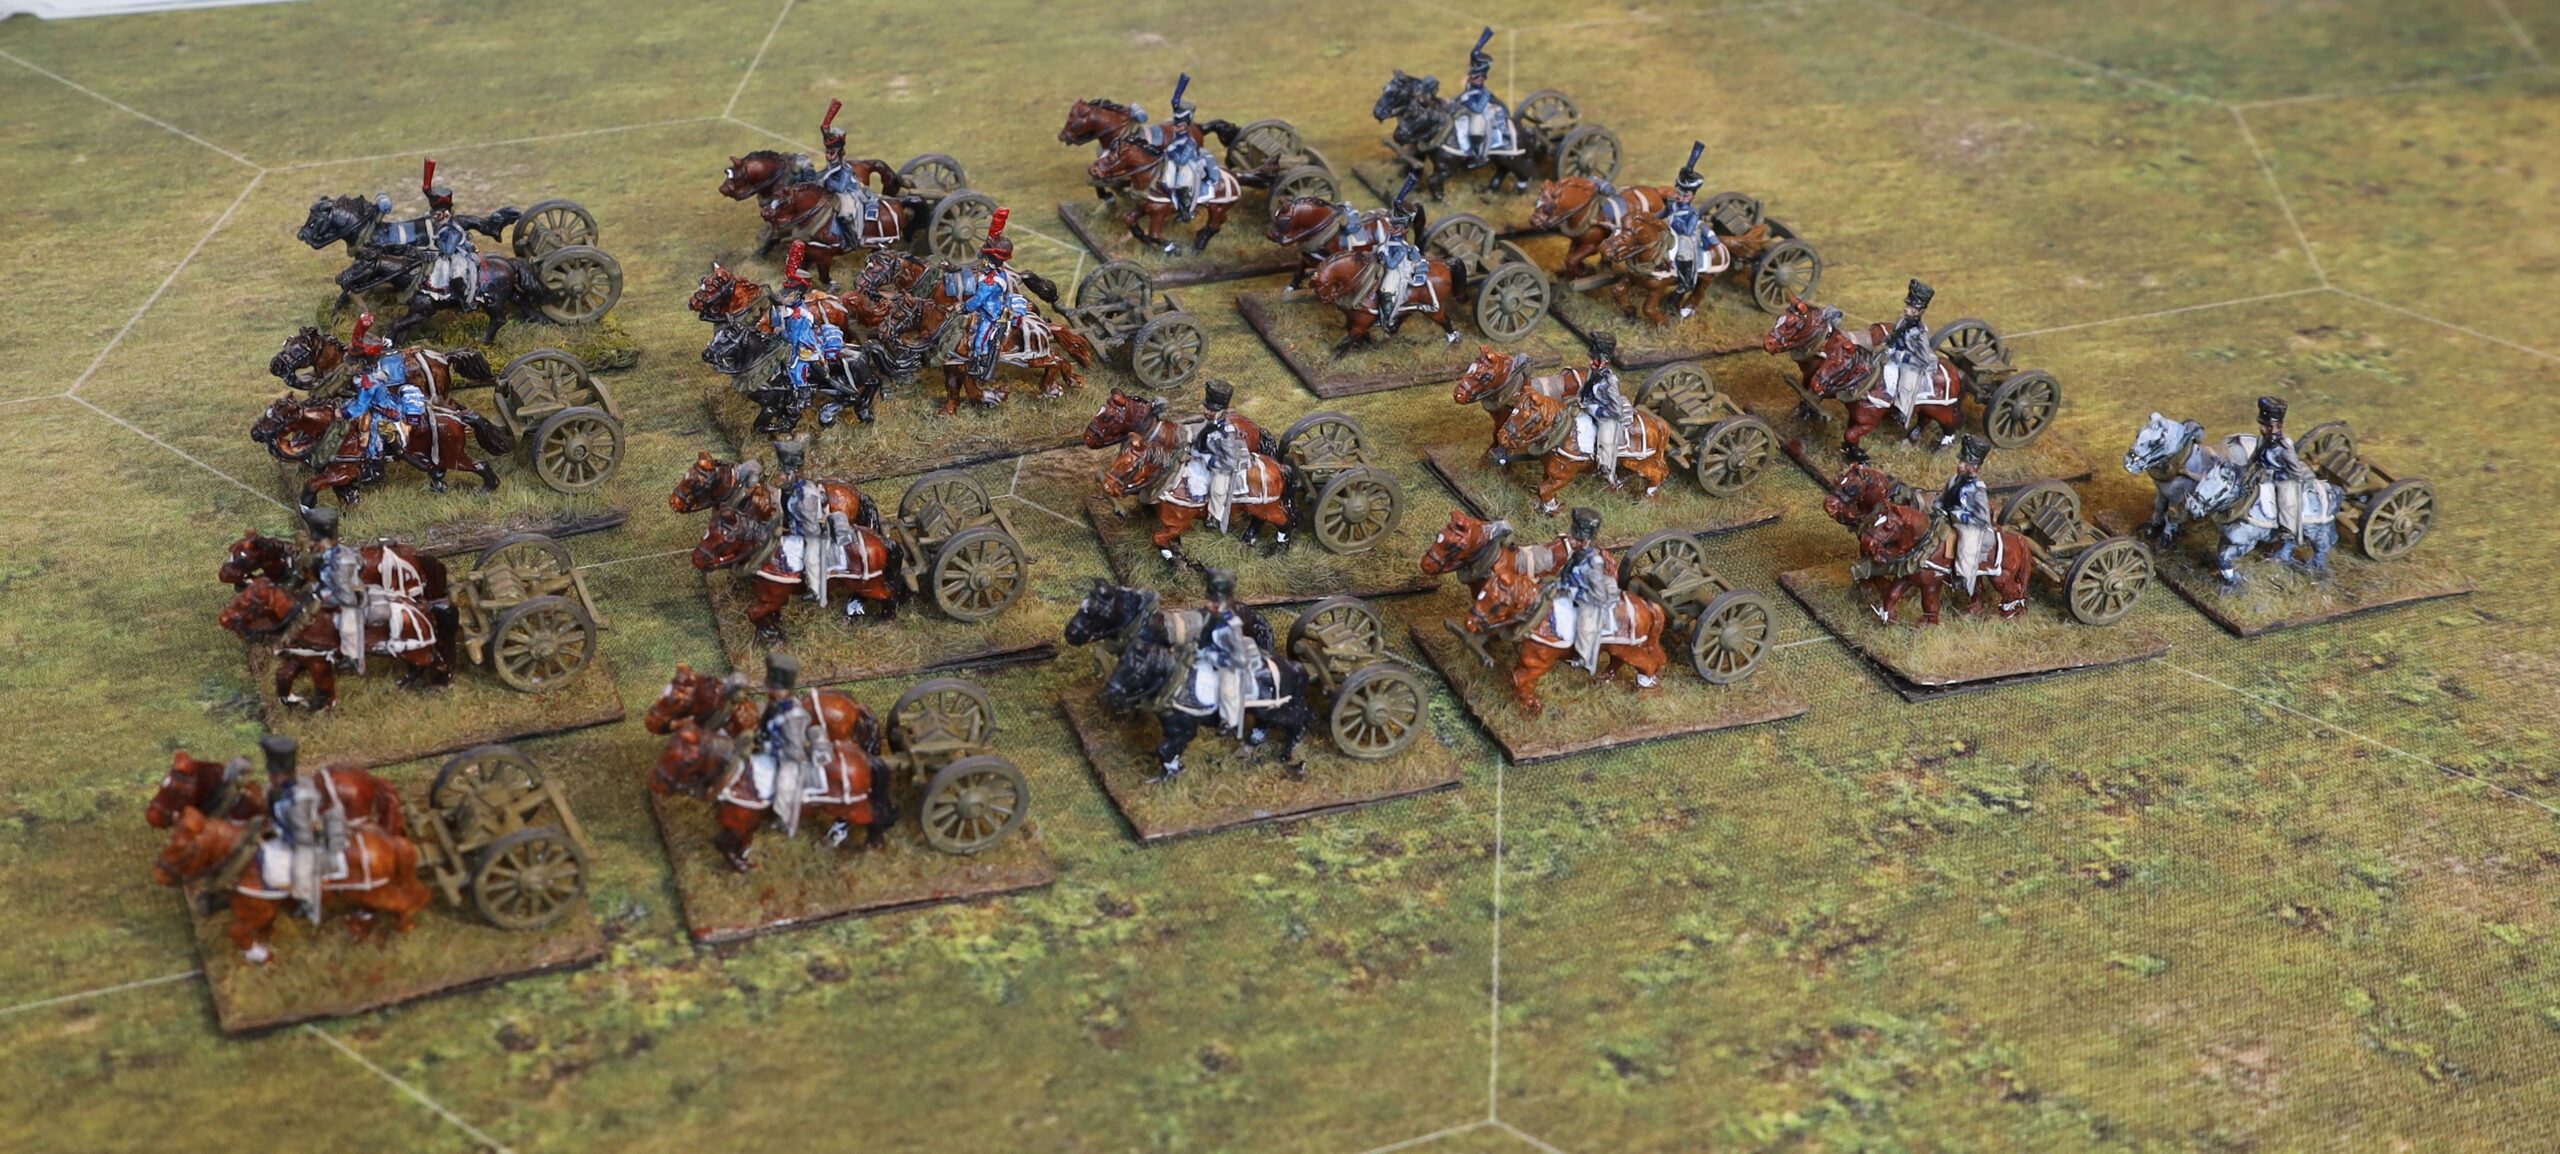
The line foot limbers
I needed eleven of these. Six of the limbers were from Essex, the rest were a mix of French and Austrian from my old Minifigs. I attached an ammunition coffret to each one. I had lots from my previous artillery models, which usually come with one tor two. Two pairs of horses came from my AB caisson, the other nine came from Essex. That leaves me with a couple of spares from Essex – though there was a bit of a muddle with my order, which meant I had a little difficulty getting the right sort. I will most likely recycle these into my Prussians. All the riders are Essex. I painted the coats grey.
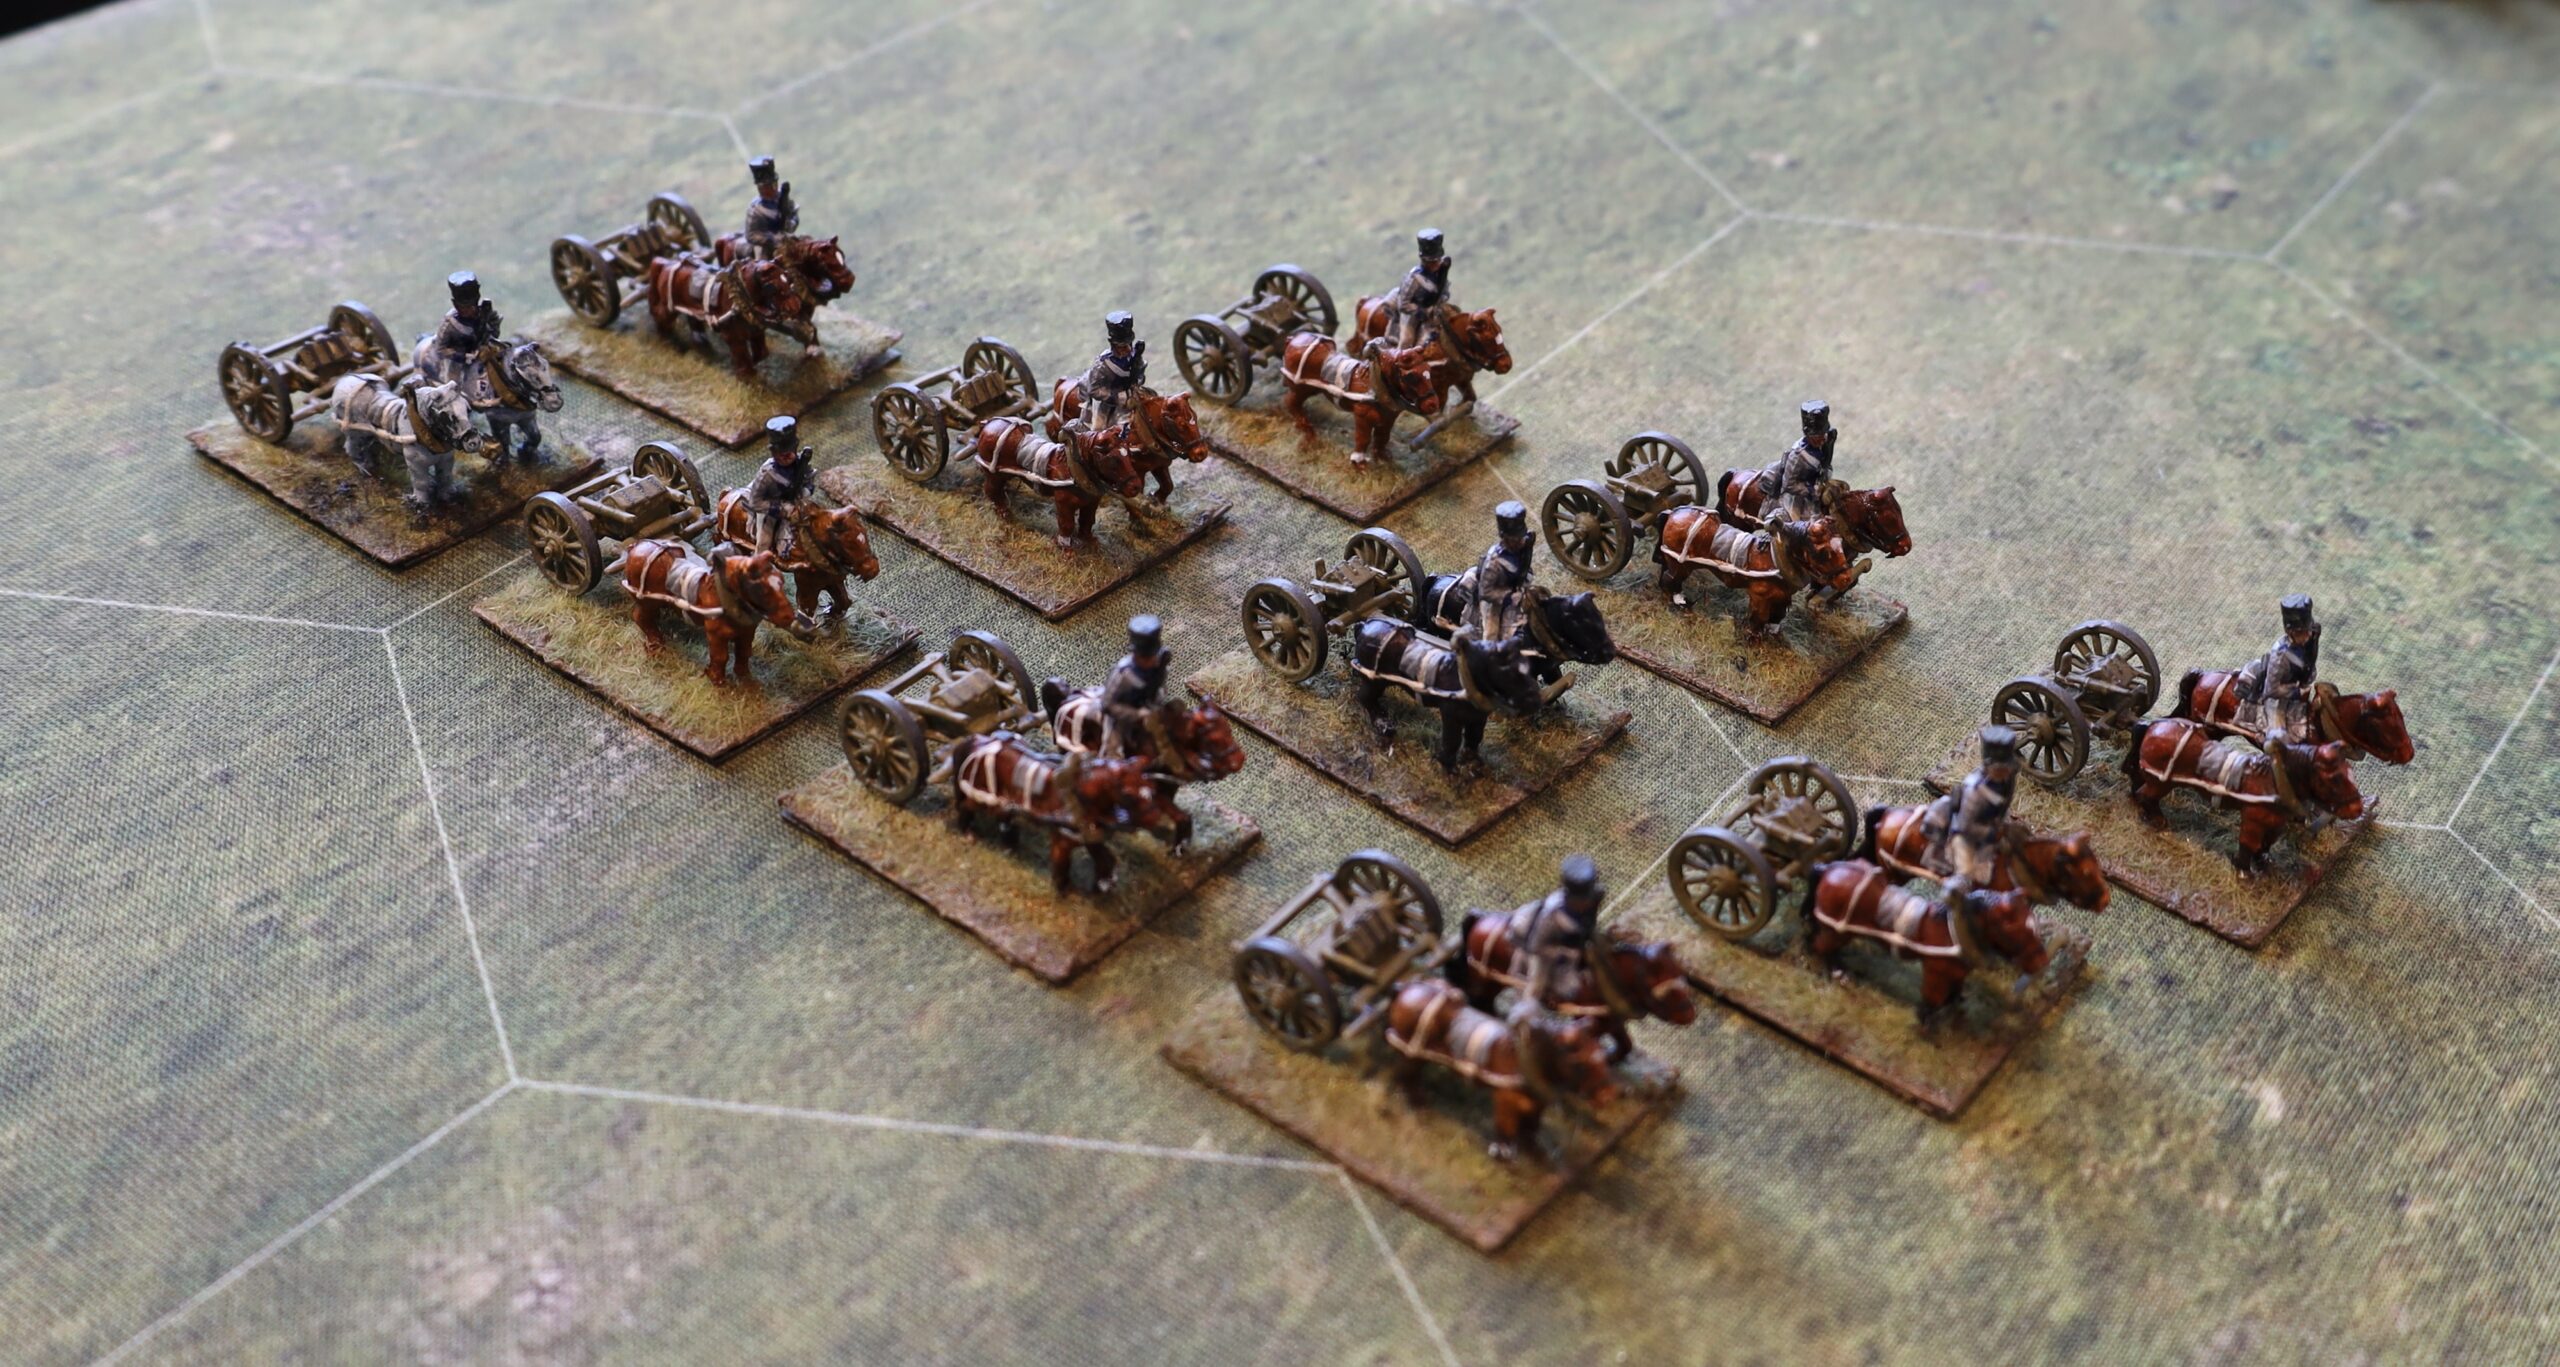
The line horse limbers
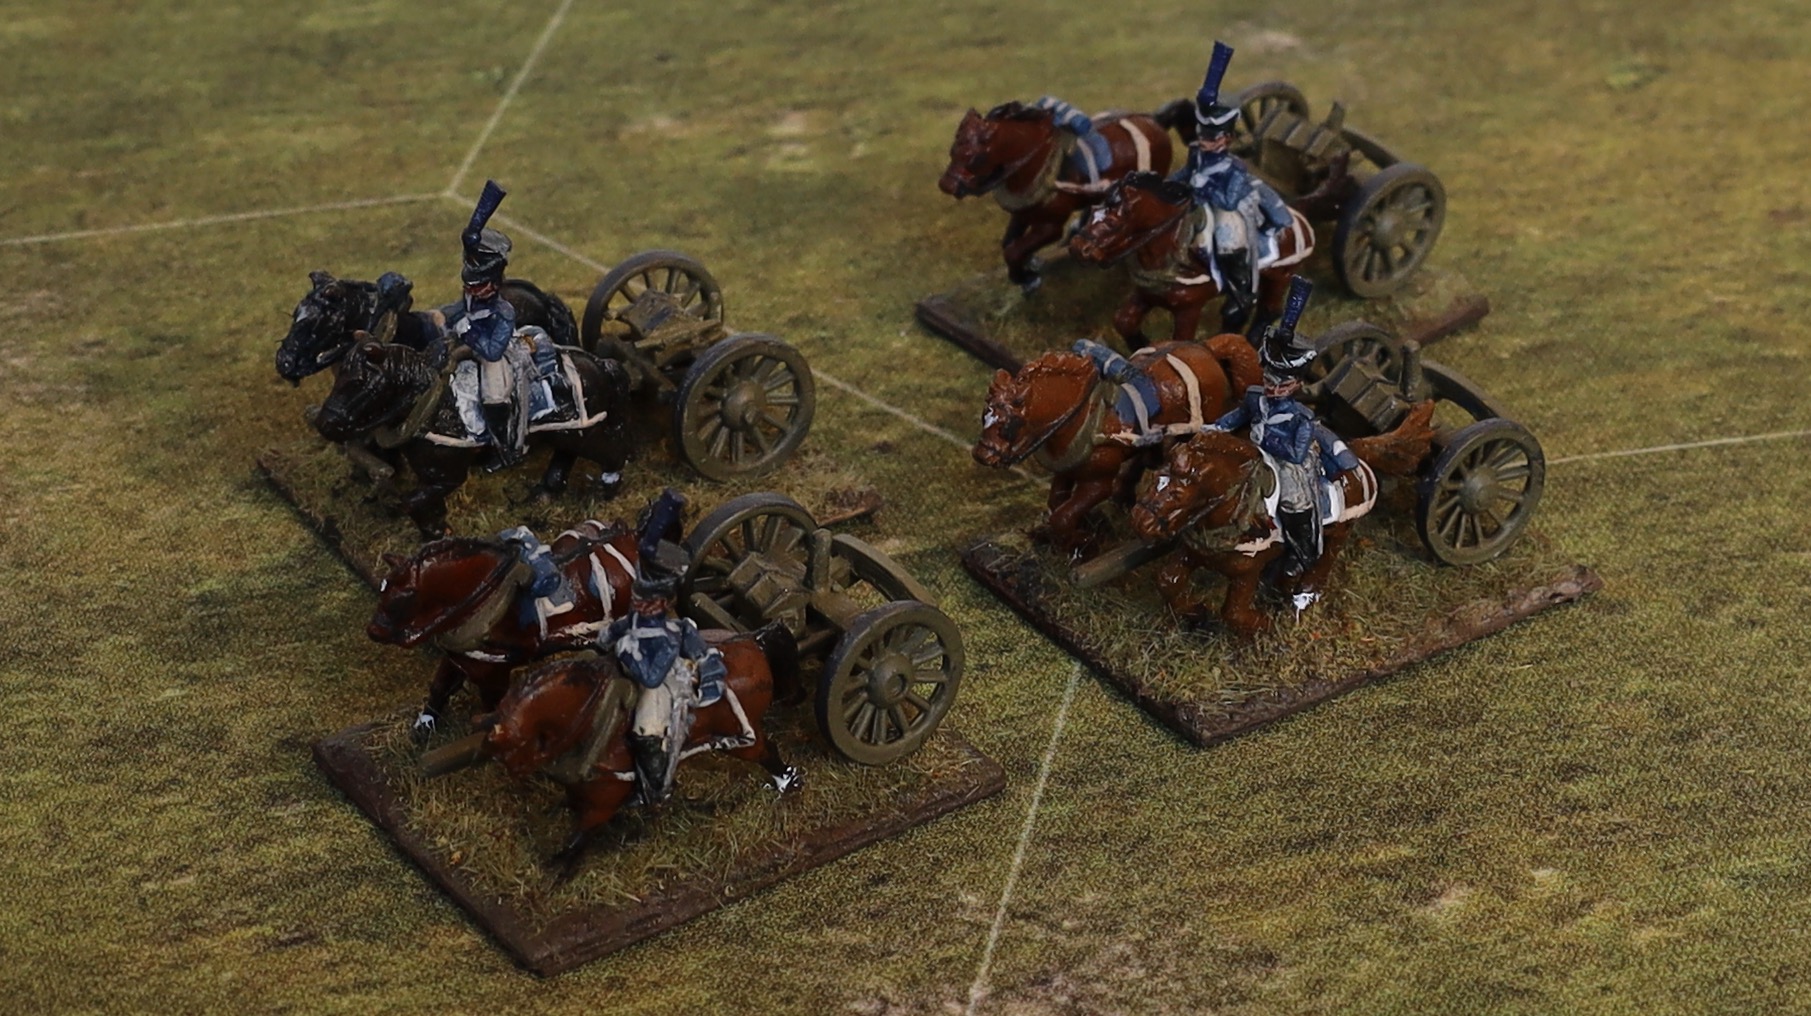
I needed four horse artillery limbers for line batteries. I used Minifigs for these, from my existing stock. Though I have no real liking for the Minifigs style, I thought their dynamic pose was suitable for horse artillery. Three of the limbers are new Minifigs (actually now a bit dated…), whilst the other was one of my old ones; the same is true of the horses. The older version is on the top left of the picture. All the riders are new Minifigs Guard horse ones – which sport plumes. I painted the costs blue to distinguish them from the foot units. The sources vary on whether artillery drivers wore blue or grey coats – and they probably wore both colours. The blue coats, the plumes, and the Minifigs horses and riders served to distinguish them from the foot artillery.
The Guard limbers
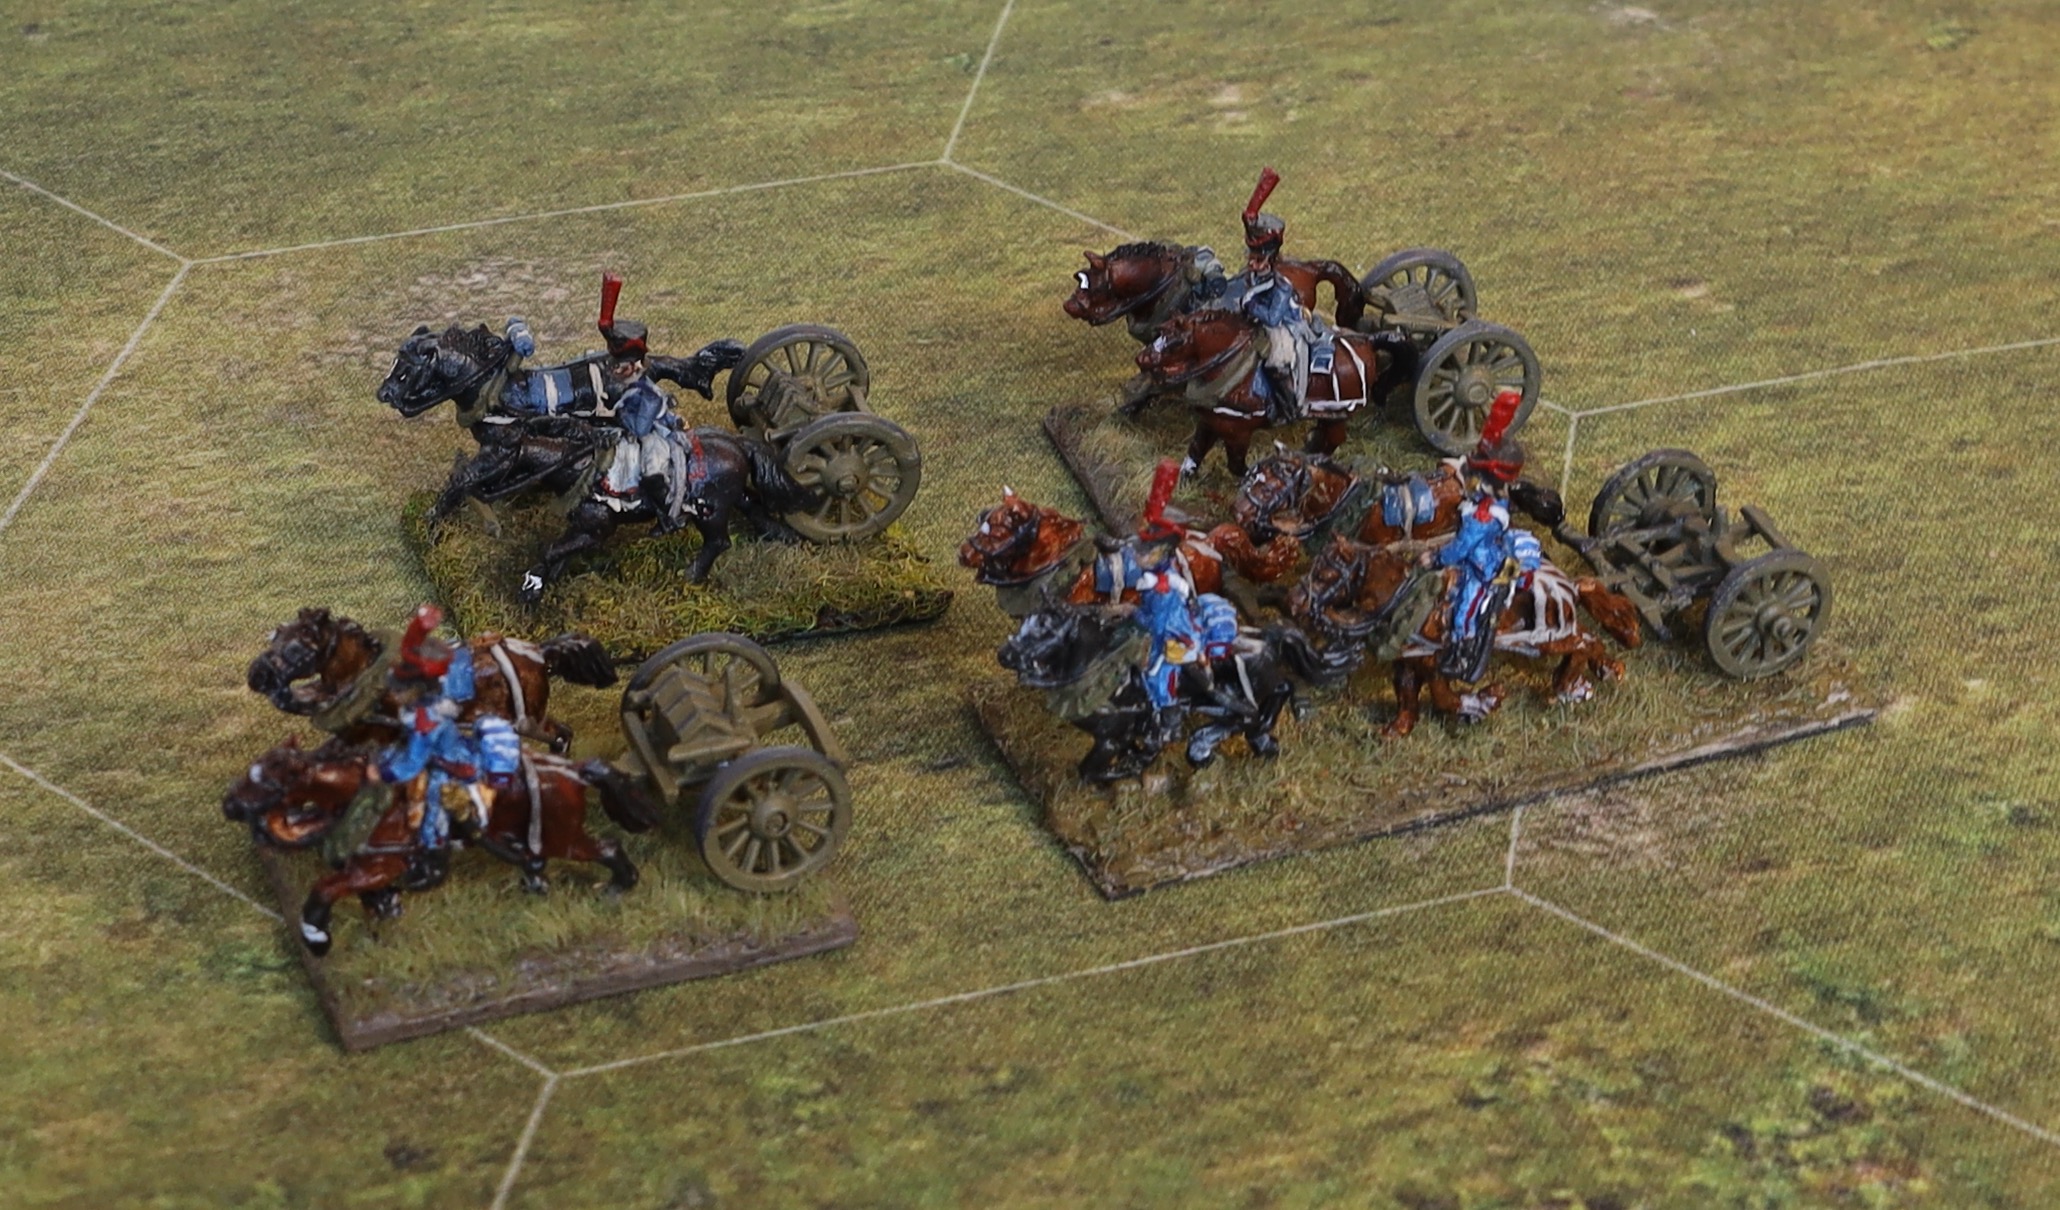
I have two batteries each of horse and foot for the Guard not counting the “Young Guard” batteries, which were not in fact distinctive from their line colleagues. The foot limbers were, as explained above, taken from the AB models, with the addition of a (new) Minifigs limber model. These were already painted up. The only change I made was to overpaint the deep green on the limbers themselves with the more correct olive green. The uniforms are blue, based on the sources I had at the time – though they are usually shown as grey, at least at Waterloo. The two horse limbers were painted up pretty much as the line horse limbers, except for the red plumes and shako cords. I didn’t have any of the newer Minifigs limbers left, so I used older versions.
Method
The horses were painted using oils, apart from the single pair of greys. I matched each of the pairs as bay, chestnut, black or grey. For the oil painted versions I undercoated with acrylic Raw Sienna or Burnt Sienna, or for a few of the blacks, Payne’s Grey mixed with white. I then overpainted with various mixes of oil paint, and wiped off the highlights when partially dry. The mains, tails and lower legs of the bays (and the very dark bays posing as blacks) were then painted in Payne’s Grey. This is the technique I’ve been using on my last few batches, and the results are generally good. With so many horses to do I hurried through this a bit. Some experiments that I thought I might do (underpainting the bellies of some of them in a paler colour, for example) I never got round to doing. I bodged the greys in acrylics, based on a dark undercoat of Payne’s Grey – I still don’t have a satisfactory method for these.
So far, so normal. I then decided to do the bases next, as I have had difficulties when leaving this to last. I used my normal thick paper, backed by magnetic sheet, with acrylic medium, sand and paint to set the figures in. The use of paper was a mistake, as the bases were larger than my normal infantry and cavalry ones, and had a lower density of models fixed to them – they had a tendency to warp. I usually rely on setting them on a metal box lid and hoping that the magnetic material will keep them true. Alas the paper peeled away as the warping effect was stronger than the gum backing of the magnetic sheet! This took a bit of fixing. I use such a thin material to stop the bases being too clumsy, and blending in better with the table. In future I need to either use something more rigid, like plasticard, or something thicker, like mount board for the artillery and limbers. The finished base was painted an earthy colour (Raw Umber with a bit of white). And then I applied short static grass. I struggle to get the static grass to stand up straight – but looking a bit windswept and trampled is OK. I used a mix of green and beige grass, and I was really pleased with the result. Hitherto my bases have tended to be a bit dark – which doesn’t do justice to the miniatures – but I got it right this time; the secret is mixing in the beige. Alas it leaves me with the problem of what I do about the bases on my current stock. A couple of experiments with putting lighter material on top of the current flock were not very satisfactory. The other issue is the static grass adhering to the figures. I could not avoid this – but it was no worse than when I have applied the flock after the miniatures have been painted.
The next step was to paint limbers, men and the accoutrements with my usual artists’ acrylics. The limbers and caisson were painted using a mix of Yellow Oxide, Mars Black and a small amount of white. These are the same three pigments that I use for German Dark Yellow, US Olive Drab and German tropical uniforms for WW2. The pigments are cheap – so it’s not surprising that their use is so widespread. Yellow Oxide is simply the industrial age version of Yellow Ochre – which is actually what the French used for their artillery equipment, mixed with a bit of black (which distinguishes them form the Austrians, who used straight ochre); the black must have been quite strong to render the result green. The colour is often represented as a much bluer green in illustrations – but there is clear evidence that it was in fact an ochre-based shade. As for the uniforms – these weren’t substantially different from the infantry and cavalry I have discussed many times. I am using Idanthrine Blue instead of Prussian Blue as the base these days – it is a hint redder, and looks a bit smarter – a consideration when painting Guard units.
Finally the men got a wash. I used Peat Brown ink for the faces, and black ink heavily diluted in water for the rest. Using a water-based wash did not work on the oil-painted horses of course – the alternative of alkyl leaves a glossy finish, and I like the natural finish of the oils. They don’t really need a wash anyway, unlike the men, which were significantly lifted. I also used the wash on the caisson, but not the limbers.
Conclusion
And that was it. This was a big project, and took me quite a few weeks – for the usual reason that I had too many distractions, and then lost a bit of motivation. Limbers and artillery are not as exciting to paint as infantry and cavalry. And the result is a bit messier (or impressionistic) that normal. The limbers aren’t the stars of the show, I reasoned, and I wanted to move on. I’m glad it’s done. To have finished my French artillery feels like a big landmark.
Leave a Reply