Author: admin

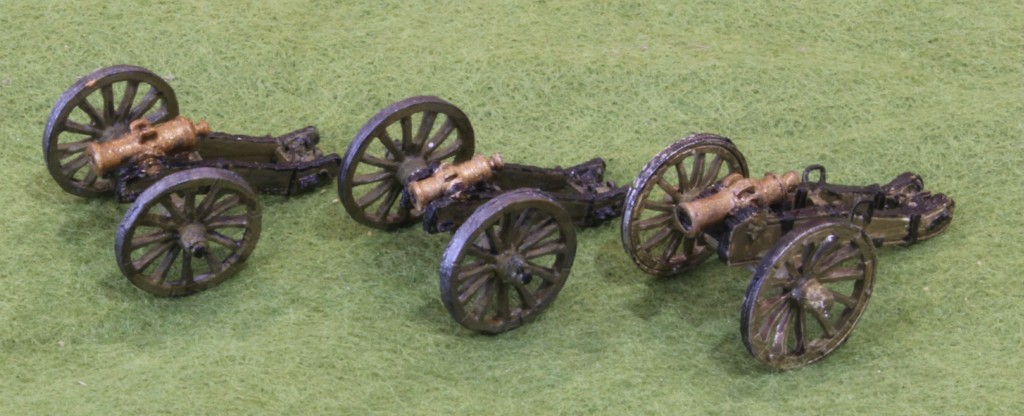
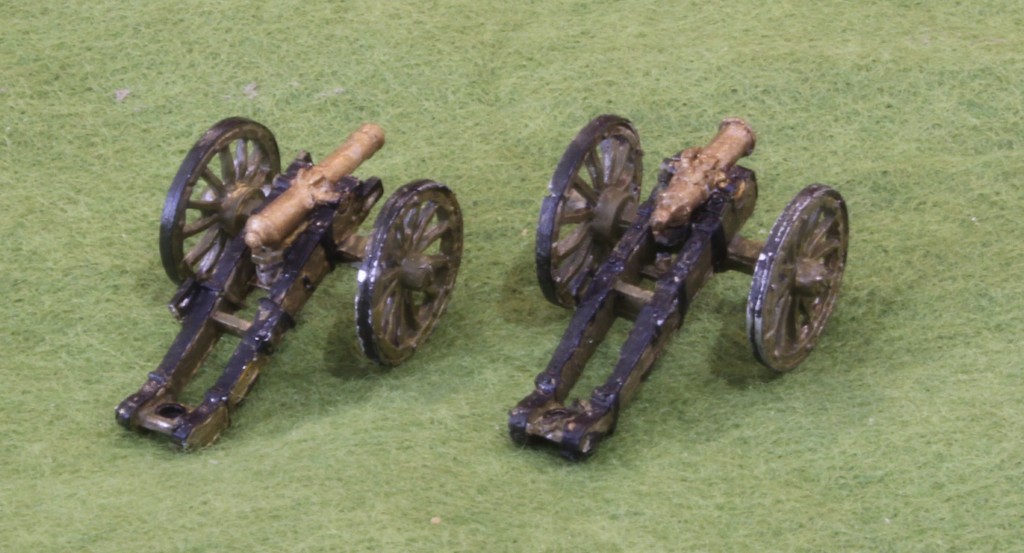
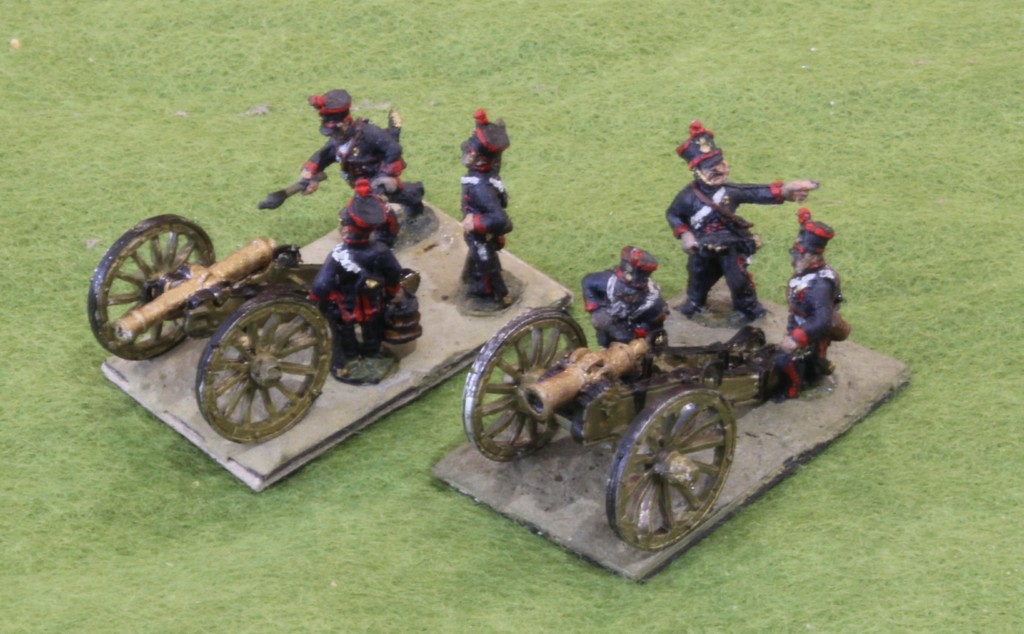
  • French artillery in 1/100. Part 1 – setting the scene

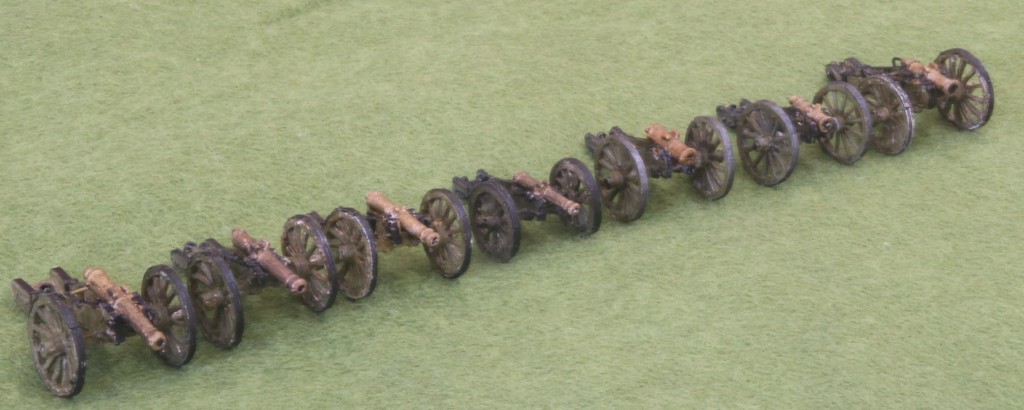
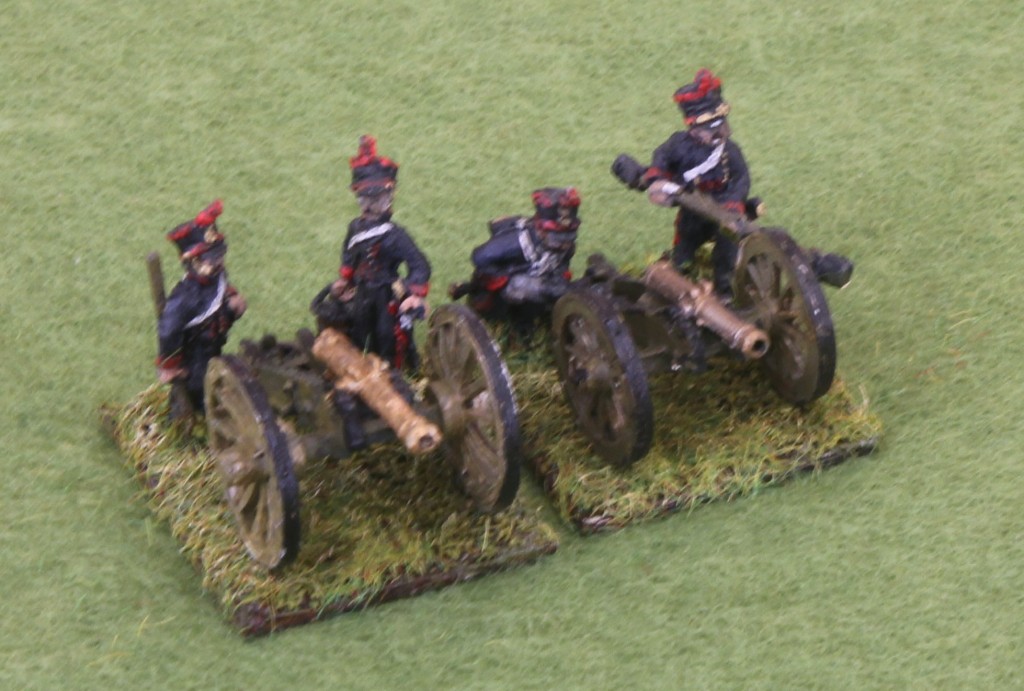
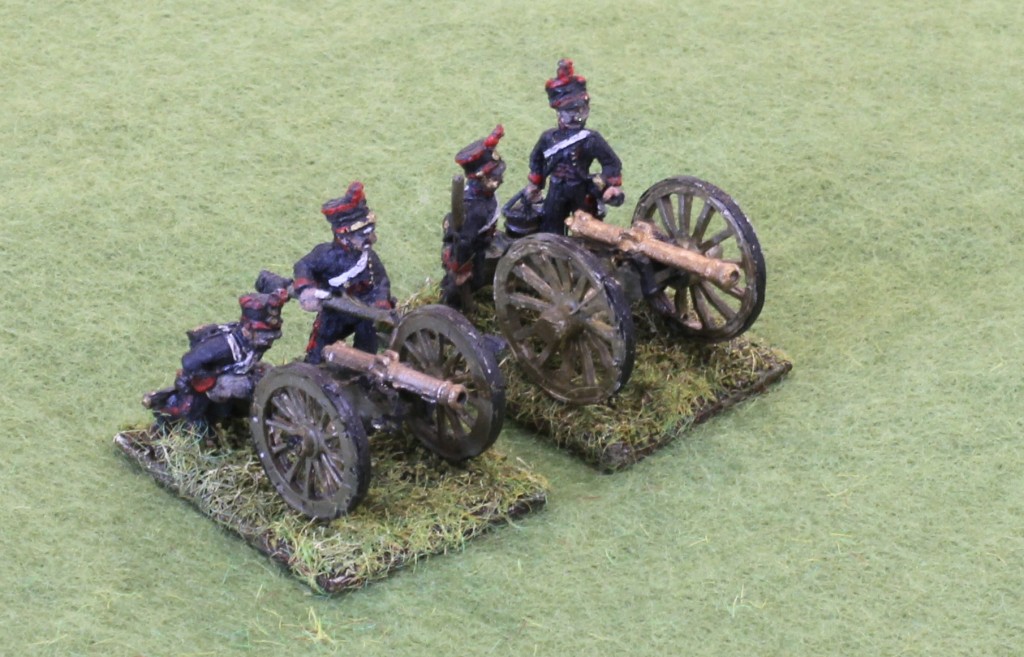
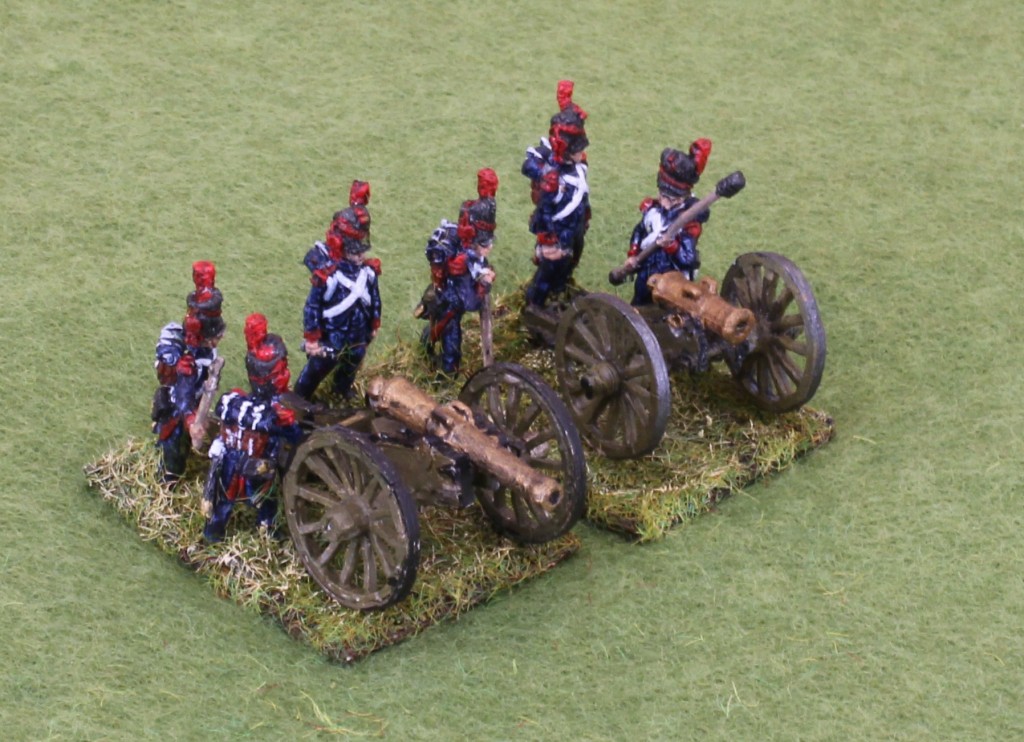
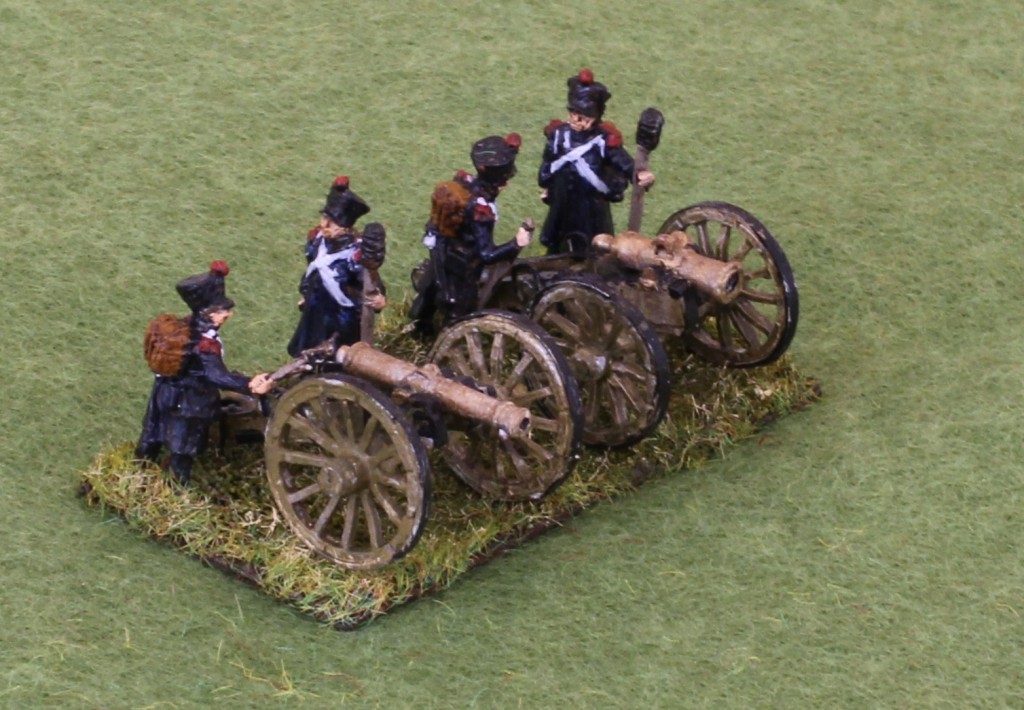
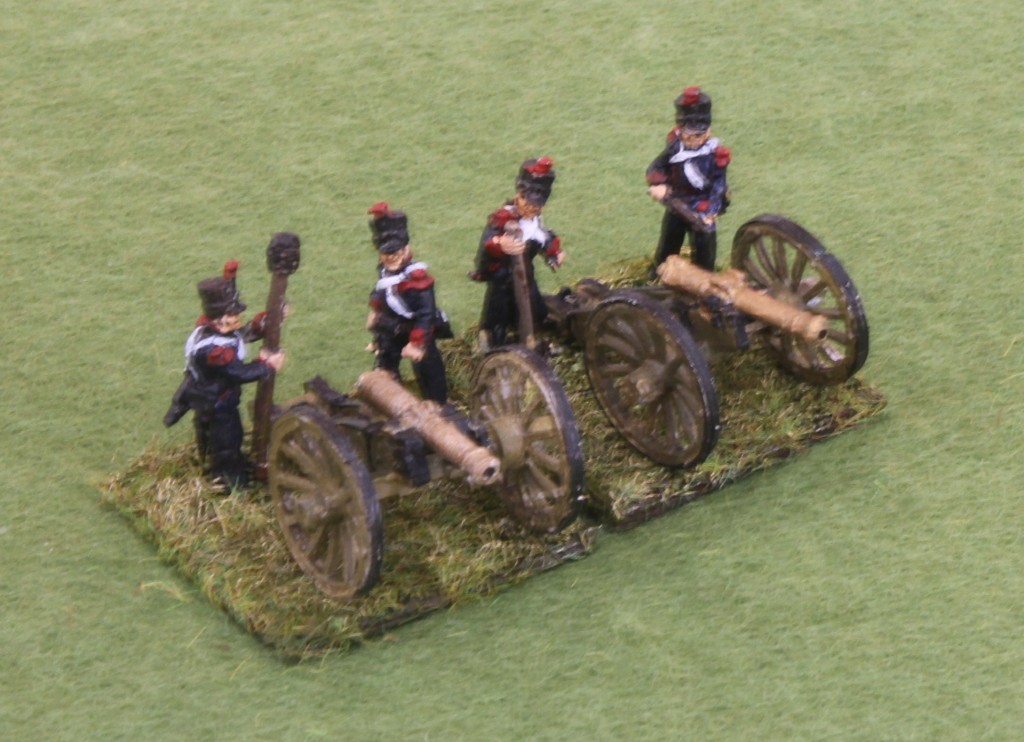
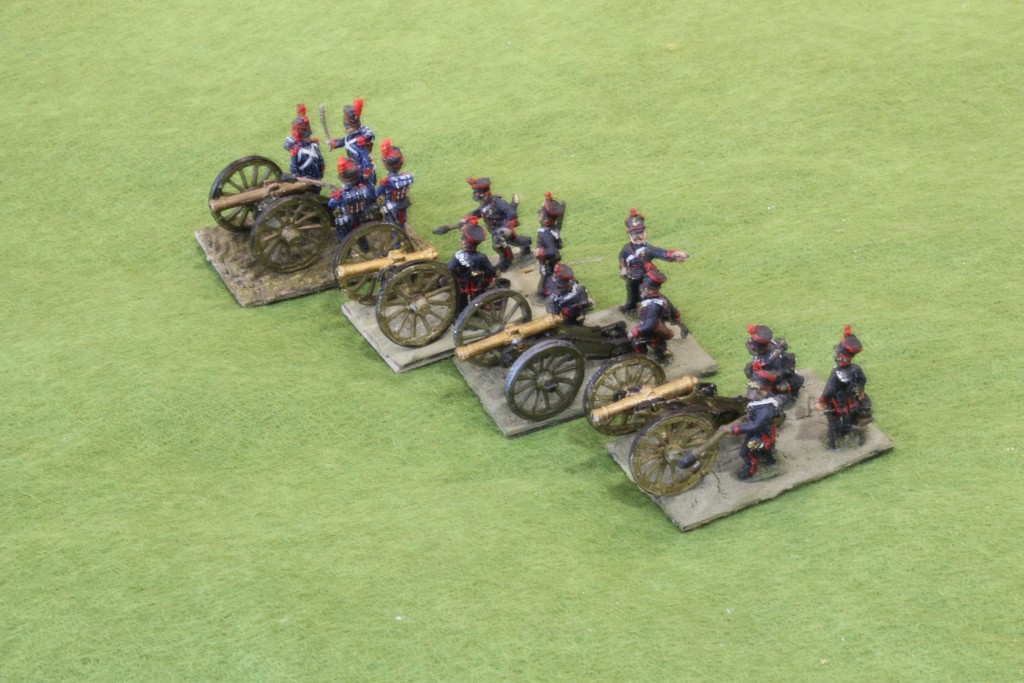
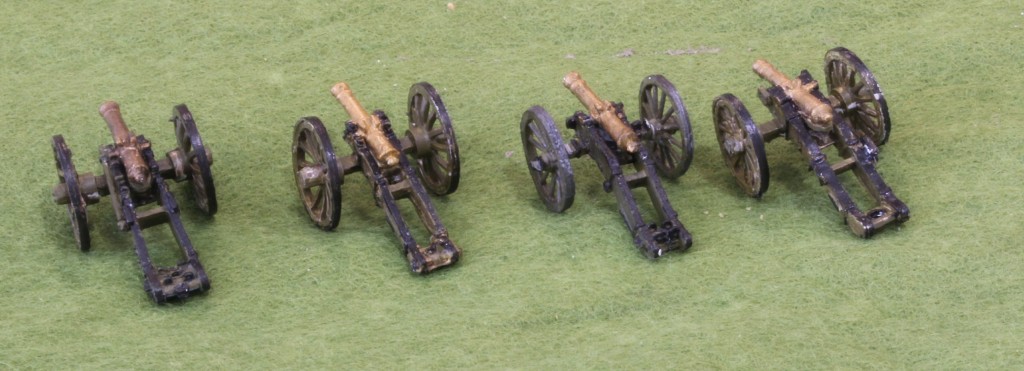
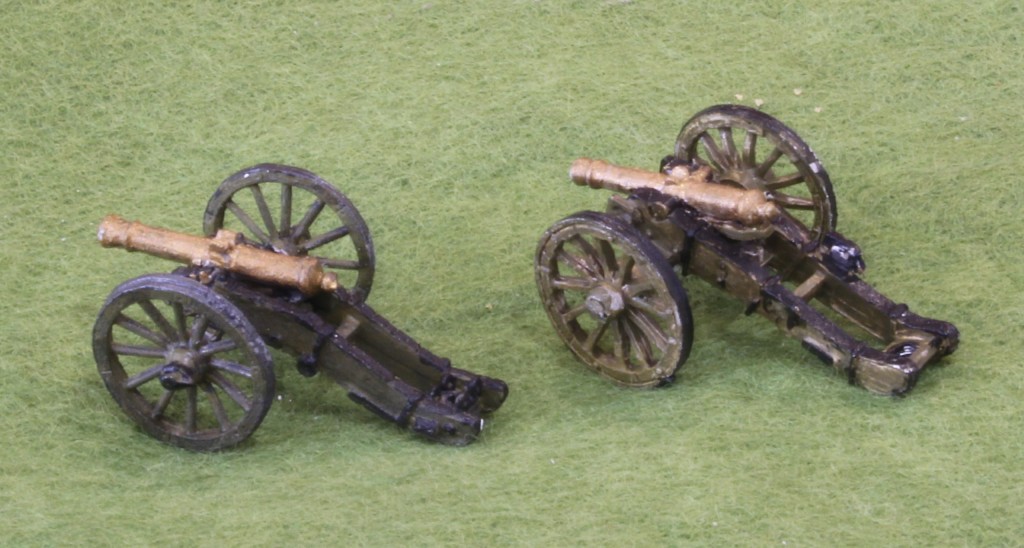
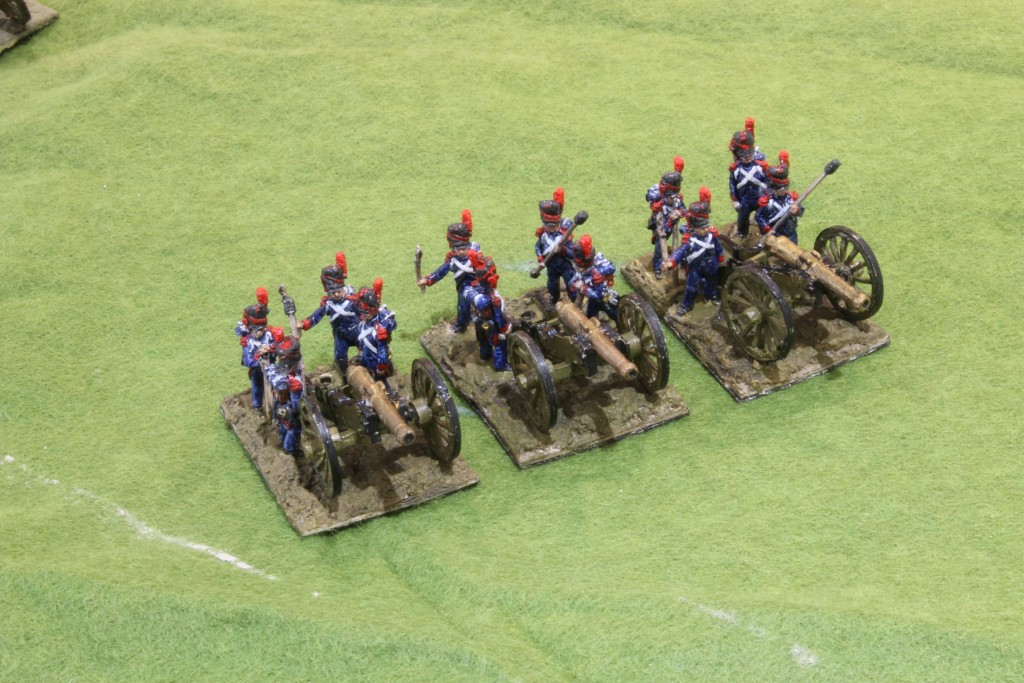
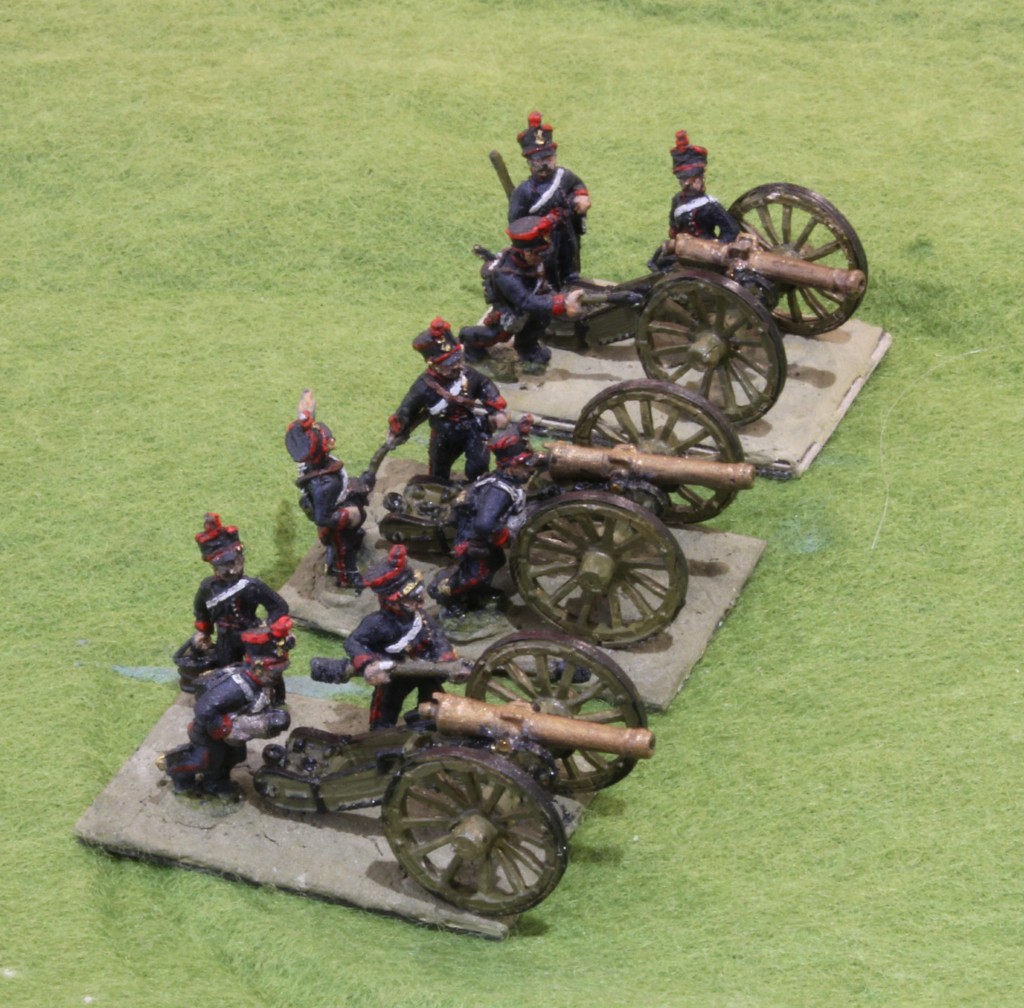
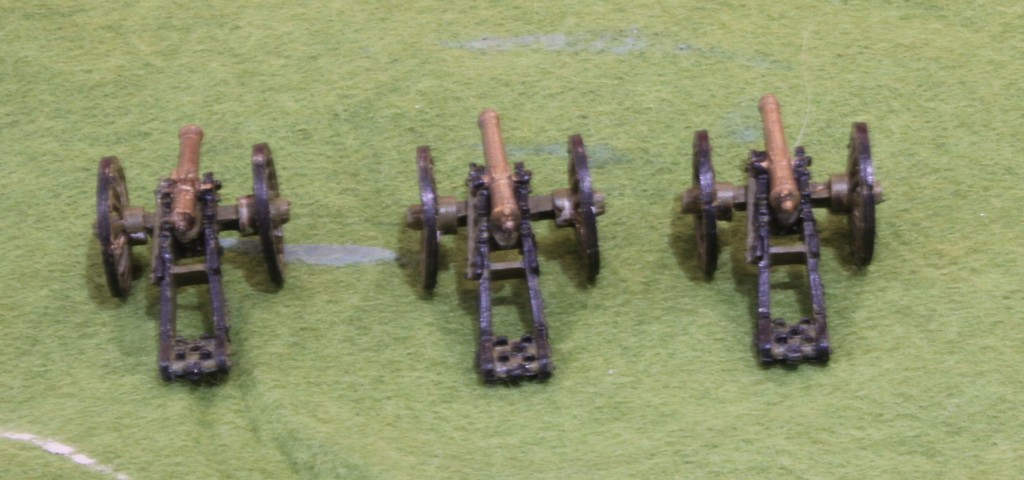
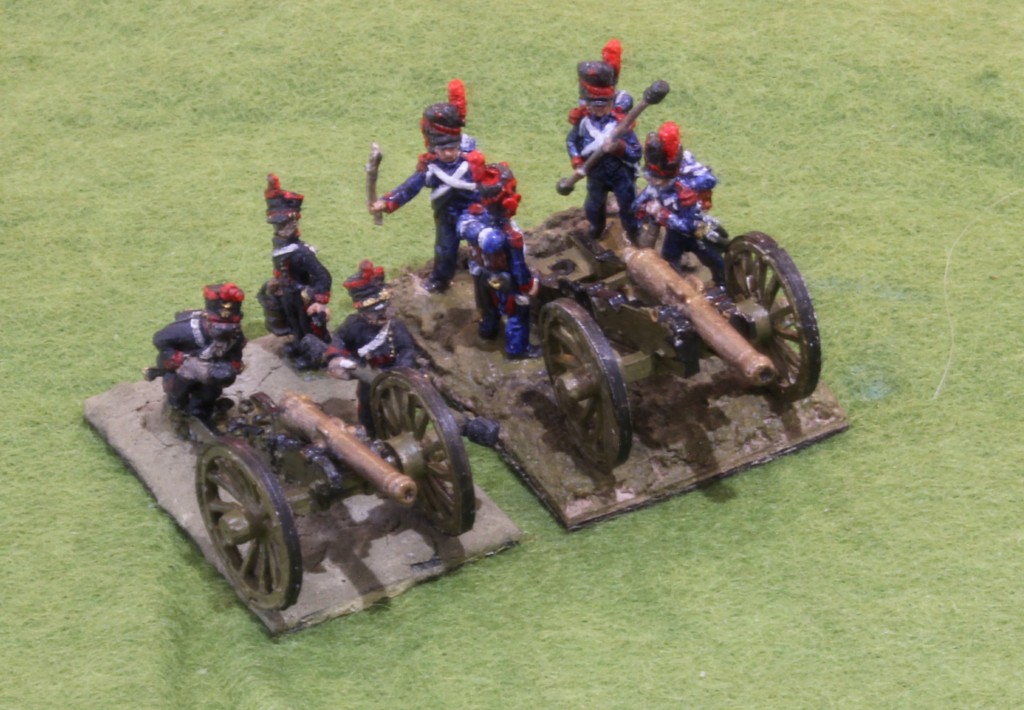
    Over the last months I have been overhauling and re-basing my French army. Apart from looking a bit tired I had two problems. First the infantry (all in 15/18mm scale, or 1/100) were based in one rank on a single base, one inch (25mm) wide and half an inch deep. I am moving to one inch squares, with the figures in two ranks of three. These look much better and are easier to handle. The deeper bases create a host of problems for game mechanics, especially in the grand tactical games that are my main focus, but I have decided to take those challenges on. The second change was artillery, where the bases are too deep (40mm for the most part – a shade over 1.5 inches). This was messing up limited tabletop space. So I am cramming them onto shallower bases (a bit wider if need be) with fewer crew figures.

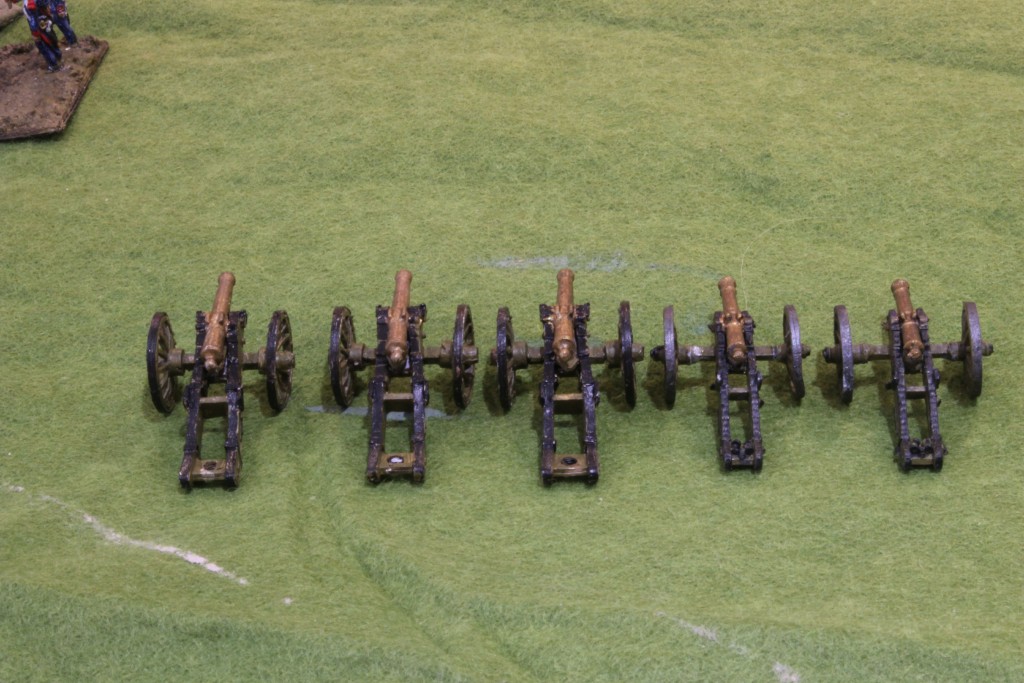
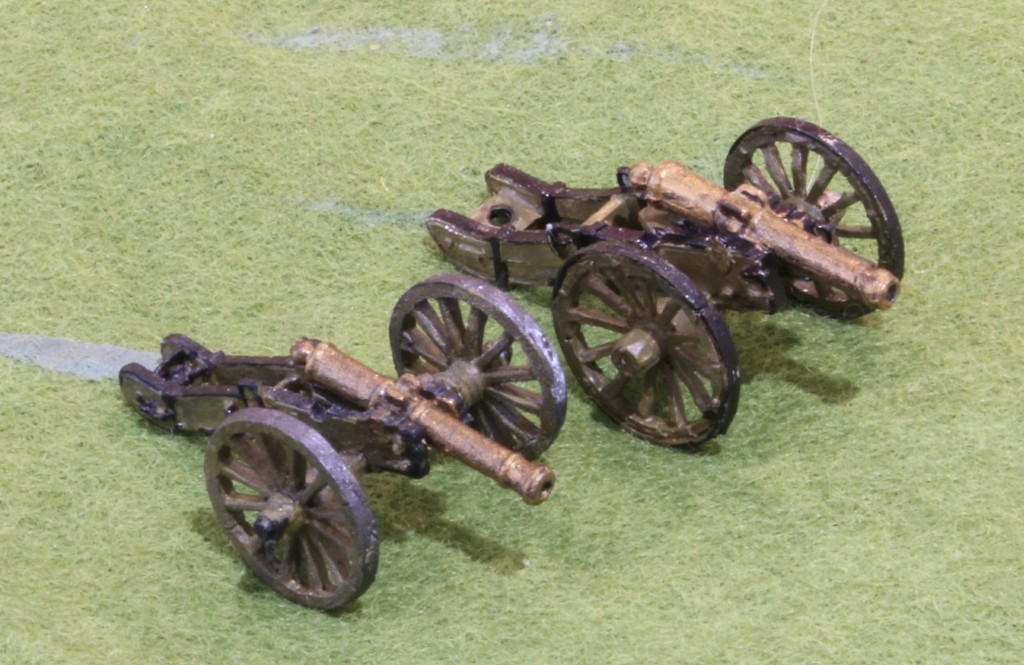
    The first task was rebasing my mainly 1809 Old Glory infantry, which are the backbone of the army. This involved some conversions (mainly head changes) to get the elite company poses looking consistent, and painting up skirmishers (which came from Blue Moon rather than OG). This is now done, bar finishing touches to the bases. That still leaves the Imperial Guard, which I will leave for later. The next task is the artillery, where I don’t just want to rebase, but I want to completely overhaul my rather inadequate models, to align them better with what is currently known about them, and allow later campaigns (especially Waterloo) to be depicted more faithfully.

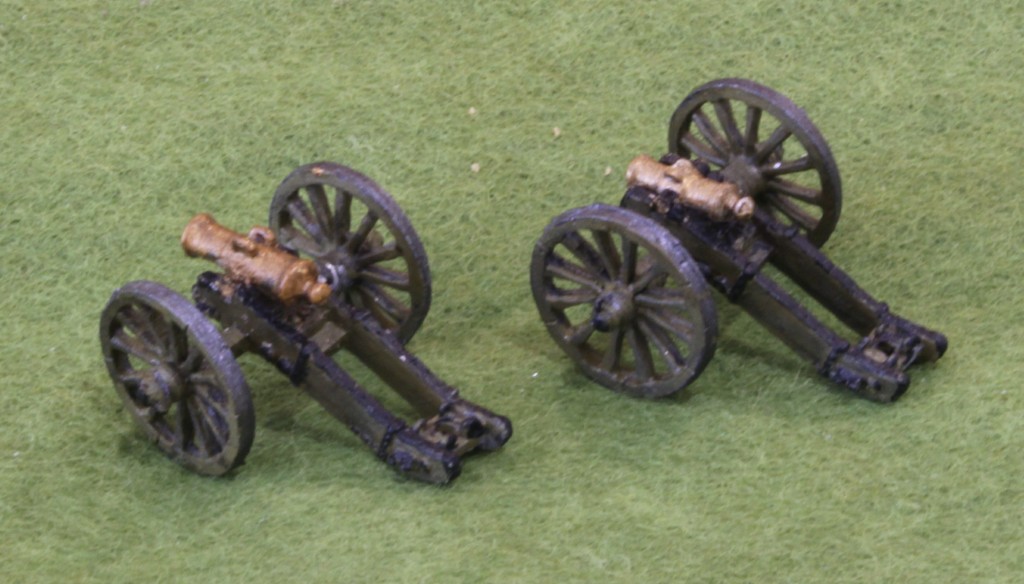
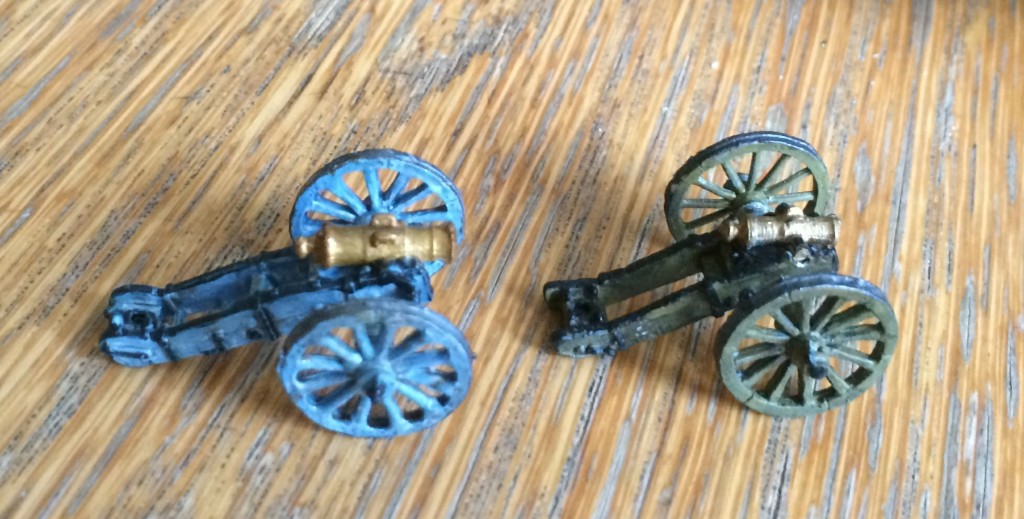
    I have been researching this for months. My aim is to have a complete range of models representing all the main field artillery types in use by the French, and substantial numbers of 6pdrs, which I currently lack.

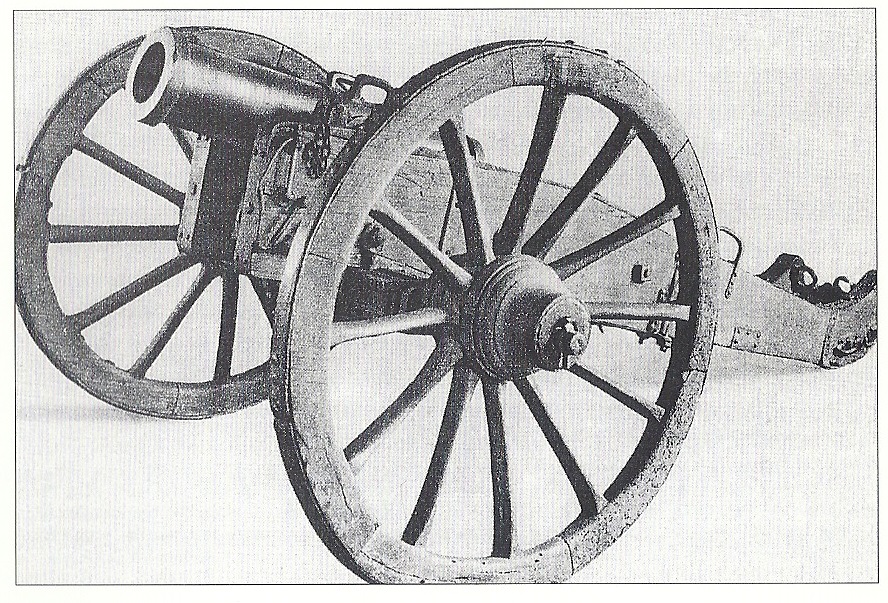
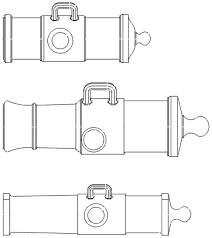
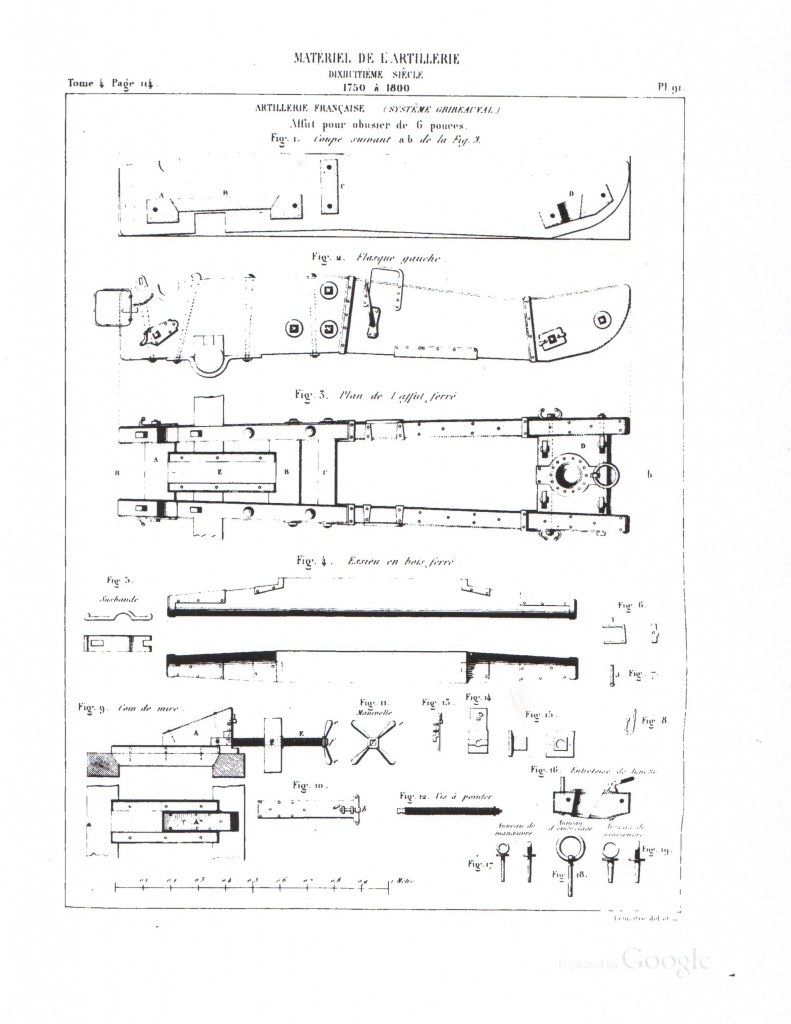
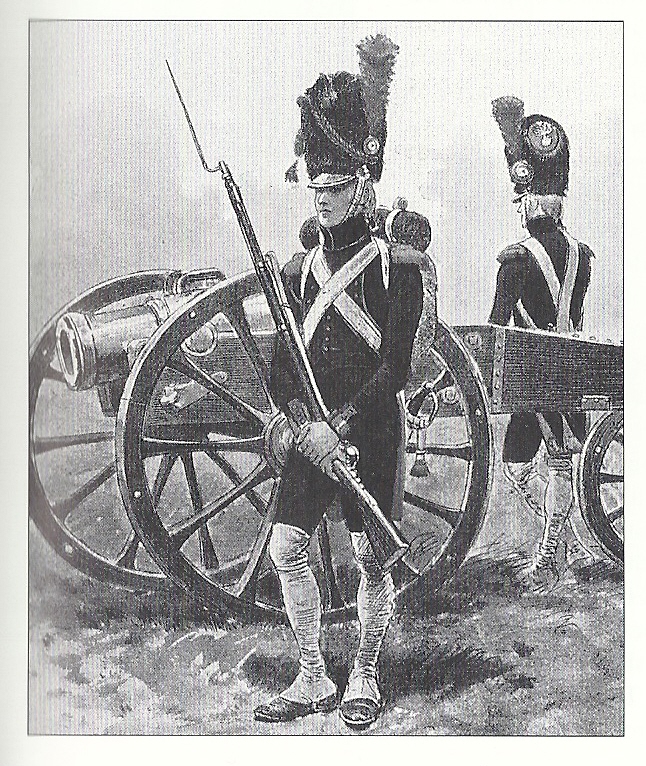
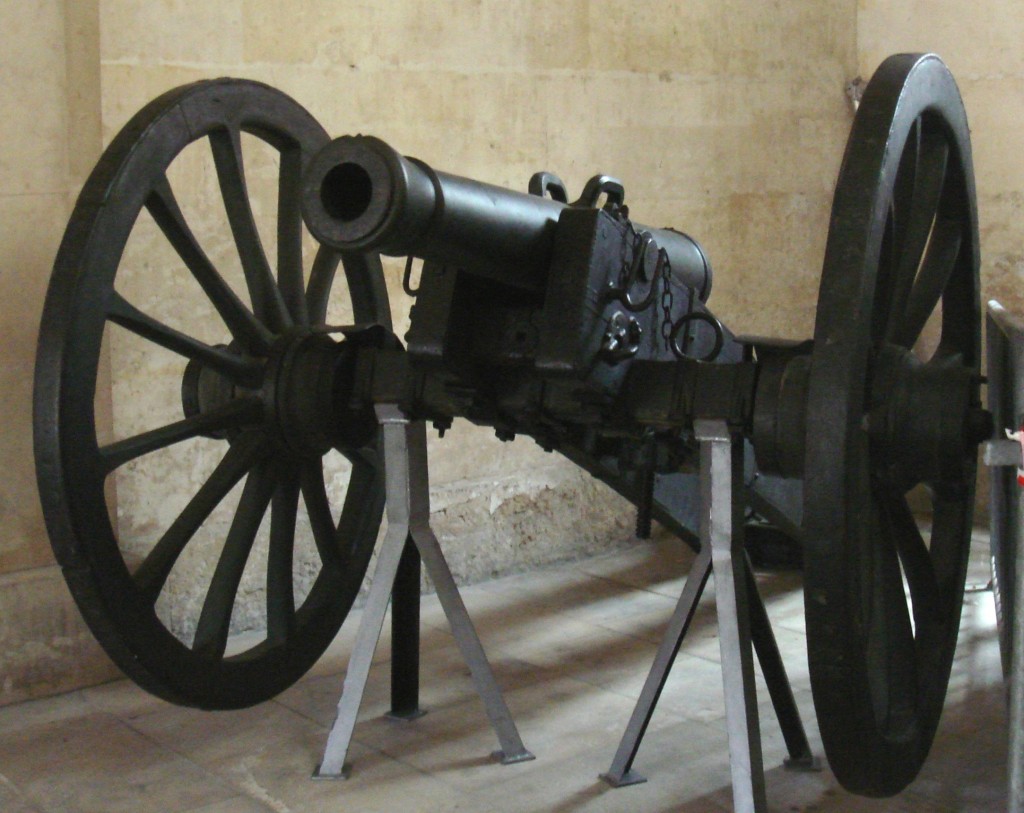
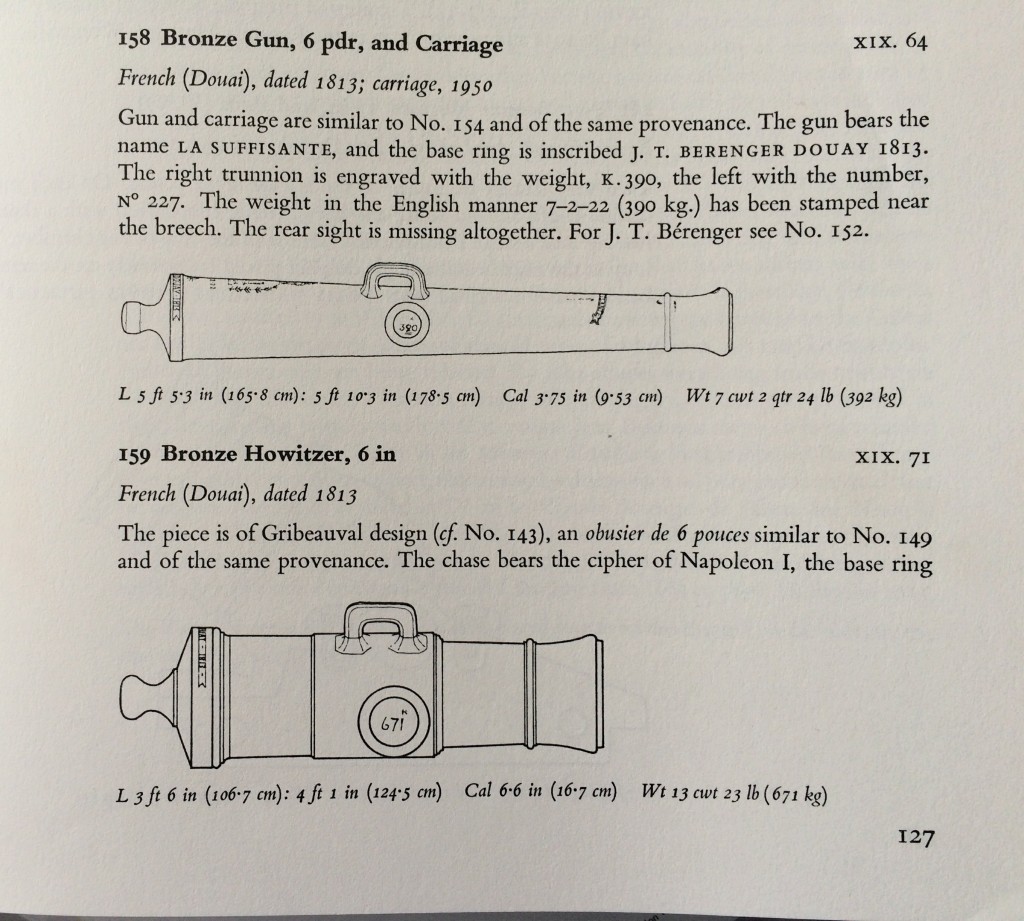
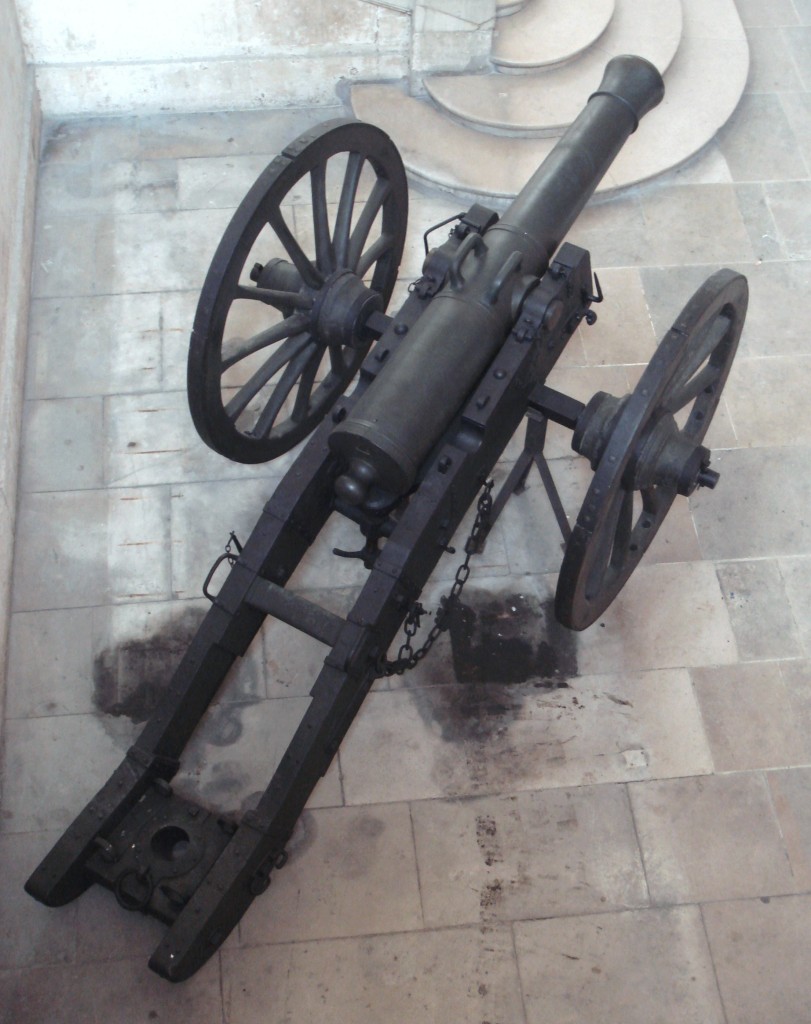
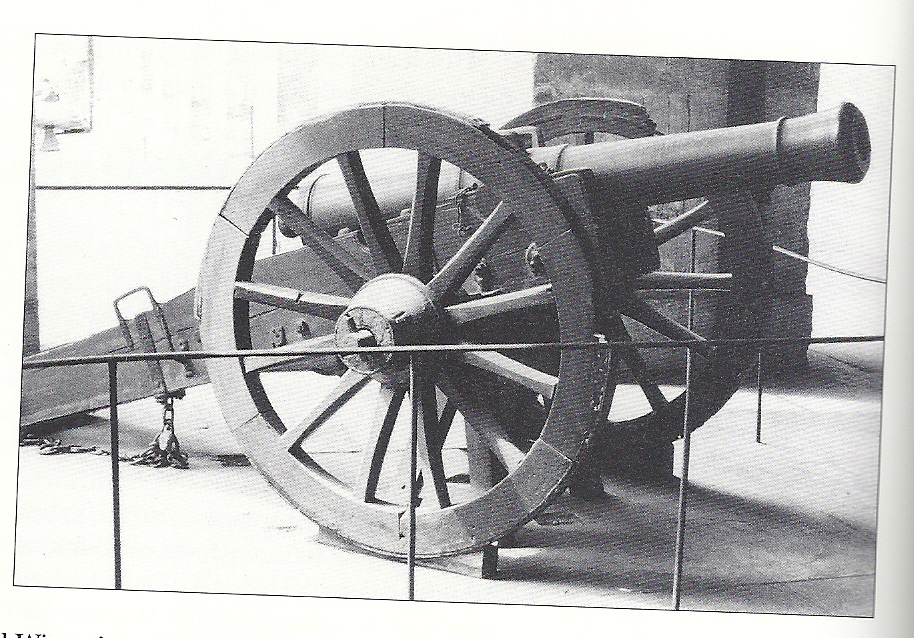
    You would think that for something  as basically factual as this, it would be not too hard to work out what these various pieces looked like. But in fact the information out there is mired in muddle and misinformation. When I started the hobby in the 1970s, all the English language literature suggested that the French operated the Gribeauval system with the use of 4pdr, 8pdr and 12pdr guns an 6in howitzers throughout the wars. In fact it turns out that from 1803 these weapons were being replaced by a new system, the An XI, instituted by Napoleon. By Waterloo most of the artillery were 6pdr guns and 24pdr howitzers (actually a bit lighter than the old “6in” ones). Unfortunately most 15mm figures ranges were cast when the old story was still current, and when good data on the newer pieces were scarce.

    Two more recent publications have helped somewhat. The first, in 2003, was the Osprey booklet Napoleon’s Guns 1792-1815 (volume 1 is the relevant one) by René Chartrand (which I’ll call RC). Then came Napoleonic Artillery in 2007, Anthony and Paul Dawson and Stephen Summerfield (DDS). These are big advance, but I have found inaccuracies in each.

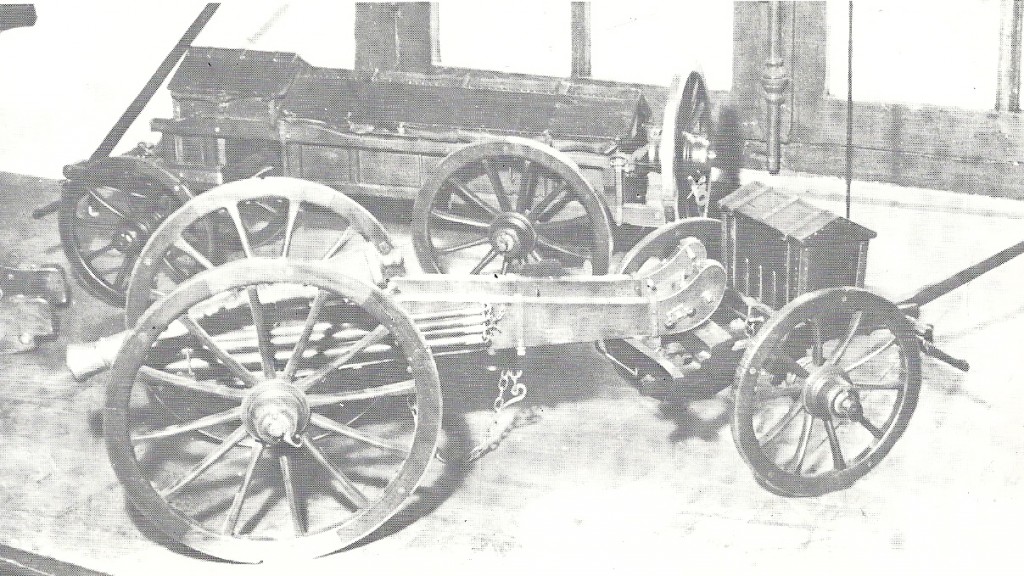
    The truth is that there isn’t all that much good data out there. Few examples of the pieces survive with their original carriages – though more of the tubes do. There are some technical drawings – which exert a disproportionate influence over how the weapons are represented. There are also some official papers and some contemporary tables giving some measurements. This was before the age of precision manufacturing and machine based mass production.  Standardisation was the theory, but less so the practice. Carriages might be made without detailed drawings to work from, or the drawings might be lost. Changes might be improvised in the field without any clear records. That leaves plenty of gaps into which people must speculate.

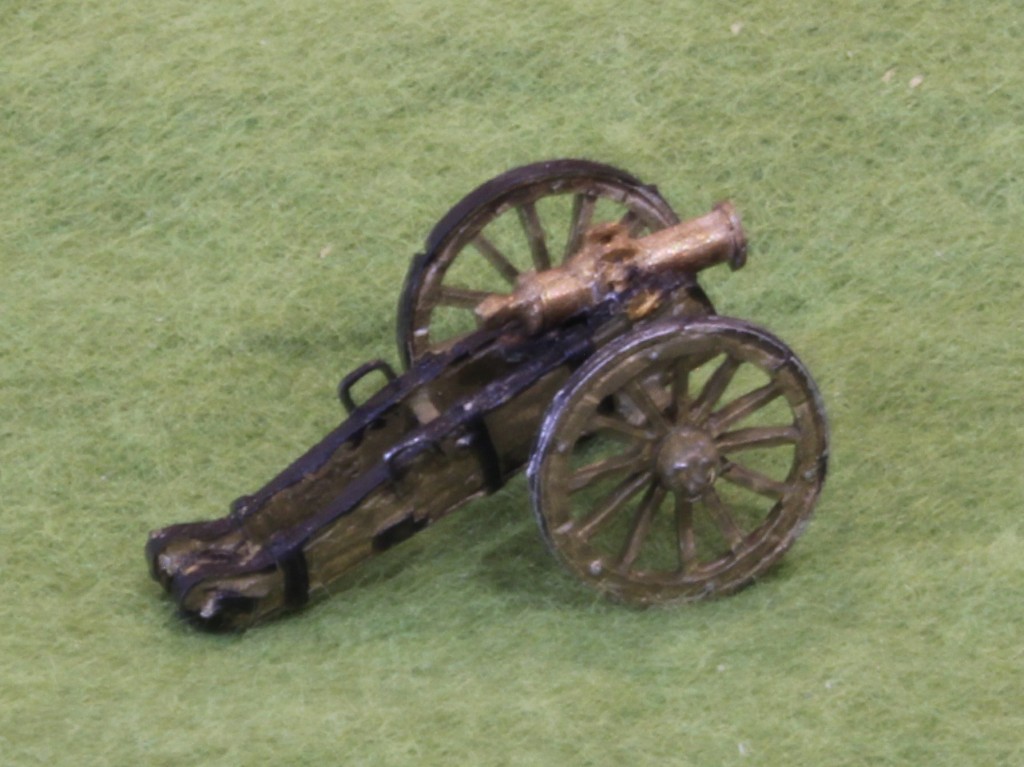
    I am not attempting accurate representations of the pieces – that is too much. My objective is similar to that of artists – to get something which is recognisable – and also I want the models to look more or less right next to each other.

    And before I move on to the detail, I want to say a bit about my collection to date. I started building my 15mm armies in the 1980s, using early (series 2 I think) Minifigs. I didn’t take to their artillery, and I quickly replaced them with Battle Honours in the 1990s. But I didn’t particularly like these either (or the heavier pieces and howitzers anyway), so I brought in a few Old Glory and AB models. That leaves me with a lot of old bits from which to make my models – especially including a few Austrian and Prussian models that I have acquired along the way. In order to help readers without these resources, though, I will offer guidance on how to reproduce these from stuff that is currently available.

    What I haven’t done, though, is gone on a spree of buying all the models that are available from the different manufacturers. I have made a few speculative buys of French and Prussian pieces (I am assembling a late Prussian army too – and their later pieces were quite similar to the French ones). I must particularly acknowledge a debt to fellow London blogger LittleArmies, whose review of 15mm models, including exchanges on TMP, has been of enormous value.

    I must also acknowledge help from author Kevin Kiley, who helped me find a number of very useful drawings, supplying me with scans of a number of them. Plus a number of contributors to TMP – including Stephen Summerfield (of DDS) – who have taken the trouble to illuminate a number of details.

    Next article: Gribeauval and the 4pdrs

  • Bloody Big Battles goes to Waterloo

    BBB Waterloo startAlas the rest of my life intrudes and my wargaming projects proceed at the pace of a snail. When my friend Rob suggested that we celebrate the bicentennial of Waterloo in the only way you really can, I was unready. My rules are still in pieces, untested, and probably unfit. Even my French army was off its bases as part of an overhaul and rebasing exercise (Rob provides the Allies). The house was entering chaos as a major kitchen rebuild was just starting.

    But these challenges help to focus the mind. I could get a reasonable number of French infantry ready. In spite of the domestic chaos I could get a temporary 3ft by 4ft table up for a day. But with limited numbers of figures available, and an even smaller table than usual, what rules to use? I thought of doing a tactical game, representing part of the bigger battle, another encounter or some wholly made-up scenario. And then I remembered Bloody Big Battles. This set of rules, written by Chris Pringe, is meant for a later era – the European conflicts from the Crimean War to the Franco-Prussian war. I had bought them because we considered their use for an 1866 game (Austro-Prussian War), but rejected them as we preferred the less abstracted feel of Bruce Weigle’s 1866. I had read on TMP that they could be used for the Napoleonic wars, which were not at such a technological distance from Crimea after all. These should fit the bill nicely – designed as they are for such large scales. I could even bring in my newly painted Prussians. We were on!

    Apart from the scramble to get enough of my French ready, the two big challenges were to get the rules and table ready. On re-reading BBB there seemed a serious deficiency in its treatment of cavalry. They used the same figure scale (1,500 per base), but were treated in much the same way as infantry, except with more mobility and limited firepower. This might be appropriate for the later era, when cavalry’s role was somewhat peripheral, and where they were dominated by firepower. But the Napoleonic era was different – the rules would not produce anything like the seminal Waterloo events of the charge of the Union Brigade, or the French cavalry charges. A major aspect of Napoleonic warfare was lacking. A second deficiency was the lack of any rules that would cater for the fortified outposts of Hougoumont and La Haye Sainte, so important to the actual battle. To rectify these gaps, and fix one or two other things, I put together some house rules. These weren’t my finest hour, as things proved, but more of that later.

    So far as the table was concerned, the challenge was harder. I have struggled to produce adequate representations of relief for my games. The more games I play, the more important I think this part of a simulation is. Terrain is a wonderful, complex thing that does not follow standard shapes. Dropping standard hills and other items onto a flat tabletop does not work. The gentle, rolling terrain of the Waterloo campaign are a big challenge. This folds in the terrain may not be big, but they are vital to an appreciation of the battles. How to create terrain quickly?

    The solution I opted for this time was to buy 60cm by 40cm by 10mm cheap sheets of styrofoam, sold for packaging (not the denser insulation material) and a hot knife. I then built the table up in contours, representing about 10m relief (ignoring the edges), fixing everything in place with masking tape. This took a few hours the day before – longer than I had hoped. Over the styrofoam went the standard felt blanket, with the help of some pins and water spray to help it conform more closely. The rivers, roads, woods, etc were hastily added using masking tape, green flt and a few stock items of 10mm and 6mm scenery (in spite of 15mm figures!). You can see the result in the picture above of the start of the game. The non-relief bits (especially the rivers) looked awful, but they are a work in progress. The relief looked fine though, and was the best I have produced for any of the games I have hosted. My main learning is that it would have been better to build up modules, of say 30cm by 60cm, rather than build the whole table up with interlocking bits of foam. This makes dismantling, storage and reassembly much easier – and may even be quicker to put together – as working on such a large canvass can do your head in a bit.

    And so the 18th June arrived and we were set.

    The course of the battle

    The game started at 11am in game terms, and about the same in real time, with the historical start positions and using Napoleon’s battle plan. My memory of the exact sequence of events is a bit vague, but this is my general recollection.

    On the French left things got off to a bad start when Jérôme refused to move. Foy attacked Hougoumont in his place, and suffered a -5 dice difference on the assault, which left him retreating with a base loss. Subsequently Jérôme did move in and capture Hougoumont, which proved much easier under my rules than I intended. There was a counterattack by the Guards, but Jerome held on. But he made no headway. He lacked support on the ground to his right, which was dominated by the British artillery. French artillery reinforcements did help reduce the British artillery, and an attack by the cuirassiers on the Guards as they counterattacked was beaten off. The French dithered a bit, though managed to take La Haye Sainte after d’Erlon’s failure there.  But as the British threw all their horse artillery in to create a 3 unit grand battery (supposedly over 100 guns), Bachelu and Foy were thrown into the centre in an attack right along the line. The cuirassiers took on the newly arrived artillery. But this attack failed, apart from disrupting the British artillery. Foy and Bachelu were wiped out, leaving Jérôme isolated.

    On the French right things went worse still. Although the initial French bombardment made some headway, the leading French division in the centre was disrupted by long range artillery, meaning that the attack was severely weakened, and failed across the line. At one point the British conducted a vigorous counterattack with Picton and Bijlandt, which attracted a cavalry charge, which bounced off. As the battle progressed three of d’Erlon’s divisions were destroyed. One by cavalry, another by a good throw on combined artillery and infantry fire, and the third from a double draw in an assault which took out 2 bases.  Durutte managed to take the Papelotte complex and hold it for a while, but was eventually ejected with loss. Eventually the French threw in the cavalry and the Middle Guard in a general attack across the front (as already referred to). The Middle Guard made some headway, but in the end the attack failed, and the Middle Guard was destroyed. The British lost Picton and Best and a light cavalry unit. They brought in their heavy cavalry and the Brunswick division to shore things up.

    The French did quite successfully keep the Prussians at bay though. The Prussians were as aggressive as they could be, and drove the French back some distance, causing some losses on Lobau. But by 7pm they had not got beyond the Papelotte complex. The Prussians had overwhelming numbers, but found it difficult to advance quickly enough.

    It was about this point that I threw in the towel as the French player. I had very little infantry left. Reille was reduced to an isolated Jérôme. D’Erlon had a weakened Durutte, drawn into holding the Prussians back. That left two Guard units. The British infantry was a bit battered but still looked very robust. The French cavalry was faring much better though – but there was little it could do against all that infantry!

    This was how things looked at the end:

    Waterloo BBB the endOverall verdict on the battle

    The game followed the overall historical path – except that the British did not suffer as heavily, the French cavalry fared better, and the Prussians did not advance as quickly. My performance as Napoleon was a bit tired – I needed to fight a tighter, more vigorous game in those early moves.

    The game was affected by the rules. My rule modifications on outposts and cavalry both worked badly. The former were much too easy to take, but cavalry had very little ability to make much headway against infantry – though did not suffer heavy losses.

    Also I was a bit generous with the British. On the right they had two big, six base units, rated as veterans. The French mainly had three base units, rated as Trained. The big units had a lot of stamina, while the smaller units disappeared after their second base loss.

    We were unfamiliar with the rules – and the tactics that were needed to succeed. We didn’t play them accurately either. We weren’t recovering losses until very late in the game, or reducing fire from disrupted units.

    For the attacker the best tactics seem to be to create disruption and then take advantage using fresh troops before the other side had the opportunity to recover. By and large that disruption comes from Defensive fire and assaults resolved in the enemy’s previous phase – or a failure to recover from disruption inflicted in your previous move.

    Reflections

    Scales

    With 1,500 men per base (750 cavalry in my adaptation), against the recommended 1,000 for the ground scale, I was expecting it to relatively uncluttered. It wasn’t. True, Reille looked a bit spread out at the start, and there was room enough to deploy the British – but the French reserve areas were very congested. And as the forces closed it got very crowded. Similarly with the Prussian attack – though Lobau did look a bit challenged to defend his front, that worked out OK in practice.

    I think 1,000 per base might just have worked. It would certainly have reduced the number of three base units – which lacked stamina. But with my DTN rules have 750 infantry or 250 cavalry per base – and that adds up to a major design problem. A shame because the distance scale worked fine for Dining Table brief – in what was a historically compact battlefield. I want to leave four foot tables for bigger battles so changing the distance scale isn’t really on.

    Core rules

    Unfamiliarity didn’t help us – but I was struck by the strength of the core design, reducing complications to the minimum. The temptation is often to add details, but further thought often suggests that the concern is met within the rules. Overall they fitted the dining table brief rather well. They gave a decent two player game in a relatively confined space. The core mechanism, adapted from the ACW Fire & Fury rules, is quite an elegant one, if a little abstract.

    Still there are frustrations:

    • Firing was very hit and miss – by and large needing high scores to inflict disruption and very high ones to inflict base losses. Mostly it was a lot of dice throws to no effect. The heavy lifting in the combat rules was done by the Assault. This was the main reason, I think, that cavalry got away with so few losses. This is partly a common problem with representing small but cumulative losses on such granular units – a bane of many rules that are designed to play fast. It may be that the original rules are too harsh on smoothbore muskets – it is less easy to criticise the artillery rules.
    • The Assault was rather unsatisfactory process. I remember my friend George complaining about it when we rejected it for an 1866 scenario. Looking back at his emails I think the rules as written are not as bad as we feared – apart from the cavalry v infantry problem. I didn’t think that there was anything inherently unsatisfactory with the way the factors were calculated, apart from the special situations covered by the house rules. Two things jarred. First was that the process of comparing the difference between two dice scores and then modifying is quite hard work, especially if the modifiers work in two directions. Second the “draw” result results in two lost bases, which is a very severe result, especially if it repeats, when dealing with typically quite small units.
    • Command and control works purely through an activation step with a modifier for being within radius of a leader. I prefer something more hierarchical and based on PIPs.
    • There seems quite a serious advantage for larger units. Smaller units are liable to disappear as they hit the minimum unit size. The two 6-base veteran British units (Alten and Clinton) proved very hard to make headway against.
    • “Low on ammo” is a particular irritant to many with this rules system. It is interesting that Chris retained it. You need some kind of mechanism to ensure that artillery especially doesn’t just fire forever – but since an 11 or 12 was required for any decisive result, it immediately posed a penalty. It’s quite hard to reconcile this with historical narrative.
    • Charges against artillery. What happens? The rules are unclear about what happens when they are disordered and compelled to retreat – do they limber? Subsequent close reading gives the result that losing artillery are silenced – which means limber up and disappear. My feeling is that unsupported artillery should be a bit more vulnerable.
    • Silencing artillery. Sound in principle, but making them limber up and retreat doesn’t feel right – though this may just be the easiest play mechanism to get the right overall outcomes.
    • Artillery is dealt with very abstractly, with each unit representing 36 guns. I don’t think this approach worked too badly overall – but the frontage of 150m for a unit would take many fewer pieces. So it is possible to build a very compact grand battery, able to deliver a huge weight of fire on a single unit. When Wellington did just this in the game by bringing forward his horse artillery reserves.

    Overall I think some of this is because of poor calibration for the Napoleonic era, since we used the original fire factors, for example. A bit of recalibration and tweaking could accomplish much. .

    House rules

    A bit of a disaster, which rather spoiled the game. A lesson to be learned there! Always play test.

    I think halving the number of men per base worked OK for cavalry. I’m not sure that reducing their vulnerability to firing was right. The big trouble was that it was much too hard for cavalry to overcome infantry. The new Square mode proved largely irrelevant – but cavalry also needed to suffer more (I had assumed that defensive firing would do the trick – but this did no damage in multiple attacks). This needs recalibrating.

    The outposts proved quite easy to take. The terrain plus points were matched with depth formation and numerical superiority – even as I limited the latter to one point. Attacker occupation was unclear.

    I added an artillery bounce-through rule which worked OK, though I hadn’t defined whether it affects the low on ammo rule. However there was nothing stopping the British engaging in offensive fire – to quite good effect. Wellington didn’t do this in the historical battle because it made his artillery more vulnerable to counterbattery fire. I had deliberately not created a rule to reflect this, as it would be another bit of complexity.

    I also incorporated a horse artillery rule, since both sides were able to deploy it on a grand-tactical scale – this worked quite well.

    Resources

    If you are interested in using BBB yourself for Napoleonic battles, or want to look in closer detail on how I set up the Waterloo battle, then I have posted resources here, under Waterloo. The rules have been revised to take account of many of the issues mentioned above, though I have not had the courage to recalibrate the firing rules. BBB is available from a variety of dealers, like Caliver Books here in the UK

    Unfortunately the one thing that is missing is the table map. This is on a very non-digital piece of squared paper with pencil and crayon markings on it – with features other than contours only vaguely represented. Doing a digital version would not be impossible, but would take more time than I’m prepared to give! On contact I can email a scanned version though.

  • Borodino by Alexander Mikaberidze

    This book (published in 2007) has become the definitive book on the great battle of 1812, as the Russians downloadsought to stop Napoleon as he approached Moscow. It is not quite the biggest or bloodiest battle of the era – but it wasn’t until the First World War that as many combatants were killed in a single day.  It lies almost at the point when Napoleon’s military career turned from triumph to disaster. Both sides claimed victory. Tactically the French had the better of the day – with the Russians abandoning the field overnight. But the Russian army was unbroken, and soon enough turned the tables on the French.

    One of the many recent developments in the writing of Napoleonic history has been the availability of Russian sources. The Russians kept rather extensive records, perhaps contrary to western European prejudices. However in the Soviet era history was regarded as a purely political exercise. Access was restricted only to historians who would offer a politically correct version of events – which meant glorifying the Russian achievement rather than trying understand what happened and why. Mr Mikaberidze examines the sources afresh, as well as giving interesting details on the historiography of the battle.

    The book mainly focuses on the events of the the three days: the battle of Shevardino on 5 September, the main battle on 7 September, and the moves on the day in between. Events leading up to the battle, and after it, are covered only briefly – though he does review the criticism of Barclay and his replacement by Kutusov in some depth. The point of view is distinctly Russian, which compensates for the distinctly French-sided view of earlier histories in English – reflecting the availability of sources, as well as the language skills of British and American historians. Which is not to say that the French-Allied side of things is neglected in this book.

    What the book does best is to analyse each episode. He describes the various accounts, and then evaluates which he thinks is closer to the truth. This is good, solid history. He doesn’t follow the fashion of adding colourful novel-like descriptions of events, filling in the missing bits from his imagination. Or the alternative fashion of relying too heavily and uncritically on eye-witness accounts to carry the narrative. He does quote eye-witnesses extensively – and this gives a lot of colour – but he evaluates them too. Controversies are dealt with in some depth. By the way various myths are dealt with – for example that the early death of Russian artillery commander Kutaisov meant that many Russian reserve batteries were never deployed. This is just untrue.

    If the book has a failing, it is that the analysis does not go up a level. I find two issues of particular of interest. The first was Napoleon’s conduct. Mr Mikaberidze pretty much accepts the standard view that had Napoleon been more vigorous he could have achieved a much more decisive result, missing more than one opportunity – most famously not committing the Guard, but also exploiting some of his earlier success more decisively. Interestingly this view is not shared by the great military philosopher Clausewitz – who was actually at the battle, working for the Russians as a staff officer. This is quite interesting. What would have been the practical outcome of a “more decisive” result? It would not have hastened the capture of Moscow, which Napoleon thought would end the war. Neither, on the way things actually worked out, would it have made much difference to the catastrophe that enveloped the French later. It might have taken a little longer; the French might have got a few more men out. Would these extra achievements have warranted extra risk or damage to the Allied army? A discussion on this would have been illuminating – and may have gone some way to explaining Napoleon’s apparent apathy. He surely was physically ill – but perhaps he saw no reason to rise above that. The reason that the French Empire’s glory days were behind it was less perhaps that his generalship deteriorated, and more that his opponents made fewer mistakes.

    A second question I find of interest, given my interest in simulation – though it’s not one that I have seen discussed properly anywhere – is the discrepancy in losses between the two sides. The French-Allied losses across the two days of battle were in the region of 35,000 men from an army of over 130,000. The Russians had a similar number of men, or perhaps more, although it included 30,000 or so Opolchenye – militia of much diminished military value, that was not heavily engaged – but their losses were significantly higher – perhaps as many as 45,000. Given that they adopted a defensive posture, this raises the question of why they suffered higher losses. A similar discrepancy does not emerge in the great battles on the Marchfeld against the Austrians in 1809. The Russian tendency to use dense formations in the face of artillery fire is often mentioned – but the French clearly attacked in dense formations as well. To me it speaks of the highly effective use of artillery by the French army in support of its attacks – though it is still a bit of a mystery. It also is striking that no major formation on either side broke. This may reflect the nature of the fighting, as much as the motivation of the troops.

    These are quibbles though. There is a lot of material in the book that will allow simulators to gauge the realism of their models. This book inspires me to take this battle on as a future project. Even if hat will not be for some time to come!

  • A Bold and Ambitious Exercise – the British in the low countries in 1813-1814

    This book covers a neglected episode in the Napoleonic wars: the British Bergen-op-Zoomexpedition to the low countries (on the modern Dutch-Belgian border), which had its climax in a disastrous attack on the fortified town of Bergen-op-Zoom. It is written by Andrew Bamford, and it is a thoroughly competent work. It forms an intriguing backdrop to the Waterloo campaign rather over a year later.

    There isn’t a huge amount of history to tell. The book briefly covers an earlier episode when British troops cooperated with Wallmoden’s force, including the battle of Gohdre. There were three actions of significance. Two attacks on the Antwerp suburb of Merxem, and the attack on Bergen-op-Zoom. Mainly the book is about the dealings with the nascent government of the Netherlands under the Prince of Orange, and various Prussian, Russian and Saxon allies, as well as Bernadotte, as Crown Prince of Sweden. This is an interesting vignette on how allies behave to each other, weigh strategic priorities and behave with incomplete information. The way in which the British scraped together the forces required for the mission, in spite of Wellington’s still raging campaign in Spain and the south of France, as well the USA’s attack on Canada, is also interesting. The force was an odd mix of veterans and raw troops. Its leaders, from Peninsular veteran Graham down, where generally quite capable.

    The writing of military history in this era is no longer a mainstream pursuit, and is largely left to enthusiasts and amateurs, with the odd professional whose main expertise is elsewhere. So the quality tends to be very uneven. Mr Bamford handles his task confidently, being able to tackle grand politics down to small-scale tactics with ease. Some of his arguments about who was to blame for what, building on old controversies, is a bit laboured, but overall the book is very well written. Thankfully he resists the temptation to fill in colour (“the sun glinted on the frosted trees, etc. ..” Yuk!). In common with so much British writing, the sources are almost entirely British; for all that it does not feel biased.

    I have only a few quibbles with the book. The maps aren’t very good. A strategic map would have been useful; the general map of the campaign area is very bare. The plans of Bergen-op-Zoom are not as helpful as they should be (I can’t tell the difference between ditch or rampart; there are no streets) – though the ones of Merxem are good. On the great battle itself I was left with a puzzle. The most important question to my mind was whether if the largest incursion, made by General Cooke with the Guards, amongst others, had been more active, could the town have been taken? This is mentioned as question, and Cooke’s passivity is criticised – but an analysis of his options and how plausible each was would have been useful. Could he have forced his way through to the Antwerp Gate and secured it?

    What else did I get from this book? I am struck with how well even this scratch British force performed, which says a lot for the traditions of the British army. Command broke down in the battle of Bergen-op-Zoom (generals behaving like subalterns was one contemporary criticism), but troops and officers behaved bravely and fought well. I would like to understand a bit more about how this sort of success was achieved.

    Another intriguing point is how the political connectedness of the Guards casts a shadow on the writing of history. The conduct of the two senior Guards men, Cooke and Lord Proby, was questionable to say the least. But all the official criticism was heaped on others (especially the dead General Skerett) – and history has tended to follow their lead. And the whole episode is neglected, lest serious questions are posed. Some say that too much glory is given to the Guards at Waterloo (largely the same units – the second battalions) – which seems to reflect the same phenomenon, if with rather less justice. Also that Guards generals (the convention was that Guards could not be led by mere line officers) were often unenterprising, as Cooke was in this case. Proby, who was duly promoted to generalship later, is portrayed as downright defeatist and even (though Mr Bamford does not use the word, I will) cowardly. This Guards immunity is something historians and simulators need to allow for.

    The attacks on Merxem lack the meat to make into a good wargame.  The attempt on Bergen-op-Zoom is another matter. It would be hard to do. You would need a much better map of the town than the ones in the book, though. And how you would allow for the fog of war and difficulties in communication I don’t know. But the forces are well balanced, and it should be an exciting game.
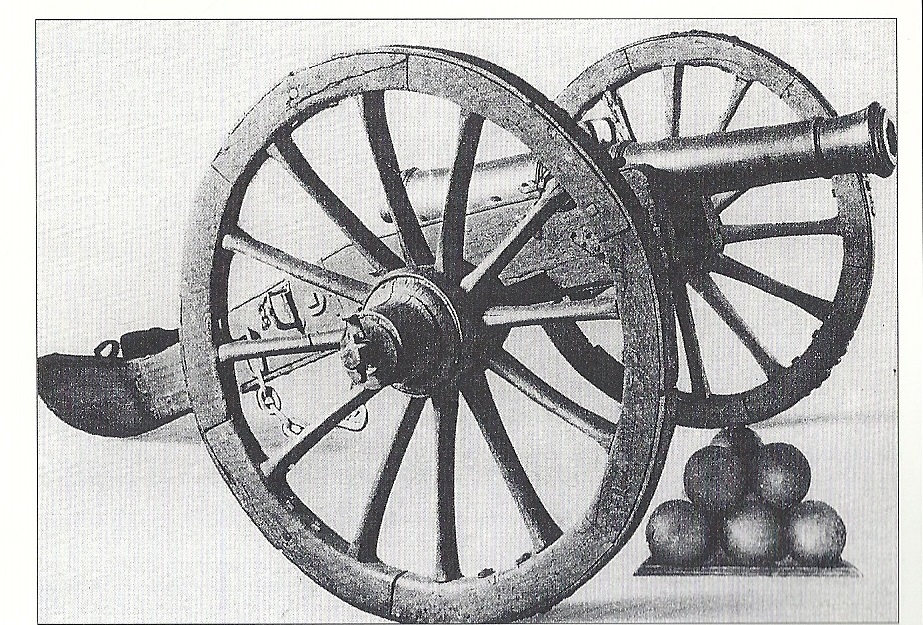
    Three of the four British attacks gained entry to the town, and the forces on the failed attack were switched rapidly to one of the successful points. That gave the British more troops in the town than the French – but the British did not seem to know what to do once they got in. The French did not understand where the British were coming from at the start, and tended to overreact. But they acted decisively and made use of their central position. These are exactly the elements of a good game.

    .

  • Quatre Bras – Prelude to Waterloo.

    Field Quatre brasThis book Follows Andrew Field’s book Waterloo – the French Perspective. This in turn follows a book on Talavera. I have read both earlier books. The book on Waterloo was excellent, though I was less impressed with his book on Talavera. And I would recommend this latest book to anybody who wants to understand more about the Waterloo campaign. It does not add all that much on the battle itself, but it still presents one of the most coherent narratives that you will find. It would, however, have worked better as a bigger book, written before rather than after his Waterloo one, and taking in the battle of Ligny.

    Mr Field’s chosen angle is to concentrate on French sources. This redresses a gross imbalance in English language accounts, which depend heavily on British witnesses. More recently Germans have been getting the prominence they deserve, and even Dutch sources are being brought into the picture. The problem with focusing on French sources, though is that they are comparatively scarce, and most of those that exist have in fact been quite well used. Indeed it might be said that Mr Field’s job has already been done by Henry Houssaye, the French historian of the late 19th Century, who successfully married British research with a clearly French perspective to produce one of the best accounts of the 1815 campaign. Still further sources have emerged in the subsequent century, and Mr Field’s works offer more depth. But their main value is in the analysis. 19th Century historians can’t resist a rather polemical approach – deriving a lot of energy from attributing blame to this or that individual. Modern tastes are to understand “What happened and why,” to quote A.J.P. Taylor. So it isn’t enough to conclude that Ney, for example, was grossly negligent (or not) – we want to understand why he did what he did. This is the main focus of this work.

    French sources on the battle of Quatre Bras itself are few. So few that in his recent book on the battle Mike Robinson ignored the French side of story altogether, to give his dramatic blow by blow account, drawing together individual accounts from British, Netherlands and Brunswick armies. Mr Field’s book serves as a complement. He covers the French side of the battle itself – but he takes a step back to look at the way the campaign evolved, the communications between the French commanders, and their strategic and grand-tactical decisions. Inevitably the marches and countermarches of Drouet d’Erlon’s corps, which failed to intervene in either of the twin battles of Quatre Bras and Ligny, commands much attention. This is thoroughly warranted, as it was one of the most important episodes of the 1815 campaign.

    For a wargamer like me, this can be a tad boring. It does throw light on grand tactical communications and decision making – which is part of army level gaming – but you want more of the gritty battle detail. Field’s work here is a bit thin, but what there is is excellent. It is a succinct and coherent. He can fill in the gaps a bit too much with speculation (especially the fighting in the Bois de Bossu), but there’s a strong guiding narrative, backed up by some very clear battle diagrams. Since the French held the initiative for most of the day, you really have to look at their side of the story to try and make sense of it all. So this work is far superior to Mr Robinson’s in overall coherence. He also offers some interesting observations on French tactics – especially the use of skirmishers by the French, and the way their infantry seemed to avoid close combat with the British. For those interested in battle tactics, this is one of the most interesting aspects of an interesting battle.

    He is generally convincing on the bigger picture too, pointing out the problems of command in Napoleon’s hastily assembled army. Ney had no time to prepare for the campaign, and started it with a single staff officer. He points out that a lot of the vagueness in and orders was because of incomplete information, and the hope that matters would be clarified in the next hour. Things were no better on the Allied side. He attributes blame for the day’s mistakes quite fairly between Ney, d’Erlon and Napoleon. Any wargamer wanting to model the French army in 1815 should allow that command was not as polished and coherent as it had been in earlier campaigns.

    There are some niggles though. Mr Field is an ex-army officer, and is relatively new to serious history. He is getting better at it, but a certain lack of confidence still manifests itself. Some of his points end up being a bit laboured. He is also not as steeped in Napoleonic military matters as long-term wargamers like me (though slicker and more professional historians make mistakes too). For example he seem to think that French light Infantry regiments were specially trained light infantry on the British model. In fact they operated on the same tactical doctrines as all French infantry, where all infantry were expected to cover both light and line duties – though by tradition the Light regiments were favoured for light infantry tasks. Also I think a deeper understanding of tactics would arise by studying theatres where the British were not involved – a common failing for British historians.
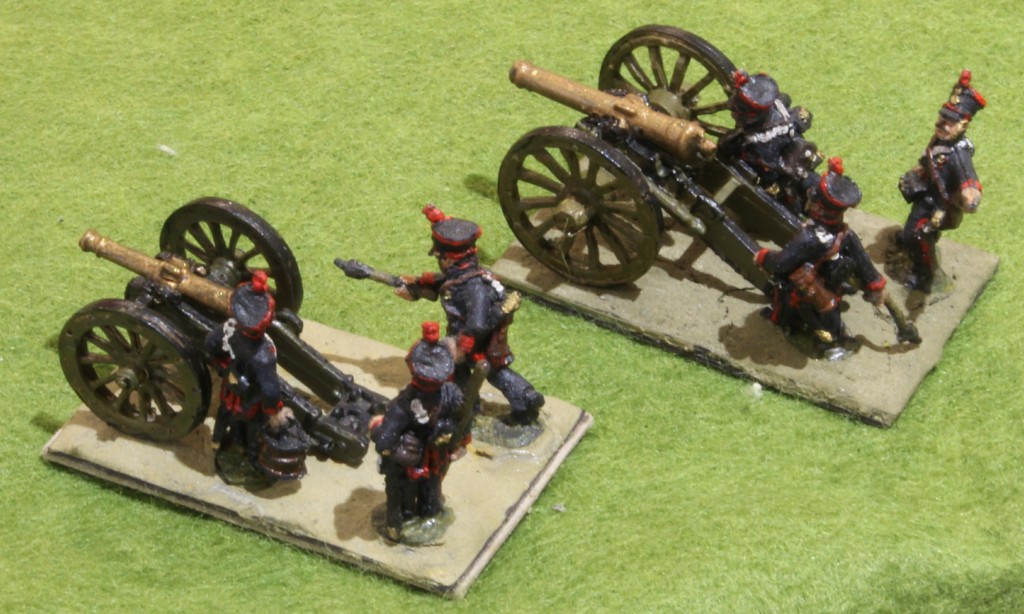
    Speaking of which, the battle of Ligny is a bit of hole in the account, when it is trying to take a strategic view of events. I think the work would have been more successful if this battle had been brought into scope fully – though it would have made for a longer book. I think there are revealing similarities and contrasts between the two battles – and it would certainly help get a deeper understanding of Napoleon’s views. That’s a quibble though – it is easy enough to understand why he didn’t do so.

    A couple of other niggles. One of the crucial points about the day’s events is why Ney did not concentrate the forces on his wing more quickly. Mr Field shows some understanding of this, but I would like to have seen a bit more analysis to get an understanding of how easy this would have been to achieve in practice. A second is that the commentary on tactics could have been deeper – though he already goes further than many authors. In particular I’m not entirely convinced that the French dependence on skirmishers was purely a tactic to avoid confrontation with the British. Bachelu’s division, in particular, had suffered badly in its first encounter with Picton’s division. Perhaps after this it was simply too weak to consider anything more solid than skirmishing, relying on cavalry to do the rest. French accounts are thin, but an attempt to follow through what happened by regiment and battalion would perhaps reveal more about why things happened the way they did.

    But these are minor quibbles in a work that is well worth reading. A century on, some might ask what the point is of yet more historical writing on the campaign. The answer is that so much of what has been written is formulaic and simply rehashes the work of its predecessors. There are too many ripping yarns and gratuitous controversies – and not enough of what happened and why. I am glad to say that Andrew Field’s work is about these last questions.

  • Vitoria article now published

    Better late than never! Miniature Wargames has now published my article on Vitoria 1813. This is a signal for me to  get this blog up and running as proper public proposition. So far I have kept its light under a bushel.

    The resources on this project referred to in the article, are on the Battles section of the site. This is the sum output of many months of research!

    My current project is the production of my 15/18mm Prussian 1815 army, and the upgrade of a multi-period French one to oppose it. Some posts on this shortly.

    Meanwhile the next version of my rules is slow going, as the rewrite is proving very radical, and so slow going. This is liable to be a bit quiet for now!

  • Combat – basic logistics

    Time to move on from command and control in my thinking aloud series, to tackle a different set of problems for V3 of the system. Now I want to get to the basics of representation of the men on the table, and the implications of this for combat mechanisms.

    V2 of DTN was based on the Grande Armée system of strength points which combined actual strength with effectiveness. This was creating increasing stress as I took the simulation side more seriously. I want to make the representation a bit less abstracted, and allow more subtleties to the combat mechanism, and a more straightforward narrative. So I want strength points to be based on actual numbers of men, as with Volley & Bayonet. As V+B I think 500 men per SP would work for infantry. This is quite high – but with one-hour turns these rules need to be quite crunchy. A unit will be in the range of 4-8 SPs. My cavalry units are going to be much smaller, regimental size, as I think that is typically how cavalry was used at this level. That means I need a smaller number, say 200 men per SP, which means 2-3 per unit typically.

    According to my Prussian kriegsspiel rules the 400p base frontage would be covered by about 1,400 men – 3SP. The maximum frontage, double this, means about 6SP. So the unit tends to cover the base frontage in a double line, or extended frontage in a single line. A single line has less chance of being overlapped, but is fragile – one hole in the line and it is gone. A double line is more resilient, and can also handle flank threats. Which type of formation the unit is in will have to be inferred from context. I’ll deal with that later.

    First there is a bigger issue. How to represent loss of effectiveness due to casualties, fatigue/clogging of weapons and loss of cohesion? These factors are long-term and short-term. Previously this was represented by loss of SPs, some of which might be recovered; one hit meant that one SP was lost. This is how both GA and V+B work. In other words loss of cohesion was treated as the same as loss of men. Very often, though, the men would still be in formation, occupying the same frontage. The number of men is critical to stamina.

    The alternative is to reflect loss of effectiveness purely through a qualitative factor, usually referred to as cohesion or disruption, depending on which way up you are looking at it. I’ve seen this idea referred to on TMP, and it is the way Sam Mustafa’s Lasalle works – and Paddy Griffith in his Napoleonic Wargaming for Fun of 1980. If I use a morale grade, then a “hit” means a loss of one grade.

    Of course a hit could mean both a loss of an SP and loss of a morale grade. Let’s think this through.

    Morale grade will determine fragility in impact combat. The lower the grade, the more chance of a refusal (for an attacker) or fracture (for the defender). Strength determines what a unit can achieve tactically – the frontage it can cover and the reserves it can call on.

    I am very tempted by the cohesion loss idea. Units did tend to cover their frontage more thinly with the loss of men, rather than shrink; and the more important loss effects were qualitative.  But then what’s the point of SPs when the bases are on a standardised frontage?

    Let’s think of an infantry unit (cavalry and artillery are going to work in very different ways, so I’ll leave them until later). It takes 3SP to cover its front. Smaller units are compromised. SPs beyond this are reserves, which be used to extend the line, or be available to plug gaps, or deal with threats to the flank or rear. The problem is that designing a combat mechanism that reflects this in detail gets out of hand. Players have to do too much mental work to figure out what is going on – so say nothing of a detailed knowledge of the rules.

    If hits represent a qualitative loss, then it is difficult to avoid units being of a standard size. In that case they do not accurately represent historical units, and a dimension of the simulation process is lost. .

    A hit might just “delete” an SP, so that a unit Is withdrawn from play once it receives as many hits as it has SPs. The question then is whether hits should affect the morale level too? Is it double jeopardy? Wouldn’t a larger units be at a disadvantage to smaller ones? (The same number of hits would do less damage to the same number of SPs if he units were smaller in size). The idea of separate hits for morale and strength will fail the complexity test – I found this from an earlier rules incarnation where I experimented with temporary and permanent hits. Some form of percentage casualties system is an alternative (e.g. a unit is “tired” if 25% or more of its SPs are lost, and morale reduces by one level). This looks a bit more promising – Fire & Fury (ACW rules with a Napoleonic development under the name Age of Eagles) uses this arrangement.

    That then leaves the tactical options for units of different strengths . 3SP needs to be the minimum unit size (unless we create a special sort of small unit, on a smaller base). But a unit of this size has little resilience. One idea is to grade units as small (3SP), medium (4,5 SP) and large (6SP or more). Two units would be allowed to pool by being in base contact (forward to back), so two small units would then fight as a single large one.

    There are three situations where this matters: standard combat (one unit against another on the same frontage); overlapping; and flank or rear attacks. How these situations are defined and handled is a subject for another time.

  • Wagram 1809

    I have just finished reading Eric Gill’s account of the battle of Wagram in the third volume of his Thunder on the Danube series. I want to use this post to reflect a bit on some of the implications of this battle for those interested in simulation.

    Ever since I first read about Wagram as a teenager in David Chandler’s Campaigns of Napoleon, I have been deeply fascinated by it. It has massive scope, the second biggest battle of the era, and with more coherent narrative than the Leipzig, the biggest.  It resembles Borodino in some ways, but is less linear. And it shows the Austrian army in a good light – an army that is a bit of an underdog in its treatment by historians in the centuries since, lacking a major national champion. They lost, but with honour intact – no worse than what the Russians achieved at Borodino – though in a strategic context that meant an honourable defeat was not good enough, unlike the Russian battle.

    Also this is a battle taking place on a nearly featureless plain – closer than most real battles to the sort of thing we try on a tabletop. It begs to be refought as a simulation – though it is just too big. One day I might give it a try! May be I can develop a doubled up version of DTN to bring it within the range of feasibility. Episodes from the battle could be used as a testbed for rules – though since the various sub-battles tend to blend into each other, this would be a challenge.

    Mr Gill has made good use of sources on both sides, and is on the whole pretty objective. He is a little too judgemental for may taste – but then almost all historians of Napoleonic military history are. I prefer my history to be about what happened and why, to quote AJP Taylor. Mr Gill has lots of bad things to say about Charles and the Austrian decisions when compared to Napoleon and the French. This is not unjustified – but I find this type of writing a bit of a bore. I would like to understand why they reached the decisions they did. And there is always a slight suspicion that the Austrians are being judged to a higher benchmark that the French.

    More seriously, I could have done with the account providing a bit more detail; it could have added 50% in length easily. This contrasts with the excellent detail the author provides in some of the smaller engagements of the campaign. As a result I find a number of things puzzling. Why did the Saxon infantry collapse on the second day? They don’t seem to have been directly attacked. There is also a lack of detail over the encounter between Oudinot’s corps and Hohenzollern’s – even though the former suffered very high percentage casualties. Gill vaguely alludes to artillery being responsible in both cases – but this does not seem to be based on solid analysis. A third mystery is that in Massena’s march from the centre to the flank, he reports them coming under heavy artillery fire. But they were covered by the famous Grand Battery – which surely would have drawn the fire, and masked the movement?

    Unfortunately I don’t think any of the other books I have that cover the battle will do much to illuminate these issues. For a simulator it is this habit of historians to drop into airy explanations that is particularly frustrating. We want to look at the data! One reason to try to simulate episodes from the battle.

    Three issues from this battle struck me particularly: command and control; panic; and weapon ranges. I have already reflected a bit on command and control in my thinking aloud piece on my new rules. The difference between the two sides seems mainly to be a the corps level. The Austrians had only recently introduced a corps system, and they seem to have had very limited planning capability, relying on detailed plans drawn up by army HQ; it says something for the strength of the Austrian army HQ that they were able to produce these detailed plans as quickly as they did. But Napoleon found it much easier to watch and wait – and then give his corps instructions at a high level. This difference explains a lot about how the battle unfolded. As the second day got going Charles was chasing around adjusting the plan to take care of events – while Napoleon was able to calmly direct things from a distance. This difference is certainly worth trying to replicate in a simulation.

    It is interesting, though, that when Napoleon made a spur of the moment decision to attack the (concealed) Austrians on the first evening, that the hastiness of it all meant that the French attacks were conducted inefficiently, especially by corps commanders less able or less trusted than Davout (who only made a gentle probe – perhaps all Napoleon intended). The corps needed to be given time to digest orders in order to deliver them efficiently.

    As for panic, this poses a particularly interesting problem for simulation. Mr Gill’s account points to two particular occasions when substantial elements of the Austrian army started to panic and flee, having to be rallied by the senior officers, up to Charles himself. The first was on the evening of the first day when the Army of Italy  caught the Austrians off guard. The second was early on the second day (featuring many of the same troops, perhaps significantly) when the French retook Aderklaa and launched an attack beyond. The problem isn’t explaining these events – it’s understanding why these are the only two. As the battle developed, the Austrians suffered many further reverses, from one end of the line to the other. But they held firm. Disorder might appear, but as the French cavalry arrived to take advantage, the Austrians recovered composure and beat them off. In the general withdrawal the Austrians did lose a few battalions crushed by cavalry attacks, but their overall composure is quite striking. What made troops panic on a few occasions, and but not on many others?

    There were panics on the French side too. Both the attacking forces in the two Austrian panics suffered the same fate, as the Austrians successfully rallied and counterattacked.  It is worth adding that on both occasions the French pulled themselves together and play a key role later in the battle. The Saxon infantry gave way on both days; the second time, it would appear, based just on an artillery bombardment. These panics don’t cause the same difficulty. They resulted from attacks that got out of hand and became vulnerable. The Saxon collapse on the second day is more of a problem – since ordinarily it takes a flash of cold steel to cause a disorderly retreat – though these men had suffered very badly the previous day. These incidents will repay study when assessing the way combats and higher level morale work.

    The issue on artillery and musket ranges is based on a general impression rather than detailed  evidence. The quotes Mr Gill uses (especially from French witnesses) stress a lot about the strength of artillery and fire and bullets that the men endured – borne out, of course, by the high casualty figures. A striking figure is that the French artillery fired something close to 100,000 rounds – about 200 per piece present. That sounds a lot, but Austrian losses were about 38,000. Most of them would have been as the result of artillery fire. So the hit ratio for artillery was at least 25%; the Austrian rate would have been very similar. Each artillery piece cause 50+ casualties. That strikes me as being quite high given the generally primitive technology. Both sides reported instances of the opposing artillery firing too high at even close ranges.

    Now one of the issues with creating simulations is that the quoted effective ranges are quite short: 100-200m for muskets, 500-1,000m for artillery. It is often stated that it was waste of time engaging targets at greater ranges than these. In terms of my wargames rules these maximum ranges are about 1 inch for infantry weapons and 3-7 inches for artillery. Not far at all; most units, most of the time are out of range.  Now while there were some close encounters at Wagram, particularly in the key villages, my impression is that a lot of the combat took place at longer ranges. Something doesn’t seem to be adding up; the usually quoted effective ranges seem to be too short.

    One potential resolution to this puzzle is the idea that projectiles were still lethal at well beyond the effective aimed range, especially artillery – but also musketry which was often aimed too high by inexperienced troops (veterans advised to aim for the feet). Perhaps in the flat and open terrain of the Marchfeld a lot of the casualties were caused by projectiles that had missed their primary target. Though we read of lucky artillery shots that might kill a dozen in a single blow, we don’t read of entire infantry units collapsing under fire – even in front of the French Grand battery. This all speaks of a generally high and widespread attrition,n rather than artillery units crushing anything in their path. However, being caught in an “en potence” position with fire from two directions, as happened to Rosenberg’s and Oudinot’s corps and the Saxons, seems to have been particularly lethal. Since simulations tend to focus on direct hits and ignore the effects of indirect fire, this is interesting. But then again, the slow casualty rate from indirect fire was not as disruptive to morale as sudden impact.

    Plenty to reflect on from this epic battle.


    W

  • Formation and coordination

    In my previous post in this series of thinking aloud pieces on simulating command and control, I was stumbling towards a turn structure that might work with one-hour periods. Next phase in the design process is to take a step back and come at the problem from another angle. What does command and control mean for the various sub-units of the army: unit, division and corps?

    An infantry unit in DTN represents a group of two to four battalions, which might be a brigade or regiment, or an ad-hoc combination. It sits on a base 50mm by 25mm, which directly covers a frontage of about 400p (p=pace=0.75m), potentially double that, and with the possibility of skirmishers probing out in front. This covers a whole variety of configurations and formations. Users of DTN have to get beyond the idea that they decide whether to array their men in column, line and so on. That is left to junior commanders and arises from context. Judging from the TMP forum, the whole battalion formation thing is so much part of the Napoleonic atmosphere to some wargamers, that this is too much, and they don’t attempt to play this sort of grand tactical game. But to get a bigger battle into a two player game (never mind the physical space of a dining table) you have to get through this.

    But in DTN V2 I developed unit “modes” which say something about what the unit commander is trying to achieve, and which have implications for movement and combat. These are:

    • Reserve/attack. The default has the units in battle line but ready to move off and deploy to attack. Think of one or two lines of battalions in attack or manoeuvre columns. Since movement is an important part of their role, they do not make any particular use of the terrain.
    • Defend. This is not dissimilar, but the unit is not deployed to move, but to hold its ground. They may well be already deployed into line formation, and they will certainly make use of any terrain features they can.
    • Movement. In this case the units are formed to advance rapidly. They will not usually be in march columns, but they may be in a narrower column than the default. The battalions are likely to be arrayed one behind the other, so that one picks the quickest way through the terrain, and the others follow without worrying about alignment. This makes them vulnerable in combat.

    I think this still works. I think the first two modes should be represented with the base front-on, and the movement mode with the base sideways-on in a sort of column. My bases are made of two stands of 25mm square on a sabot – so these can be arrayed in “line” or “column”, amking this visually easier. A further mode might be “square” – rather exposed and immobile, but able to fend off cavalry attacks. I’m not sure about this. A further issue is whether the units are deployed wide or deep – but I think this can be inferred from context – strength and distance from neighbours.

    How movement and switching mode works in the one-hour period is yet to be resolved, but I can leave that for now. How about the division? A division is a group of units (two or three infantry units typically with some artillery or cavalry support perhaps), with an officer figure (DG = Divisional General) in command. In V2 this unit would be given a general purpose “Action” order, or “Move” or “Regroup”. These might or might not be fully activated, and it is quite likely that there would be no order, which restricted them to a limited menu of “free” moves. Moving to a one-hour turn this might give too much friction. So what might command and control situations be?

    • Fully controlled, with all unit commanders having orders and knowing what they are supposed to be doing. this takes time to prepare and no doubt authority from a higher level. But in this state the division can deliver a fully coordinated attack or other manoeuvre. The more complex the plan, the more difficult.
    • Quick action. Single move actions. The DG can direct one of these; others might act on initiative, but with quite low probability.
    • Response only. A limited menu of reaction moves.

    If I move to an interchangeable initiative move, this would work more easily than one player moving all his units followed by the other. I hesitate as this might throw away all the time gains from the one-hour turn route! The fully controlled mode corresponds to a fully activated order in DTN. The critical insight is that it needs a certain amount of time to set up, as well as linking in to the army command system.

    One further idea is to allow two (or more) units to be placed in base to base combat to signify close cooperation; this might include artillery; infantry cooperating with cavalry in this way may not work so well, though is worth a thought.

    So let’s move on to corps. In V2 the corps commander acted as a postbox for the overall commander – who passed on CPs for him to distribute as orders to the divisions, which moved independently. Fully coordinated corps actions, with divisions attacking simultaneously, did happen though. Think of Soult’s counterattack at Austerlitz, or d’Erlon’s main attack at Waterloo. If I do interchanging initiative, this matters! Obviously such levels of coordination took time to prepare.
    Another aspect is the strength of corps staff. At Wagram it appears that the Austrian corps staff did not add much value to plans drawn up by army command. Napoleon routinely delegated this level of planning. At Waterloo (and Salamanca) Wellington did not use the corps system at all – but at Vitoria it appears that he did entrust quite a bit of the detail to Hill and Graham – though his own staff was quite weak. The extent to which other nations ever developed the depth of corps level command that the French did I don’t know. The Prussians did in theory, but may have been hindered by lack of officers. The Russians were notoriously weak. Did the Austrians fare better in 1813 than in 1809? But Marmont in 1812 in Spain decided that the corps system was too cumbersome, and abolished it, operating much like Wellington. Personally I rate Marmont in this campaign highly – he outfoxed Wellington until he became overconfident and made that fatal mistake outside Salamanca. So corps level command does not always add value.

    There’s something very important lurking in here. I tried using corps commanders as a sort of mini Commander in an early incarnation of V2, with their own CPs, but it overloaded the system, however theoretically correct. I think solutions to this conundrum will only emerge as I get into the detail of the orders system.


  • Command & control in one-hour turns

    The Dining Table Napoleon V3 (the changes are going to be more drastic than implied by V2.1 as I originally intended) will have a one-hour turn. I am thinking through the implications for a command control and movement system.

    First each turn will comprise a distinct episode of the battle, rather than a precise time period. They will be named after hours of the day (which helps the simulation feel), but that is only to give a rough idea of when events happen. action will tend not to spill over from one turn to the next.

    An hour is a long time, though. Six turns might encompass quite an important battle like Ligny. That creates some interesting design issues.

    Fist thought: the side with a plan – or clear intent to move – at the start of the period move first and moves farthest. Perhaps through the use of stylised orders commands (up to corps level, perhaps) can have the following status:

    1. Active: movement. Changing location, usually in some kind of march formation.
    2. Active: bombardment. Deploy artillery and fire for a prolonged period.
    3. Active: engaged. Attacking enemy units.
    4. Passive: defensive. Deployed for defensive action, and resisting attack.
    5. Passive: reserve. Awaiting events.

    To be active implies either a plan compiled in the previous period, or direct order from the commander at the start of the turn – or a lower commander on his own initiative. The former means some kind of stylised order carried over. The engaged order implies that the enemy is close at hand – within some kind of threat distance. That means close enough for an attack to be delivered without giving the enemy.

    First issue. When and how are plan orders issued? Normally this would be done at the start of the turn in a Command phase – and then made subject to activation. Beyond using a stock of CPs that might have been accumulated in earlier turns, this does not reflect the time lags. Maybe a new orders phase happens at some point in the turn before? But how to do that without making it much more complicated?

    Second issue. How are pre-issued orders given a shelf-life? Perhaps groups are given a stock of order chits, which they consume?

    Be that as it may the period (as I should call the turn, in DTN speak – turns mean something different) starts with the execution of items one and two. Active movement is carried out, and batteries deployed and (perhaps) targets nominated. These might be done simultaneously. Units in march order get quite a long way in an hour, so some quite big distances could be covered. Couldn’t the enemy intervene? what happens when units from opposite sides bump into each other. An obvious rider is that this type of movement stops as threat distance is reached. If it is stopped early in the movement phase, then further activity should be allowed. Perhaps the concept of single and double moves can be revived from earlier versions of DTN.

    Then come the attacks from category three units. If two opposing units bump into each other then it probably best to ask which come first. This could be done case by case, or one side could be said to have the initiative and move first. On the whole I prefer the latter. For impetus attacks (i.e. not skirmish firefights) we then do one round of combat.

    We then need to move into a sort of reaction phase. This involves shorter moves. it may be that the main command phase happens here. Reaction orders are issued, as well as orders to be executed in the next phase. What happens next is a series of actions that might originate from conventional command and control, or might be initiative reactions. There is another round of impact combat. And maybe some kind of breakthrough or pursuit phase.

    Finally we get into the attrition phase, where more protracted combats are resoled. This includes artillery (if targets haven’t moved), skirmish combats. There is scope for prolonged close combats too, where two high stamina combatants are deadlocked in impact combats, both infantry (think Albuera) and cavalry (I believe Friedland and Borodino featured these).

    Finally there needs to be some kind of morale phase.

    This is building up to a complex period structure with simultaneous and interchangeable initiative elements. This has strayed somewhat from my earlier idea of one side having a clear initiative, and losing it being potentially damaging to morale. That idea might come back, though.

    A further question when using a complex turn structure is whether to stick to strict phases across the table, or follow something more event driven. For example a unit delivers a charge in the first phase, and we get round one of the combat. But across the whole period this might develop into a multiphase affair, including reserves being brought in, counterattacks, breakthroughs and pursuits. There is something to be said for dealing with all this there and then, drawing in other units as required, and (taking them out of any subsequent reaction movement).  I find this approach quite attractive.

    What of command points (CPs). These played a central role to V2. But the idea of carrying them over from one period to the next loses its relevance to the longer period. Still I like the idea that these represent information, which is the basis on which orders can be made (could change them to Information points to make this explicit – though CPs are a widely recognised idea). A high stock of CPs means more orders can be issued. If the commander occupied a vantage point (or has access to one) then he gets more information. As the battle develops there might be both metaphorical and literal fog of war constraining what he can do. Information decays though. More food for thought.

    Next I want to think about what orders might mean at each level of command.