 I am at last tackling the huge painting backlog: for now concentrating on my WW2 1943 project, so that I have enough ready for a tabletop game. I have just finished my first serious batch of British infantry, which means that I am starting to achieve that aim, though I want some recce vehicles, German half-tracks and British carriers to be more serious.
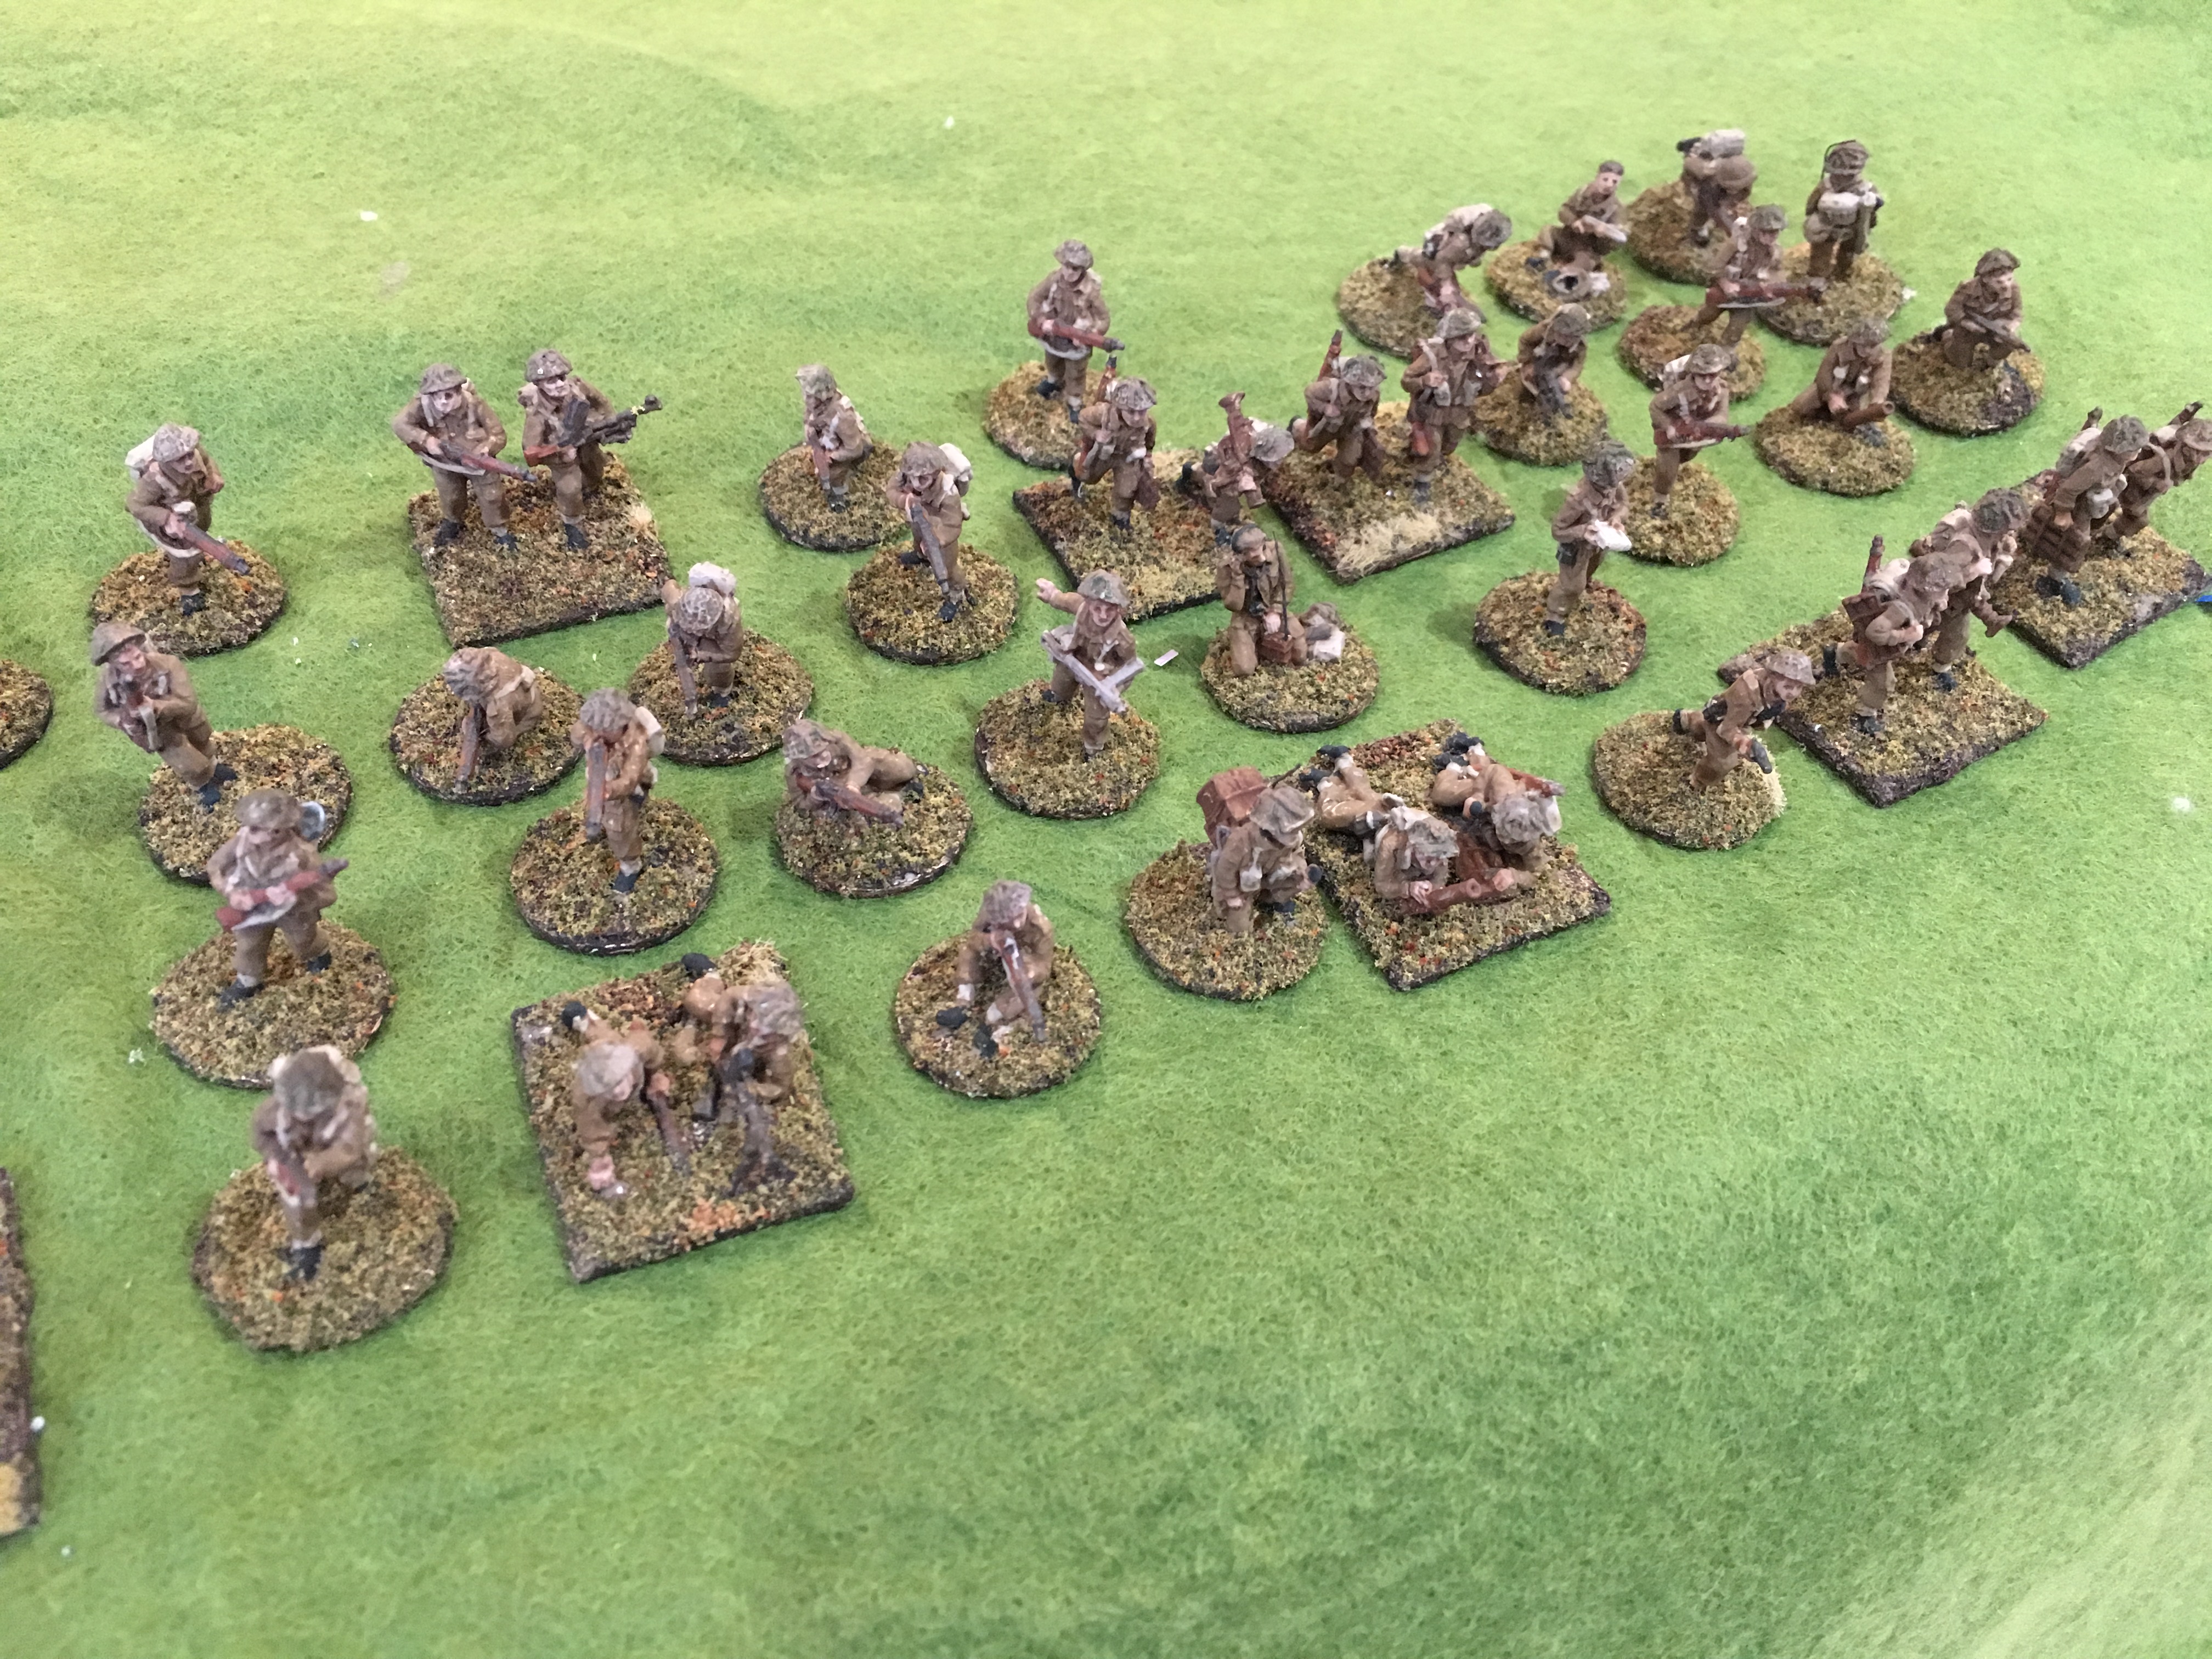
There were 54 figures in the current batch, which go alongside my two 3in mortars and two Vickers machine guns. Nominally these are three infantry sections of 8 men, a dismounted carrier section of 9 men (including 2in mortar and PIAT), an HQ section with officer, radio PIAT and 2in mortar, plus some riflemen, and some spares, including another PIAT and 2in mortar, a radio and a couple more officers.
They are all AB figures. I have fallen in love with these, but they really aren’t right for 1943. They wear the Mk III helmet, instead of the broader-brimmed Mk II. They also wear battledress tunics, when in the Med the men were usually in rolled up shirtsleeves. And, with one exception, the submachineguns are Stens. Although these were in issue in 1943, I haven’t seen them in the 1943 Med pictures; instead the troops are using Tommy guns. I couldn’t find a satisfactory alternative though, and I liked these figures. Since then I have been pointed in the direction of Eureka’s Pacific Australians. Apart from Owen guns on at least one figure in 10, these look a good fit – though on the pictures of unpainted men the heads look a trifle oversized. I might do a platoon of these later (along with German paras), though not the heavy weapons.
My technique is settling down. First the figures are undercoated in metal primer, which is white. Tempted though I have been to thin it with water (which is OK for metal, but not plastic) I put it on undiluted. After mounting on “steel” washers (not magnetic, alas) or mount board for the two figures bases, and set in my usual mix of sand and impasto gel, I painted the bases raw umber (not mixed with white this time). Over this I put a base coat of khaki. This was mixed from Raw Sienna, Prussian Blue and Titanium White (all student quality paints). As usual with my freshly mixed base layers, this took a few coats. Partly this is to adjust the balance between the three pigments, and partly the primer can show through. The layering gives the model “depth” I’m told. The first coat takes longer to apply, but the subsequent ones are quite quick – so this no great hardship. Acrylic paint dries quickly, so this is all in the same session. Even so the base layer was a bit thin in places.
After this I used mainly artists pigments, although borrowing some of the paint used on the base layer, still usable on the stay-wet palette on occasion. This included the standards of Prussian Blue, Raw Sienna and Titanium White, with a bit of Raw Umber (mainly to get the dark greys/blacks by mixing with Prussian Blue), Venetian Red and Silver (to help with the metallic bits). The main mixes were Venetian Red, Raw Sienna, and Prussian Blue (and the ubiquitous white) to get a Service Drab dark brown, so characteristic of British equipment in 1943, when green pigments were in short supply; the same combo in different proportions for the flesh tones, and without the red for the webbing and bags. The helmets were painted variations of khaki and brown, but this wasn’t highly visible under the netting and scrim. I had a bit of a wobble on the scrim, which I at first painted green, before reading that it should be brown or hessian. Some of the green is still there, but never mind.
With the basic painting and detailing done, I applied a layer of Quickshade. I did have a quick look at using diluted ink instead, but I think for figures, as opposed to vehicles, the Quickshade is a better bet, as it works into the hollows nicely. My medium tone Quickshade (aka Strong) has expired; I used Dark on my vehicles but thought this was too strong. Fortunately my Soft Tone was still alive, under quite a thick skin, and I used this. I proved ideal. I am using quite a bit of white in my colour mixes, which makes them paler than you would typically get using ready-mixed hobby paints – so it may not be surprising that the soft tone works. I was tempted to leave things there, as the Quickshade did not leave a strong sheen (I think the gloss must be going into the bit that formed the skin – because my medium tone stuff dried quite matt before it expired). However heavy matt varnish is the look of all my stuff, so I gave it a spray in matt varnish to finish. I’m not entirely sure about this, though modern warfare is a dusty business, and that is the look of the real thing. I might want to pick out some parts in a satin varnish though – flesh and weapons, perhaps.
Before the matt varnish went on, the bases needed flocking. For this I used a Woodland Scenic earth base, with some fine pale green flock mixed in. I felt this needed a bit more variety and texture – though the patches of pale green flock didn’t look quite right on my Germans. So I gave selected figures (all the large bases) patches of fine sand, a brown gainy material, and some pale static grass. I can’t get the latter to stand up properly, so it doesn’t look quite right. All this (except the grass) was sealed in using diluted PVA as the varnish spray isn’t quite strong enough for this.
And that was it. I’m pleased with the overall result, though I’ve spotted a few gaps and errors, as usual. These are wargames standard, and not presentation pieces. I think they look better than my German infantry. I suspect the latter suffer from my attempt to reflect the mixture of kit and colours used by the Germans, which makes them look quite scrappy.
Next up I’m going to do more British vehicles and crews. This will include a carrier section (including passengers), a Dingo, a Loyd carrier for the 6-pdr, and a jeep.
Leave a Reply to admin Cancel reply