One of my current projects is the battle of Ligny on 16 June 1815, one of the precursors to Waterloo, which was two days later. The usual script is that in this battle Napoleon comprehensively beat the Prussians under Blücher, and with a bit of better luck would have destroyed them, so winning the whole campaign. But, as I said my earlier article, a number of mysteries surround the battle, of which the most important was how the Prussians lost when they had such a strong numerical advantage.
But researching the battle faces some tough challenges. The biggest is the lack of French sources. It is far from clear when particular formations were committed and exactly where. Prussian sources are plentiful – I think they had a system of after-action reports – but they are subject to the usual systemic biases that will under-report poor performance. One particular frustration is that I can’t find any detailed casualty figures below corps level (and not even that for the Prussians), even though some authors make reference to these. Casualty figures are an important source of evidence, as noted by the French 19th Century writer Andant du Picq, as they are less subject to fakery (if you ignore after battle bulletins). If any reader knows where this data can be found, please get in touch.
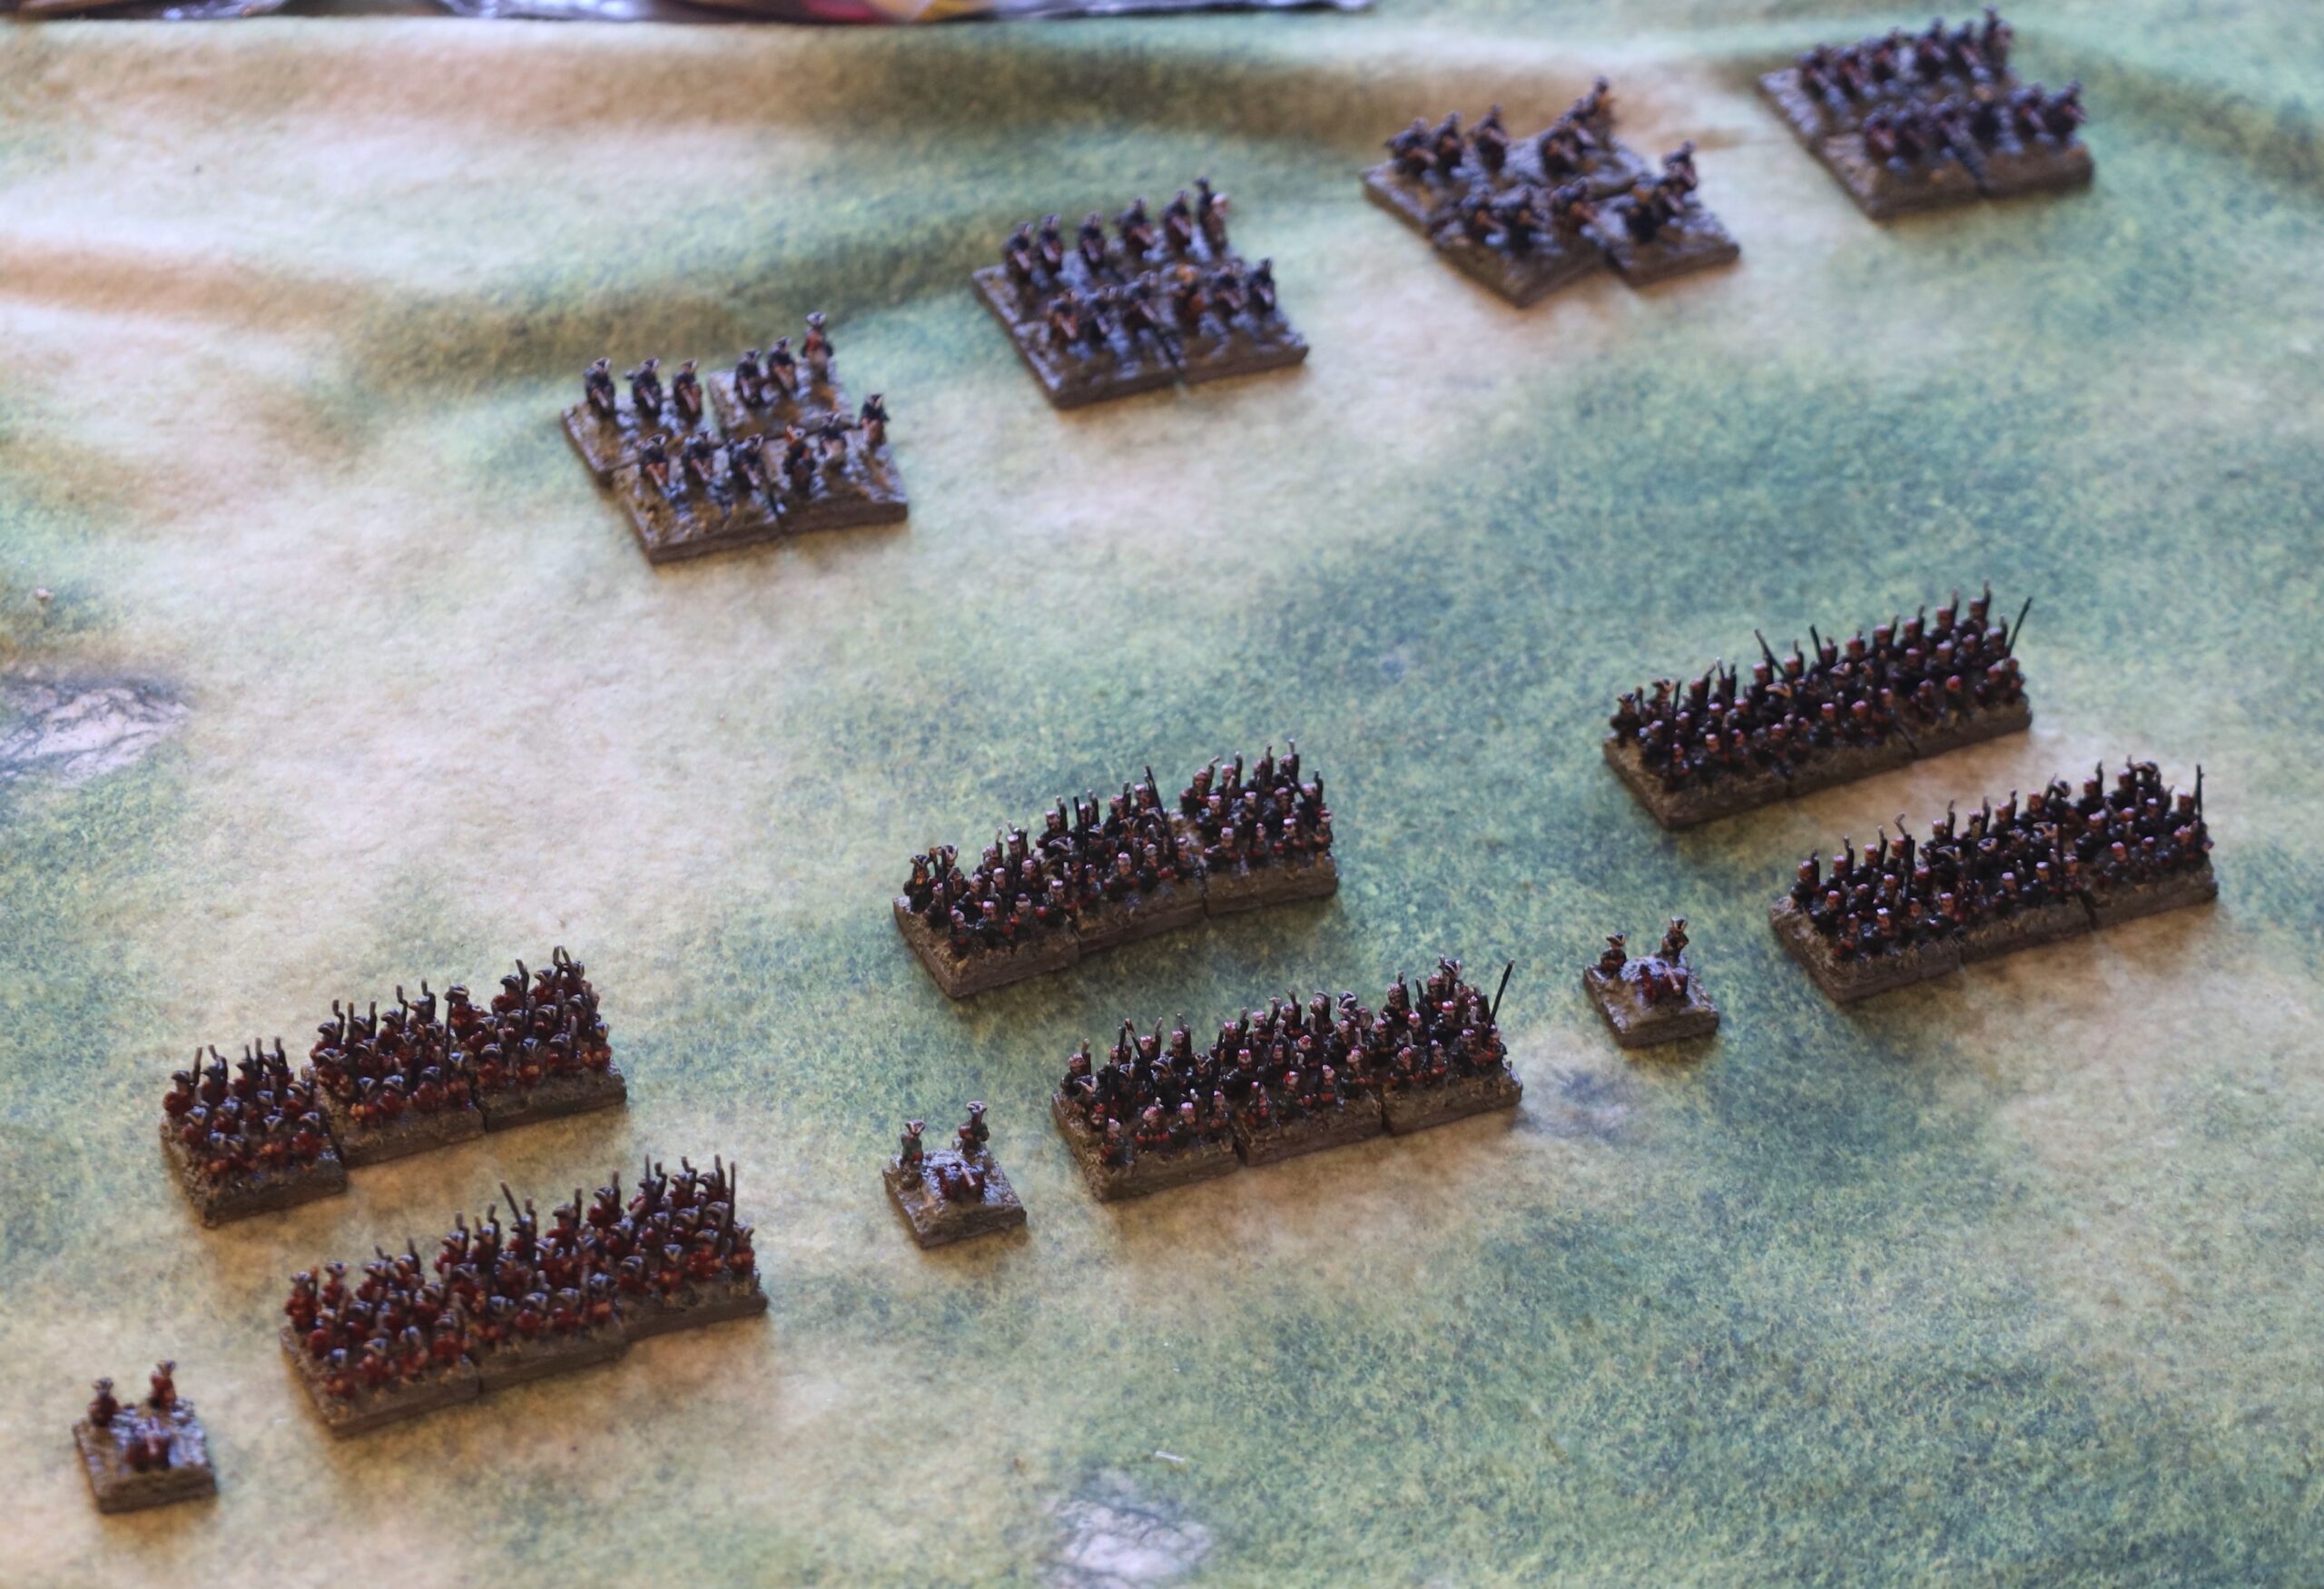
My initial focus is on what I am calling “small Ligny” – the battle for the village of Ligny itself, and the chain of villages and hamlets from St Armand to Wagnelée to the west, involving the Prussian I and II Korps, and French III and IV Corps (minus Hulot’s division) plus Girard’s division from II Corps, from about 3pm to 7pm, when French Guard formations started to get involved. This will lead on to some wargames with my army-level rules. I am also intrigued by the possibility of some divisional level games.
For my first stage of research, I have used work by Dutch historian Pierre de Wit, which unfortunately does not seem to be available as pdf downloads online any more. This is dense stuff but closer to the primary sources than anything else I have seen in English (or French come to that – I can just about access text in that language). The main information I have sought from this is which units were committed and when, in terms of each hour of the battle, corresponding to game moves. My objective is both to understand the battle and to calibrate my rules.
Ligny village
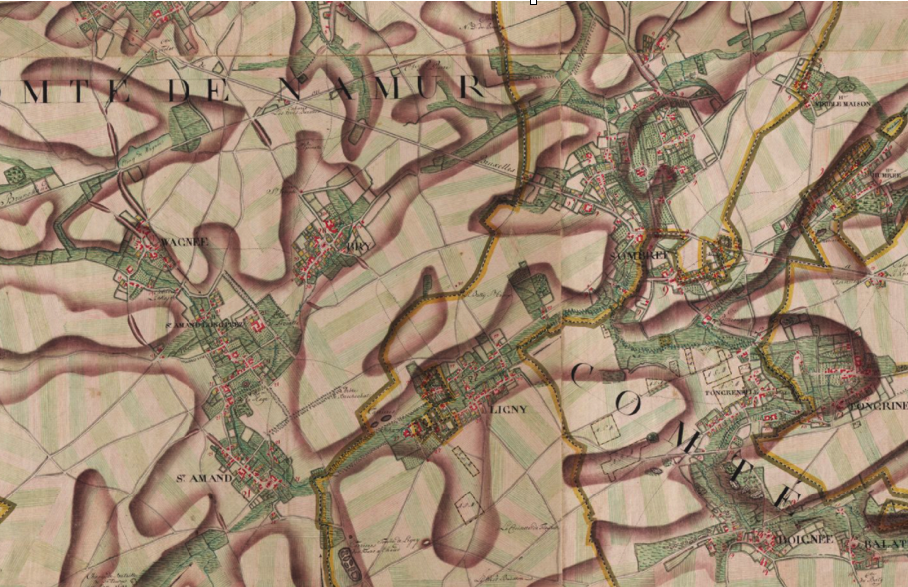
“Small Ligny” organises itself into two main zones – Ligny itself to the south and St Armand to Wagnelée to the west. Let’s take Ligny first. This is quite a compact village, either side of the Ligne brook. On the south bank to the west is Ligny chateau, which was capable of being defended all-round by a garrison of a battalion in strength. There are a number of other substantial farms and a church with yard which became focal points of the battle. The brook was a significant obstacle, with one stone bridge at the eastern end of the village, and a couple of other less substantial crossing points. To the west of the village was relatively clear terrain, on a hillside, which is where the Prussians located a grand battery. To the east was a sunken road, orchards and so on, on the way to Sombreffe, which was clearly difficult terrain, and which does not seem to have been seriously contested.
The village was initially garrisoned by one small Prussian brigade (but remember that Prussian brigades equal other countries’ divisions) of six (large) battalions, of which two were initially held in reserve. One of these occupied the chateau, and held it until after 6pm, when exhaustion and ammunition loss forced a retreat. Over the course of the battle the Prussians fed in 14 more battalions, meaning that some 16,000 men were committed. The French committed just two divisions, in 18 smaller battalions, amounting to about 9,000 men. The outcome can be called a draw: the Prussians still held the village, or most of it, but were exhausted. When Napoleon committed the Guard and heavy cavalry they did not resist – the occupants pulled back to the next line of defence.
This is a very striking achievement, and goes some way to explaining the Prussian defeat. Just what happened here? This is important not just to understanding the battle, but also how to simulate battles on the tabletop. The direct sources tell us little. We are left to speculate, or hypothesise, using circumstantial evidence.
The first point of interest is that while the Prussians committed many more men, the number of battalions on each side was roughly similar. I have seen arguments among wargamers who suggest that when doing tabletop simulations the number of battalions is more important than the number of men – and that using standard units to represent each battalion, regardless of size, gives a fair representation. This view, which I have aways found suspect, is given support by this episode. But interestingly, this battle was not fought by coherent battalion formations, as battalions broke up into smaller tactical units. Still the battalion statistic does point to another factor – the French ratio of cadres (officers and NCOs) was probably higher, though I don’t have statistics on officer numbers for the Prussians. Battalions vary more in size of rank and file than they do in cadres – which tend to be dictated by the internal structure (number of companies, etc). And its clear that the Prussian officer corps was stretched by the fact that they tended to use more junior ranks to handle similar sized formations to the French in 1815 (while the British tended to field more senior ones). The ratio of cadres in regular formations (it’s a different matter in elite units) might make a significant difference to battlefield performance, and in particular to stamina – how long they could keep going when sustaining casualties.
And stamina is the critical issue here. The Prussians kept on having to feed in fresh troops to keep the battle going, while the French could recycle theirs. My guess is that the French the French used one division at the start (3pm), and withdrew it after about an hour, replacing it with the second. Which was in turn replaced by the rallied first division an hour or so after that. So the French are getting two bites of the cherry for each of their units, to the Prussians’ one. So far as I can tell casualties, in dead and injured, were roughly similar on both sides (about 3,000 for this part of the battle). The tactical situation may also have made it easier for the French to pull back and refresh units (replenishing ammunition in particular). To pull back the Prussians either had to go up the hill behind the village, exposed to French artillery fire, or along the road to Sombreffe, and into III Korps’s zone. They do not appear to have done it until the original brigade (Henckel’s) was withdrawn after 6pm.
There is another factor when considering quality of troops and stamina. Nine of the 20 Prussian battalions were landwehr (7,000-8,000 men), and all them from the Elbe and Westfalia provinces. These had only been incorporated into Prussia in 1814, and these units hadn’t been forged in battle – and nor were they so inured into Prussian military tradition. By contrast the landwehr units in the Prussian III and IV Korps were from the established territories of Kürmark, Silesia and Pomerania, which had been part of the great battles of 1813. It is estimated that the Prussians lost 8-10,000 men as deserters at and after the battle. It is thought that the bulk of these were from these landwehr units – though some did come from the more recently raised regular units, like the 25th Infantry regiment. There were 24 landwehr battalions in the two corps; 9 were engaged in Ligny, and 11 (3 after 7pm) in the west. So a very large chunk of the deserters must have come from the landwehr units in the Ligny battle. And that means that half or more of these troops must have fled. I have not found direct corroboration of this. There is a mention in de Wit of the landwehr troops wobbling a bit early in the battle and having to be rallied. But there were no mass routs. But Henckel’s brigade, with three landwehr battalions out of six, lost half its men in the battle according to one historian; it started with 5,000 men; if we say they took 1,000 dead and injured (being the battle the longest, casualties would have been higher than average), it means that 1,500 of the 2,500 landwehr deserted.
What happened? My guess is that at first the landwehr units would have engaged with reasonable effectiveness, but as the battle wore on the feeling among the men that they had done their part, and the imperative to survive and return to their homes, started to dominate, and they found ways of lying low. Substantial numbers may have been able to drift the rear areas. Once the Prussian army started to pull out in the fading light, these men flooded out along the road from Sombreffe to Namur. What this boils down to a very low stamina level in these units. If we try some sort of quantitative evaluation in wargames terms, we might class the French troops as “veterans”, the Prussian regulars, with their weaker cadres, as “trained” and the newly-raised landwehr as “raw”. If we weight veterans as one third more than trained, and raw one third less, we get a weighting for the French of 12,000, and the Prussians of 13,600. This is clearly much closer, and allows other factors, like stronger French artillery, to be brought into account.
Interestingly, not this analysis shows that the Prussians did not derive a great deal of benefit from being on the defensive, in a garrisoned village. According to French accounts, the first French assaults were beaten off with heavy losses, but they then managed to gain and exploit a foothold. This goes against most wargames rules. I have set up two or three games of the Blücher system based on Ligny, and it was hopeless for the French. Attacking the village was battering their heads against against a brick wall, and they soon ran out of infantry. Another interesting wargames point from this part of the battle is that the French artillery were able to rake the slopes behind the village. This almost certainly this involved a degree of overhead firing – and this was tactically important. Most rules systems allow this, but some (like Blücher) don’t.
St Armand to Wagnelée
This was a bigger and more complicated battle. The contested area was three villages along the line of the Ligne brook. To the south was St. Armand, apparently quite an open village, though with a substantial church and yard. Next to the north, with very little gap, came Longpré, where most of the fighting took place. This included two substantial chateaux – La Haye, heavily contested, and l’Escaille to the east, which the French never reached. Most historians of the battle call this village “St Armand la Haye”, but both current maps and the Ferraris map from before the battle call it Longpré. I think using this name is better for clarity. Next north after a small gap is Wagnelée. There was no serious attack on this village that I can see, but it was an important access point to the battle for the Prussian troops. Between Longpré and Wagnelée, at a crossroads, there was a hamlet of just few houses and an inn, which historians usually call “St Armand le Hameau”, but which is more correctly called Beurre-sans-Croûte. Historians generally refer to the whole area as St Armand, but this can lead to confusion.
St Armand, which wasn’t substantially garrisoned, was the subject of the first French attack, which was initially beaten back by Prussian forces waiting outside, but after the first hour it was occupied by the French and not seriously contested – but possibly after a second French division ws committed. Both sides concentrated their efforts after this in and around Longpré. The Prussians mounted attacks from Wagnelée into the open ground behind Longpré, leading to some open battles including cavalry support. The initial Prussian garrison (in Longpré) was just three battalions, plus some jager companies. But as the fight developed they committed some 29 more in the period I am looking at (and 6 more after that), giving 32 battalions or about 27,000 men. The French committed four divisions, and about 20,000 men in 39 battalions. At the end of this the Prussians had clearly won, and the French forces were close to collapse, forcing Napoleon to commit the Young Guard and most of the Chasseurs of the Old/Middle Guard to this sector. However the Prussians did not achieve what they had clearly hoped for: a breakthrough that would threaten Napoleon’s left flank.
We don’t have quite the same puzzle here Ligny village. The Prussians used fewer landwehr units (just 6 battalions); they also cycled their troops to refresh ammunition. They were in fact on the offensive for most of the time, unlike Ligny. Using the same weighting formula as for the Ligny analysis gives the French 26,700 men to the Prussians 25,300. Given that the Prussians ended up on top, it shows a better relative performance by them. That doesn’t seem to be because of better leadership than at Ligny, though. There are two cases of substantial Prussian attacks mis-firing and being defeated through poor coordination. There seems to have been no leadership at corps level, with brigade leadership undermined by the ad-hoc partial commitment of formations. Instead, the French leadership seems to have not to have been of the same standard as that for Gérard’s IV Corps. The III Corps commander, Vandamme, was very experienced but never made it to Marshal; there are numerous cases of questionable judgement across his long career. And one division, Girard’s, which led the attack on Longpré, was not under his direct command. This formation was over-committed and effectively destroyed, with one regiment fleeing in rout. Meanwhile Habert’s division was (arguably) under-committed, though their participation is not clear (it is known that the Swiss battalion that was in this division was not used) – but Vandamme’s orders may well have been unclear. Also the second division from III Corps (Berthézène’s) sees to have been very early to the fight, in contrast to Ligny. All this suggests a less measured management of resources by Vandamme.
Conclusion
It will be interesting to see how my rules work when I try this scenario out. This exercise will doubtless pose further questions. I have not paid so much attention to the artillery for example – but this is best done once the lie of the land is clearer, and that means modelling this on the tabletop. It is amazing how often historians fail to understand how terrain limited the use of artillery in particular battles (for example how hard it would have been to use artillery to reduce the British strongholds of la Haye-Sainte and Hougoumont at Waterloo). This phase of analysis does point to some places where the rules need a review. For example rallying can’t be done close to the enemy – which create problems for units defending terrain, like the Prussians at Ligny and (perhaps) Girard’s division at Longpré. Also how to feed in fresh units into an undity battle for a built-up area, and the role of strong-points – when to represent and when to abstract away.
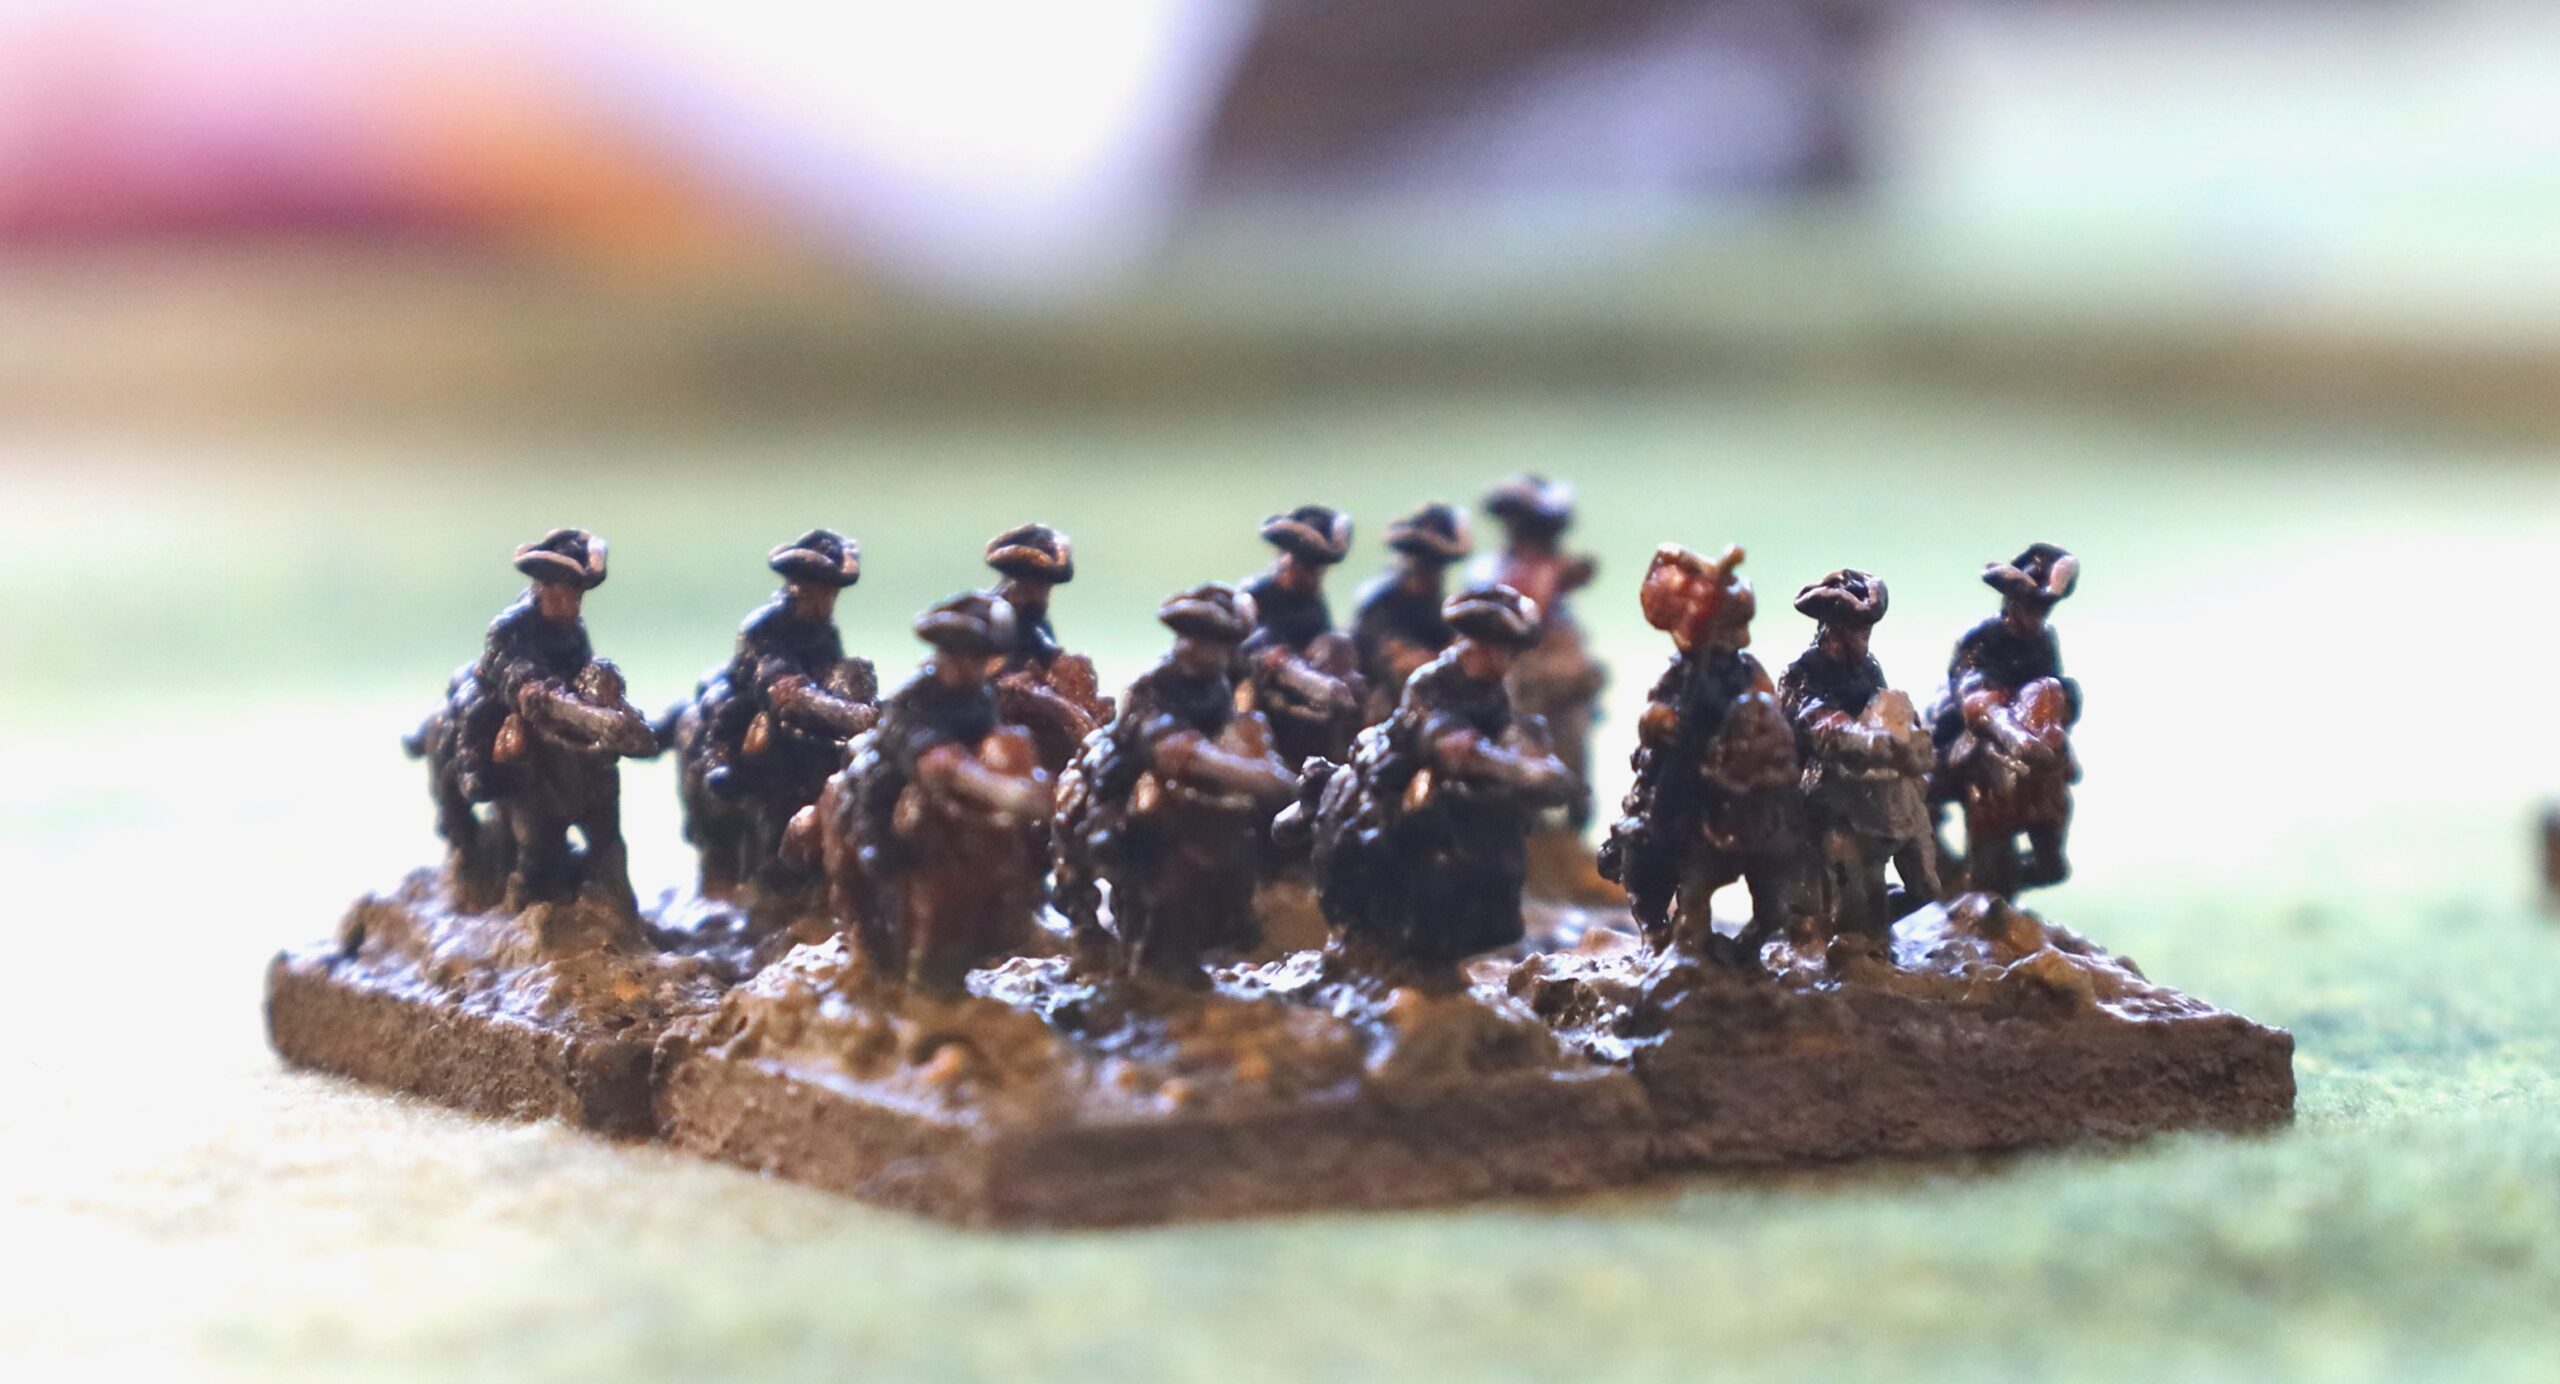
A further thought concerns lower-level rules, which use battalions as their principal unit. This battle should be a fertile source of scenarios at this level. But it isn’t because rules tend to deal with built-up areas in far too abstract a fashion, usually giving too much benefit to the occupier. Lasalle 2, my go-to rules, would be hopeless. To get the proper feel of the battle you need to represent the structure of the villages – the streets, farms and churchyards and so on – rather than using undifferentiated terrain areas. It also probably means giving a role for company-sized formations. This is a problem that I might try giving some thought to. One episode, though, the attack by Tippelskirch’s brigade on the French flank, which included cavalry support, has the makings of a good game at this level though. What adds to the attraction is that I have actually made a representation of this formation, with four-base battalions, the core of my Prussian army collection.