Back to the 1866 project. September and October were largely taken up by holidays and gardening, and figure painting took a back seat. The result was that this second batch of 1866 troops was a bit protracted. It will be a while before I’m ready to refight Custoza.
The figures are 10mm from Pendraken, whose range from this period is unmatched. In appearance and detailing they are closer to larger 6mm (such as from Baccus and Adler) than they are to 15/18mm. They need to be deployed en masse and not a great deal of attention needs to be paid to details. They are providing pretty much what I hoped for to recreate the big battles in the age of Bismarck. I have already introduced this project here with my first batch of Italians. Those figures were more appropriate to 1859 (Solferino, etc) than 1866. These, on the other hand, are very much on period. The infantry are in greatcoats, and the cavalry have updated uniforms.
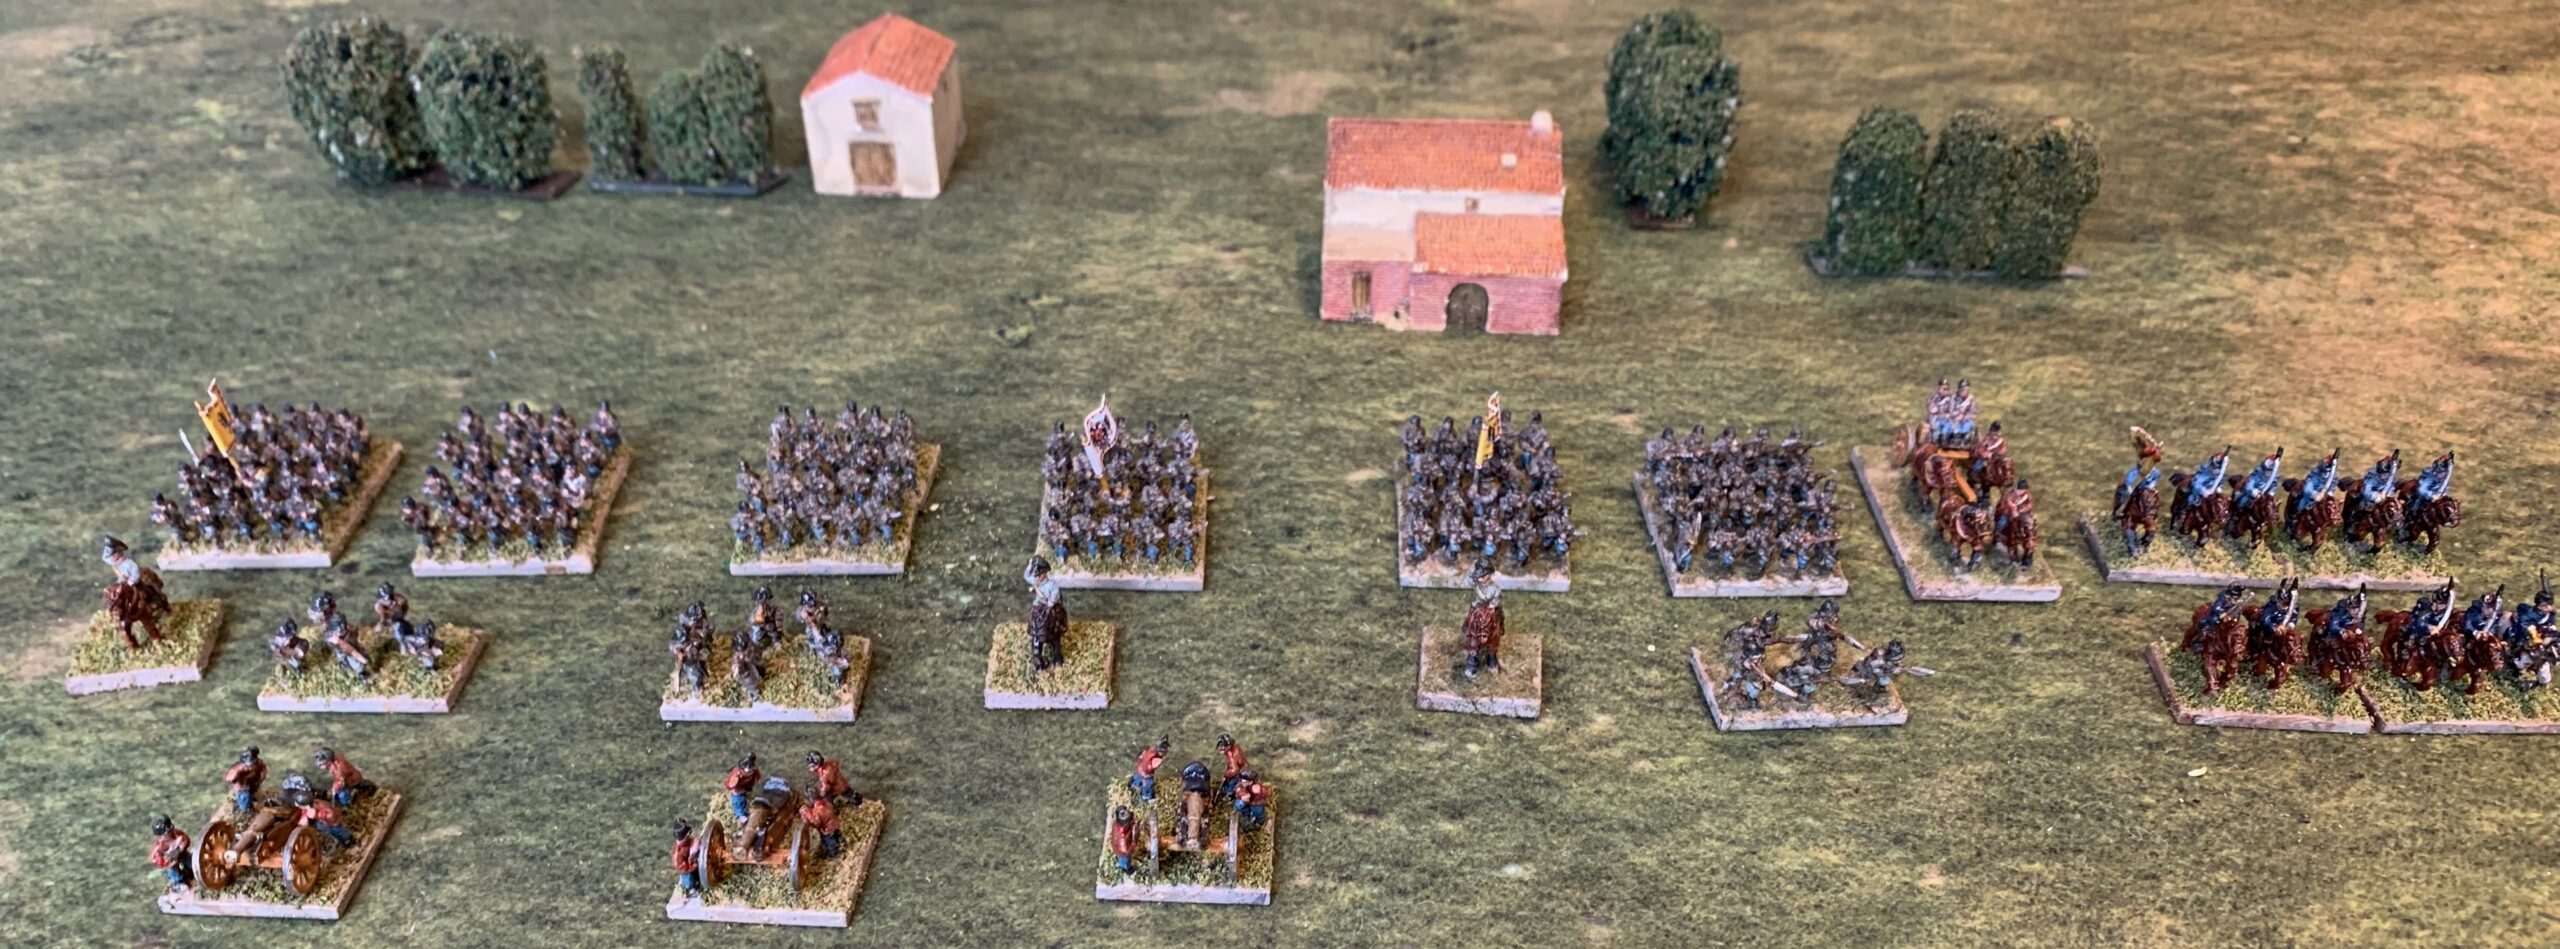
Like the previous batch, this is a three arms package – though not using Pendraken’s army pack this time. The infantry was a mix of Germans and Hungarians (not that it is easy to tell the difference) – enough for 12 bases of line infantry and three of jagers. The cavalry were hussars (4 bases). The artillery were 4 pdr rifled guns, with one limber (there are two to pack, but I only painted one this time). In addition I painted up three generals (from a pack of 5). I bought laser-cut mdf bases from Pendraken: 30mm by 20mm for the infantry and cavalry; 25mm square for the artillery; I already had plenty of 20mm squares for the generals. This is enough for one three-brigade corps (as was the organisation of the Austrian Army of the South – the main army had four-brigades corps) under the system that I am developing.
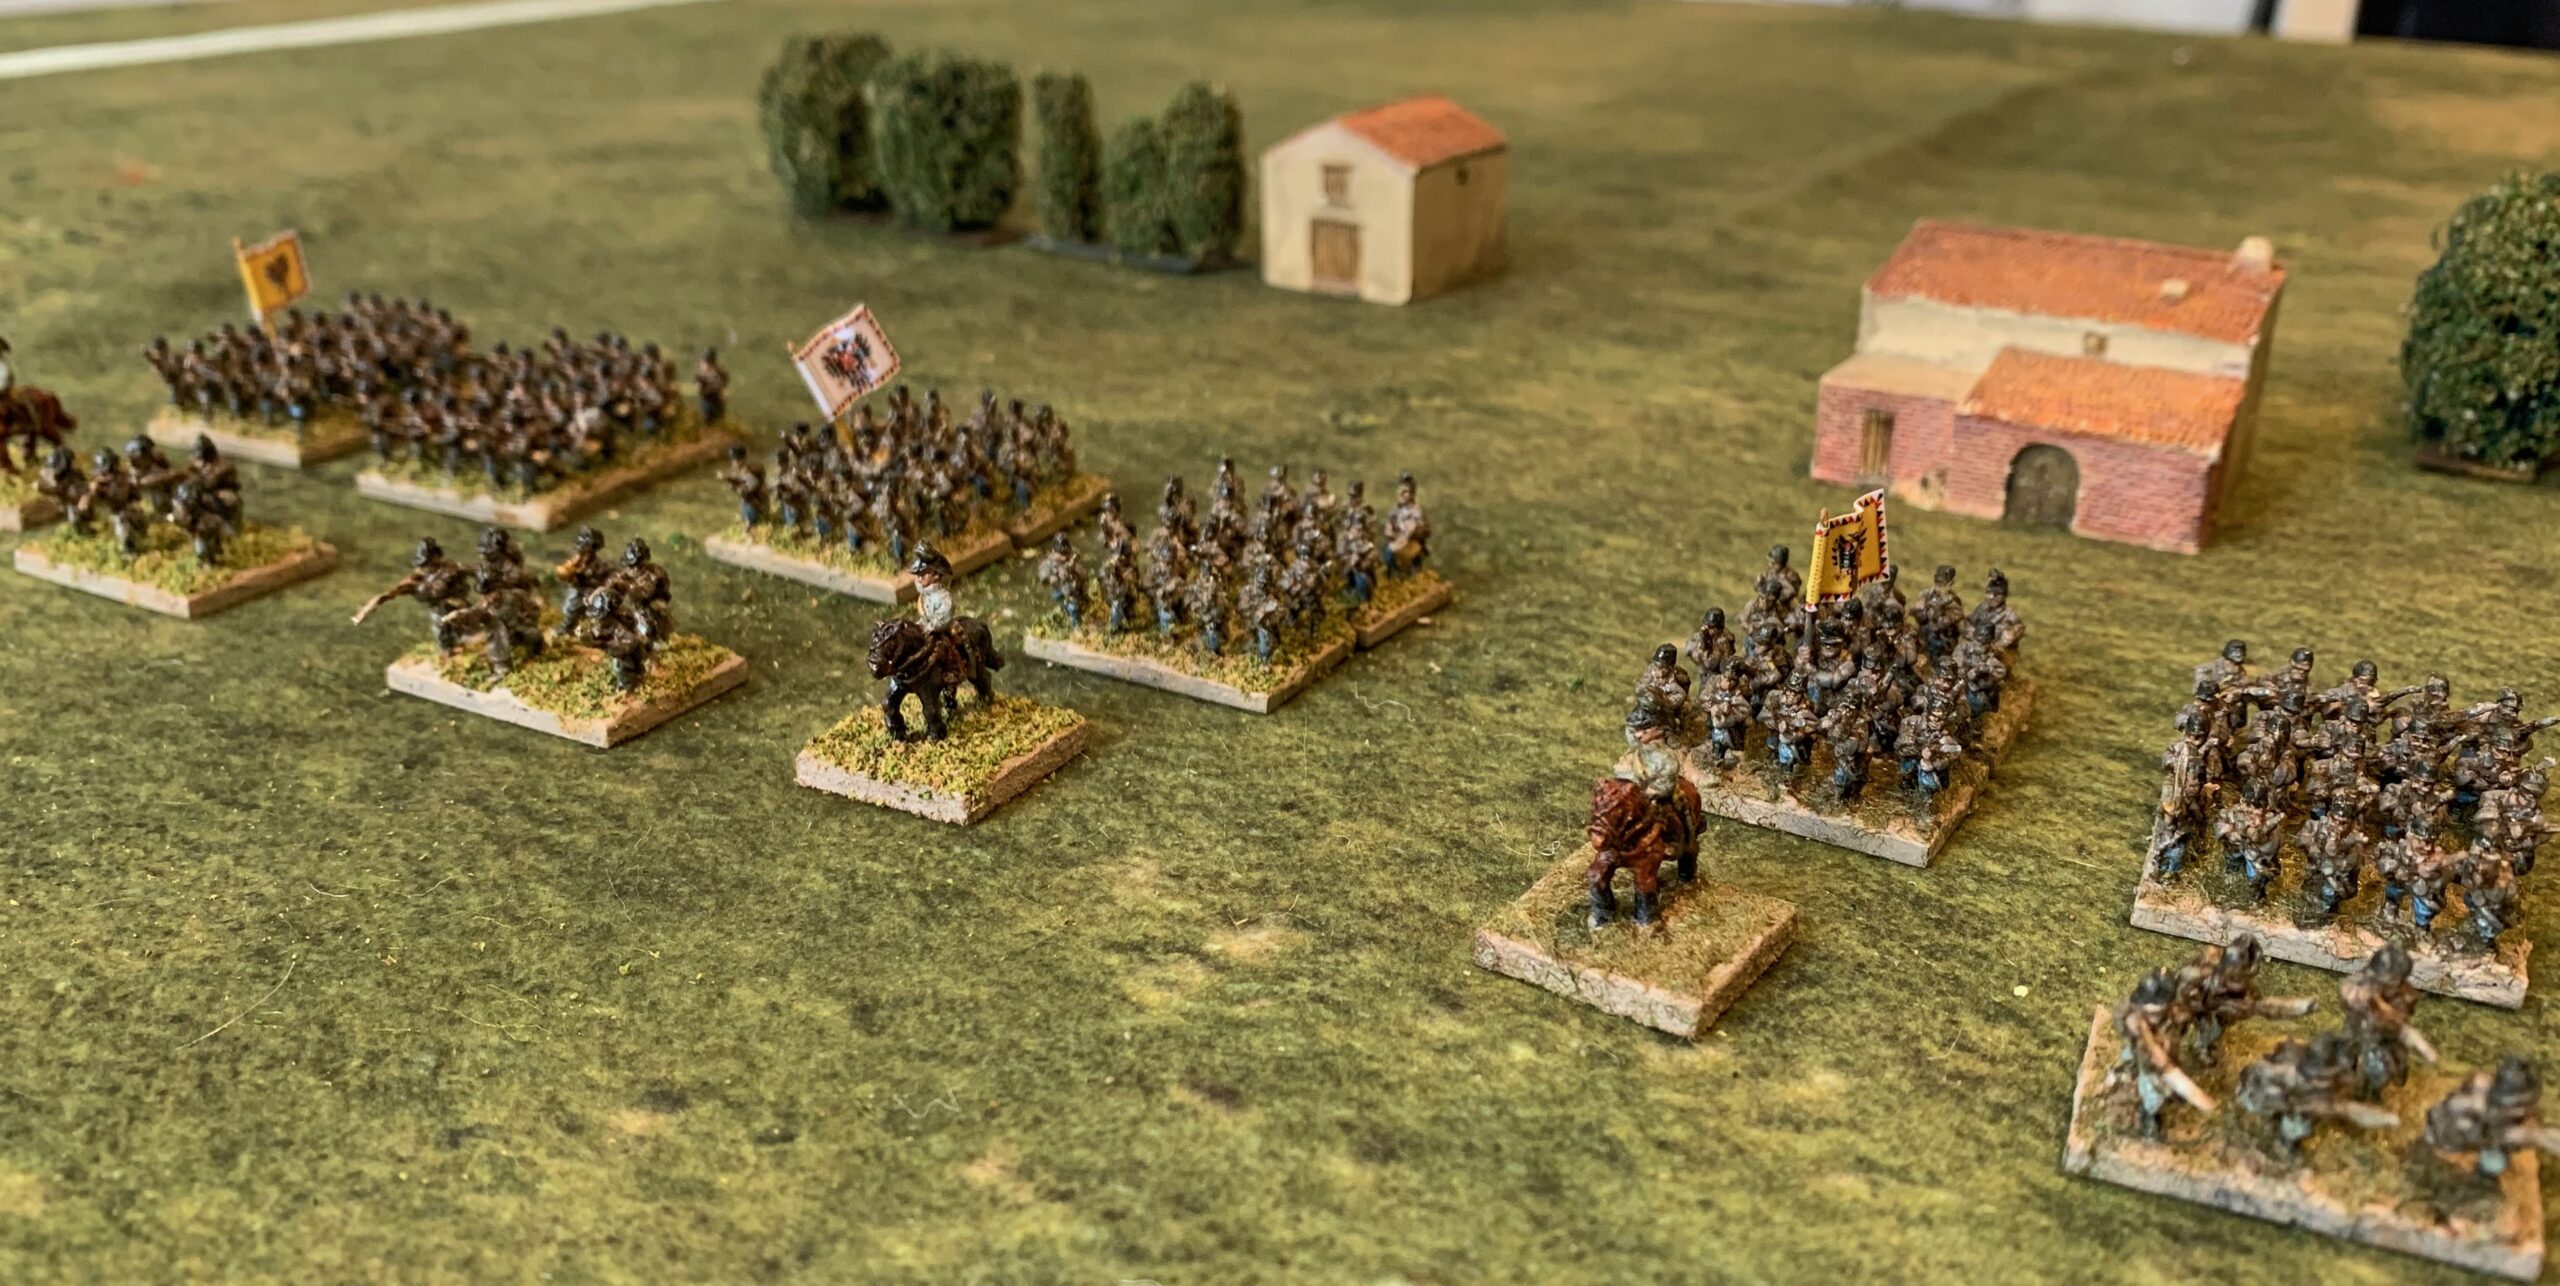
Here is a closer look at the infantry:
And even closer:
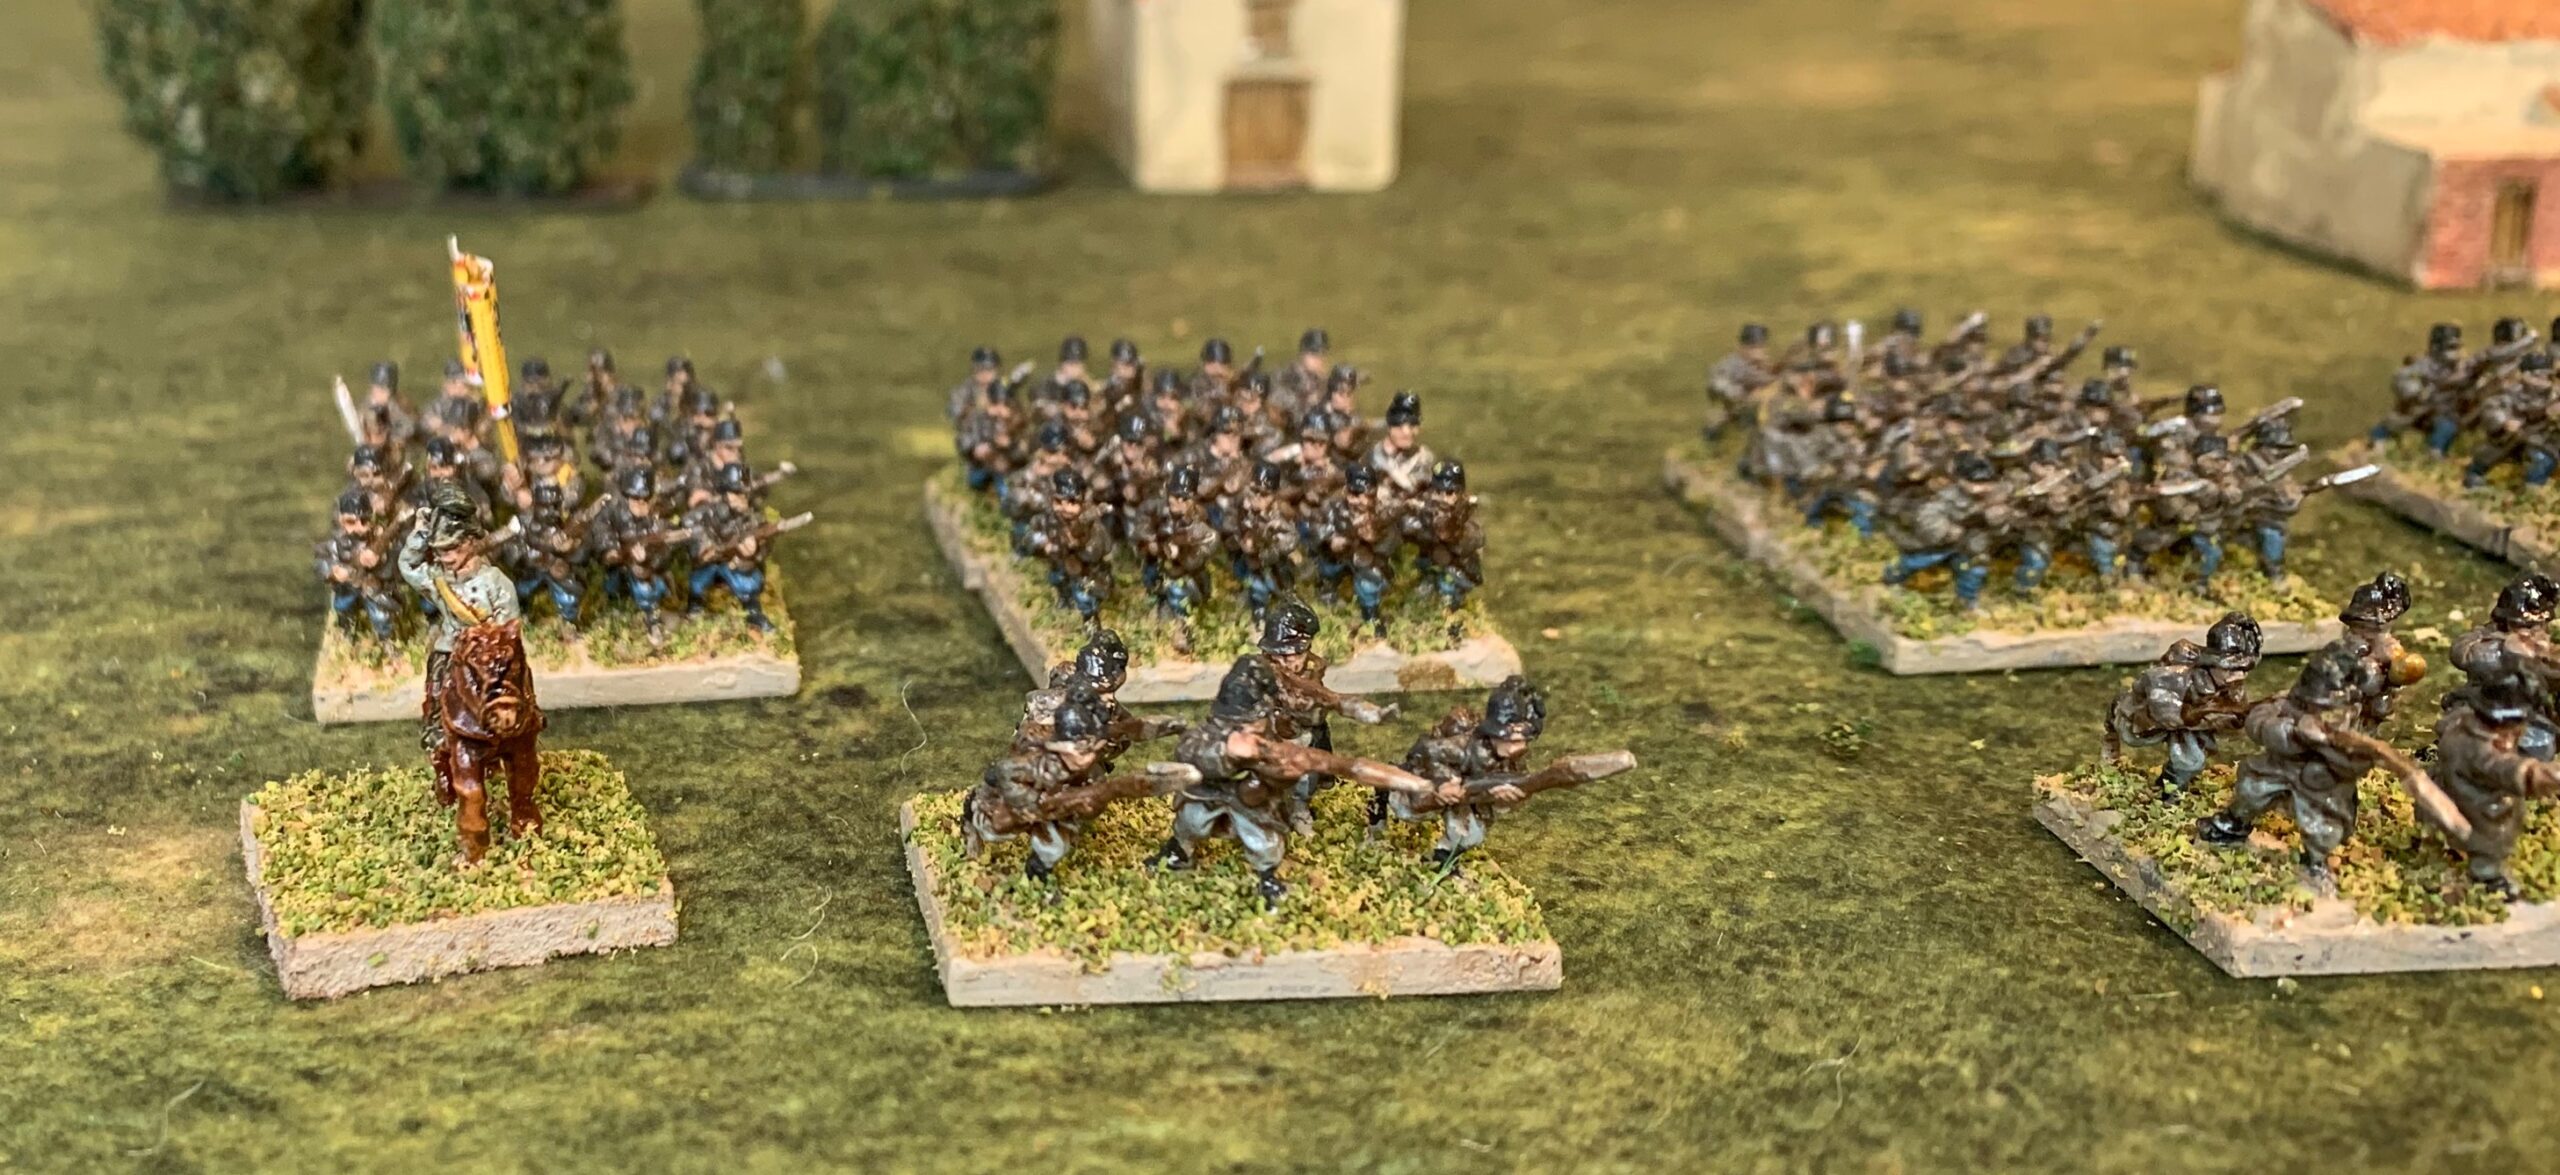
The troops are in the regulation greatcoat which the troops had to wear even in the heat that June. Funnily enough the Italians used the same system, making the troops remarkably similar in appearance; both sides suffered from the heat. The most distinctive feature of the Austrians was the blue trousers (visible because the front skirts of the greatcoats were buttoned back – as with the French and Italian practice) – contrasting with the bluish grey of the Italian uniform trousers. At least the hats are slightly different. One more distinctive feature of the Austrians was that their webbing was pipeclayed white, rather than left dark. However the pose for these figures has the arms and musket in front of the body concealing this. With figures so small it is not worth trying to represent this, apart from the drummer. That at least makes them quite simple to paint. The jagers also wore the greatcoat – though not always, apparently – so I might do some without – perhaps to represent the elite Kaiserjäger. I painted the generals in their grey field uniform. They all came in the same pose, which means that they won’t look right if paired up to represent more senior commands. There don’t seem to be any good figures to represent ADCs, and a charging hussar (I have some spares) won’t look right either. I think will have to use infantry officers.
Moving on to the cavalry:
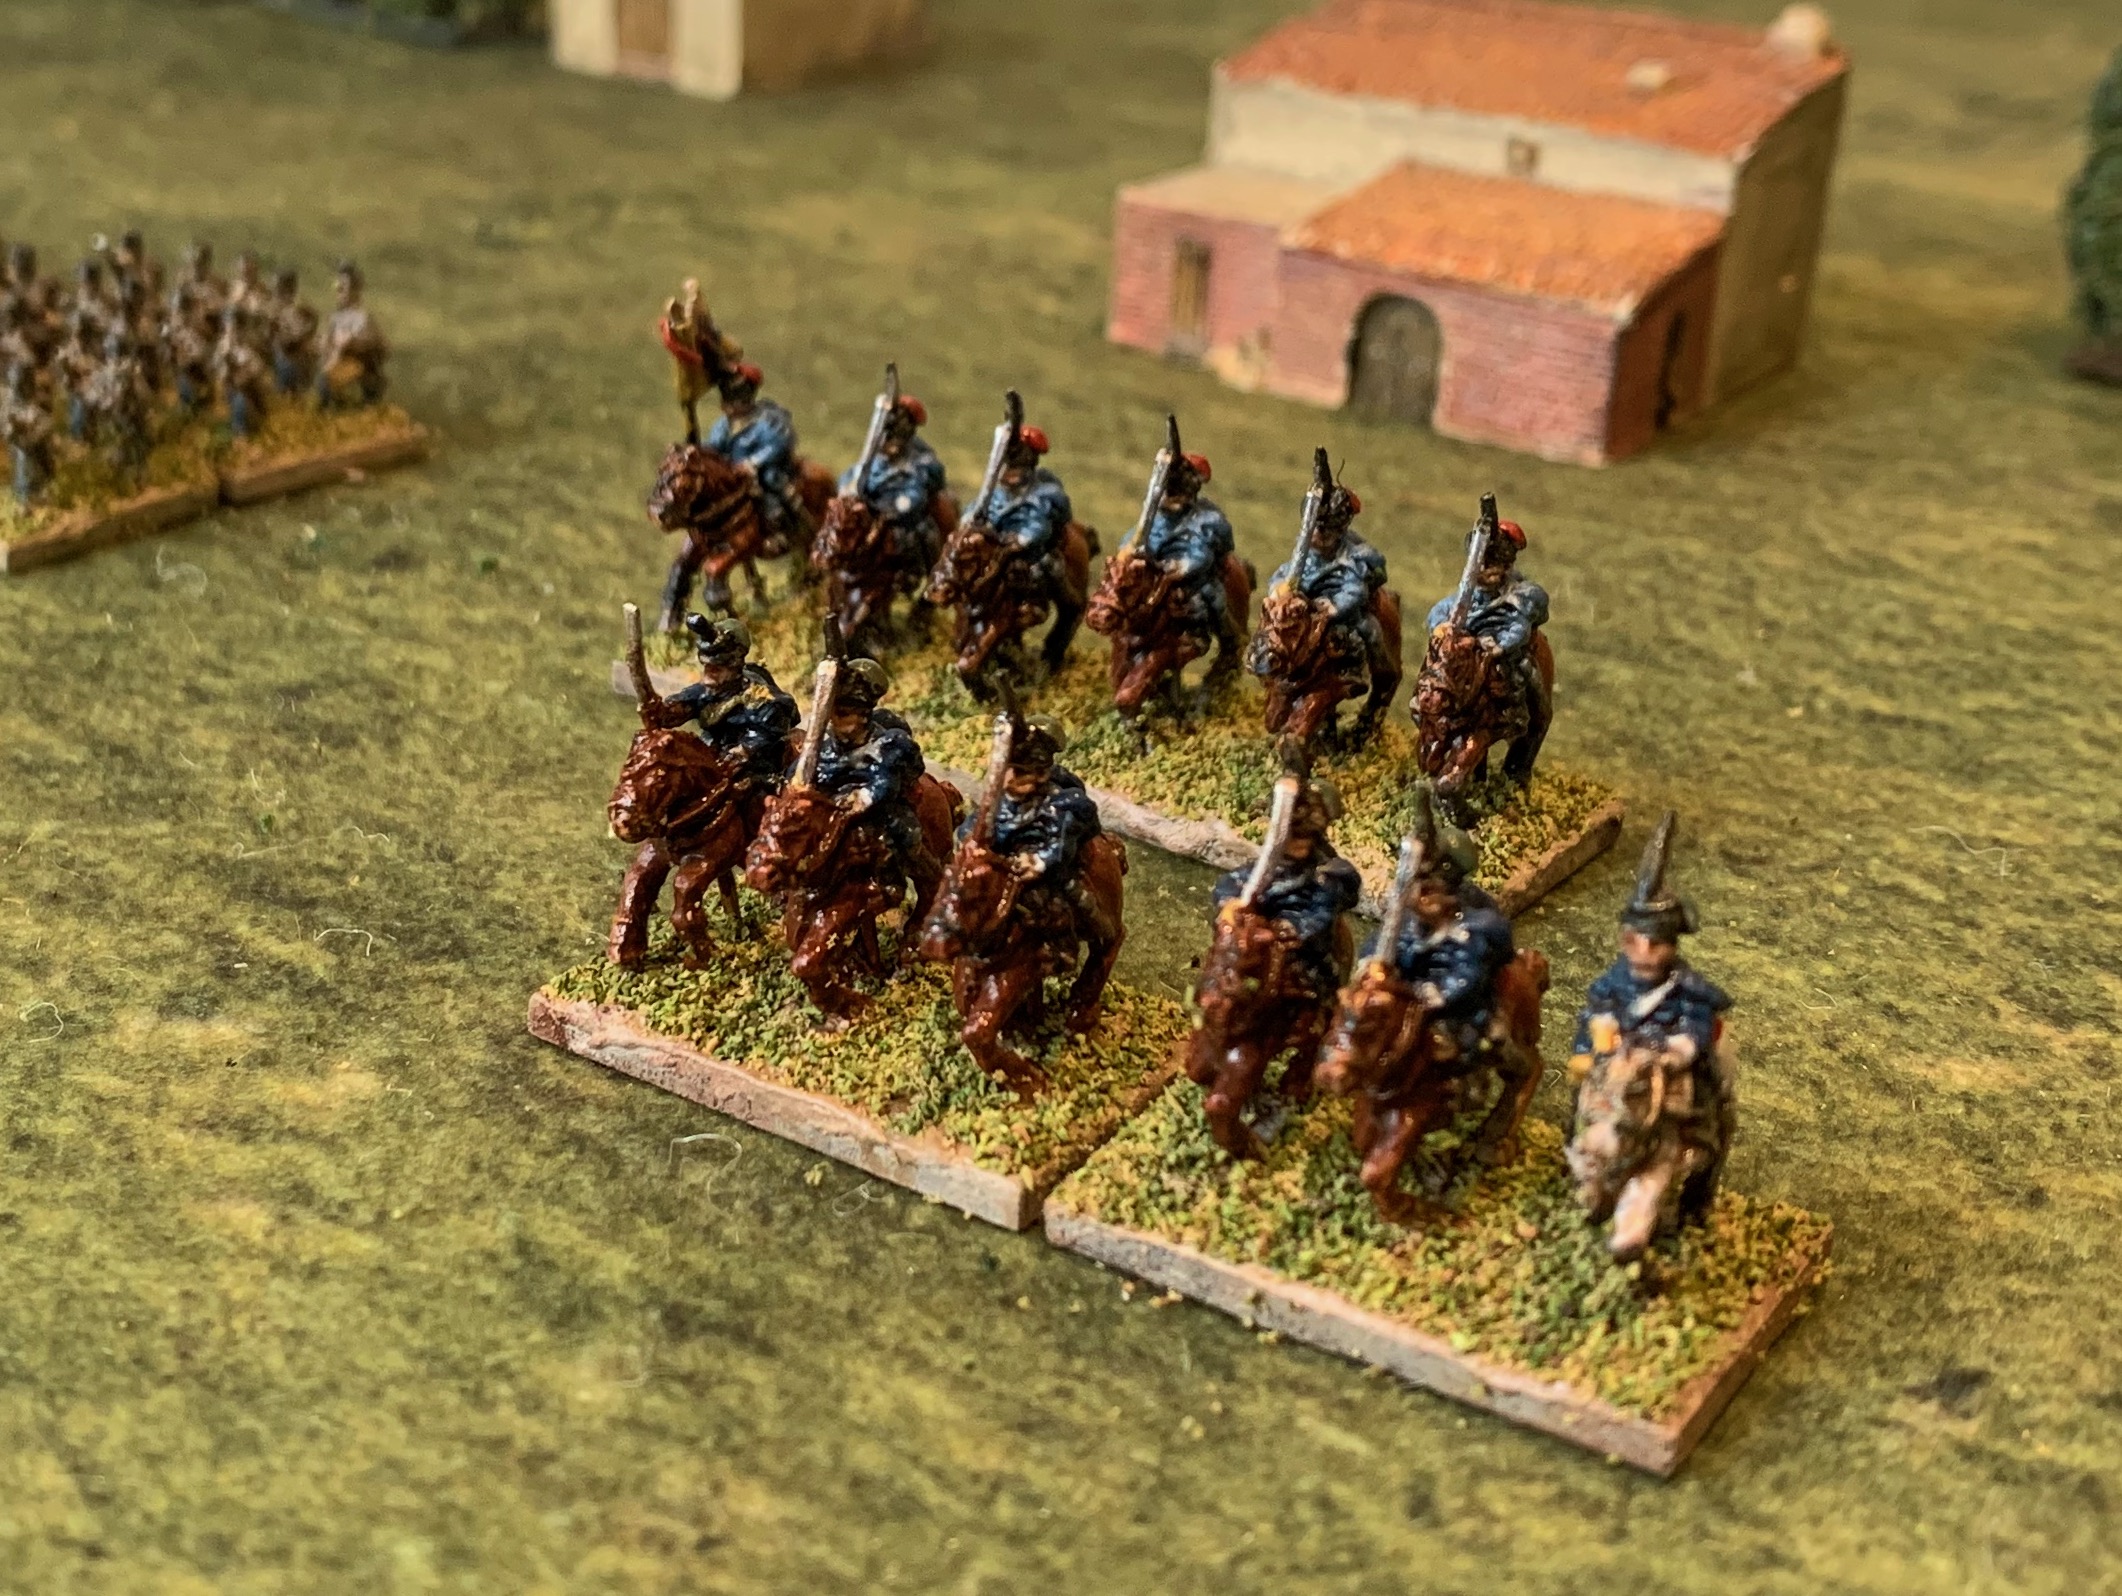

These are hussars. My system is to represent a regiment (4 squadrons) in two bases. One pair of bases is painted up as the 1st Hussars, which were at Custoza, and the other as either the 4th or 6th regiment – neither of which were in Italy, but which provided a nice contrast, with their light blue uniforms and scarlet cap bags (compared to dark blue and green). The uniforms were much simplified from the Napoleonic era, and not much detail was possible at this scale.
Moving on the artillery:
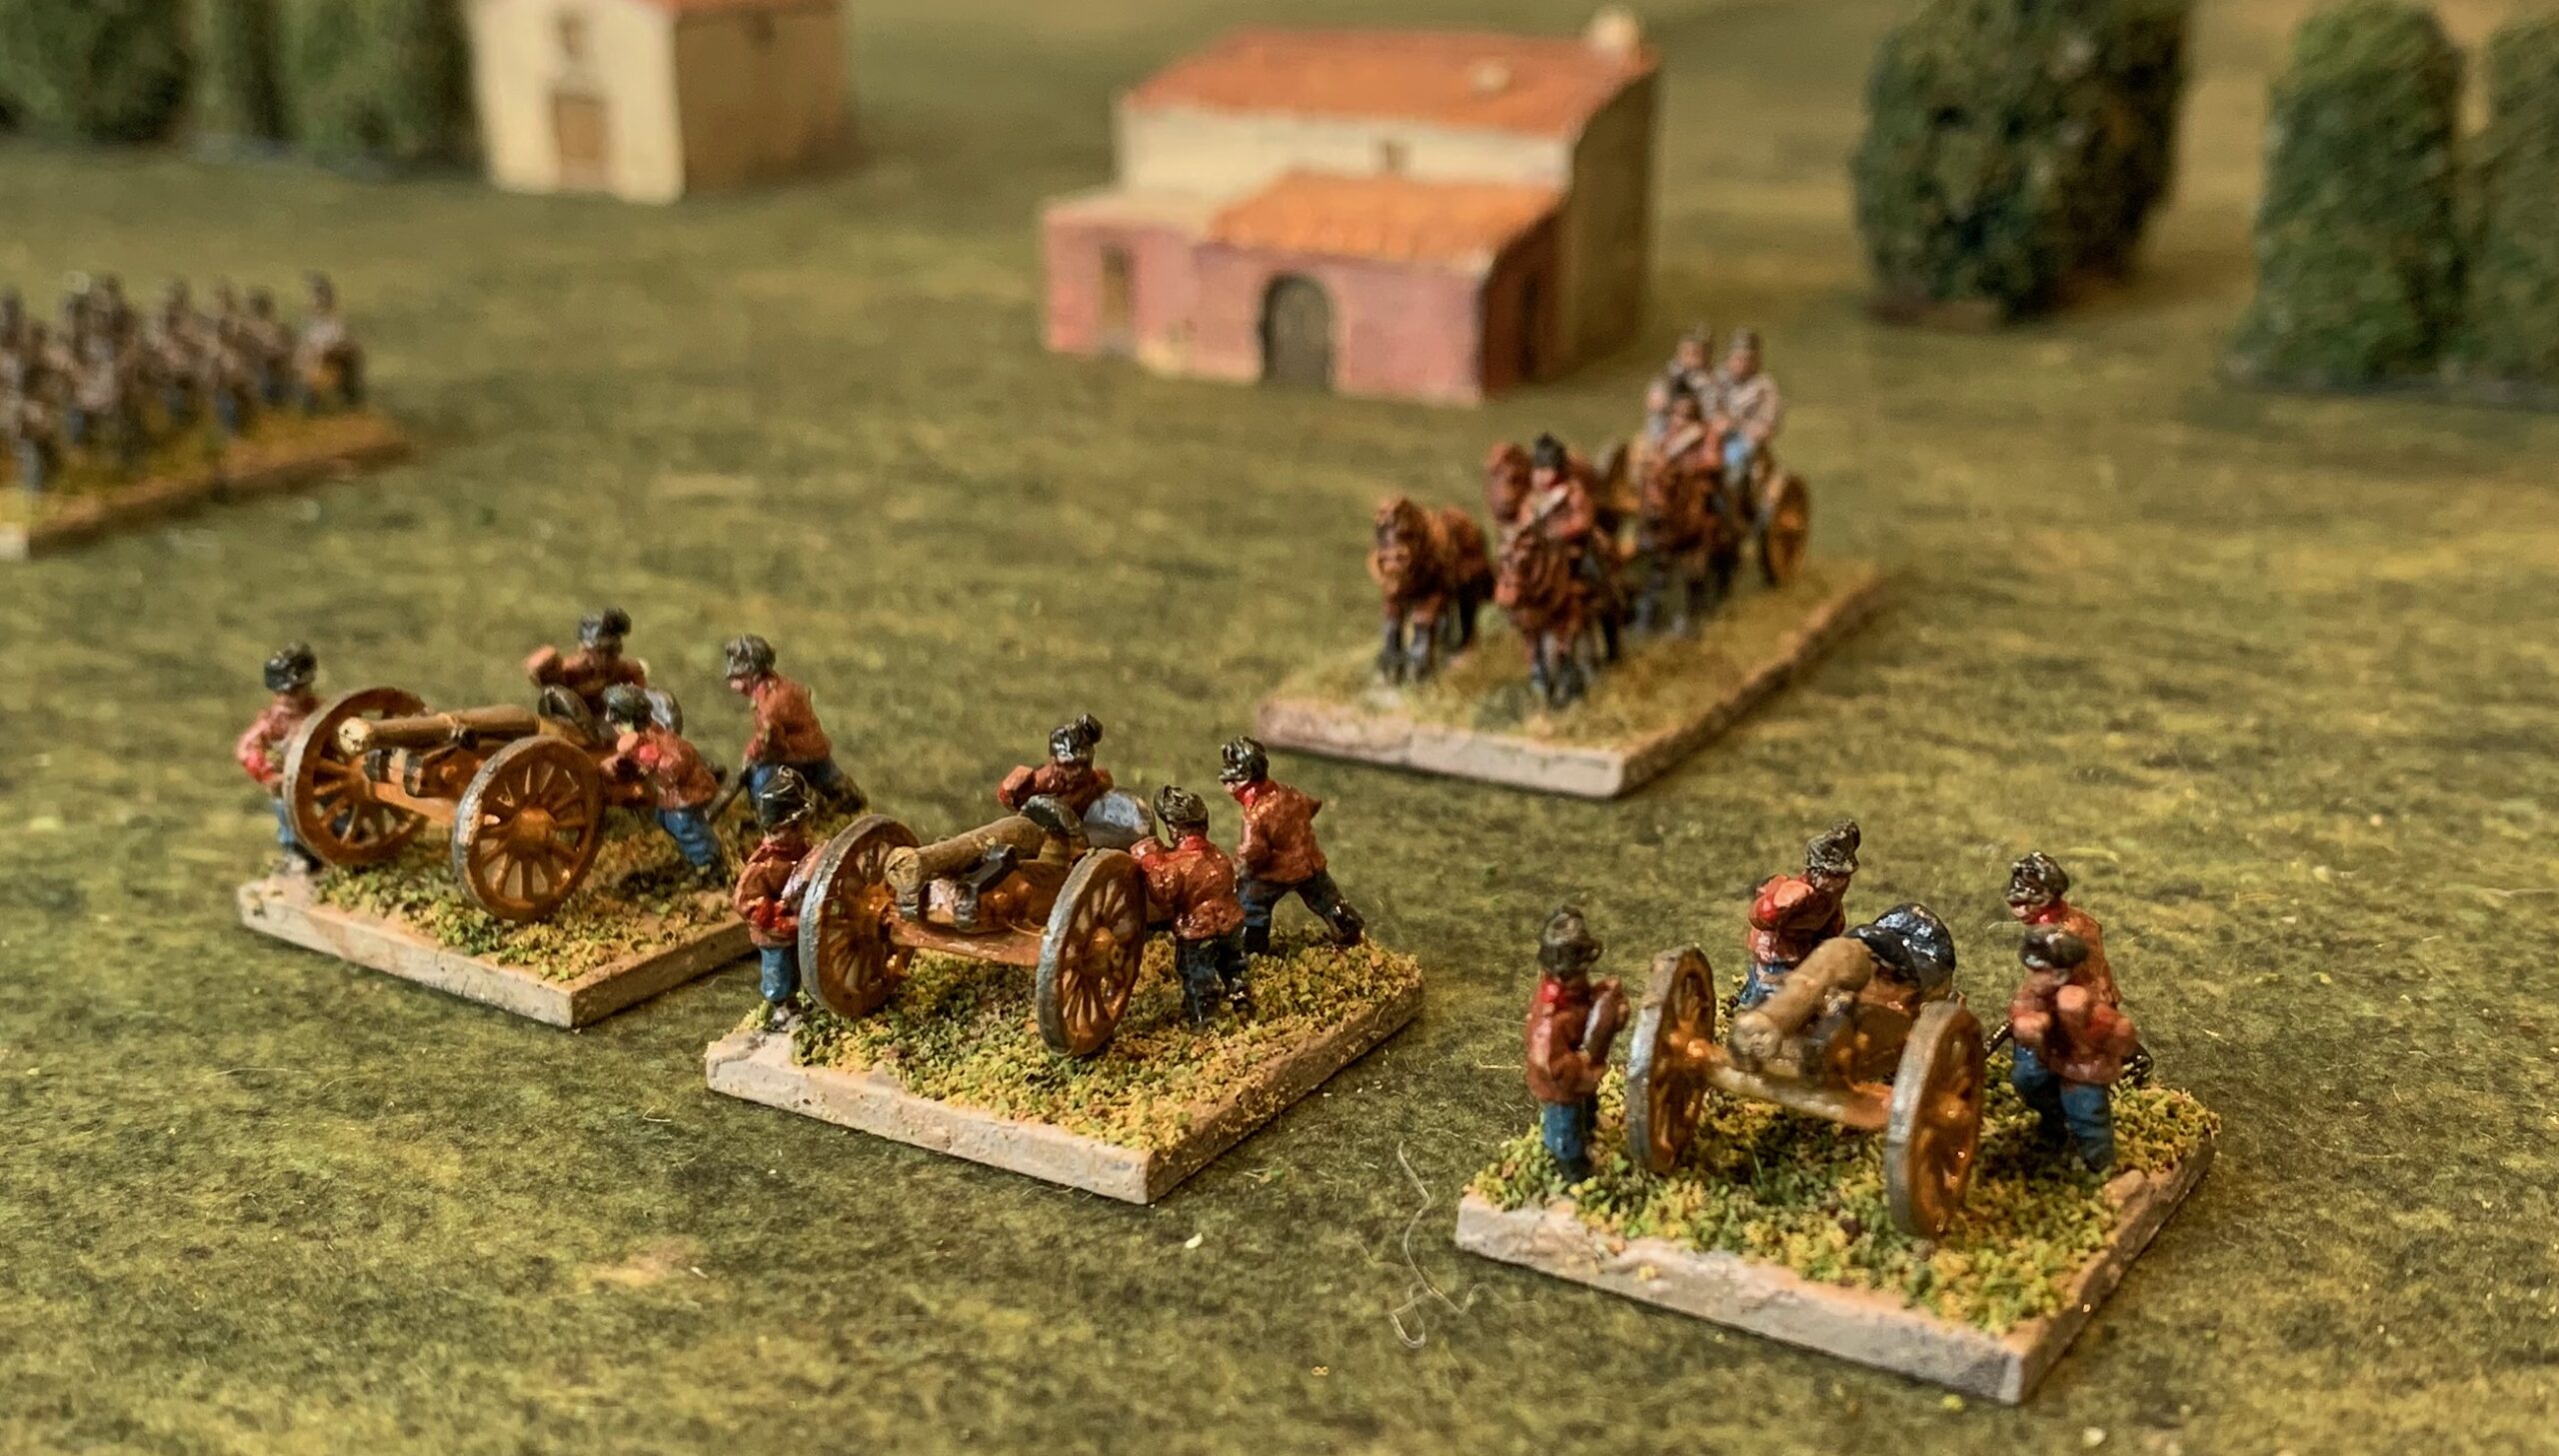
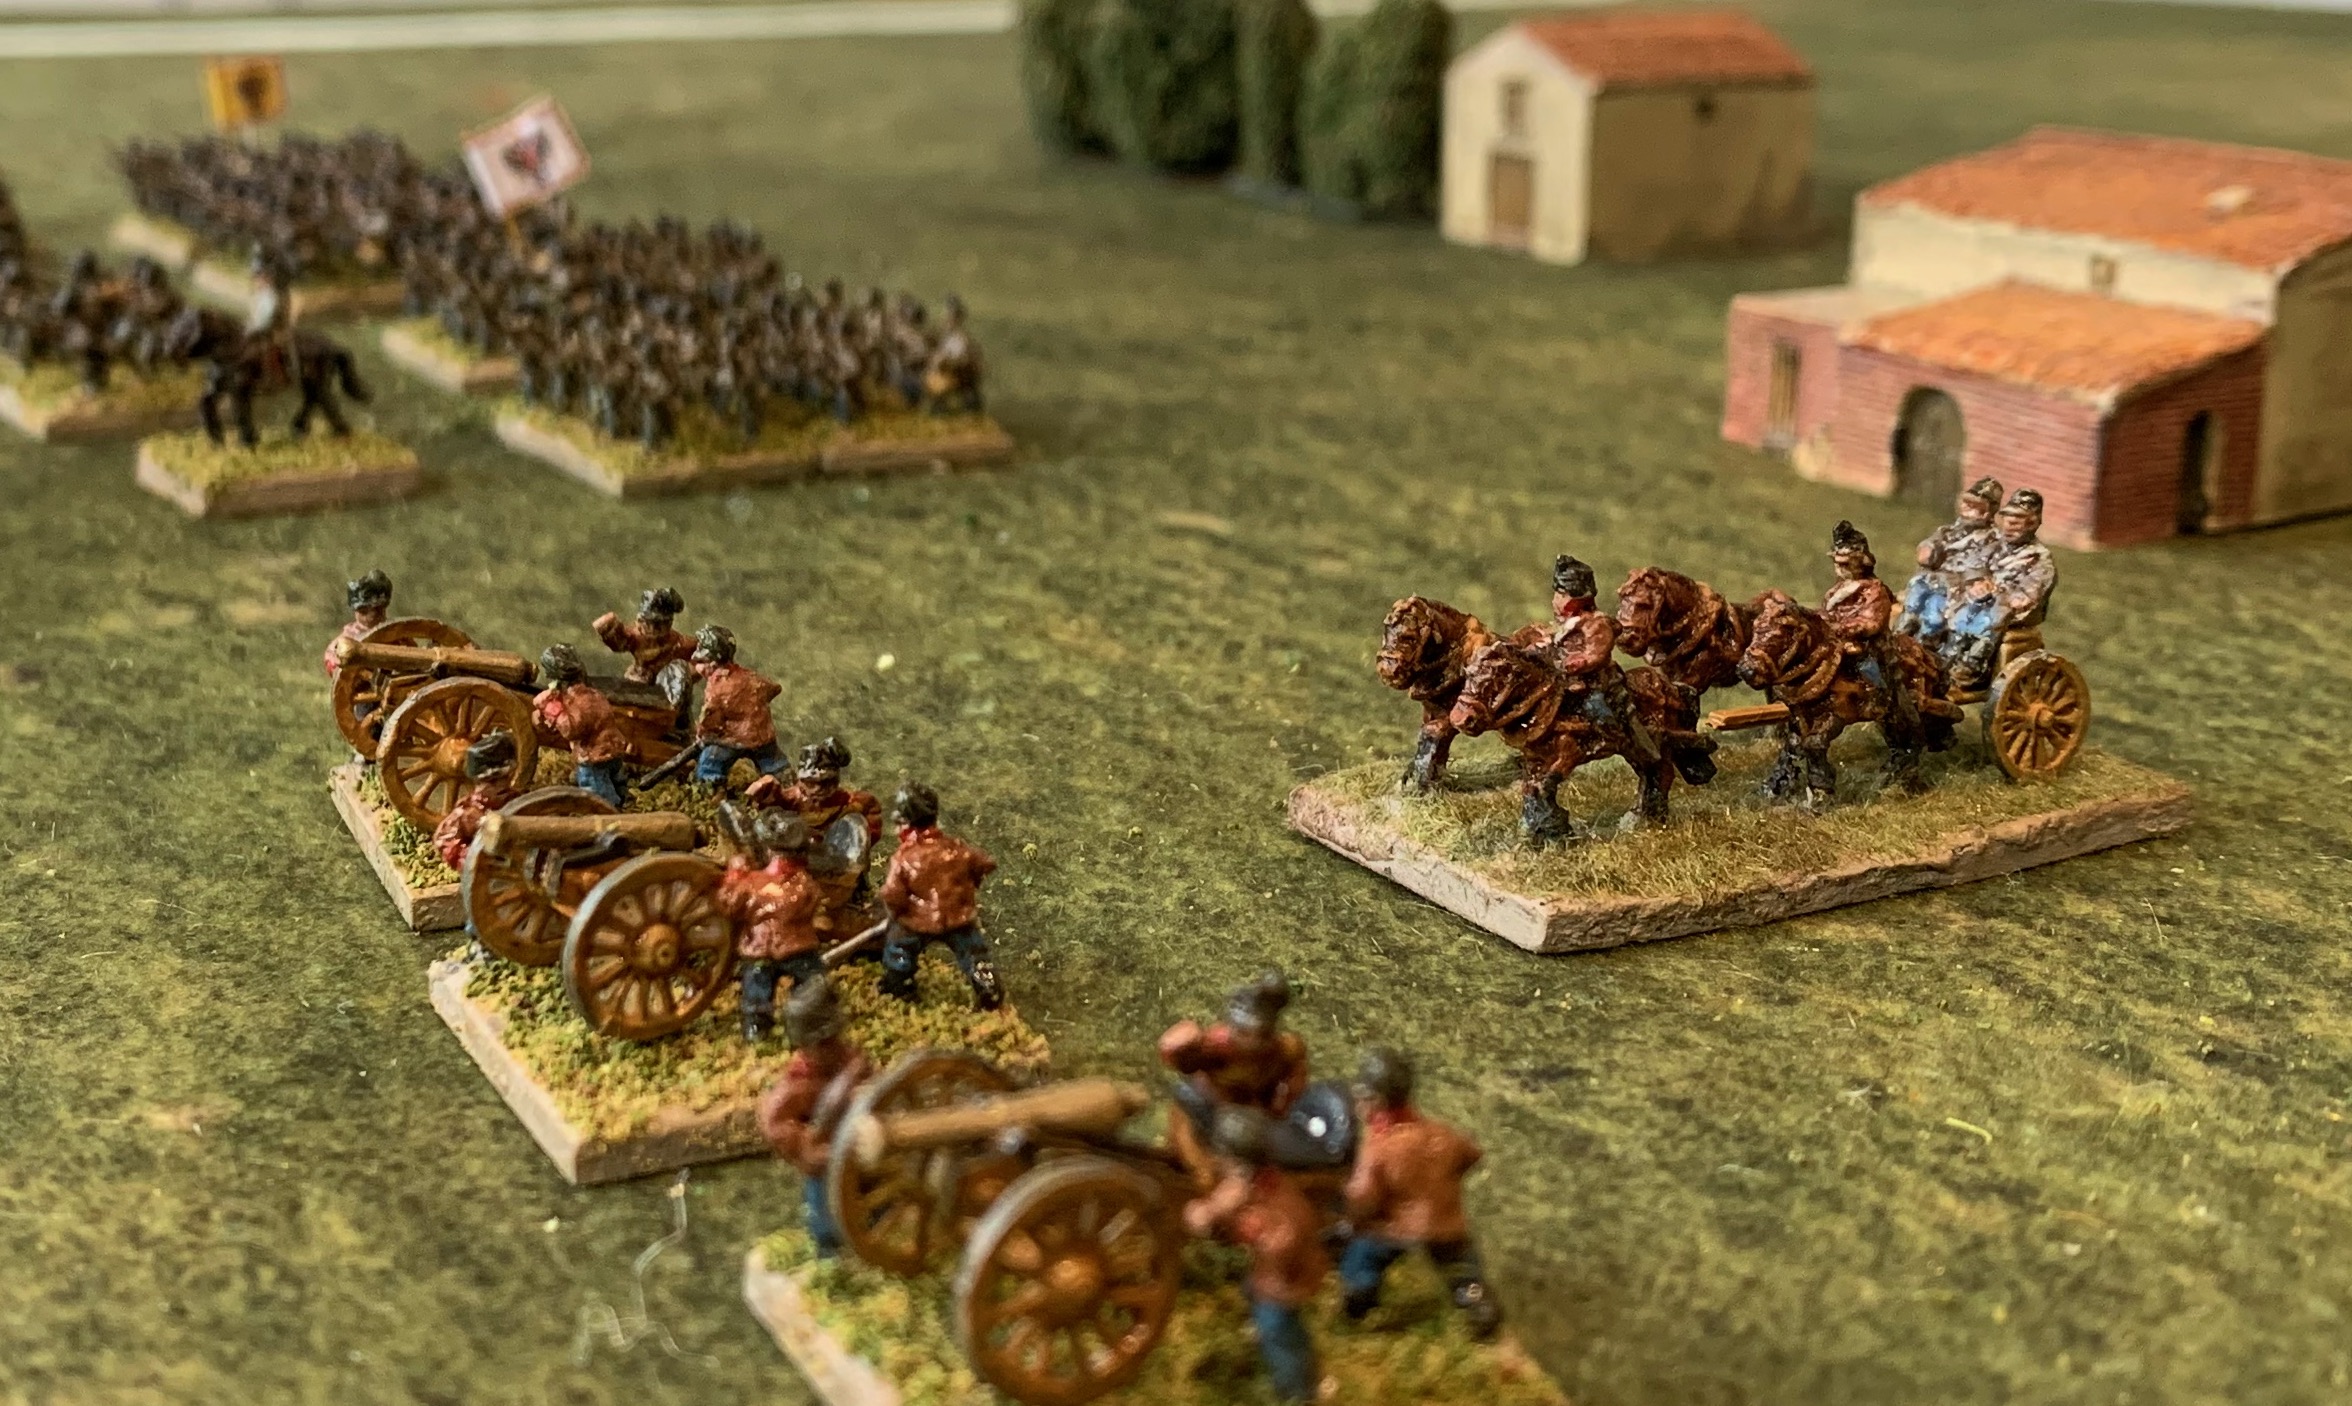
These are rifled 4-pounders. The trail seat on these Pendraken figures is a bit clumsy though. I may try cutting it down in future. I have put four crew figures on each base (as opposed to three for the Italians) as the Austrians had 8 guns to a battery rather than the usual 6. The mounting is a bit too tight for this though – in future I think 30mm by 25mm would be better. Looking ahead, I want to have some heavy 8-pounders as well. Pendraken don’t make these, so this might be a bit of a challenge. The woodwork was apparently not painted, unlike in the Napoleonic era – but I haven’t seen any clear colour representations of how it looked. As far as I can see it was a bit redder than than the ochre paint used beforehand – which suggests it was stained or varnished in some way – otherwise it would soon start looking a dull grey. I opted for a slight orange-brown, though I can’t say this screams “unpainted wood” to me.
How did I get the raw metal figures ready for the table? The first stage was to mount them on the bases (10 to a base for line infantry, 6 for jagers), set in a matrix of acrylic medium with a mix of white and raw umber paint. I didn’t mix any textural material (such as sand or model railway ballast) in as I do for larger figures, as I thought this would make the basing a bit trickier and slower, with the grains getting between the base of the figures and the mdf mounting. I had previously tried plaster filler, but this proved even trickier. I can’t say I have found the ideal basing matrix – but mounting such individual small figures in dense formation (6mm figures are usually come in strips) is quite tricky. I hoped I could just squish the figures into blob of matrix, but wasn’t that easy. After the matrix had hardened I painted the whole assembly, base included, in white gesso mixed in with Raw Umber paint to create a dry earth colour. After that came the main job of painting, using my usual artist’s acrylic paint. Obviously it was tricky to reach lots of places on the infantry bases, with the figures so close together – but if you can’t see it there’s no point in painting it. This was much rougher and readier than my normal 18mm painting. There was very little in the way of striking high contrast detail to lift the figures (such as white cross-belts, facings, plumes or hat pompons). It still took a few sessions. There really is no good way to speed this up. I used oil paints on the horses, mimicking the technique I use on 18mm – but it was messy and it was hard to overpaint reins, etc. With little positive benefit (the figures are bit small for the wiping technique to create high/low lights) – so I won’t be doing that again. Given that these are armies assembled in peacetime I made the horses on each pair of bases look similar with only small variations (and grey for the trumpeter).
These figures needed a wash or glaze with a thin dark colour particularly badly to bring out the moulded detail that could not be picked out in paint. Like my Italians I used a glaze made with a supposedly fast drying oil medium, mixed with a little brown oil paint. This did an excellent job of distributing the dark pigment to the lowlights, but the finish was too glossy: I wasn’t looking for ultra-flat, but there are limits. After giving it 24 hours to cure I started to apply the basing material – flock or “turf”. This was a big mistake as the basing material stuck to the touch-dry but still slightly-sticky glaze, and I had to abandon it. I then decided to apply matt varnish (which I had done for my Italians) – using some old Winsor & Newton varnish designed for oil paintings. This is nasty, sticky stuff where the flatting agent tends to separate out in the bottle and is very hard to mix back in. I had to take out a quantity of the runny stuff and the some of the gunky flatting agent to mix together in a small batch. Thankfully the result was the right off-matt finish. It was only after this was thoroughly dry that I went back to applying the basing material – just flock this time, as I decided that the turf didn’t look as good (though I used it for all my Italians). Applying flock to the tightly-packed infantry bases was still pretty hard to do with it sticking to the figures themselves. This is hard enough in 18mm! I frequently had to use a large brush and water to clean up the figures. For my 6mm I don’t bother with flocking at all, though I use a textured basing matrix. But that leaves the smooth metal bases visible and didn’t want to do that for the larger figures.
The base flocking/turfing is good enough, without looking particularly good. I will stick with the flock in future, but with variations on the bases with large exposed areas. The main thing I need to change for the next batch is low-lighting glaze. I need to get it in done one coat, without the need for an extra coat of varnish. I have acquired some acrylic matting medium to try out. This is milky when wet but turns transparent when it dries. This will make it tricky to judge the right to amount of ink to mix in. A challenge for next time.
The final step was the flags. For the infantry I used the Pendraken printed paper ones. The cavalry standard was moulded metal – which I did a rough and ready paint job on – which wrks OK at arms length. The flags are important for such relatively dull figures.
I have ordered the next batch of miniatures. I will concentrate on doing a large batch of Italian infantry. This isn’t very exciting but I’m hoping to generate a bit of speed so that I have enough figures for a decent game as soon as possible..