 Last night at the club I tried out my new house rules to convert Bloody Big Battles to Napoleonics, using a smaller scenario. This was a success, though I will tweak the rules some more.
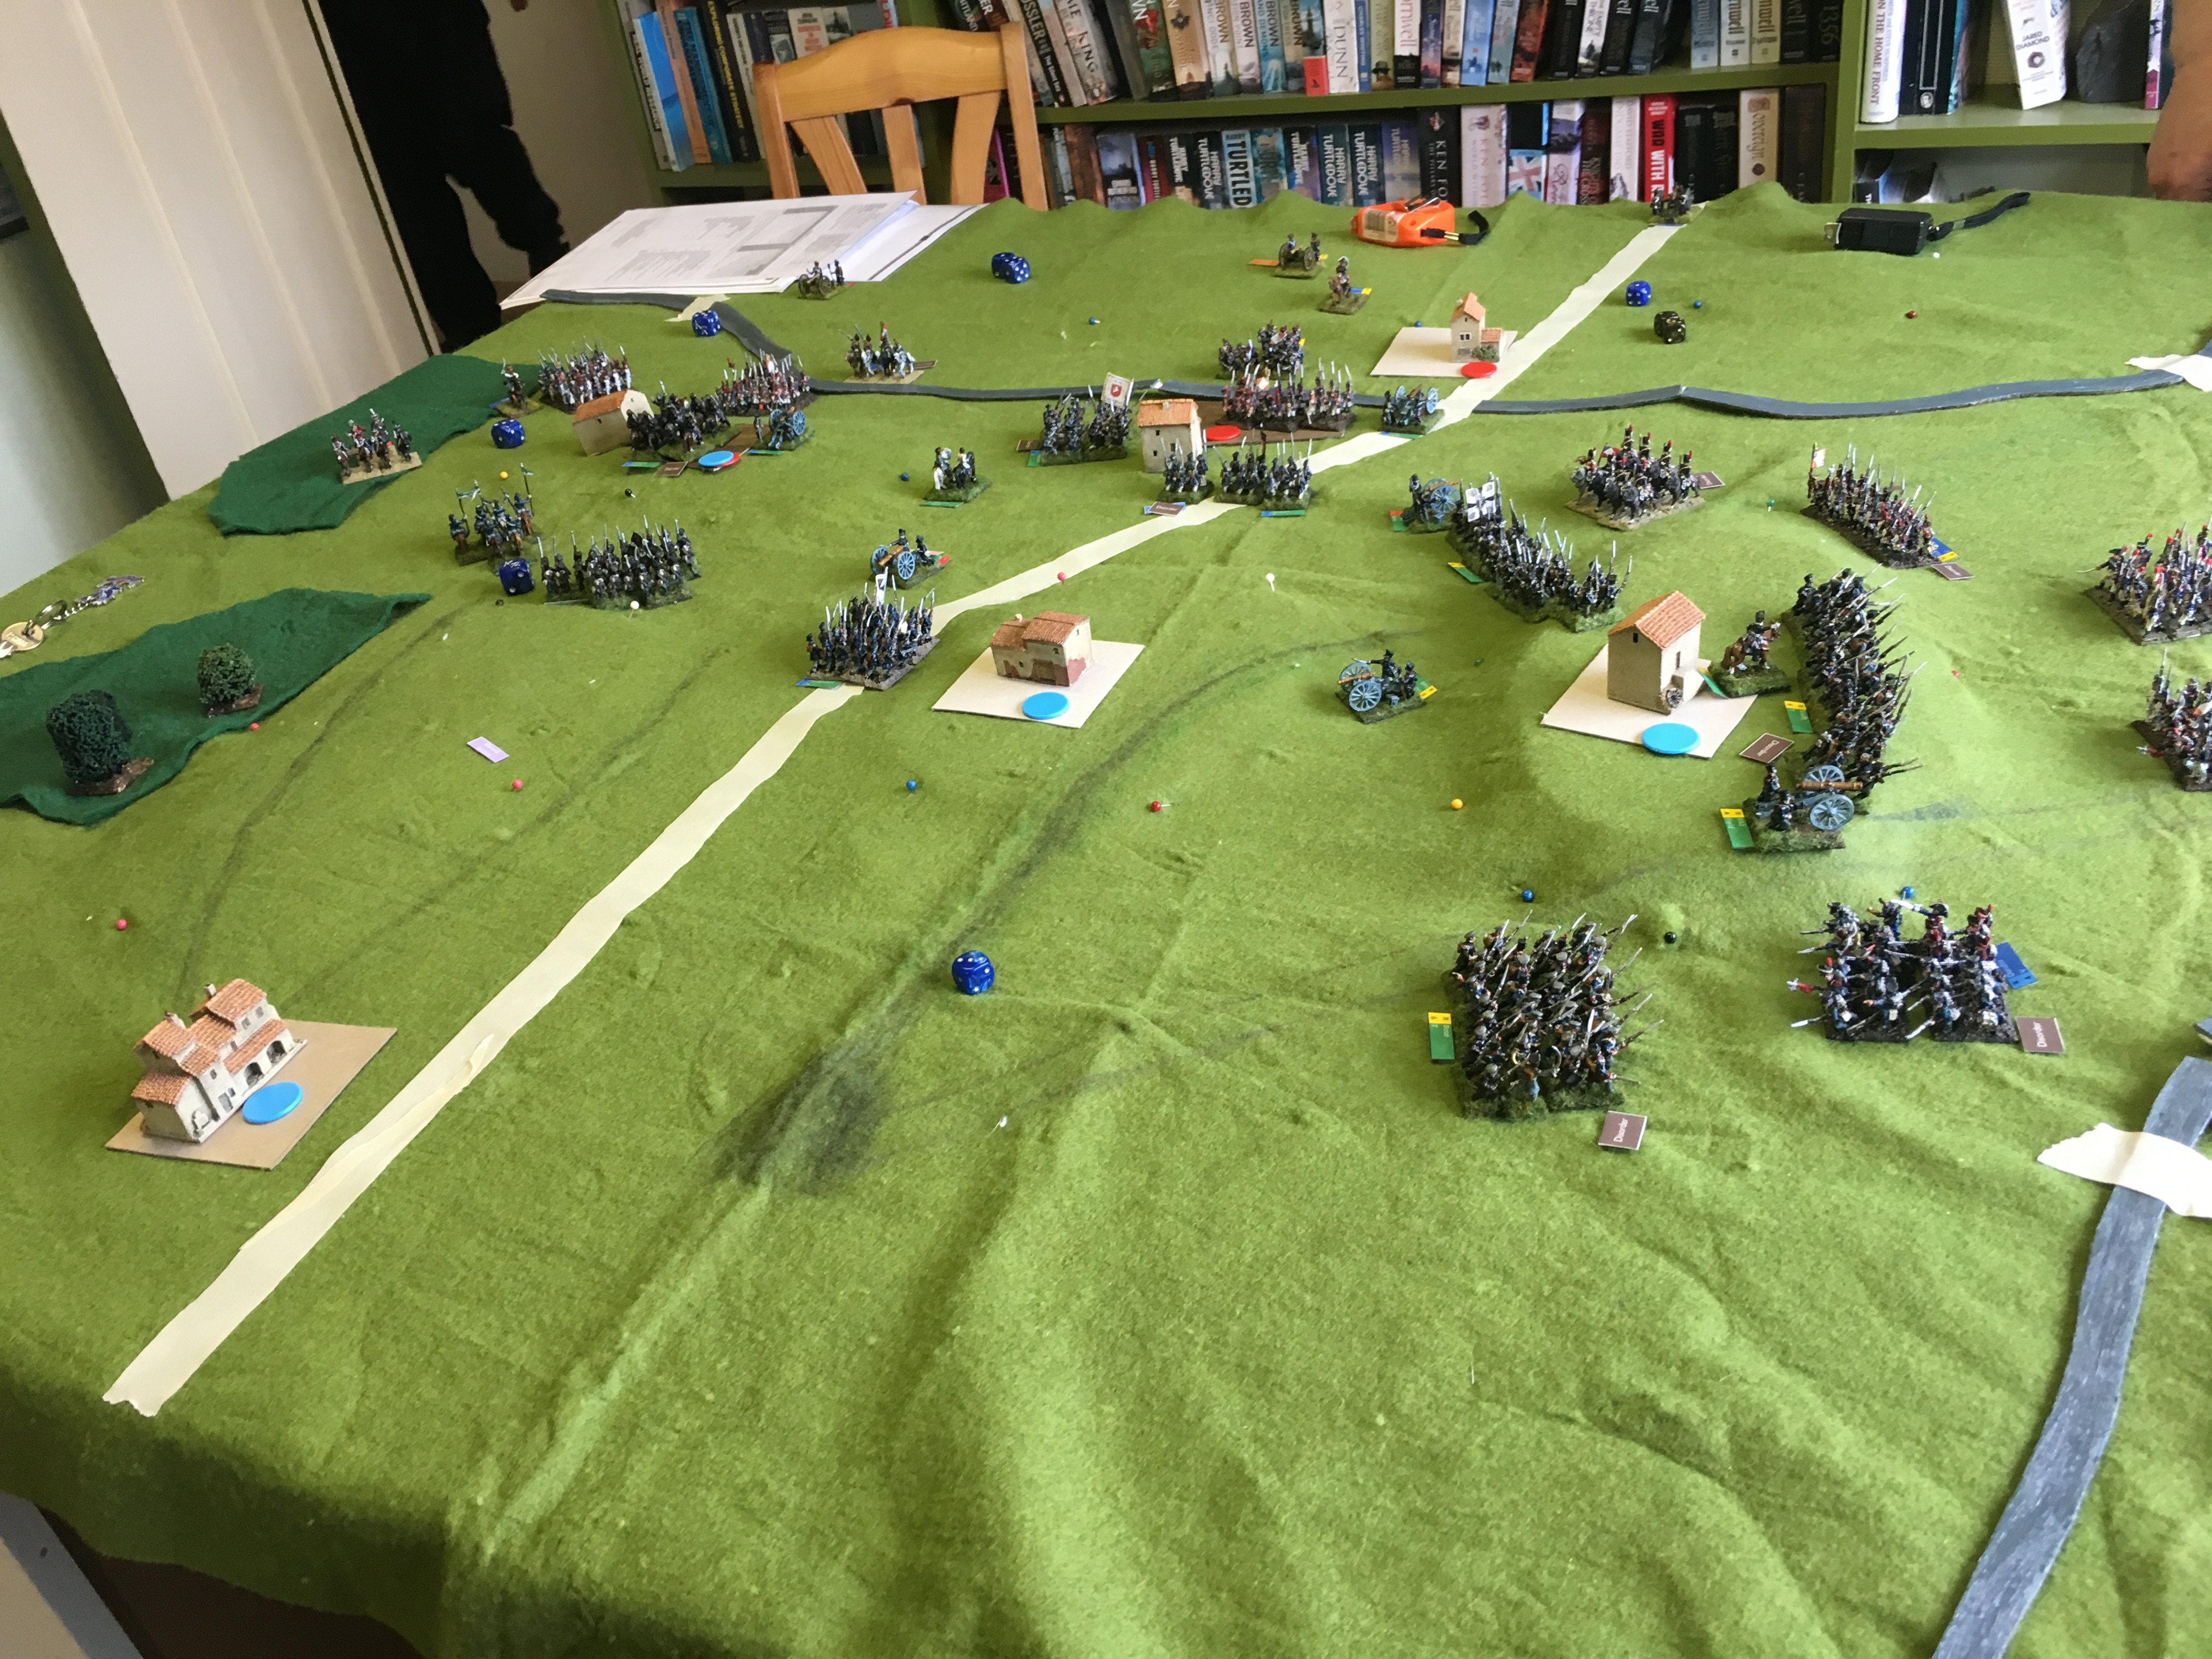
The scenario was loosely based on Albuera (1811 in the Peninsular War), but using my 1815 Franco-Prussian armies, so that I did not have to print new unit labels, as well as getting more feel for how these armies work. On the French side I had four standard 4 base infantry units of Veteran line troops. Two of these were assigned to the flank march, one to the pinning attack and one to the reserve. In support were three cavalry units. One light cavalry unit (3 bases) supported the pin attack, while a further one (using my Polish lancer figures) combined with a cuirassier unit of 4 bases to support the flank attack. They had three artillery units: one field unit for the pin, one further field unit and a horse unit for the flank attack. There were two generals. One overall (Vandamme taking the place of Soult) and one for the cavalry (Grouchy taking the place of Latour-Maubourg, though in 1815 he was the senior officer). The Prussians had two corps. One, to take the place of the Spanish, had three 4 base landwehr infantry units and a 3 base landwehr cavalry unit and a field artillery unit. To take the place of the Anglo-Portuguese were two 6 base line infantry units (Trained) and a 4 base dragoon unit, also with artillery. The Prussians were classed as Passive. This is hardly an exact correspondence on the Allied side (given that the British had the best infantry on the field), but the overall challenge remained similar. The terrain available for a club night encounter was very approximate.
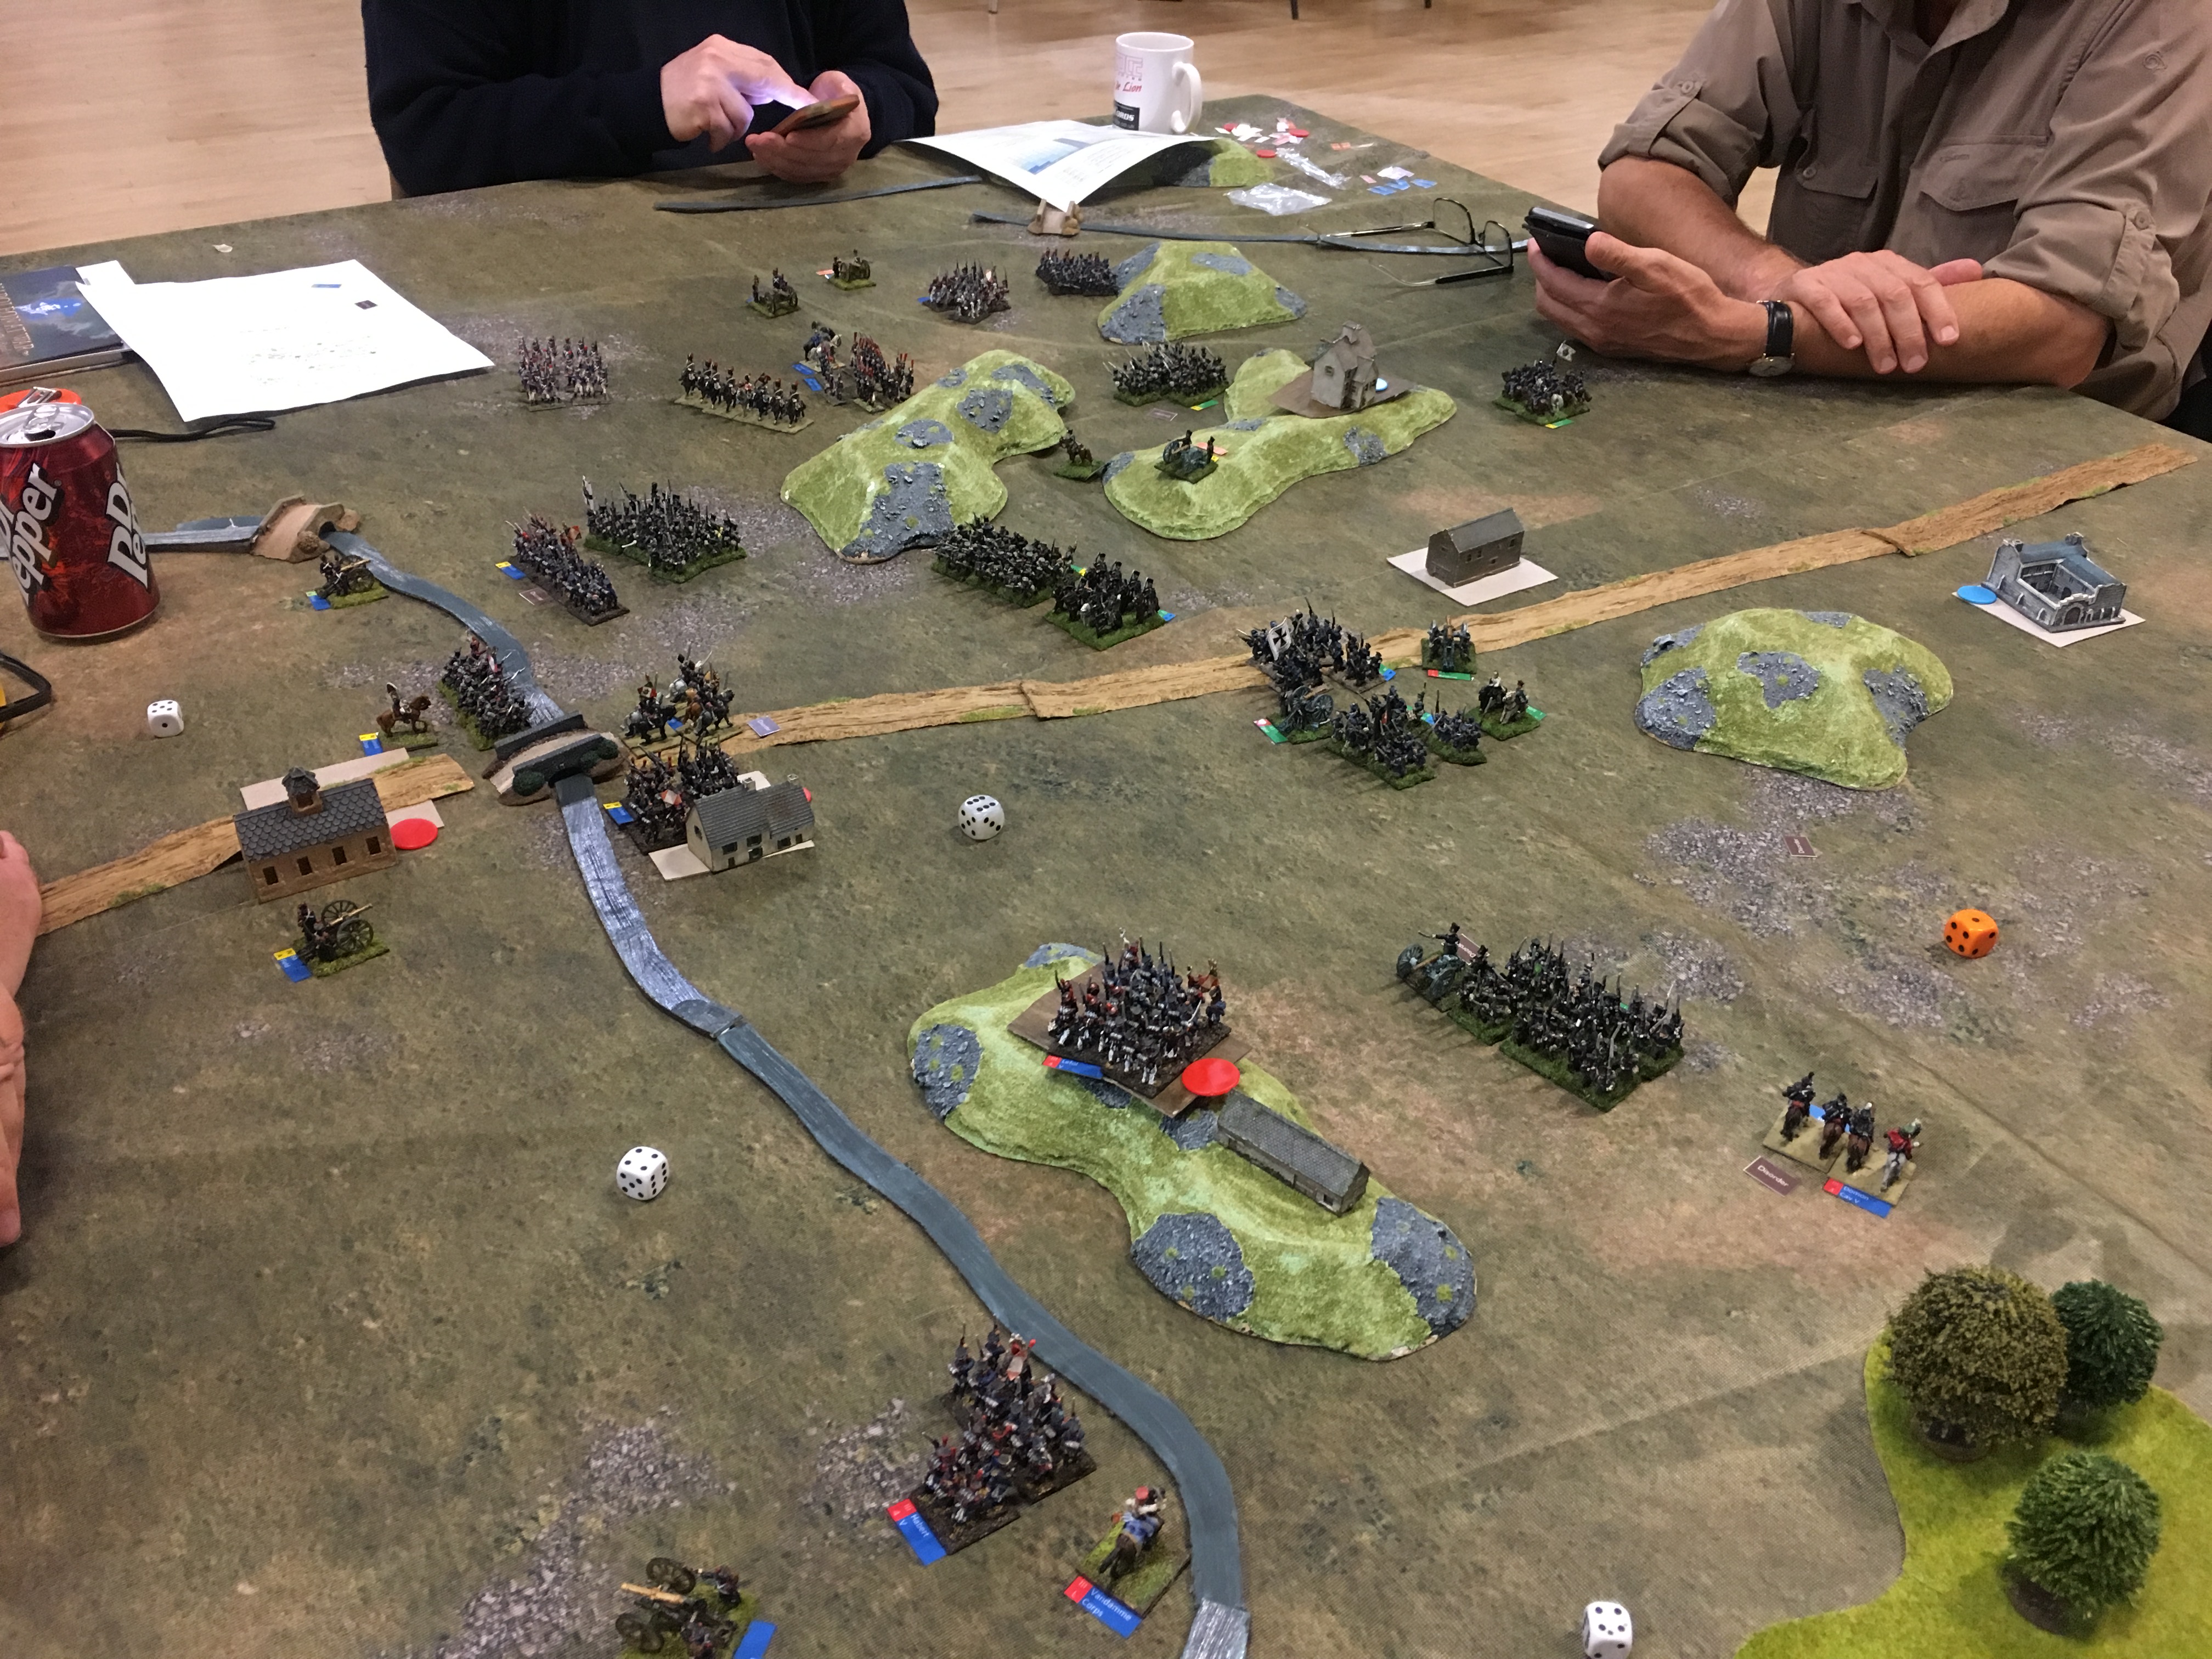
The scenario worked fine. Doing proper historical scenarios, as envisaged by the creators of BBB isn’t really feasible for a club night. They tend to be too big, and there isn’t a good way of getting the terrain relief right – real terrain is subtle and flowing; club hills are blobby – and most gamers don’t actually bother with them, using other terrain features to break things up. Since hills are probably the most important aspect of terrain militarily, this is a pity, if understandable. Also getting the armies right takes quite a bit of prep. But you can’t beat a historical scenario for creating a narrative and interest. So my compromise is to use real battles for game purposes drawing units from historical armies, but not those f the battle itself. We didn’t quite finish this one, but we started late, and there were only two and a half of us, instead of the usual four. So the size was about right, until we speed up. I need to find a few more battles of this sort of size.
How did it play? Terry did not follow the historical precedent. He immediately threw the reserve division into the frontal attack, turning the pinning attack into the main deal. On the flank he set up his artillery to play on the allied units, pushed his cavalry towards the Allied rear, and held his infantry back. The Prussian regulars moved to handle the flank attack, while the landwehr dealt with the frontal attack. In the former case the dragoon unit did most of the work. It did sterling service, beating off a combined attack from the two French units, and with some help from fire support, destroying the lancer unit. At the end the French cuirassiers were in the Allied rear, but allied dragoons were still facing them off. The regular infantry allowed themselves to be pinned by the cavalry, but took up the challenge of the French infantry when it eventually advanced. This infantry battle wasn’t resolved at the end of Turn 5 (or 6) when we called it a draw. Meanwhile the French frontal attack was slowly grinding down the landwehr after capturing the village, though at the cost of being neutralised itself. The landwehr cavalry managed to neutralise the French cavalry, using the stream.
So how did the rule modifications play? The most dramatic: the new cavalry v. infantry combat table, and squares. Infantry became fearful of cavalry, and often took up square formation (on the Prussian side), limiting its effectiveness. So it played a bit like Waterloo. Whether this is overdone is hard to test. There were not many attacks by cavalry on infantry, so this aspect wasn’t properly stress tested.
I was most nervous about the skirmisher rules, as this seemed to add the most complexity. But they worked pretty smoothly, and it captured the most important aspects. Skirmishers could shield the main body from disordering fire, but also represented a drain on strength. Cavalry was good at neutralising them, giving cavalry a further (and historical) function. The unhistorical thing is that firing is alternating, which doesn’t capture the mutual attrition aspect of this warfare, where most of the damage in fact arises from fatigue and ammunition loss. That is pretty much baked into the BBB system, though.
The new infantry combat table was fairly influential and meant that the French attack on the landwehr progressed more quickly. Again this needs more stress testing, but the early results are promising. Finally the new artillery system, with bases representing smaller units with reduced firepower worked well. Artillery remained influential enough. Replacing silenced batteries with Disrupted ones (like infantry) wasn’t tested, and neither was their vulnerability to charge combat. Artillery was incorporated into supporting infantry units, but this it was difficult to do this while the infantry was moving. In fact in the real battle of Albuera the artillery did keep up with the infantry.
So what changes to make? There should be some small tweaks to the skirmish rules. I think artillery movement can be more flexible – and the rules used in Age of Eagles (another system based on Fire and Fury) used, allowing artillery to limber/unlimber and move, or limber/unlimber and fire without penalty in a move (but not move, unlimber and fire). This leads me to a further thought. I have now eliminated all the causes to halve fire points except Disruption and Low on Ammo. Can I find a different way of handling these? Infantry fire with a single point per base; artillery Defensive fire at short range only. And treat Low on Ammo as Disruption instead?. I like ideas that reduce complexity!
There is something else, while I think of it. BBB allows for the recovery of bases on the movement throw (though not if Disrupted). This was very important in the first trial game I played (actually based on the 1866 campaign), when an Austrian unit that was badly mauled by concentrated artillery fire, retired behind a slope and mostly recovered. It has almost never been used in my games since, possibly because we forgot to apply it, but mainly because damaged units are in the thick of it and usually start their turn Disrupted. In the Napoleonic era I can’t think of a case where a division got badly roughed up, retired, recovered and went back into battle on the same day (overnight is another matter). Units disintegrated during battle and proved very hard to recover until the end of the day, even when casualties were not that great. It is quite a striking feature of the Napoleonic battle. I think this could be dropped (it doesn’t feature in Fire and Fury or Age of Eagles). There is a case for not removing units reduced to a single base, but consolidating them into rump units to fight a rearguard with, but that is something else, and an extra complexity we don’t really need.
I think I’m really on to something with this adapted BBB. What I need to do now is to work on my 15mm armies to make them look a bit smarter and extend them a bit, especially the French. It would be fun to have Austrians and Russians too, but that’s a long way off! I still have unfinished business on my 1943 troops.