And so to the P-38 – which proved a nightmare. I wanted one of these iconic aircraft, in the early F variant that would have been in action in 1943. The RS Models kit was the only show in town, and the online review on modelling madness.com didn’t alert me to any major issues. Still the overall result looks fine if you don’t look too closely!

The P-38 at this stage of the war was primarily an escort fighter, assigned to bomber formations. Although it was outperformed in combat by the Bf-109, the primary German interceptor of the time (the Fw-190 being used mainly for ground attack), the P-38 had an impressive range, and so was able to accompany the bombers on deeper missions. Bomber crew gunners liked them because they were instantly recognisable as friendly. Although on occasion they took heavy losses, they did a decent job of keeping the fighters away from the bombers. The interest from my point of view though was that on critical occasions, such as the campaign for Sicily and at Salerno, they were used as fighter-bombers. Their range was a major asset, and they could manage a decent bomb load too.There’s also a bit of nostalgia. One of our favourite models as children was an old Airfix P-38 made up to a very nice standard by my elder brother.
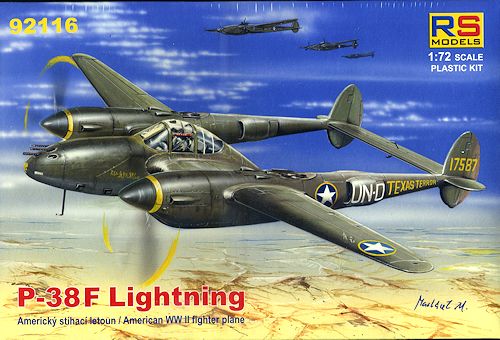
The main problem with the model was that the parts didn’t fit together properly, and, as with a lot of modern models there were no lugs and recesses to hold things in place. Problems began with the undercarriage doors because, as is often the case with modern models, there is no undercarriage up option. Modelling with the undercarriage up means trying to fit badly fitting doors into the wheel well openings. For this model, the fit was more than bad. This wasn’t made easier by the curvature, which was particularly pronounced and complicated on the booms. It took an immense about of time of cutting filing and sanding to get anywhere at all, and in the end I applied liberal amounts of filler too, both the cover gaps and build up. Even after all this effort, the result was pretty clumsy – at least I won’t be looking at the underside that often:
The next challenge came when trying to assemble the central fuselage. There was no room for the interior assembly, and the bottom was too narrow. Cue more frantic cutting and filing, and a bit of bodging too. And when I finally managed to get this assembled, the match between the lower and upper assembly was poor. More filing, sanding and and filler. If you look closely you can see where I’ve tried to build up the surface with filler to get something reasonably smooth. There were similar, though thankfully lesser, problems almost everywhere in the assembly. The result was that the whole thing took much, much longer to put together than any other model I’ve done, with a fairly mediocre result to show for it. But it is acceptable within my “don’t look too close” criteria. The lumps and bumps don’t show up in the photos at least!
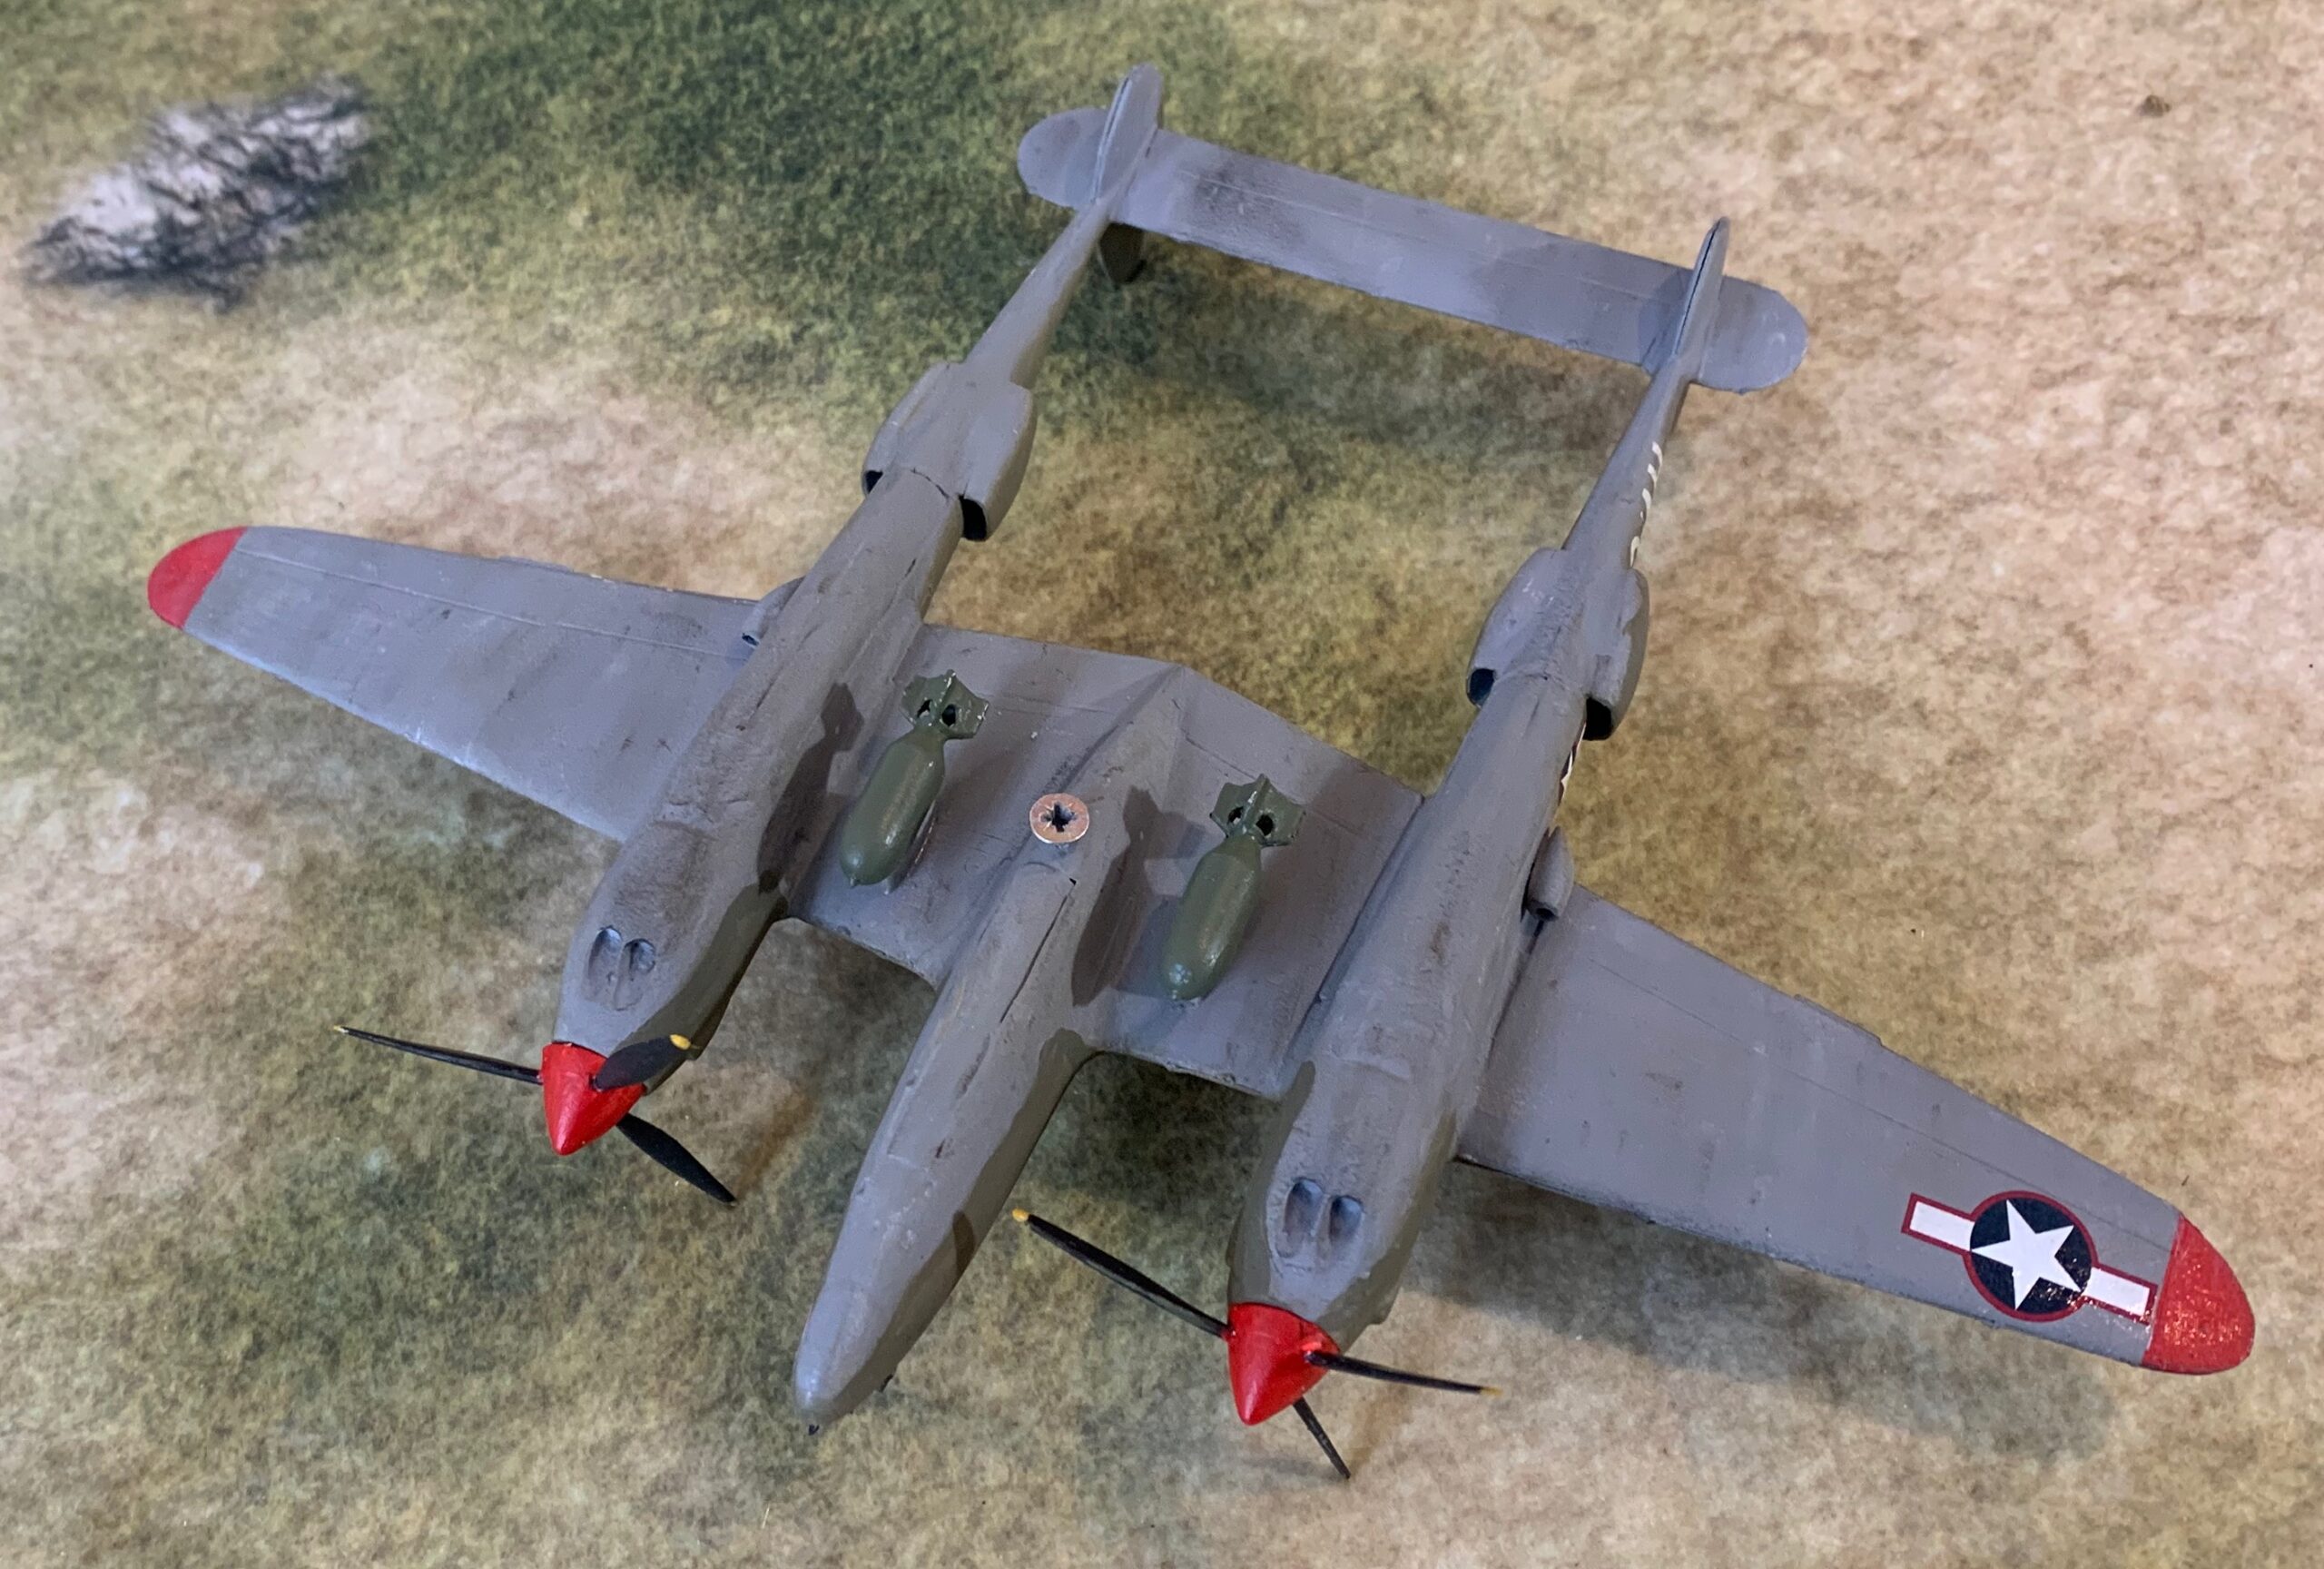
The problems didn’t end there. I left the cockpit off before painting, to add on later, saving me having to mask it. But, of course, the fit was terrible (I can’t believe I didn’t check or notice this beforehand). So I needed to cover the gap with filler – which meant more paint and patination to try to blend it in with the rest. This didn’t altogether work, and the finish on the inner-upper wing is a bit rough.
The final problem was all my own fault, though. I applied the decals on the booms in the wrong place – with the insignia on the air intakes, and the ID letters on the rear boom. I was able to remove the insignia decals (which came with the kit) and replace them with one from the sheet I bought from eBay (I had already used these on the wings to get the right size), in the correct place, in front of the intake. But the ID letters should be on the intakes – and I didn’t have anything in stock to do this (the model decals look too big anyway). So I left them! The plane modelled is one of the schemes in the box, except that I was trying to model it earlier in its career – as it would have been at Salerno or Sicily. I left out the kill/mission marks from the nose, but left the nose art on the port nose – actually surely too far forward as it was probably only there to make room for the mission tally marks.
One further thing is worth remarking on. The red on the spinners and under-wing tips is quite bright – you wouldn’t think I did quite a bit of dulling down on the original pigment. Red spinners were a standard Allied ID feature for fighter aircraft. The British used Insignia Red (used on the national insignia) which was quite a dark, dull red, so as to be less conspicuous. I had read that the US equivalent paint was much brighter, until they dulled it down later in the war. So I’ve tried to represent the earlier version. I used the same shade on the other two models assembled in this batch. I should have dulled it down a little more though!
This is an iconic aircraft, and I’m glad I have one for my collection. But if I want to do another one I will start with a different model, perhaps converting a later version.
Leave a Reply