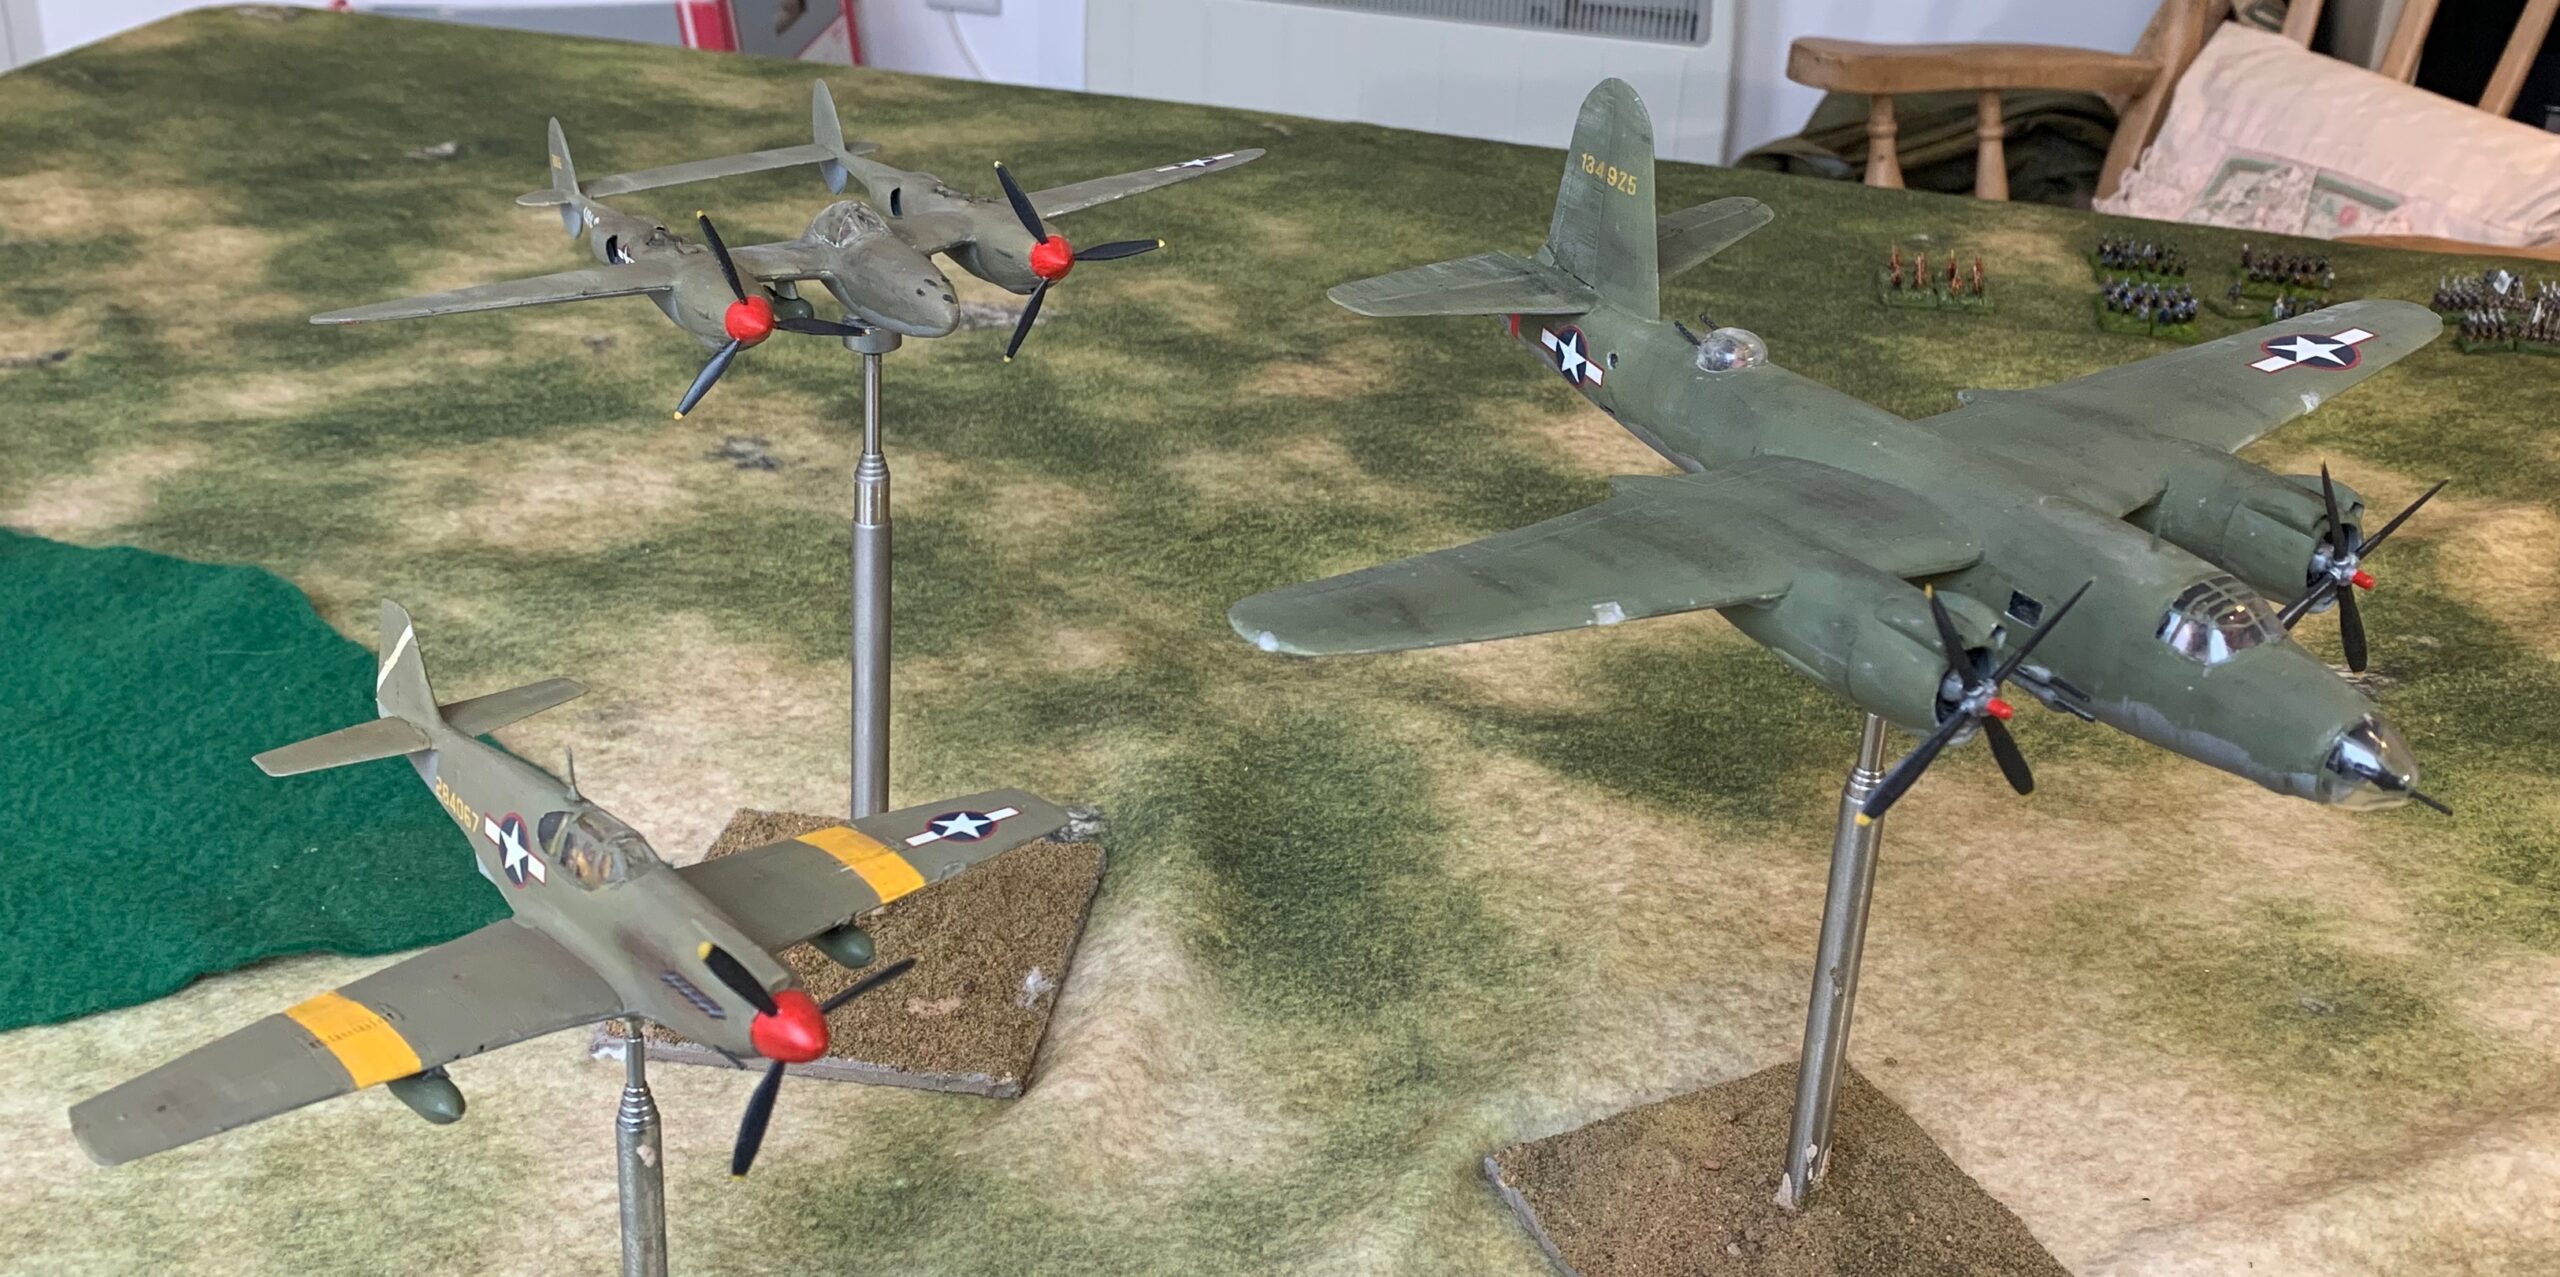
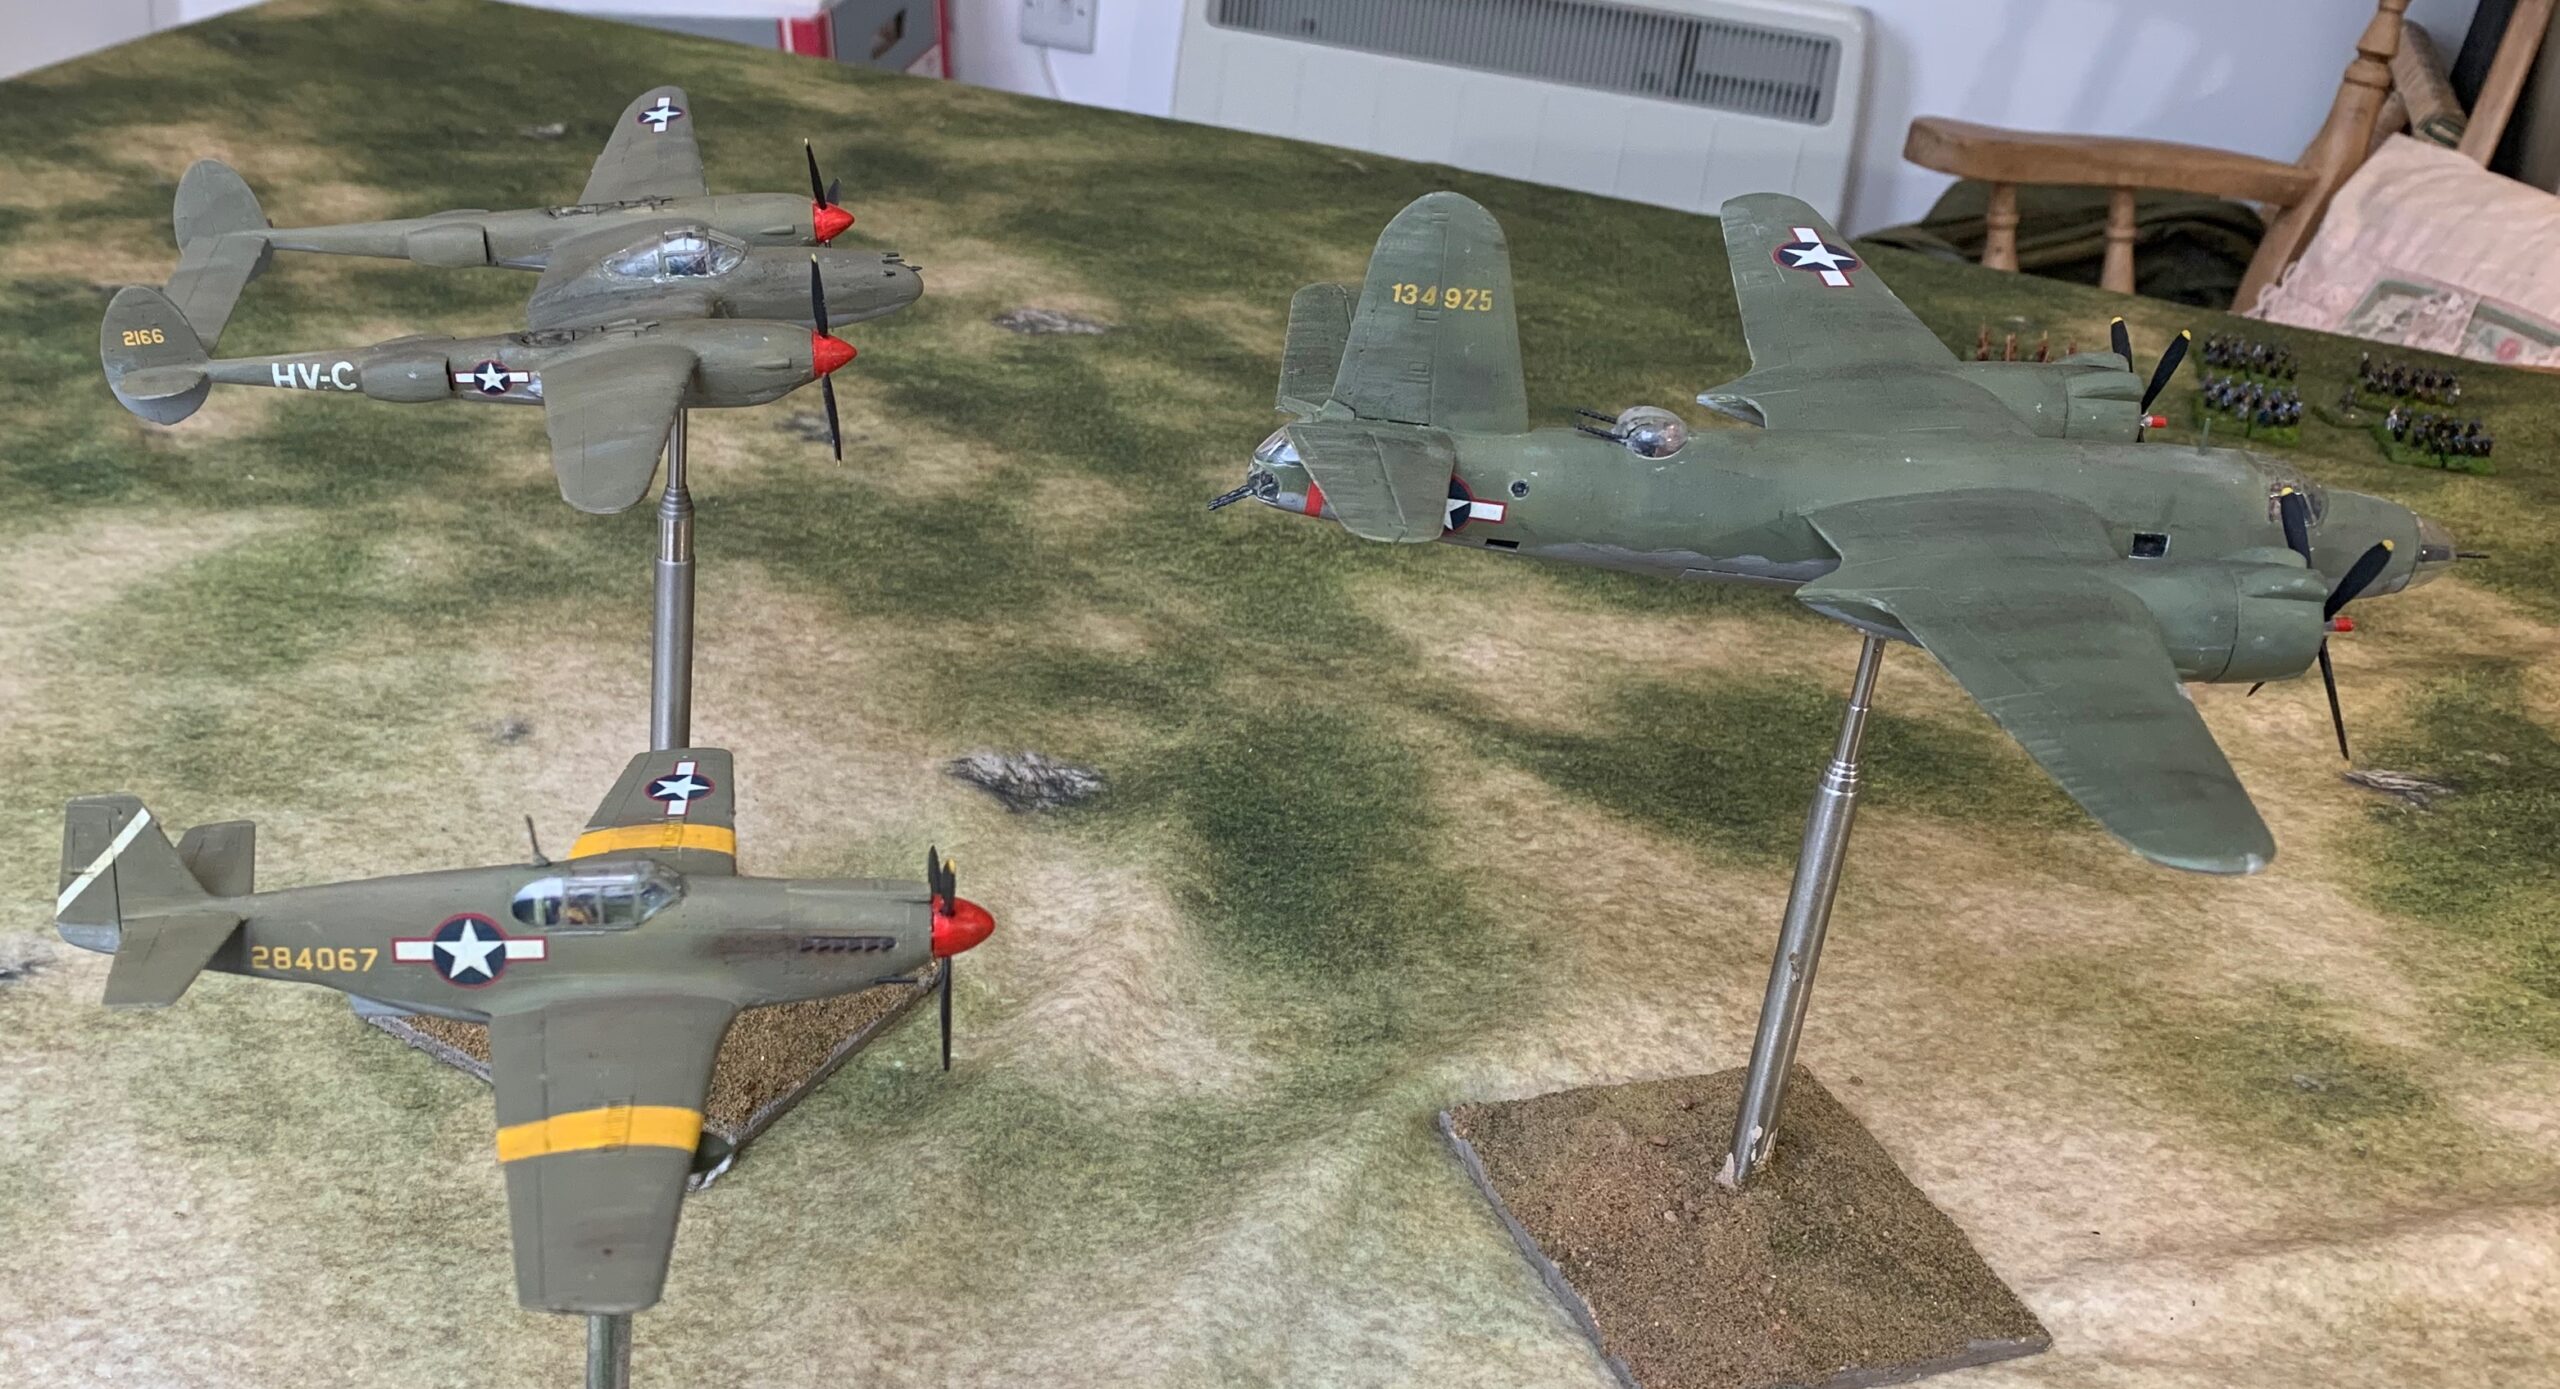
Back to aircraft modelling. The next batch of 1/72 planes in my 1943 project represent the Americans. These are a B-26 Marauder bomber, a P-38 Lightning fighter, and an A-36 Invader/Apache fighter-bomber. Since my main focus is on the British and Germans, these were the only American planes that I initially planned, although I now plan to do a P-40 as well, but not in the olive drab scheme like these, but the RAF one. As usual I will use this post to describe the common aspects of the project, and then publish separate posts for each model.
This project took quite a bit longer than expected – something I have said about each of my most recent projects – it’s probably age! Two things in particular held me up. First the B-26 model is a big one, compared to the single-engine types that I have attempted so far; and the P-38 isn’t a small one either. Bigger models do take more time. Second, none of the models were particularly easy to put together, and the P-38 the worst of all the models to date – worse than my Stuka and Hurricane. And that takes a lot more time, as you attempt to reconcile ill-fitting parts, and then patch up the results with filing , sanding and putty. It doesn’t help that I model with undercarriage up, which only the B-26 kit (a 40-year old Airfix job) catered for, and as with all long projects I then went through a flat patch – especially since the studio where I assemble my models is in the garage block, and not part of the central heating system – so it was pretty cold in the patch of freezing weather we had. One afternoon was just too cold for me to try! Still, they were finished in time for Christmas.
The steps I went through were the painting of the interior and crew, assembly (easily the most time-consuming phase), priming and painting with the airbrush, and then the various finishing steps, including decals. Not a huge amount to say about the first stage. I had to supply my own crew figures apart from two from the B-26: I dipped into my stock of figures from PJ Productions. I will describe the assembly process for each model in my later posts, as each was a very different experience. The painting and finishing processes were pretty similar, so I’ll say something about that now.
In spite of my frustrations, I persisted with the airbrush for these models. I used white primer from Vallejo. I then mixed my own paints for the main event. For the undersides I mixed a neutral grey from the black and white paint pots that came with the airbrush. For the olive drab I mixed the basic colours using Liquitex artists paints, mixed with Liquitex airbrush medium and on occasion with thinners. The airbrushing was hit and miss. Sometimes things went well, and the paint left the brush with a nice flow. I haven’t managed to get a precision spray yet, but I don’t think that is supposed to be the strength of this particular model. On other occasions I couldn’t get the flow right at all – it came out too thin, or wouldn’t come out properly at all. As a result the process took more sessions than it should. The primer tended to clog on the nozzle, and it needed wiping quite frequently. This didn’t happen for main paints so much (and not at all on the olive drab mixes) – but these were prone to clogging further back in the mechanism when they weren’t too thin. One thing I discovered to be a bad idea was mixing in the cup – by adding thinner to a mix that was a bit thick, for example. I had been encouraged to do this by a video tutorial. I think the thicker paint tended to get into to the system and clog it before being mixed properly. If mixed separately to the right consistency, and then put in the cup, things went much more smoothly. I like to think I’m getting the hang of the airbrush, but I’m not sure, to be honest. It produces a lovely finish, but is it worth the trouble?
I used two mixes for the olive drab. For the P-38 and A-36 I used the usual yellow oxide/black/ white combination (though I may have started with neutral grey and yellow and tweaked with black/white). This was the as same as for my P-47 trial model, but a bit lighter. For the B-26 I wanted something a bit greener. I started with Sap Green, and mixed various things into it. The first attempt was too green, but with tweaking I got a satisfactory result, looking close to a lot of artist’s portrayals of the aircraft. This was a bodge as I kept adding different things to the mix, though, and I can’t say precisely how I got there. My general rule is to only use two pigments/premixes and white for mixing – that makes it much easier to replicate. I would need a different method to repeat! The first mix was to represent a more weathered finish – the colour reportedly turned quite brown after exposure to the elements. The second, which is closer to the commercially available mixes, was for a newer aircraft. I am pleased with both results. Incidentally the pictures were taken on a dull day (I gave up waiting for the sun!), so there’s a lot of artificial light in the mix, which tends to make things a bit greener.

I used a combination of tape and Blu Tak to mask. This included the canopies for the A-36 and (mostly) the B-26. I left the canopy off for the painting stage for the P-38 and the B-26 nose and tail to be stuck on later. This was a mistake for the P-38, as it was so ill-fitting it needed filler and more paint later. Blu Tak works better than magic putty, as I needed it to stay in place for days. The magic putty is easier to put on, though, and I did use it for varnish spray.
After the decals came the oil paint patination: small blobs of oil pigment in various colours (white, Payne’s grey, yellow ochre and raw umber) brushed vigorously into a very thin layer with a fore-and-aft or up-and-down motion. The paint did not spread as easily as before – perhaps because of ageing, or perhaps because it was colder than normal – but nothing that a little extra linseed oil couldn’t sort out. I’m getting better at this – I have had a tendency to over-apply; and there was the disaster of trying to apply over matt varnish! The undersides were left looking pretty messy – but with the dust from Mediterranean airfields, I gather that they did get into a bit of a state. This stage left the models with quite an appealing off-matt finish: but photos of US planes in theatre usually show a very matt finish. So I sprayed on Winsor & Newton matt aerosol spray, which leaves a very matt finish. I protected the decals with some gloss varnish first – though I doubt there was a real danger from contact with matt varnish – but I wanted to play safe. The next step was to represent a bit of paint damage using a silver/pewter coloured pencil. I didn’t want to overdo this; I think ground crews were usually quite diligent in repairing damage. But it’s usual to represent quite a bit of damage on a B-26 – they were especially exposed to flak explosions – so I tried a bit harder on this, though still quite subtle. Finally I applied some powdered pastel in various mixes of grey and brown. The biggest job here was applying the exhaust stains on the A-36. I couldn’t see anything comparable on old photos of the P-38 though, and not on the B-26 either. In the end it did a similar job to the oil paint, in producing a rather weather-beaten finish, with the effects of air flow as well. On the B-26 I tried to show a bit of differential weathering on the canvas control surfaces – but not very successfully. With the high-matt finish for these models, I could have skipped the oil paint stage, I think. For my British and German models, where I like the off-matt finish that the oil leaves, it’s a different matter.
As usual, close examination of these models reveals a lot of things I could have done better (or in the case of the P-38 model, defects I couldn’t quite remedy) – but I’m not comparing myself to the master-hobbyists. I want good-looking models from a respectable distance – and that is what I have ended up with!
Leave a Reply