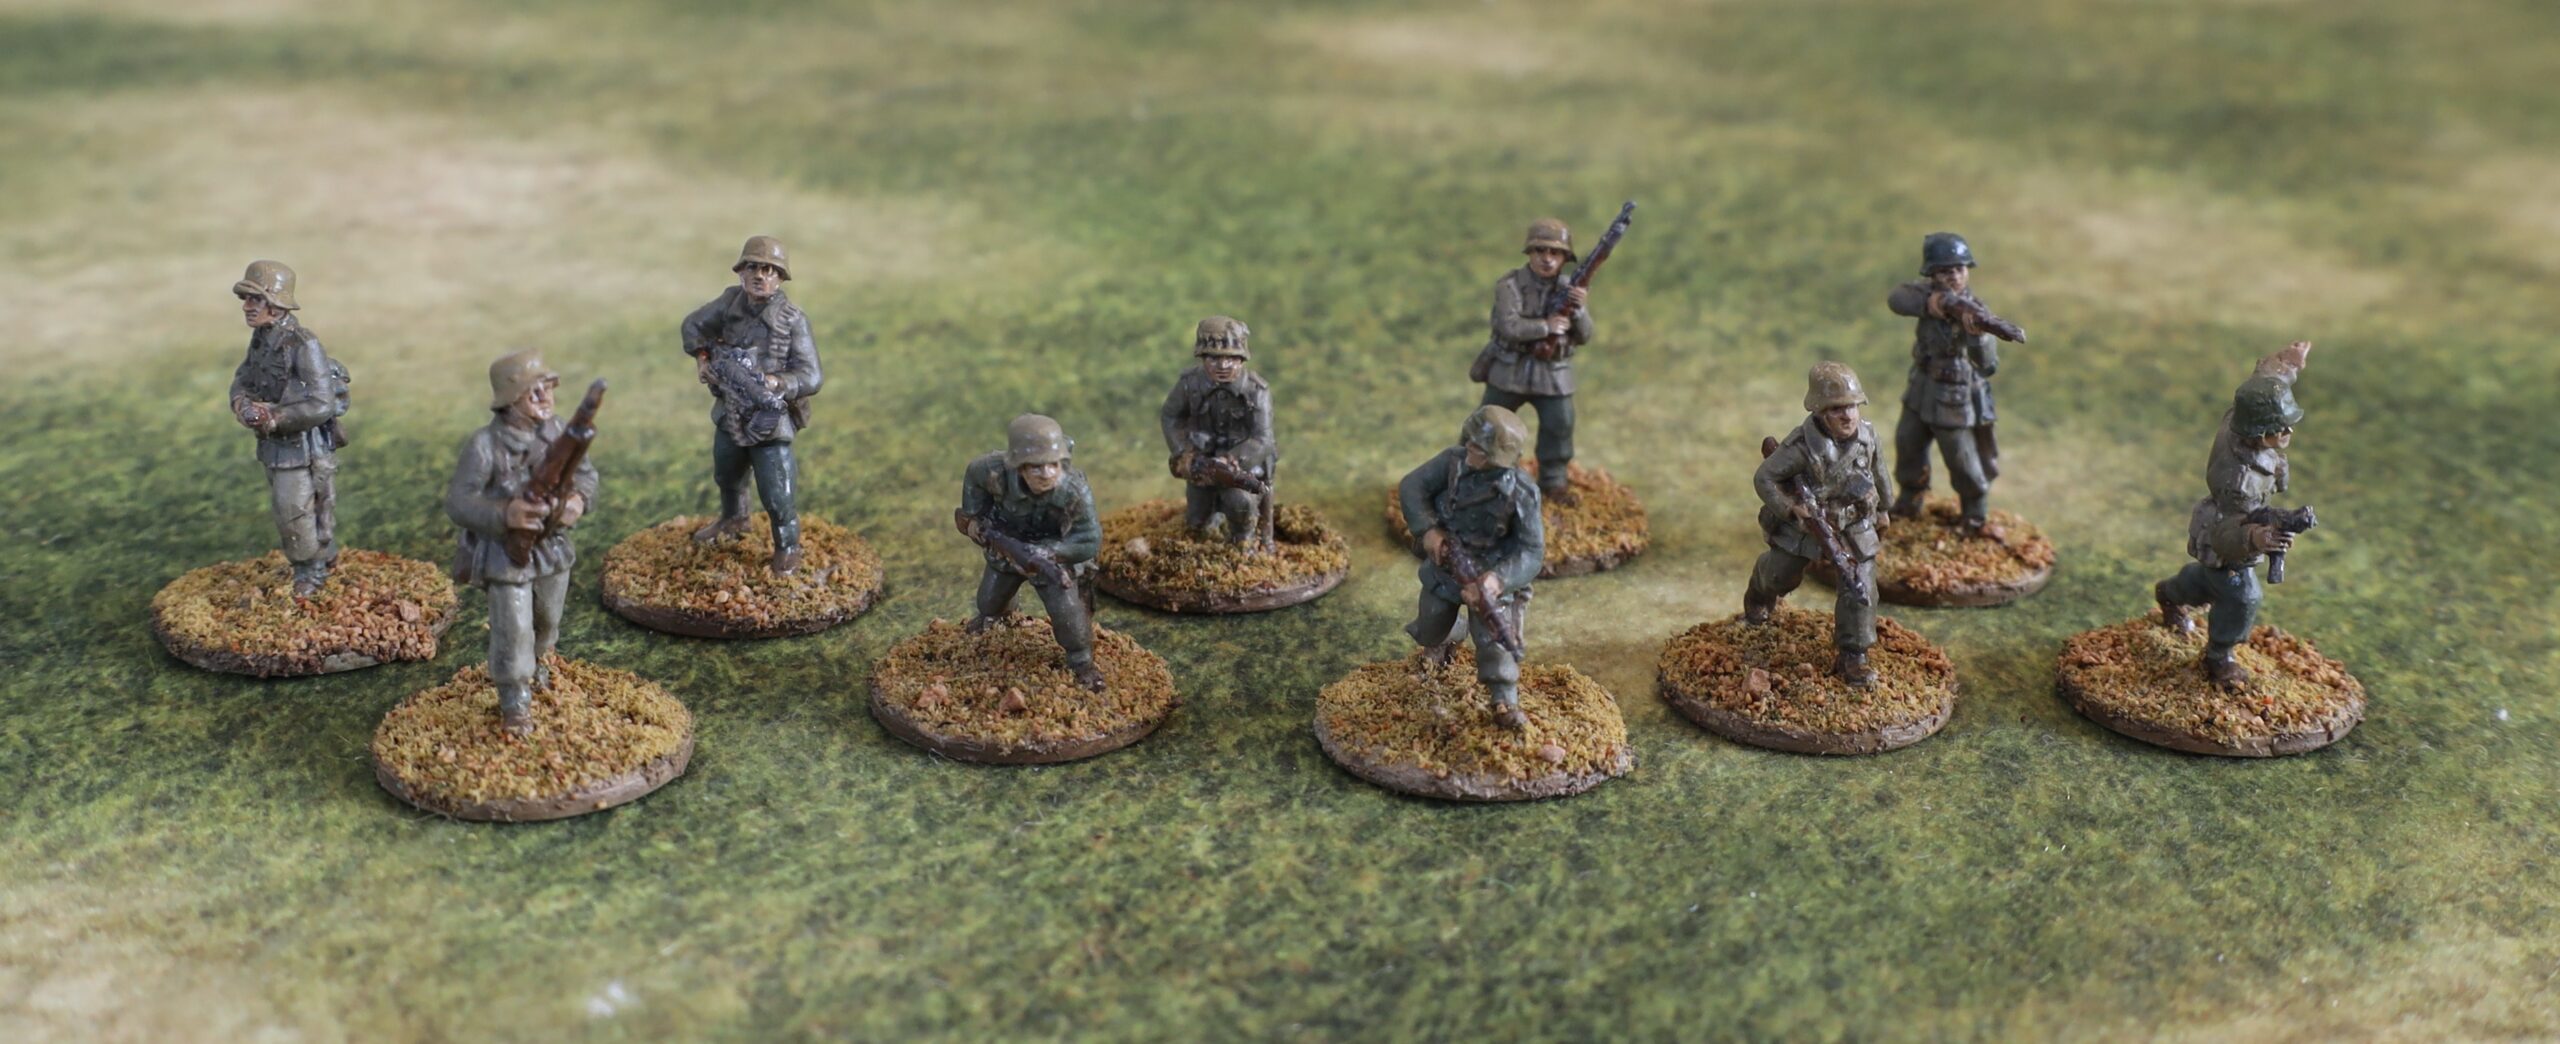
Alongside the vehicles and guns, I also painted 14 German infantry (in 20mm) for my 1943 project in my last batch of work. This was for bog-standard infantry, serving as either panzer grenadiers or ordinary infantry. Most of the German infantry in this theatre in 1943 were either panzer grenadiers or paratroops – with the exception of parts of the Tunisia campaign, where ordinary grenadiers, as well as ad-hoc units, were used extensively. I have not done any paras yet – though these played a big part in all the various campaigns. This smaller batch of infantry was put together so that the Germans have numerical parity with the British in my collection, giving me more gaming options. I painted one pack of AB infantry – the “section advancing cautiously”, which was ten men, including one MG34 and an NCO with an MP40. In addition I painted up one panzerschrek team and two figures with panzerfausts. These antitank weapons were only distributed to the German infantry late in 1943 – and after Salerno – so I hadn’t painted any up yet. But these will be needed to do later scenarios, especially if I push into 1944.
I did my original batch of German infantry back in October 2017. I wasn’t very happy with the end result, though I wasn’t able to articulate clearly why. The problem is that there are very few photographic sources for German infantry in Sicily or Salerno (and even these are mainly paras!). There is a little more for Tunisia. I think I was heavily influenced by pictures of prisoners in Tunisia, showing a huge variation in uniform colour, with quite a few people wearing very pale uniform items. So I depicted a lot of very pale kit. In fact the very few pictures from Italy show the German uniforms as being a bit darker than this, apart from some of the helmets. So I decided to go a bit darker this for this batch.
The panzer grenadier section

As before I decided to use the German infantry figures from AB depicted in standard uniform, rather than the tropical or summer uniform. The three uniforms were a very similar shape (the main difference was in the clot and dye), so they look pretty similar from a distance. In fact in Tunisia the weather was pretty cold and wet, so there wouldn’t have been call for rolled up sleeves etc. and other signs of a warm climate. I avoided Africa Korps figures because these tend to include figures in caps and shorts – which I didn’t want. In fact the in-combat DAK infantry figures from AB don’t have either – and not even rolled up sleeves. The only problem looks to be that a few of the figures have sand goggles on their helmets. I dare say that these can be cut off and filed down.
The figures were first mounted on steel washers, set in my usual mix of sand, acrylic paste with a bit of paint (white and raw umber). They were primed with gesso (I can’t remember if this was applied with airbrush, or darkened with some paint). For the main uniform for the most part I used a mix of Liquitex Yellow Oxide (aka yellow ochre) with varying amounts of black and white (sometimes using a neutral grey mix to speed things up). This gives a decent representation of the tropical uniform. This is exactly the same combination of pigments I used for the dunkelgelb on the vehicles, about which I post separately. The ratio of black to yellow is higher, giving a more olive finished result. There was not quite as much variation in colour as I had intended – the white seemed to fade on drying! some of the items were painted in field grey, which I mixed using a Viridian green mixed with neutral grey and tweaked a bit (I may have added some burnt siena to calm the green). The helmets were mainly painted in the dunkelgelb used for the vehicles, with one in dark field grey (as they would have left the factory) and one in olive green (as per the tank camouflage colours). As for the accoutrements and webbing, I had almost no guidance from photos, and conflicting advice from other sources. I ended up with a dull brown for the webbing and certain items, and greys mainly for the rest. The boots were brown.
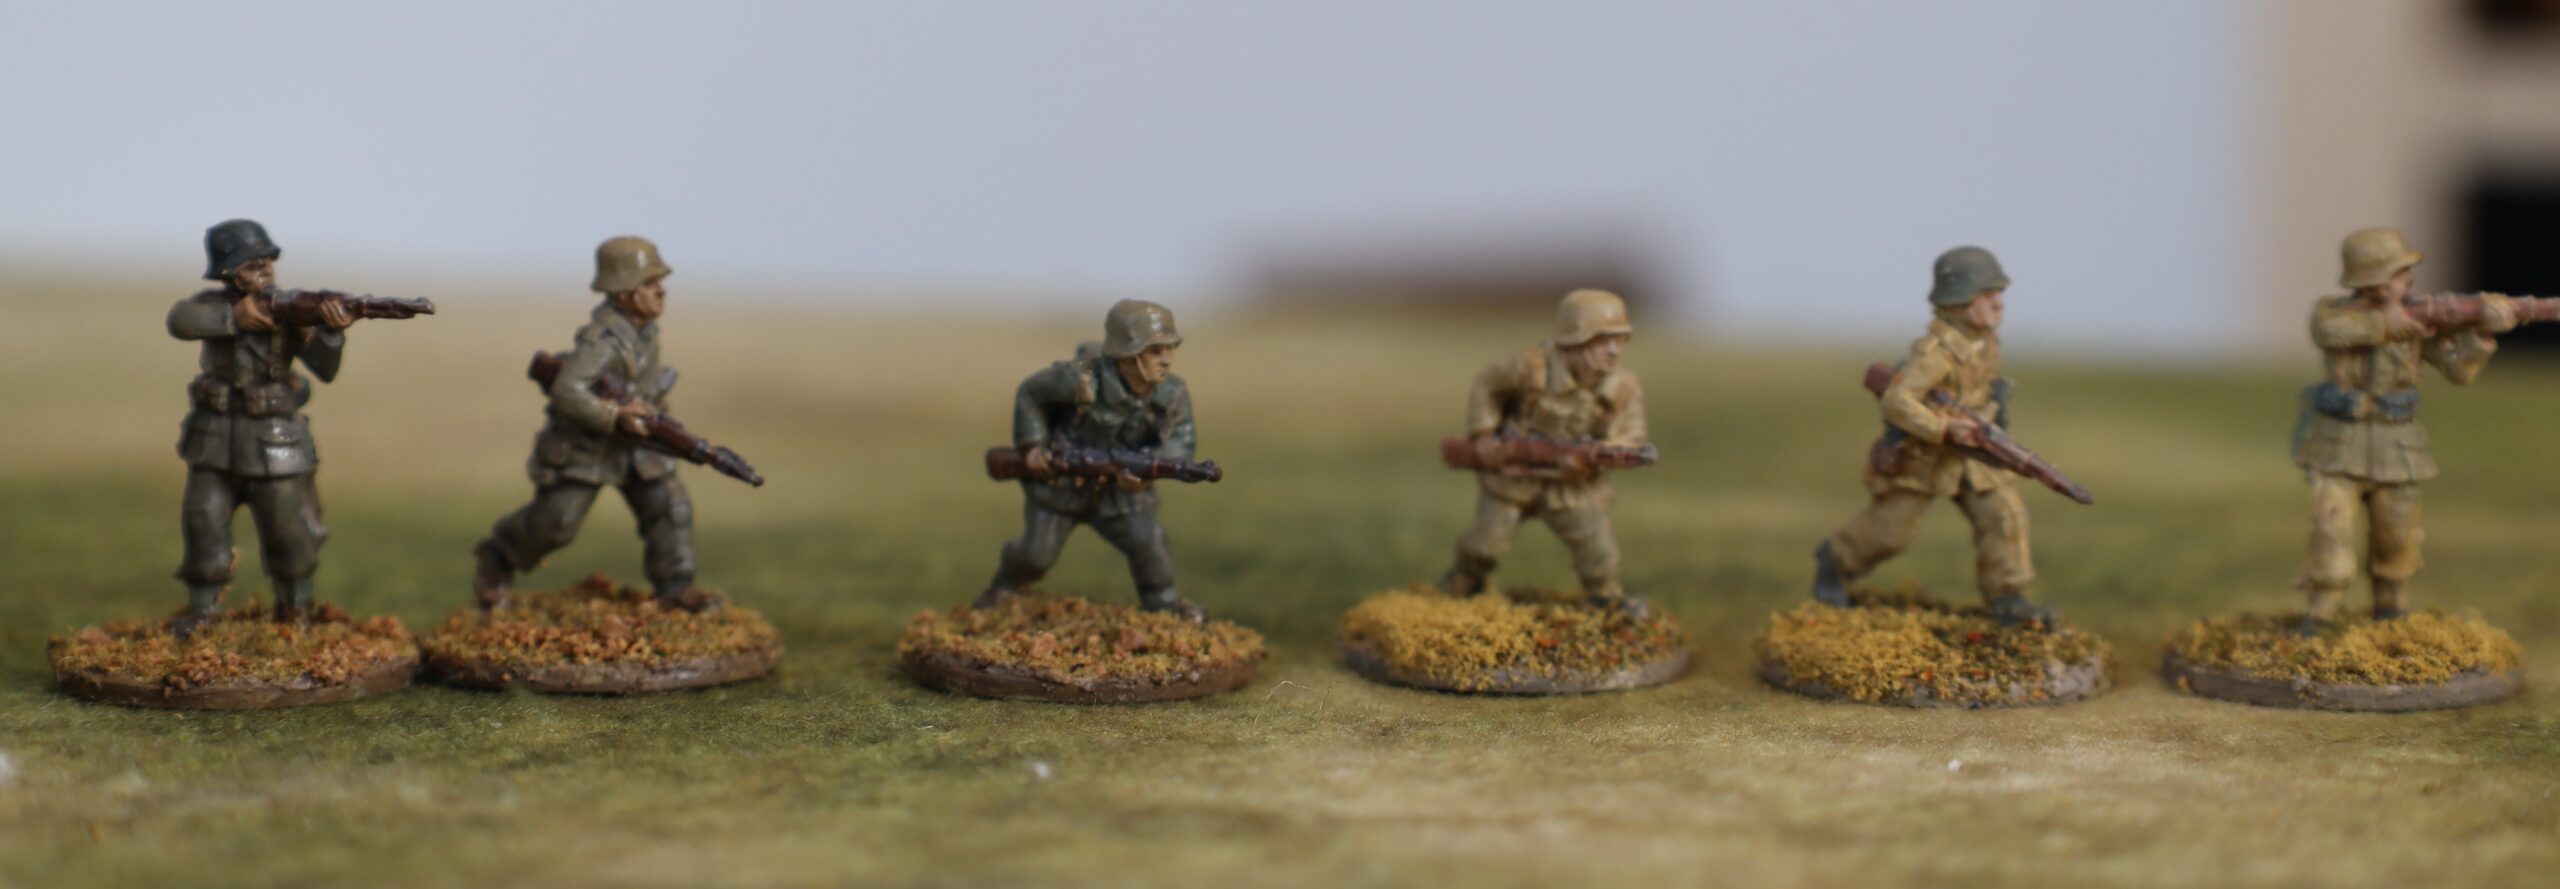
The picture below shows three of the figures next to the same three from my original batch from 2017. They are much darker, but I’m happier with the overall appearance. Next time I might try to lighten the olive mix a tad though.
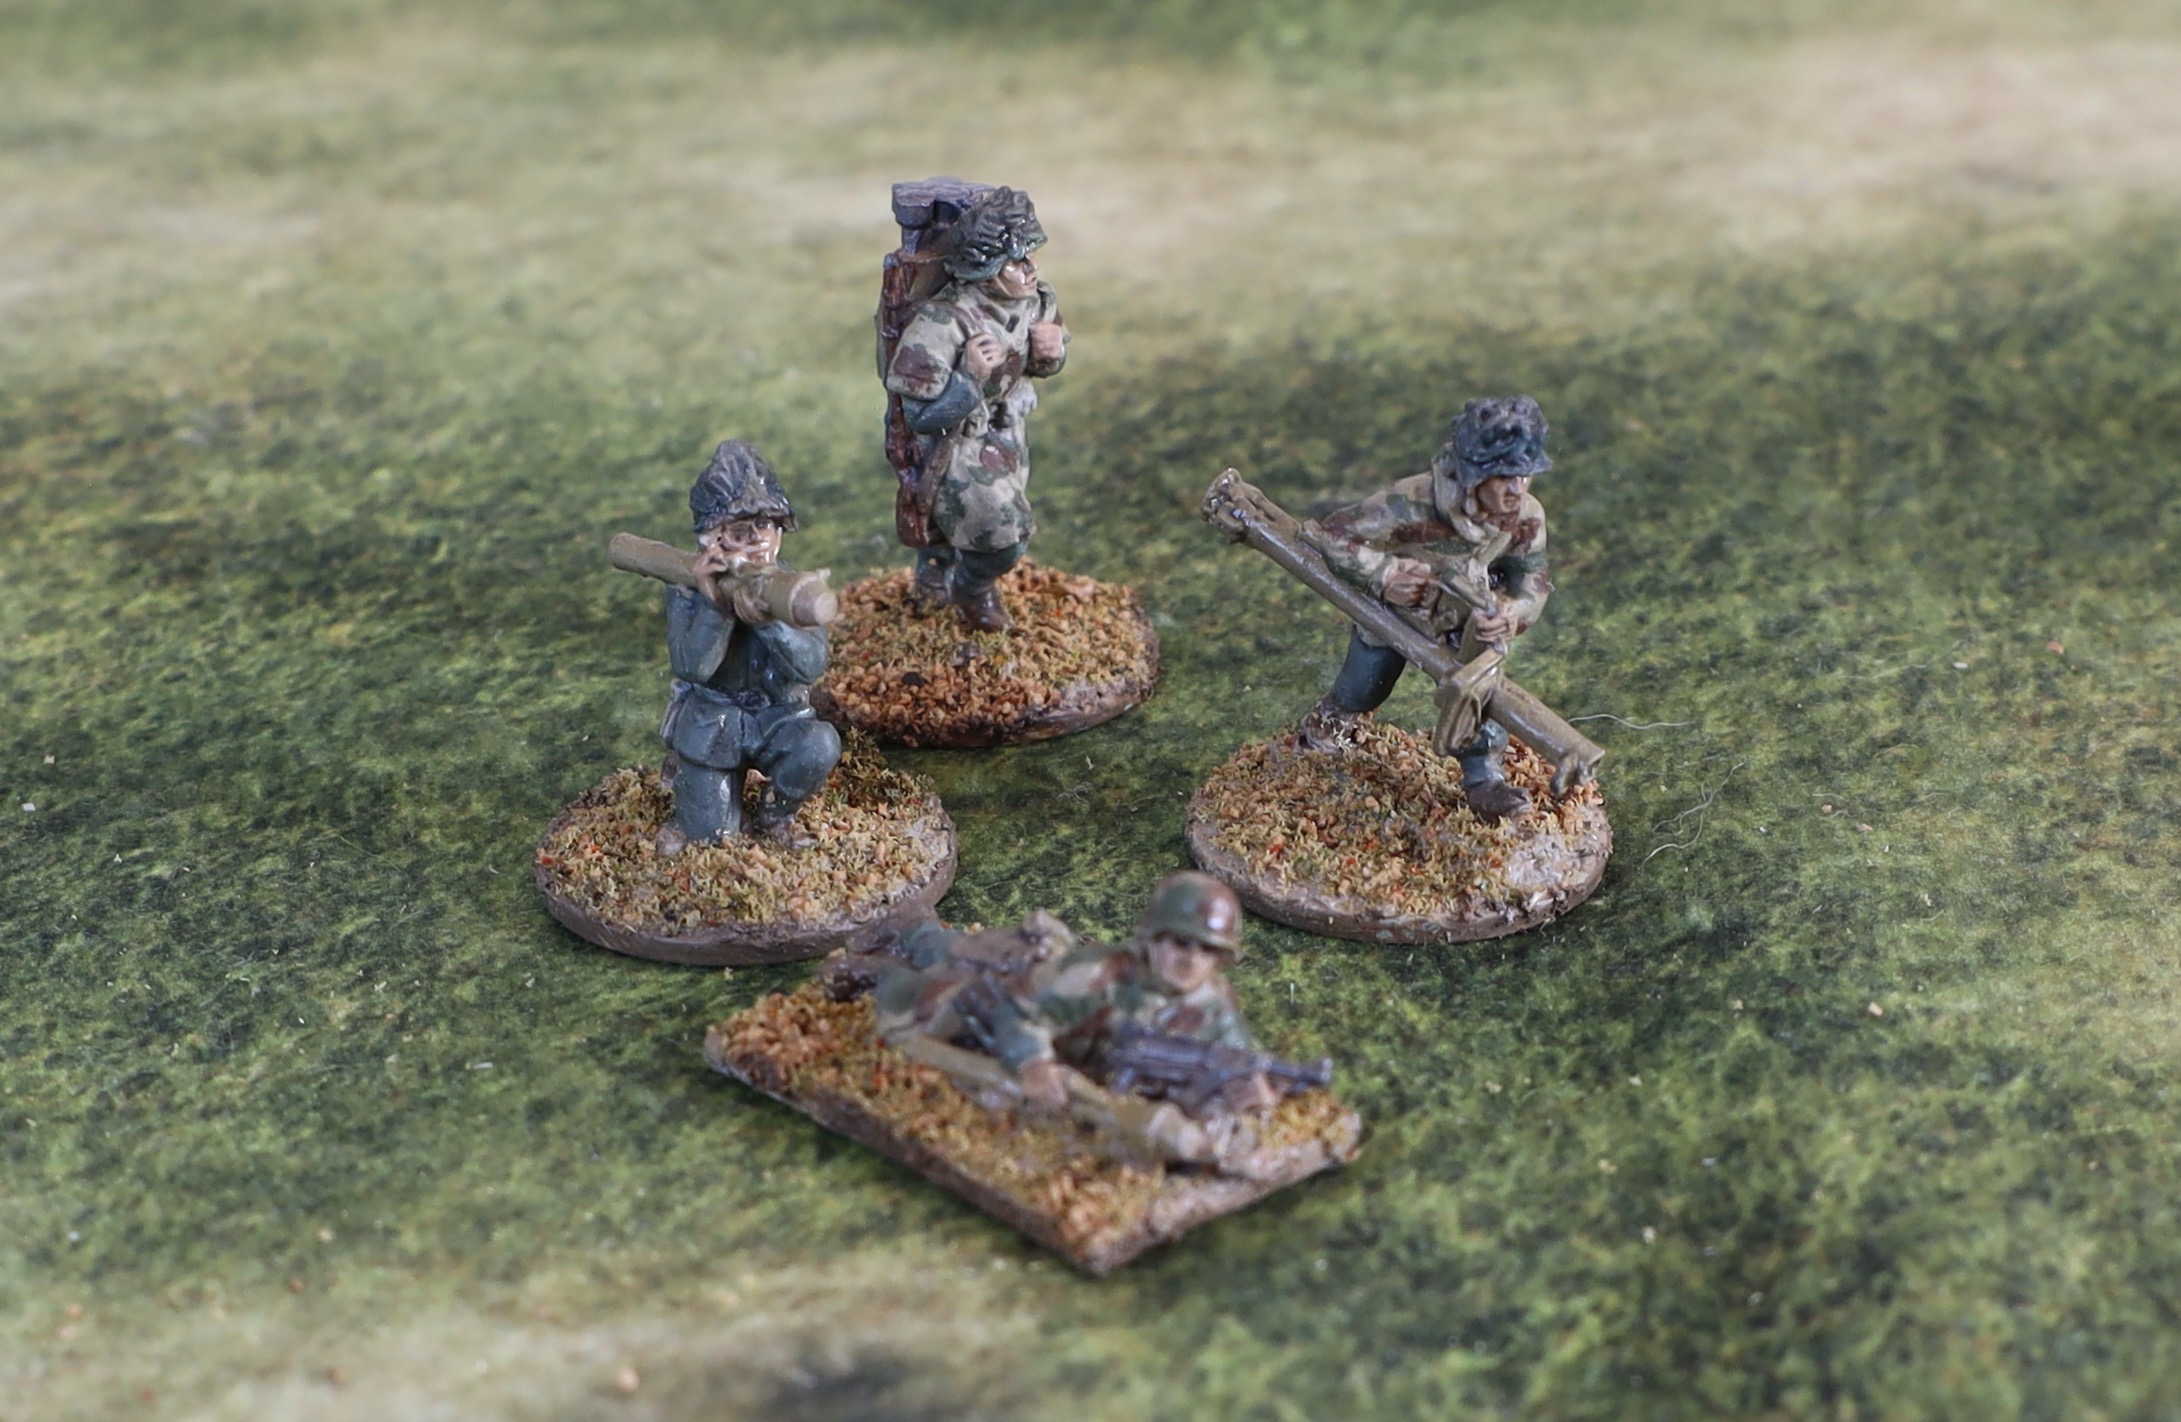
The panzershrek and panzerfaust figures
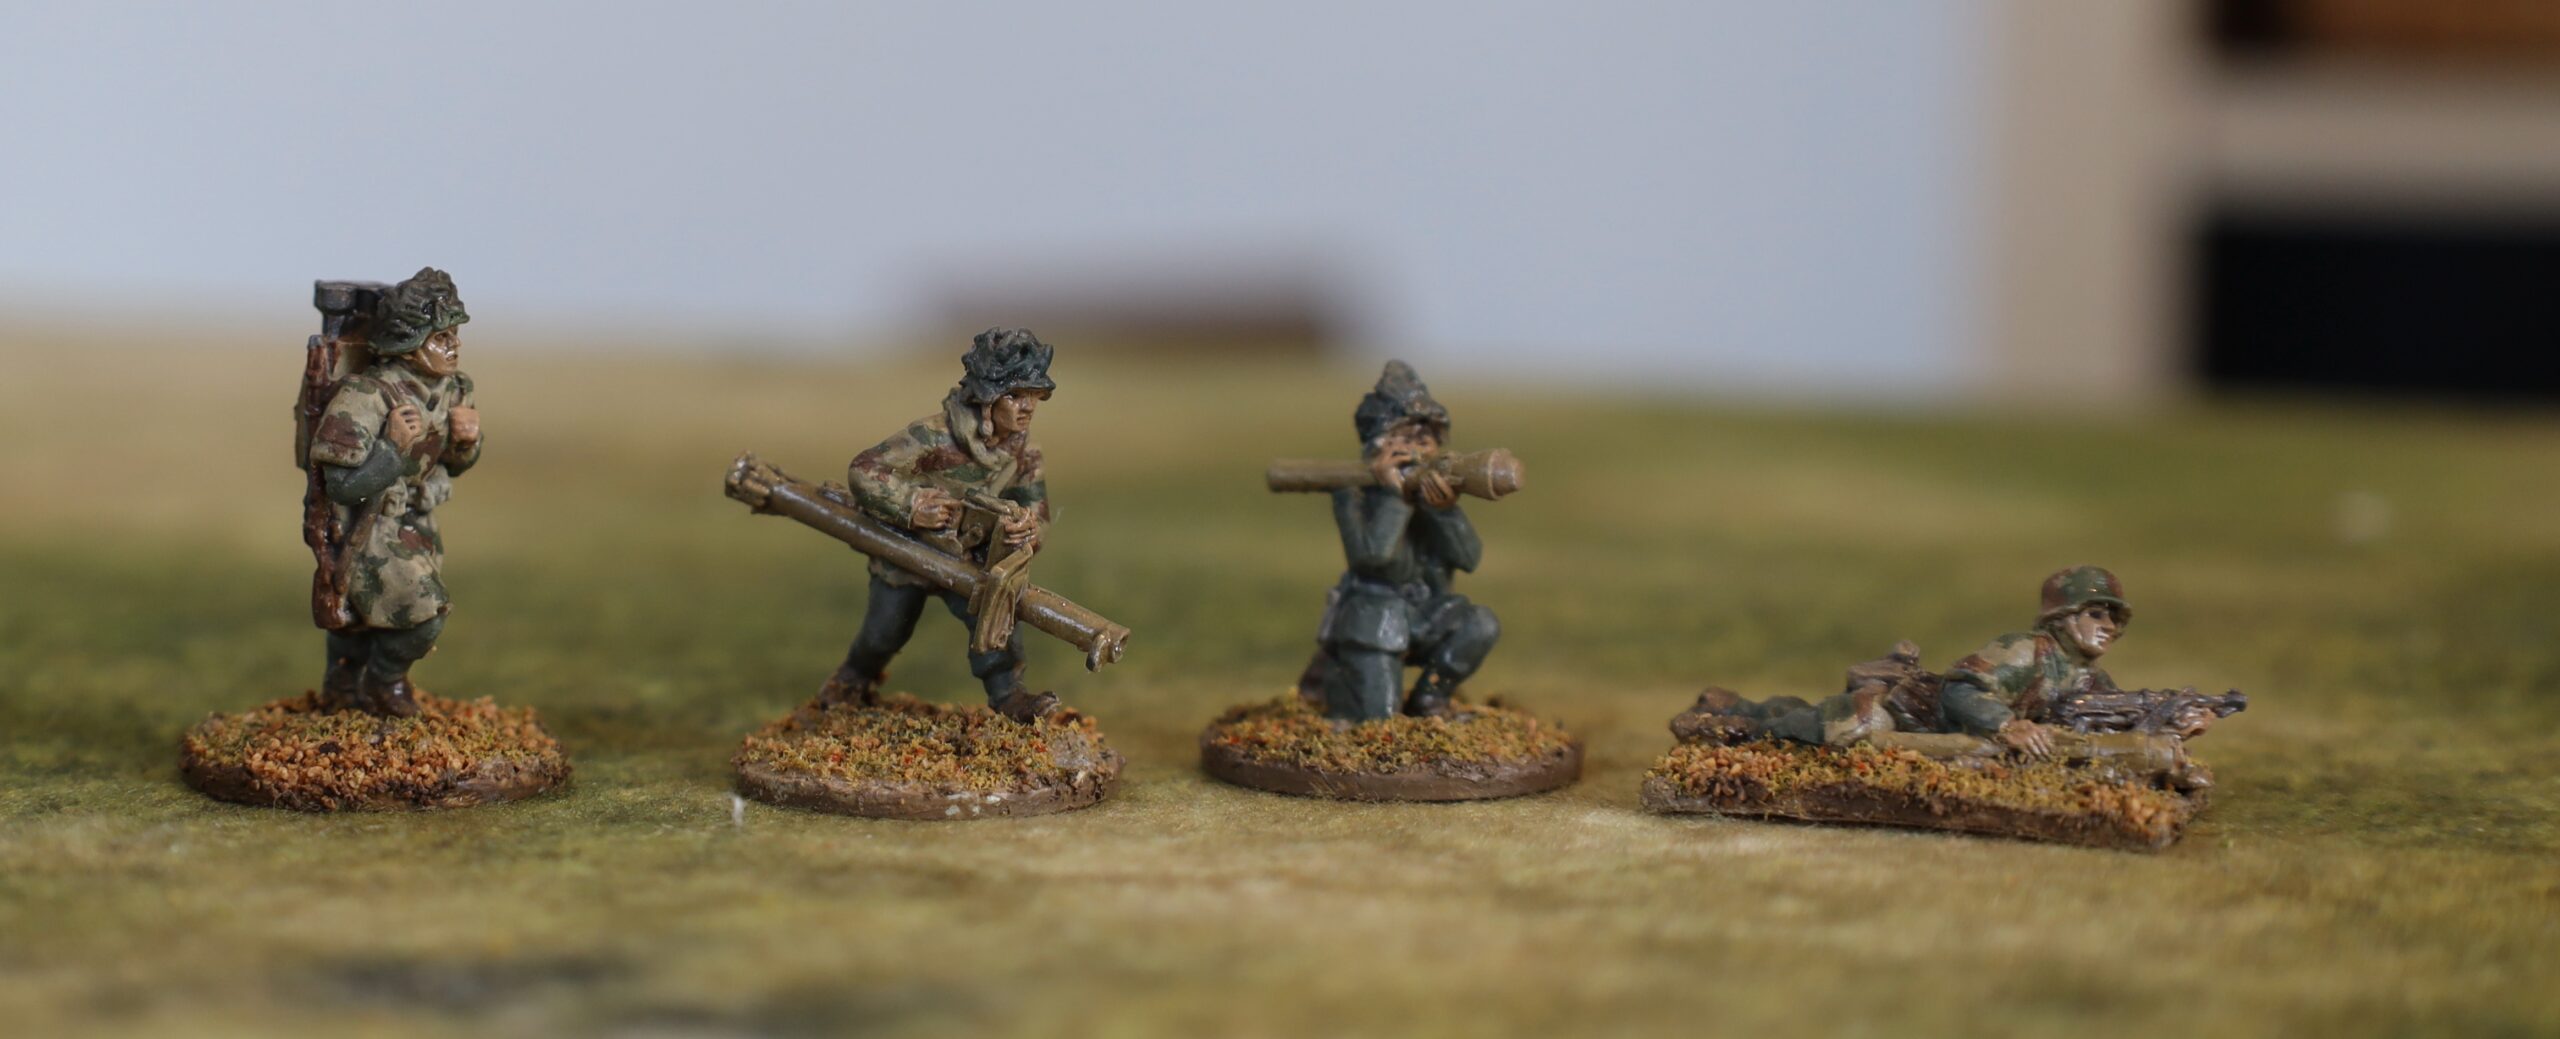
These depict figures from later in the campaign, when winter had struck, as well as the fighting moving further north. I therefore decided not to depict them in tropical gear. Three of them are wearing camouflage smocks. I am depicting them in sumpfmuster 43 pattern – though how well I have caught this I’m not sure. It’s probably a bit too chunky. The remaining figure is in field grey. Three of the helmets feature attached vegetation. I painted this quite dark – probably too dark, but I wanted to avoid the garish greens I so often see on miniatures – I may touch these up later. The prone figure features a painted camouflage pattern using panzer camouflage colours.
Luftwaffe uniforms
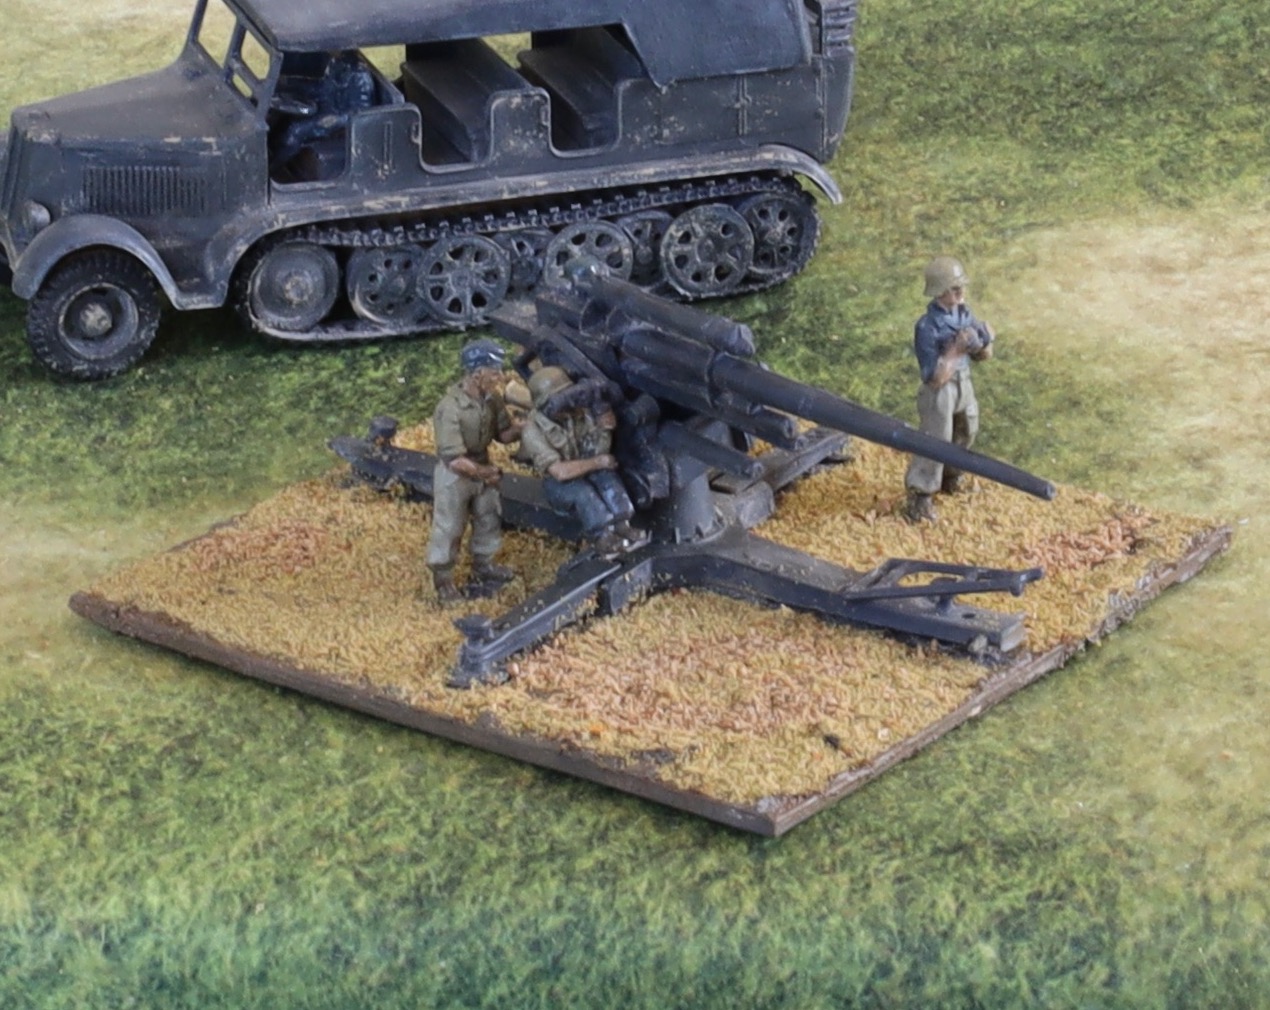
As a slight digression I will mention the AB 88 crew that I also painted as part of the batch. These are in Luftwaffe uniforms. The tropical colour was paler than the army one, apparently – so I used the same basic mix with more white. And in place of the field grey, the Luftwaffe had blue. This I got from black, white and Prussian Blue, a paler variation of the mix I used for the “panzer grey” gun and tractor. This is guesswork as I have few colour pictures to go on.
Finishing
After the paint I applied a glaze. As with my most recent Napoleonic figures, I used alkyl medium as the base, mixing in some oil paint – a mix of Payne’s Grey and Burnt Sienna to reach a sort of dull mauve, to complement the olives and yellows that predominate in the uniform. This dried quite glossy – which I can accept in Napoleonic figures (it adds depth to the colourful uniforms), but not for WW2. But I didn’t want to use aerosol varnish, as I didn’t want a uniform matt finish. So I used my old Winsor & Newton varnish in a bottle to apply to the uniforms. This is unreliable, depending on how much of solid gunge at the bottom of the bottle gets into the mix. My first batch, used on the vehicle tilts, was fine. The batch used on the figures, alas, still left a strong sheen, which can been seen on many of the figures. For the weapons, helmets and skin I wanted a slight sheen – and I used another brand of matt varnish, which is more reliable, but not very matt. The next time I mix up some really matt varnish, I will need to touch these figures up.
After that it was the bases. I applied My usual Woodlands Scenics flock mix with some sand using undiluted artists strong glue. I then added patches of sand to give a bit of variation. For some reason the adherence of the flock/sand on the larger weapon bases was much better than on the figures. I needed to seal the latter with diluted PVA glue, but not the former. I think I was more careful to press the flock in on the larger bases, which I did one bit at a time. Must remember to do this on all my bases next time, as the sealing is an extra step and a faff. I did not dry brush the figures; I though of dusting them, after the technique worked so well on the vehicles, but I decided not to. It is no necessary.
Overall I am happy with the result, apart from the sheen on the uniforms, which is easy enough to fix later. I am pleased that my painting technique is settling down – this will speed things up in future.
Leave a Reply