Happy New Year to my readers! As part of a general change of year tidying up, I have changed the Theme on this (WordPress) site. This has not gone entirely as I hoped – the process is so much more complicated than last time I tried it. I probably picked the wrong template – but anyway it feels a bit fresher. The biggest change is that I have made the blog home page the home page for the whole site.
In this post I am continuing my series on wargames terrain with one of the trickiest topics: built-up areas. By this I mean areas of terrain dominated by buildings, from farms or manor houses, up to urban areas. These are often tricky to represent on the table, and their role in warfare is often misunderstood.
Historical view
Built-up areas feature in ancient warfare mainly as fortified cities. These have a hard perimeter – city walls. Once an attacker had breached this perimeter it was usually game-over for the defenders. Thus the military actions were primarily sieges, as attackers built up to attempt a breach, or to starve the defenders out. These generally don’t make great wargames, though city walls make a good backdrop to a more conventional battle game.
We need to consider this a bit. Unless there is a fortified perimeter, built-up areas are hard to defend. My contention is that this is true right up until modern times (by which I mean well after WW2). This is a bit more debatable in the world of firearms, but it is certainly true before that. The buildings themselves were quite hard to defend unless built with defence in mind. Perhaps a bigger issue was that they were mostly quite small (and poorly constructed) – and that breaking up your army to defend them was very risky. It would be very easy for defenders to become isolated and cut off; moreover small unit command was more of a modern development – so detailing a couple of dozen men to look after a building was more of a risk. Defensive tactics worked much better in open ground before firearms. Open ground was obviously not the death trap it became in later times. Shifting a serious body of troops with missile weapons alone pretty much never happened. An early cannon did more damage with their noise than their projectiles.
This pattern seems to continue right into the 17th Century. Urban battles did happen – with the fighting taking place mainly in the streets rather than anything akin to modern house-to-house fighting – but not very often. Fortified manor houses played an important role in the English Civil War – but these were sieges involving relatively small numbers of troops. I don’t have any kind of detailed command of history in this era, but by Blenheim in 1704, villages are starting to play an important role in the course of at least some battles, and by Napoleonic times built-up areas are a feature of most battles. Battlefields were much bigger, and so villages and or farms were an inevitably encompassed. But once part of the field of battle, it is less clear why they should be so significant – and they clearly were. I have read several theories. If left undefended, they might offer the enemy an opening. And if defended they were perhaps easier to attack than open ground. Or perhaps their dominance of the geography offered a psychological marker of progress. Anyway, if in earlier periods wargames rules can get away with ignoring built-up areas, this cannot be done from the horse and musket period onwards. Still, even in the horse and musket era true urban battles, with house-to-house fighting, are a rarity. I know of just one: Saragossa in 1808. The Spanish defenders were largely irregulars, though, and had the numbers to provide breadth and depth of defence, making it very slow going for the French, with heavy casualties on both sides. It is hard to see that regular troops would have been used in that fashion. The retreating French troops did not make much effort to defend Leipzig, for example, in 1813. When it came to towns and cities, most fighting took place outside (think of Dresden), or at the perimeter. The rule that once the perimeter was breached, the town was lost still held true almost all of the time.

As weaponry advanced to include breech-loading rifles and machine-guns, buildings took on a new significance: they provided cover. But at the same time, explosive shells were developed for artillery, and indirect fire techniques were developed. While buildings provided cover, they were also an easy target to locate. If an artilleryman sees a building, his first instinct is to blow it up. This became even more prevalent once air power came into play. Towns in particular seemed to have a magnetic attraction for bombs – they were such easy targets to locate, and the effect of bombing was reassuringly visible. The odds still favoured the attacker in urban combat – as it was so easy to bypass and isolate defenders. This was the conclusion of a data study (reviewed by me here) into 19th and 20th Century infantry warfare. I’m not sure how much this was understood by soldiers of the time, though. Some clearly did. At Salerno in 1943 the Germans held the town of Battapaglia at the start; as the British Fusilier brigade approached, they withdrew. The Fusiliers duly occupied the town, but then suffered heavily as the Germans counter-attacked. The Germans clearly understood how it worked, and the British were more naive. Interestingly, the study I quoted found that once buildings were reduced to rubble, the advantage to attackers was greatly diminished; it became much like other rough terrain.
By the time we reach Ukraine, or even Gaza, however, it is clear that something has changed, and that the odds have shifted to the defender. That, however, is well beyond the scope of this article on wargames rules up to WW2.
Fighting in built-up areas
I think we can draw some general observations here. Buildings can either be used as cover for skirmishers – and abandoned once the enemy approach in force – or used as fortresses, with an all-round defence. In the former case, escape routes need to be well-understood. And only a limited number of buildings are appropriate for the latter role. Most buildings, especially in earlier eras, are too small or too flimsy, or have restricted outward visibility. If used as a fortress, you need to have enough men to do the job, and a decent supply of ammunition. And morale needs to reasonably good.
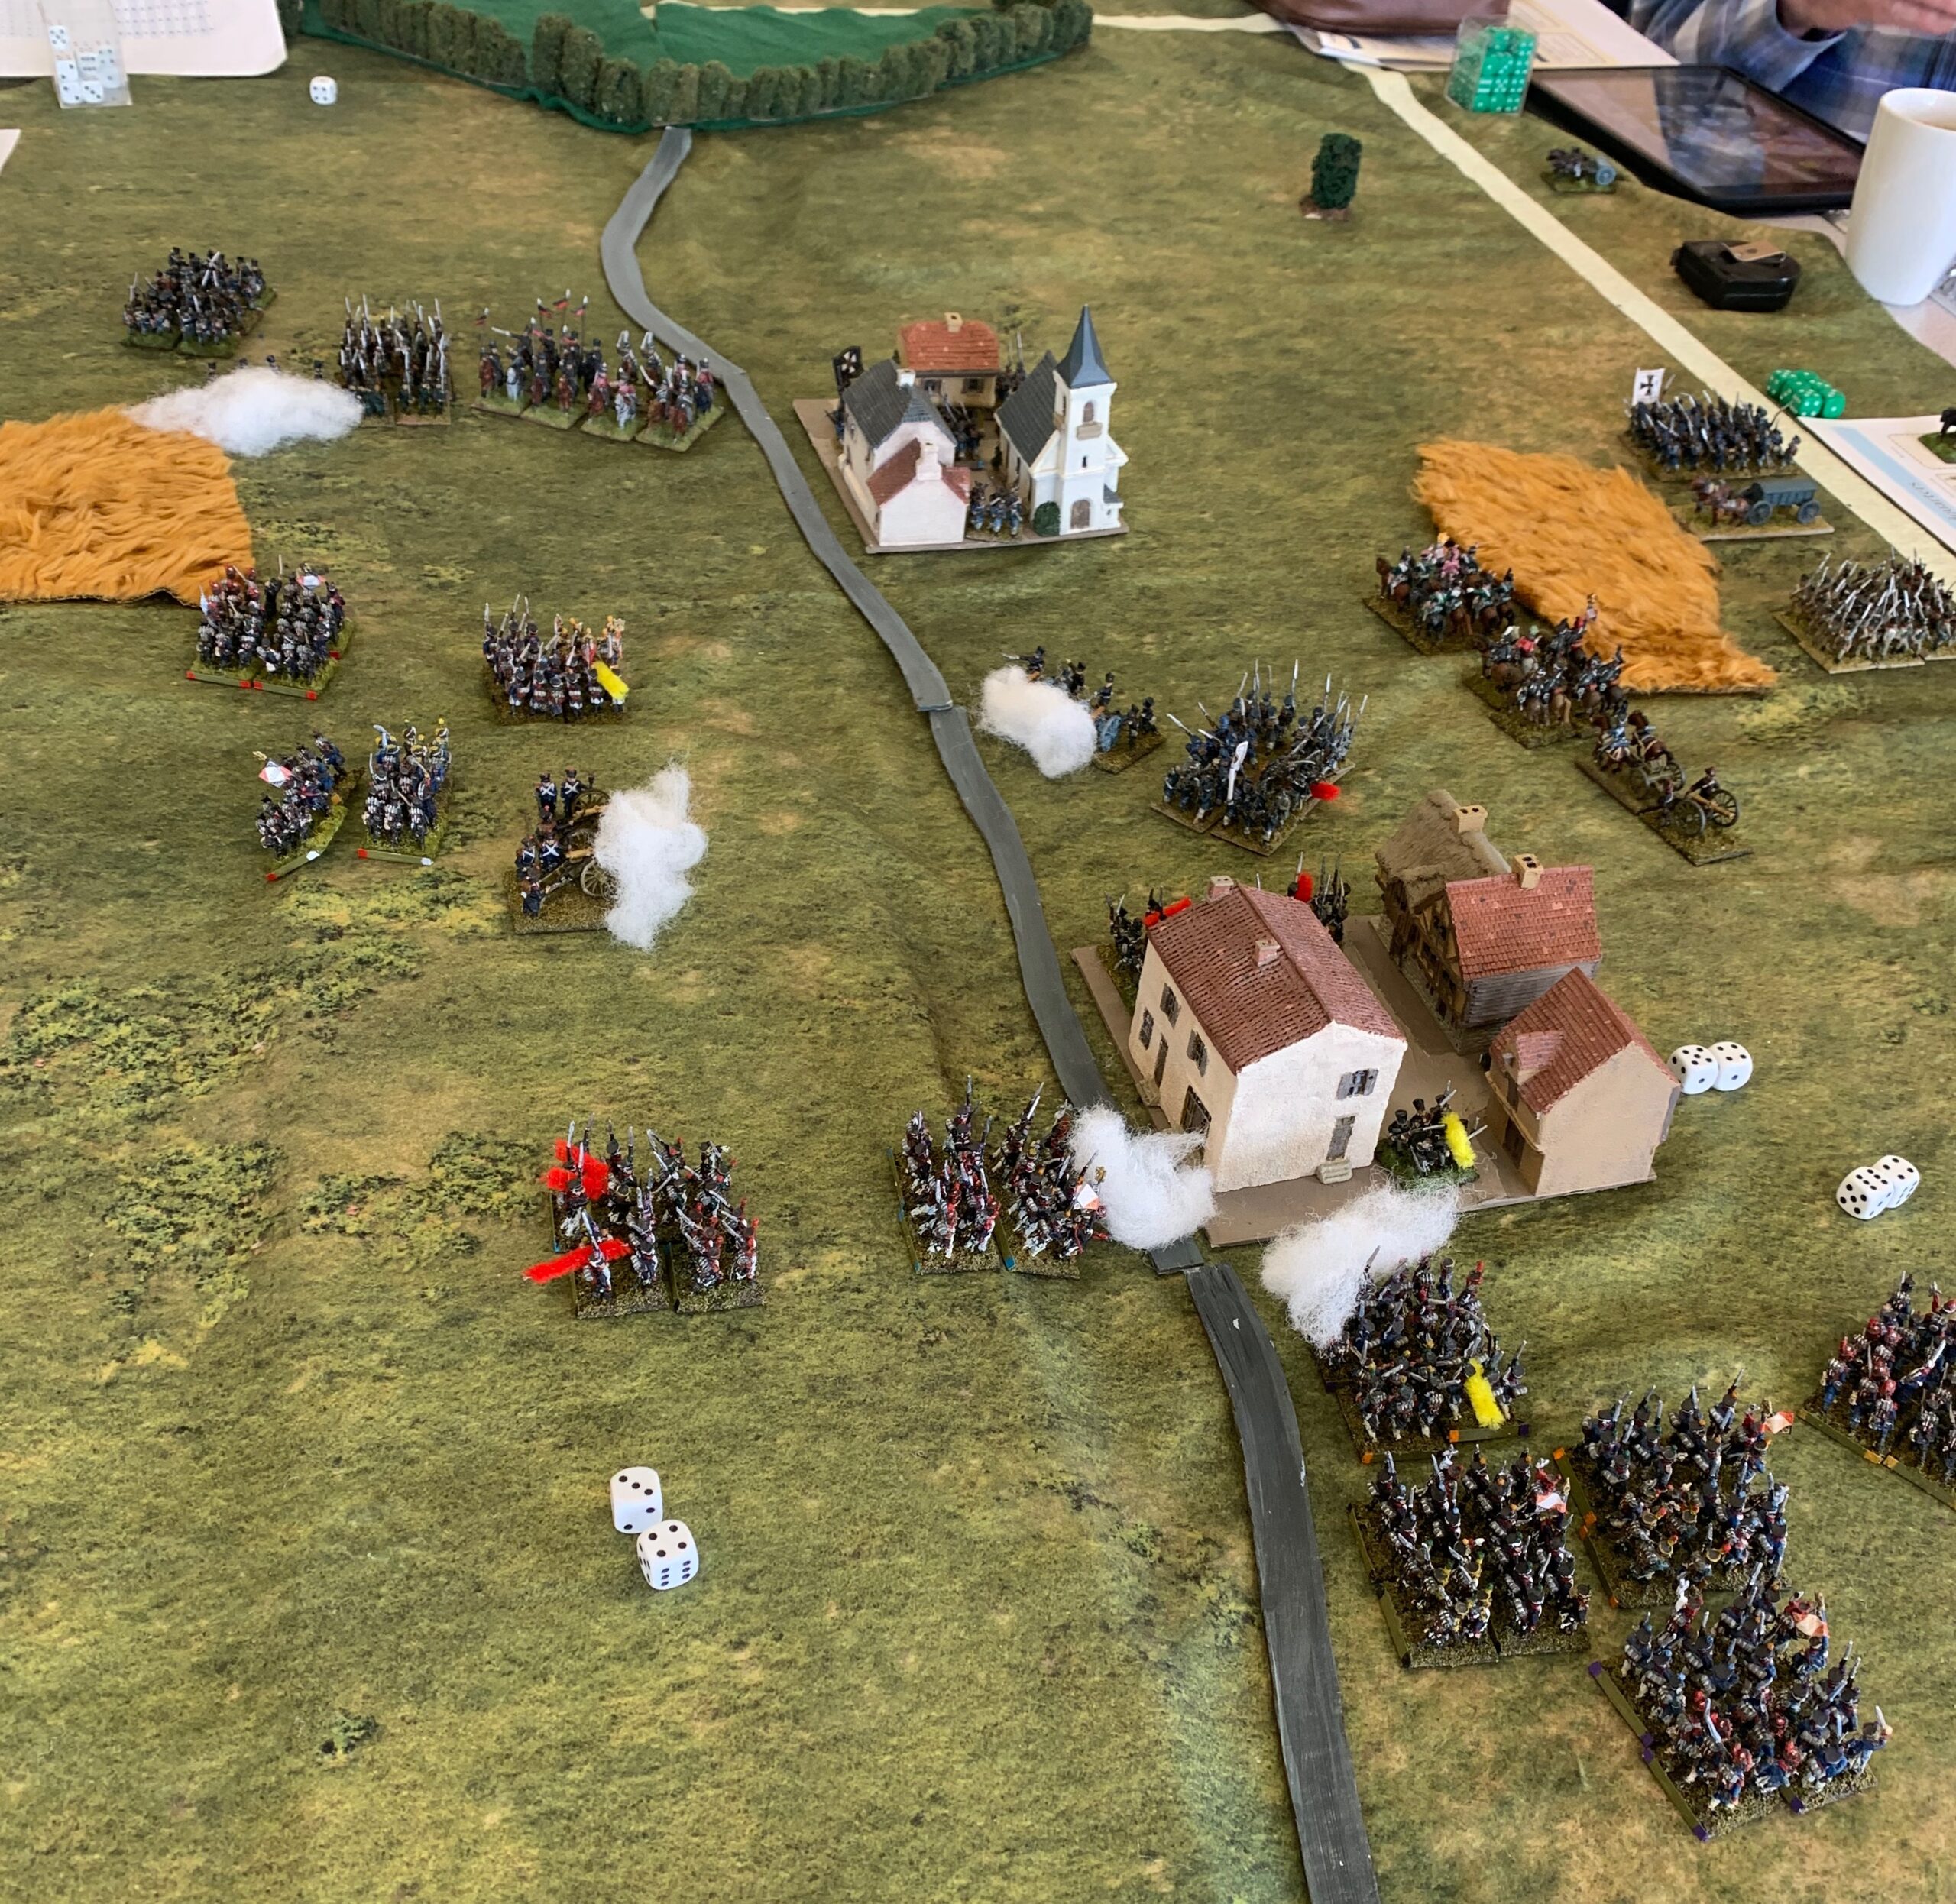
So buildings actually have relatively little direct combat value. What has real value are the streets. The combatant who controls the streets controls the whole village or town. And if you read battle accounts closely, up to the 20th Century it is clear that most combat took place in the streets. Witnesses of speak of them being strewn with bodies from both sides. Barricades were important tactical features, and a small number of buildings might be turned into fortresses (the church in Aspern or in Planchenoit, for example; the granary in Essling; there were two farms in Ligny – not counting an almost entirely separate battle for the chateau; but nothing in nearby St Armand, which was barely defended).
This general rule is less true of more recent times, where small groups of soldiers often defended fairly ordinary houses, and fighting in built-up areas often took the form of house to house clearance. That is presumably down to the extra firepower of modern weapons and the greater development of small unit command. If he who controls the streets controls the town, it became the case that he who controlled the houses on those streets controlled the streets. Even so, streets would be the central focus of any plan of attack.
On the table
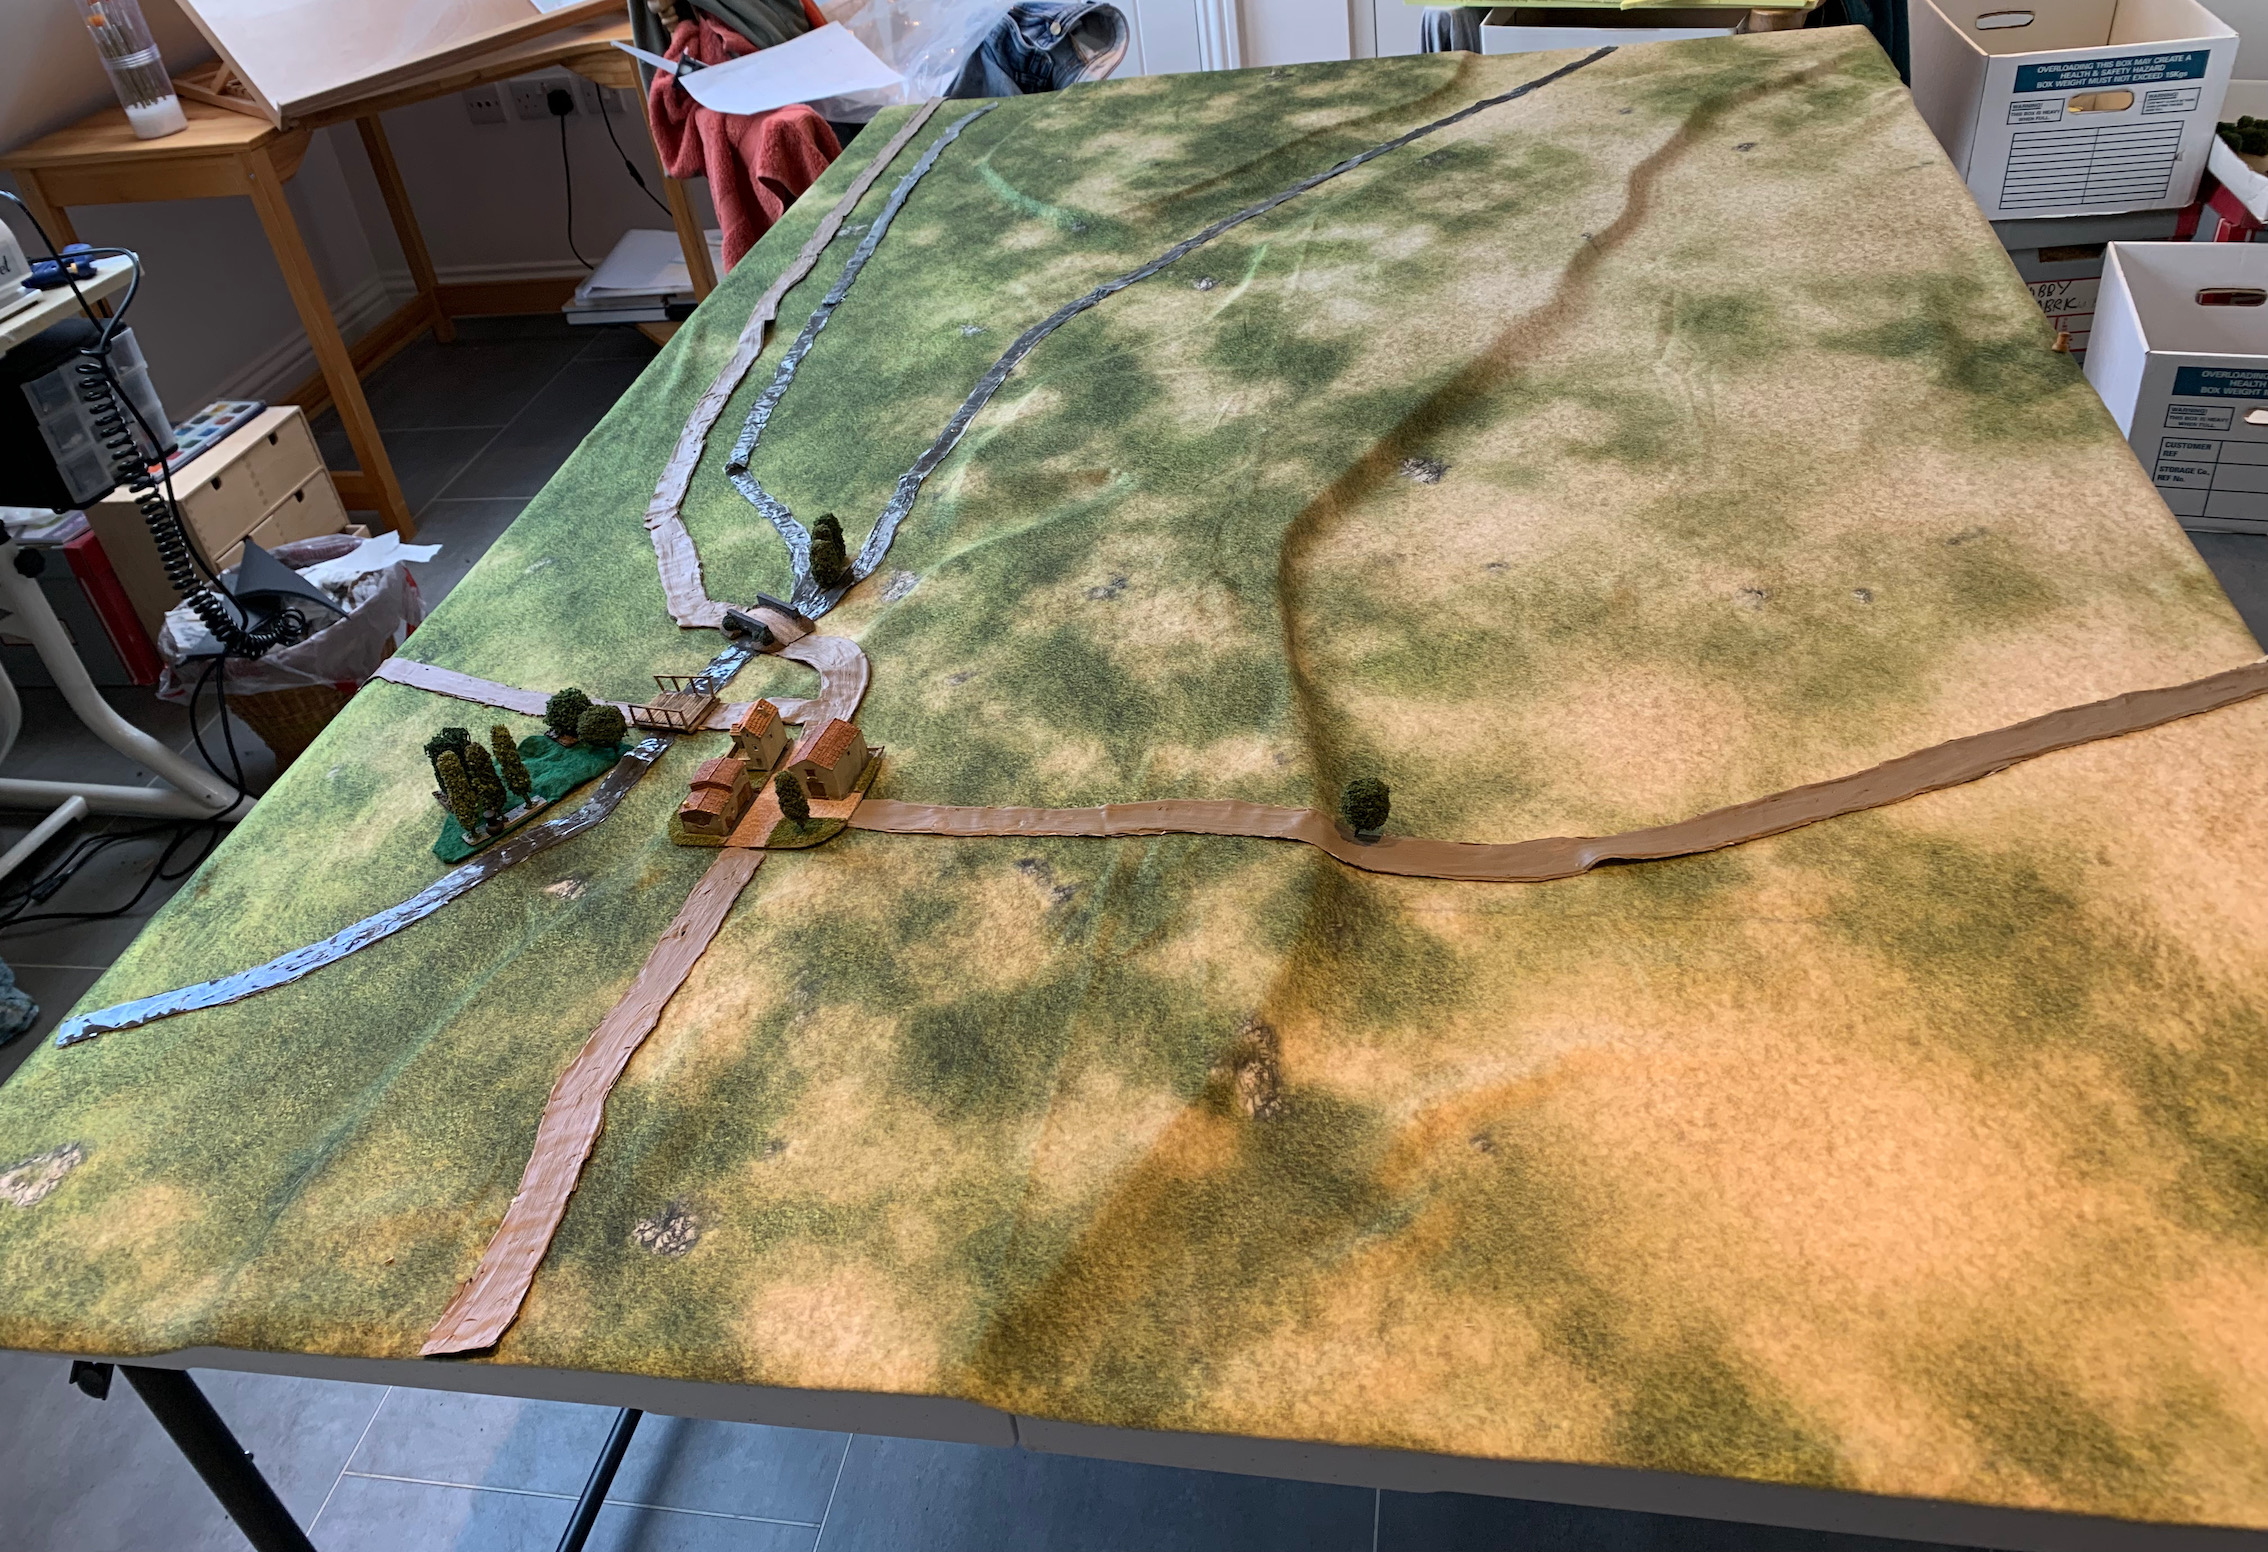
Representing built-up areas on the wargames table is not easy. We start with the problem that figure scale and ground scale are of a different order of magnitude. The scale of my 18mm miniatures is 1:100. Usually the lowest ground scale for such figures is 1:1,000 (1mm to 1m) – and often it is much more. The figures are mounted on bases 25mm wide – which is narrow by wargaming standards. That means to fit one base width a street would need to be at least 25m wide in ground scale. This is much wider than the typical village street, especially in the earlier eras. If you try and represent the street plan of a typical village, you will often have little space left for model buildings. And these tend to be enormous in ground scale terms.
There are two types of solution – not counting skirmish games where the scale discrepancy is much smaller and everything can be 1:1. In one buildings are scaled down to be representative, and then the game is played as if what you see on the table is what is there is in life (this is typical of WW2 games). The other is to be abstract: built-up areas are represented by zones, which represent both buildings and streets. There is then a set of arbitrary rules about occupying, moving through and combat. Obviously the greater the scale discrepancy, the greater the attraction of the zone method.
Big problems happen when the two methods are in effect merged. A built-up area zone is represented by a single model building, and the rules deal with it as if it was a single building with a secure perimeter. Of course that is visually intuitive. And when we remember the heroics of Hougoumont and La Haye Sainte at Waterloo (or Rorke’s Drift in a later era), this might appear realistic. One example is Sam Mustafa’s Blücher rules, where the playing units are brigade strength. Each zone (referred to as an urban area) is only slightly bigger than the unit base (though square). If a unit occupies it and takes up “prepared” status, which is very simple to do, it becomes a garrison – and “garrisons are very difficult to dislodge” as the rulebook says. I experienced this when I tried the rules out on a scenario loosely based on Ligny. The Prussians garrisoned Ligny village, and the French simply didn’t have enough infantry to stand any chance of victory. Repeated attempts to take the village ended the way of attacks on Hougoumont. Historically the French did take a long time to win Ligny, but they had much greater economy of force than the Prussians – it cost the Prussians more to defend than the French to attack, and the former became exhausted, in spite of superior numbers. It is my biggest criticism of the otherwise very clever Blücher system. Interestingly by the time Sam came on to rewrite his Lasalle system (where units are battalions) he changed the balance, though it uses the same zonal system. It is harder to attain garrison status, and no so difficult to wear down and shift a garrison. And garrisons may not “un-garrison” themselves – which is easy in Blücher (which to be fair is representing longer periods of elapsed time). Moreover he explains what his rule system is trying to represent much more clearly.
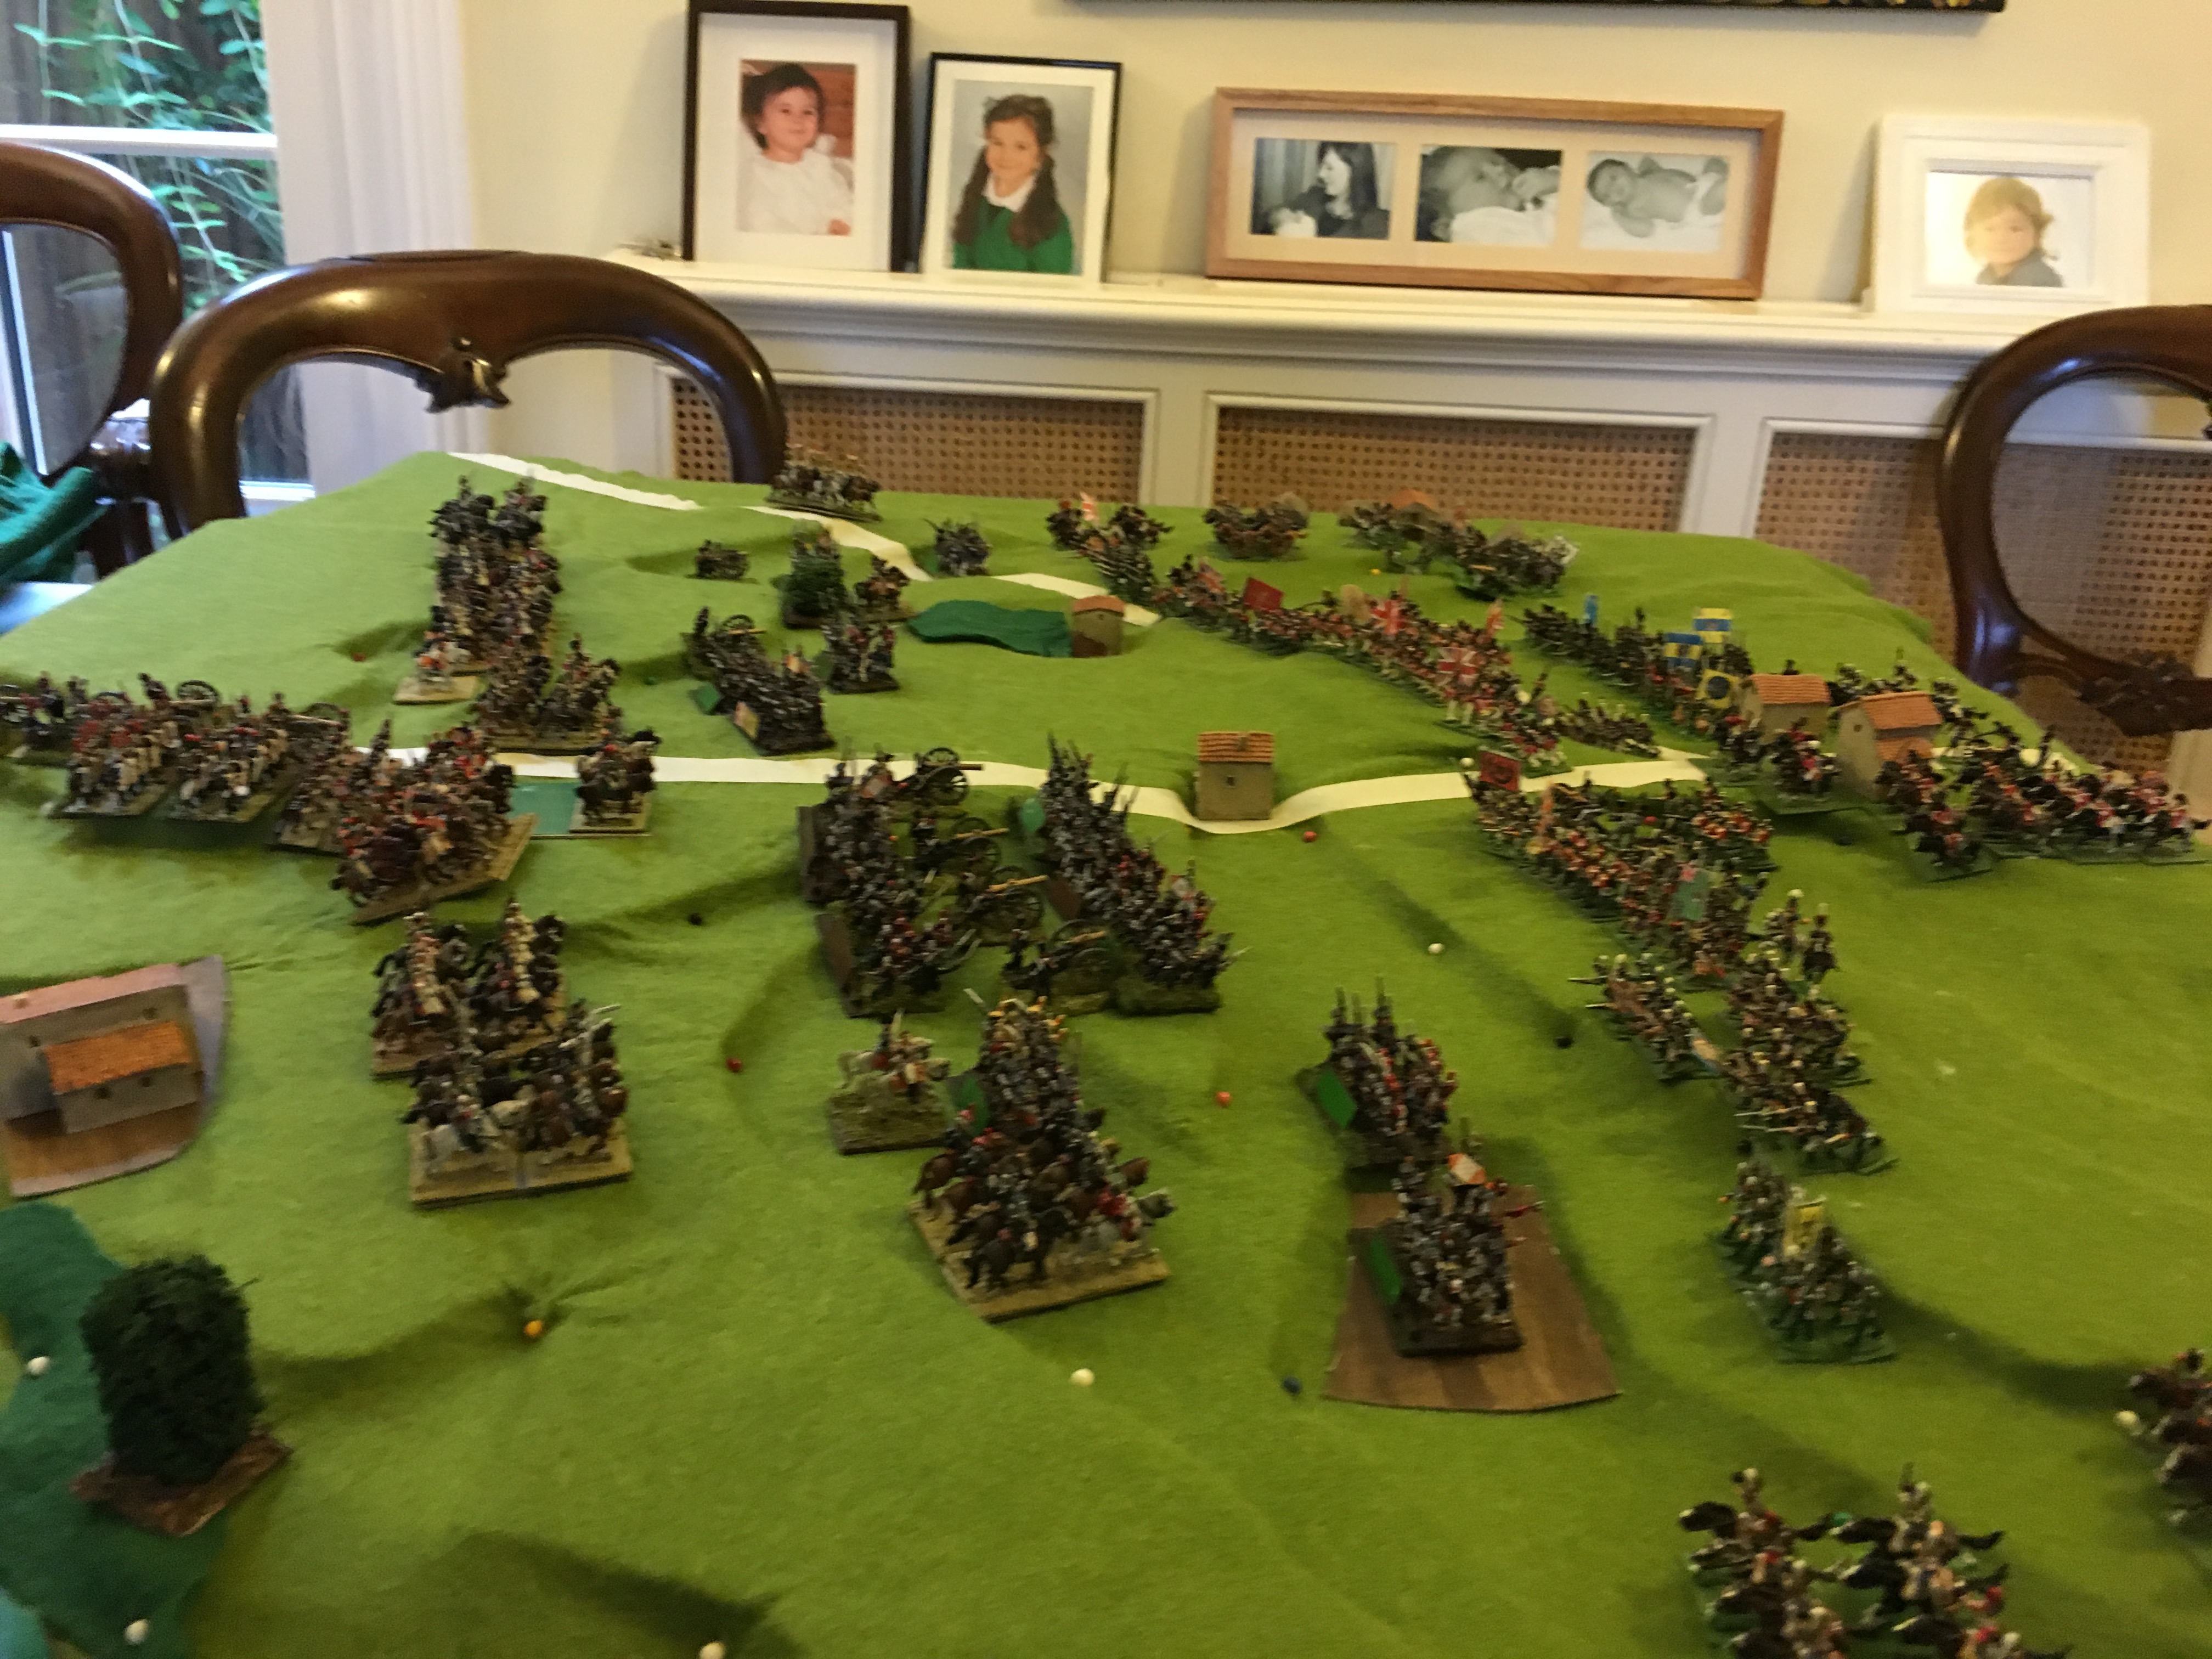
The current rule system I use for Napoloenics, David Brown’s Général d’Armée 2, operates at similar scale level to Lasalle and also has a zonal system for built-up areas. It works in a not dissimilar way – but the general practice seems to be for the zones to have a much bigger footprint. In the Mustafa systems you can’t have your model soldiers and the building occupy the same table space -you remove the building when the troops get there. In GdA2 the practice seems to be to fit them both in the same space (something which I allowed by house rule when I was using Lasalle 2, as in the picture below). GdA2 also has the concept of “stronghold” for a more robust zone – something that can be used to represent the cores of the two famous Waterloo farms/manors.
On the tabletop, even when using the zonal system, I like to represent streets and make them big enough to take all the occupying troops with at least two building models. The buildings need a small footprint (which can be achieved by using suppliers such as Total Battle Miniatures Big Battalions Range, one scale size down from the miniatures)and should not need to be moved. Buildings look so much better in groups.
Rules
If I was writing my own rules for the battalion-as-unit level (I won’t be – my creative activities focus on much bigger battles), I would try to use a much more representational approach (which is typical of WW2 games played on similar ground scales, though with a much lower density of troops). The basic street plan of the area should be represented, with the streets big enough to take infantry bases (though perhaps sideways if people insist on wide bases). Some buildings would have a stronghold capability, and these may be occupied – and generally only skirmishers could move through building models without being disrupted. I think this is just about doable at 1mm to 1m ground scale and 18mm miniatures. A village would have quite a large footprint – but remember that it also includes back-gardens, allotments, sheds, and so on. It would be more complicated than current systems, but at least it would present players with more realistic choices. It matters where the entrances to villages are. At Aspern (1809), at one point the Austrians were advancing up one street, while the French advancing down the other, parallel street in the village – such complexities are beyond most rules systems. Alas this is fantasy and I don’t think any modern rule-writers will want to take this up.
Once you scale up, then the zonal model is the only workable one, and realistically this will be the system used most of the time. The rules need to represent the ebb and flow realistically. I think that it is OK to give defenders some kind of initial combat advantage, but they must also be exposed to higher risk if forced to retreat – to represent the risk of elements being cut off. This should apply right up to WW2. I think this should achieve the high defender casualties shown up in battle studies. Strongpoint battles, like Hougoumont, are harder to represent, because the garrison is much smaller than the typical brigade-level unit. But remember that to last out the garrison will need refreshing (if only with ammunition supplies). If you look a little more deeply, those heroic battles at the Waterloo farms, you will see that many more troops were involved in the defence over the course of the battle than many accounts suggest. It should also not be so easy to bypass enemy-occupied villages or farms, however. Waterloo was not unique in small-ish farm complexes delaying the progress of large bodies of troops. This happened at Marengo in 1800, for example, with an occupied farm delaying an Austrian flanking move. But setting up a strongpoint does require a degree of preparation – it isn’t just a case of moving in. Zone of control rules, designed to prevent bypassing of units in the open, can do the job well enough here, I have found. It also helps if villages, etc, can be assigned as objectives with victory points – this relates to the idea that they are important geographical reference points, with psychological significance.
When it comes to WW2, I am less of an expert. But I think it is even more important to represent streets – as these provide transit for vehicles. These are not always wide enough to accommodate tanks, especially German Tigers and Panthers (one reason that the Panzer IV was more popular I some settings, apparently). Tanks would also be wary of ambush, especially after bazookas, PIATs and the like came into being. On the other hand, covering fire provided by tanks should make the life of attacking infantry much easier. How about reducing buildings to rubble? I am wary about this – I think this was generally quite hard work without the heaviest guns (say 150mm and up) – and even this should be quite slow work. Demolishing a building clearly puts its occupiers at great risk – but if defenders are allowed to occupy rubble, they can be quite hard to clear.
Conclusion
I think wargamers can be misled by two things when representing combat in built-up areas. The first is the temptation to play the terrain on the basis of what they see on the table. Typically a single building model represents a group of buildings- something that is altogether more complex – it is one place where bath-tubbing really doesn’t work. For one thing troops tend to occupy the streets between buildings rather than the buildings themselves. The second temptation is to turn all such combats into reruns of Hougoumont. But real Hougoumonts were rare – and depended on having the right building in the right place. Hougoumont favoured the defender – but in most cases combats in built-up areas favoured the attacker.
And a final point: remember that the old buildings we see today are the survivors – the ones that were well-built enough to survive the vicissitudes of time. Most buildings were much flimsier and are long gone. They were often constructed of wood or wattle-and-daub. More robust construction methods, using mass-produced bricks, only emerged in the 19th Century.
For the next time in this series I will look at water features – but before that I will return to my painting projects and latest games.