This book is written by US author Steven Zaloga, who is an expert on WW2 armoured warfare. As I try to get to grips with warfare in this era, especially in the Western theatre (including Italy), I thought this would be an interesting study. It has indeed given me a lot to think about.
The main purpose of this study is to use a series of battles in 1944 to gain an understanding of the dynamics of tank battles between the US and German forces, and in particular the idea that German tanks were vastly superior to their US counterparts. Somewhere there is a powerful meme that the Americans (or Allies perhaps) lost five Shermans to every Panther they engaged. Mr Zaloga shows that this is nonsense; his main case is that tactical factors determined which side fared better, more than the quality of their tanks.
The subject is a series of encounters between General Patton’s Third Army and an attempted counteroffensive by the Germans, in September 1944, in the French province of Lorraine, near the border with Germany. It is interesting because it is a rare encounter battle between two forces moving forwards, and it stands alongside the bigger Battle of the Bulge as being one of the very few big tank battles that the US Army experienced in Europe in the WW2. In Normandy the Germans concentrated their tanks against the British/Canadian forces. Mr Zaloga concentrates on the main tank engagements, rather than providing a complete picture of the campaign. It starts with two disastrous attacks by the Germans on the US 90th Infantry Division and the French 2nd Armoured Division. The main substance is a series of battles against the US 4th Armored Division around the town of Arracourt. The book is topped and tailed by discussions of US v German armoured clashes and the relative merits of the main tanks involved (the US Sherman and the German Panther and Panzer IV). This includes a contemporary article by an American tanker Lt. Col. Albin Irzyk on why the Sherman was a superior tank to the Panther or Tiger tanks.
The quality of the account follows the availability of the evidence. There is a fair amount of detail on the plans and senior command decisions of either side, and tallies of vehicles involved (quite a few tables, not all of wh9chnadd much value), but not all that much on the tactical detail. There are maps (though the topography is a little hard to make out) and photos of the ground now, as well as what photos there are of the fighting in Lorraine. At this stage in the war the Germans didn’t produce after-action reports, so there is only the sketchiest detail from that side, mainly highly exaggerated claims of tanks knocked out. There is more from the US side, but this is very patchy; I wanted much more detail on what happened, but at least the outcomes of each phase are clear.
The whole episode was a disaster for the Germans in terms of losses, though they did stabilise the front, which had been completely open – though this has as much to do with stretched US supply lines as German action. It has received little attention from historians. For the Germans it was doubtless forgettable; the Americans didn’t realise the significance of their success, and for them it was overshadowed by the heroics of the Bulge. At the time was also overshadowed by the Arnhem offensive further north. Mr Zaloga has interesting things to say on this, and on armoured warfare generally. The only fault I would pick is that I would be interested to know how the US experience differed from the British one; we only get some airy references which only invite more questions.
As wargames scenarios there is a big problem with these battles. This is in spite of the fact that they are encounter battles over relatively open ground – the easiest sort of battles to game. The problem is that they are too one-sided. The Americans destroyed large numbers of German tanks while losing very few of their own, and a lot of these were the obsolete M5 Stuart light tanks, even though the Germans generally had a numerical superiority. It’s lambs to the slaughter, if your rules are going to reflect the reality at all. Actually not so different from sending British tanks into the German trap in Normandy, or the US experience in Kasserine.
Of course the interesting question was why were the battles so one-sided? The Germans were mainly equipped with newly manufactured Panthers, and the Americans (and French) with old 75mm Shermans with only a few of the better armed M4A3 76mm. There were quite a few Panzer IVs too, and M10 and M18 tank destroyers on the US side (as well as those Stuarts). Under the war-games rules I was brought up with, the battles would have been one-sided all right, but not in the US’s favour.
There were two main reasons. The most important was that the Germans were mainly fresh recruits with very little training, and mainly in freshly raised units that had only been together for days – whereas the Americans and French were confident, well-led veterans. A lot of the German leadership had been drafted in from the Russian front, so not used to fighting Americans, and besides they were not being given any latitude by the German High Command, who insisted on premature attacks (of course Patton’s constant movement forward made the German command problems even more difficult). In the fighting it is clear that the Americans often got the first shot in, and were able to achieve several shots to every German one. Their leaders often charged in with heavy concentrations of armour but little reconnaissance – an approach that may have worked against the Russians, but were fatal in this theatre. The Americans were often able to counterattack the Germans in the flank. The second reason for the one-sided outcome was that the Americans had vastly superior artillery support, as well as air support. The Germans often didn’t have any of either; even when they did have artillery it often ended up in the wrong place and unable to assist. American artillery in quantity and doctrine was the best of any army in the war. Air support was intermittent because of the weather, and Mr Zaloga suggests that its effect was exaggerated especially by the Germans (as a convent excuse), but its effect on inexperienced tank crews was clearly considerable. They sometimes abandoned their tanks under air attack.
There are specific points that are highly relevant to wargames rules, apart from the importance of troop quality. The 75mm and 76mm guns were effective enough at the ranges used, generally about 800 yards, and often closer. Irzk reckoned that the problem with superior German armour and guns was at ranges in excess of 1,500 yards. A lot of popular rules systems (Battlegroup, Iron Cross, I Ain’ Been Shot Mum and Bolt Action, for example) reflect smaller scale actions at shorter ranges. At 1mm to 1m, for example, 1,500m would be five foot; some of these rules have an even bigger distance scale. The 75mm/76mm weapons should be quite effective at these ranges: I’m not sure how well rules reflect this. On reflection the issue may be the number of shots the US tanks can fire to each German one.
Which brings me to another interesting point, which is the effect of such things as gunsights and turret rotation. The Sherman’s were much superior (the periscopic sight gave the gunner much greater situational awareness; the rapid traverse enabled it to line up on target much quicker, even on the move). This surely allowed the Sherman to get more shots in and quicker, but I haven’t seen it reflected in any rules. One further thing intrigues me. Mr Zaloga isn’t very interested, but the US tank destroyers (M10s and M18s armed with the 3in AT gun) seem to have performed very well, doing more than their fair share of the killing. This is interesting because I had read that the US doctrine that tank destroyers should do the heavy lifting in tank hunting was considered a failure because they were too lightly armoured. Mobility was not a substitute. In war-games the life expectancy of these weapons is pretty short, in my experience, as wargamers use them as if they were tanks. But in the context of these battles, and with correct tactical use, the US doctrine looks sound enough. Interestingly in one engagement later in the battles a unit of M18s refused to get engaged; the tactical context was wrong (in this case charging over a ridge line to engage tanks already in action). Actually it’s quite hard to use a tank destroyer correctly on the confines of a war-games table – you need to move them as soon as they’ve revealed their position. But I’m convinced of a further point too: their open-topped turret gave the crews better situational awareness, so that they could react to battlefield events more quickly than tanks. In wargames rules open-tops are a purely negative characteristic.
And finally, Mr Zaloga mentions some of the tactics developed by Sherman crews – such as firing white phosphorus smoke shells at German tanks, or even HE shells. These served to distract the German crews and give the Sherman time to get out or work round the flank (something that slow German turret traverse wouldn’t have helped them deal with); inexperienced tank crews might even think their tank had been damaged and even abandon it. There was also an incident where a German tank was forced back by small arms fire, after its commander was killed. Modern wargames rules have a useful concept of “suppression” or being “pinned”. This clearly applies to tanks, though these have the option of retreating, and can arise from fire that is very unlikely to do serious damage to the tank.
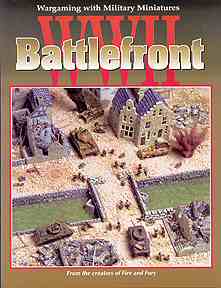
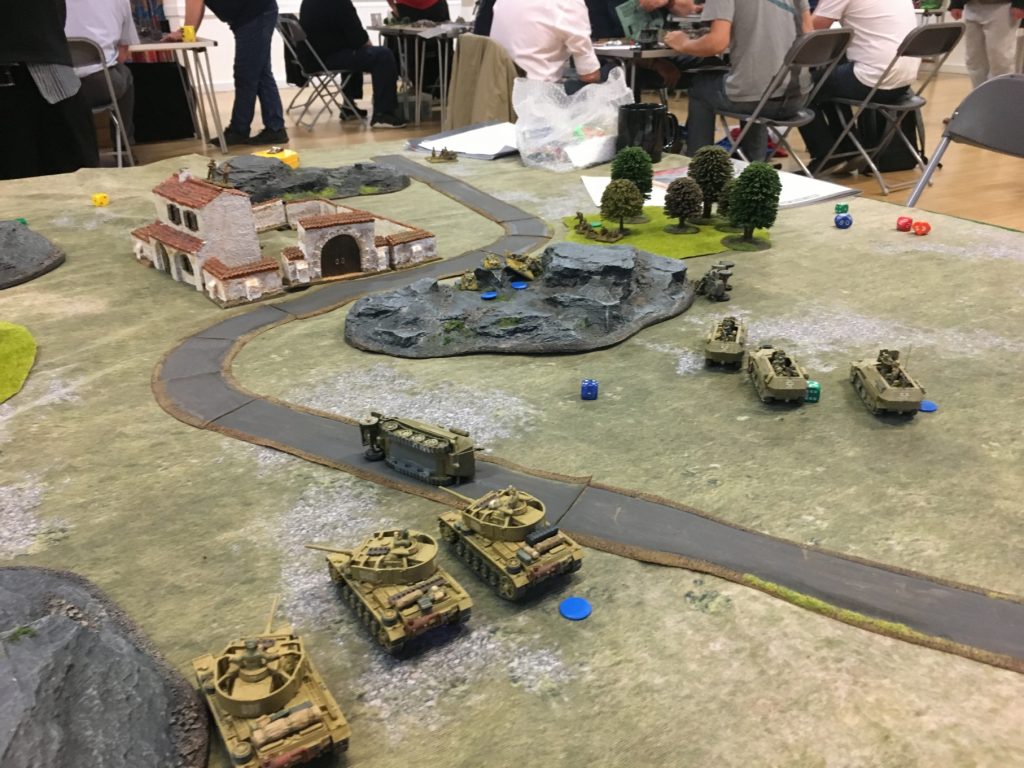
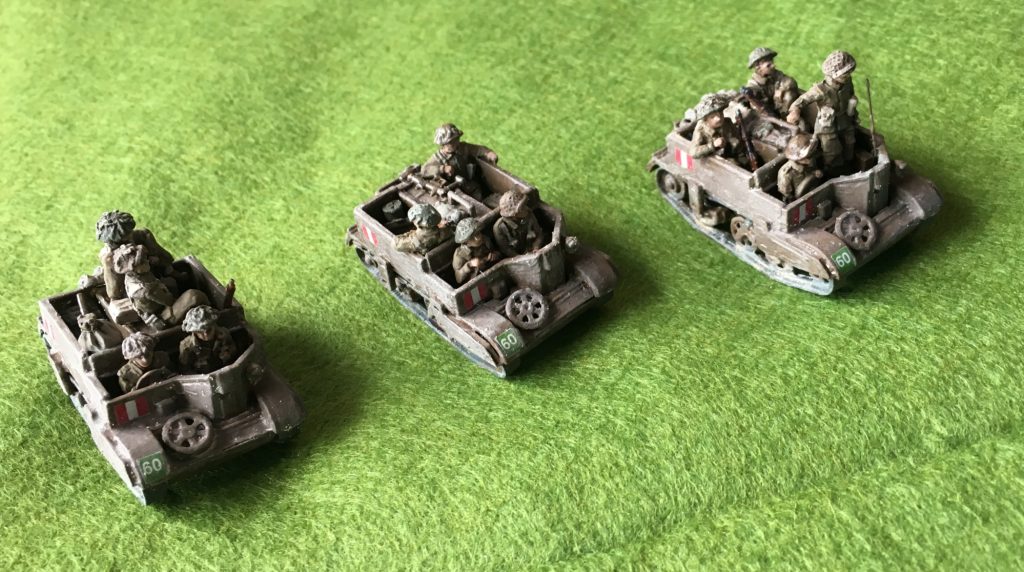
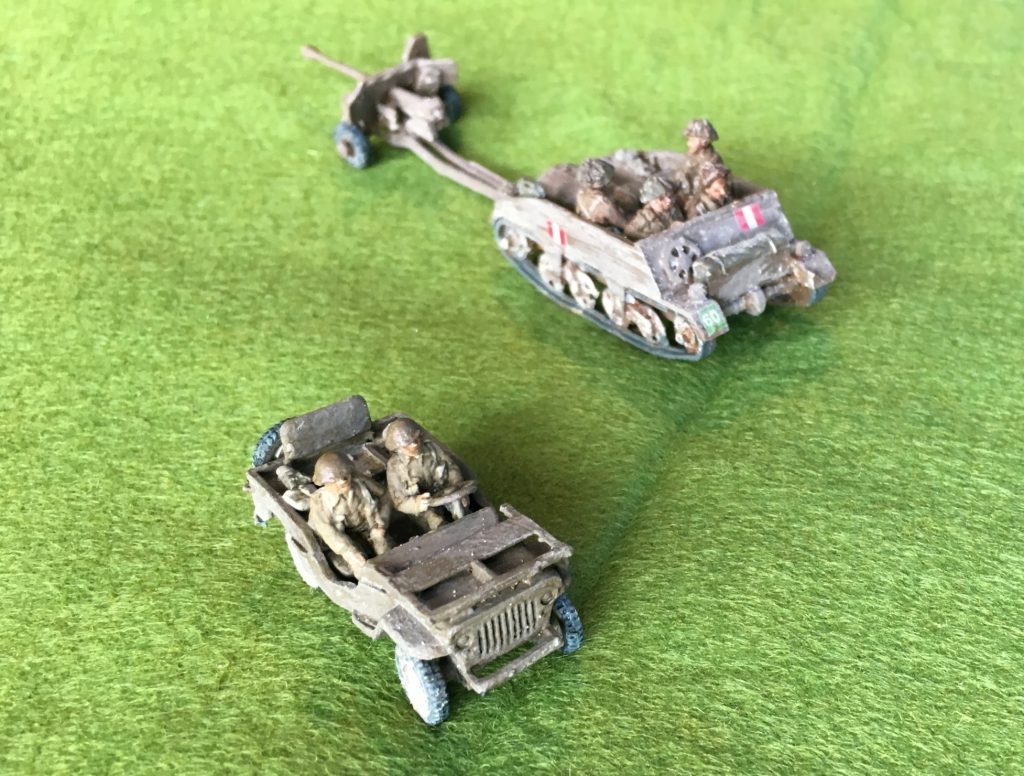
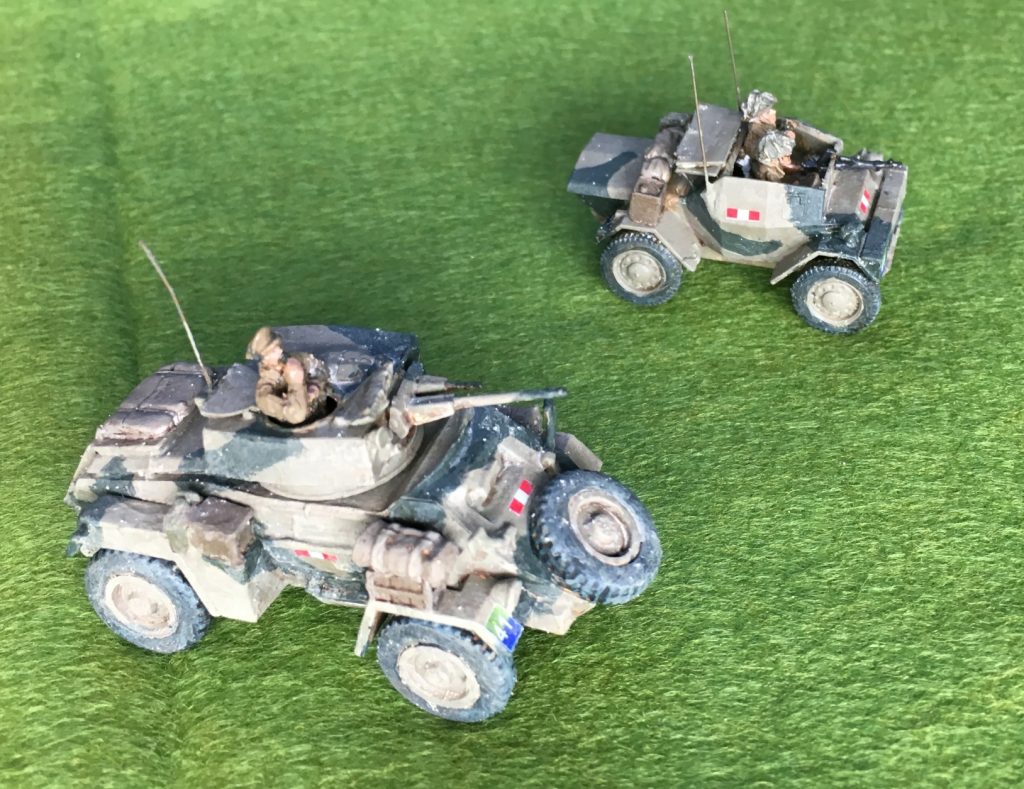
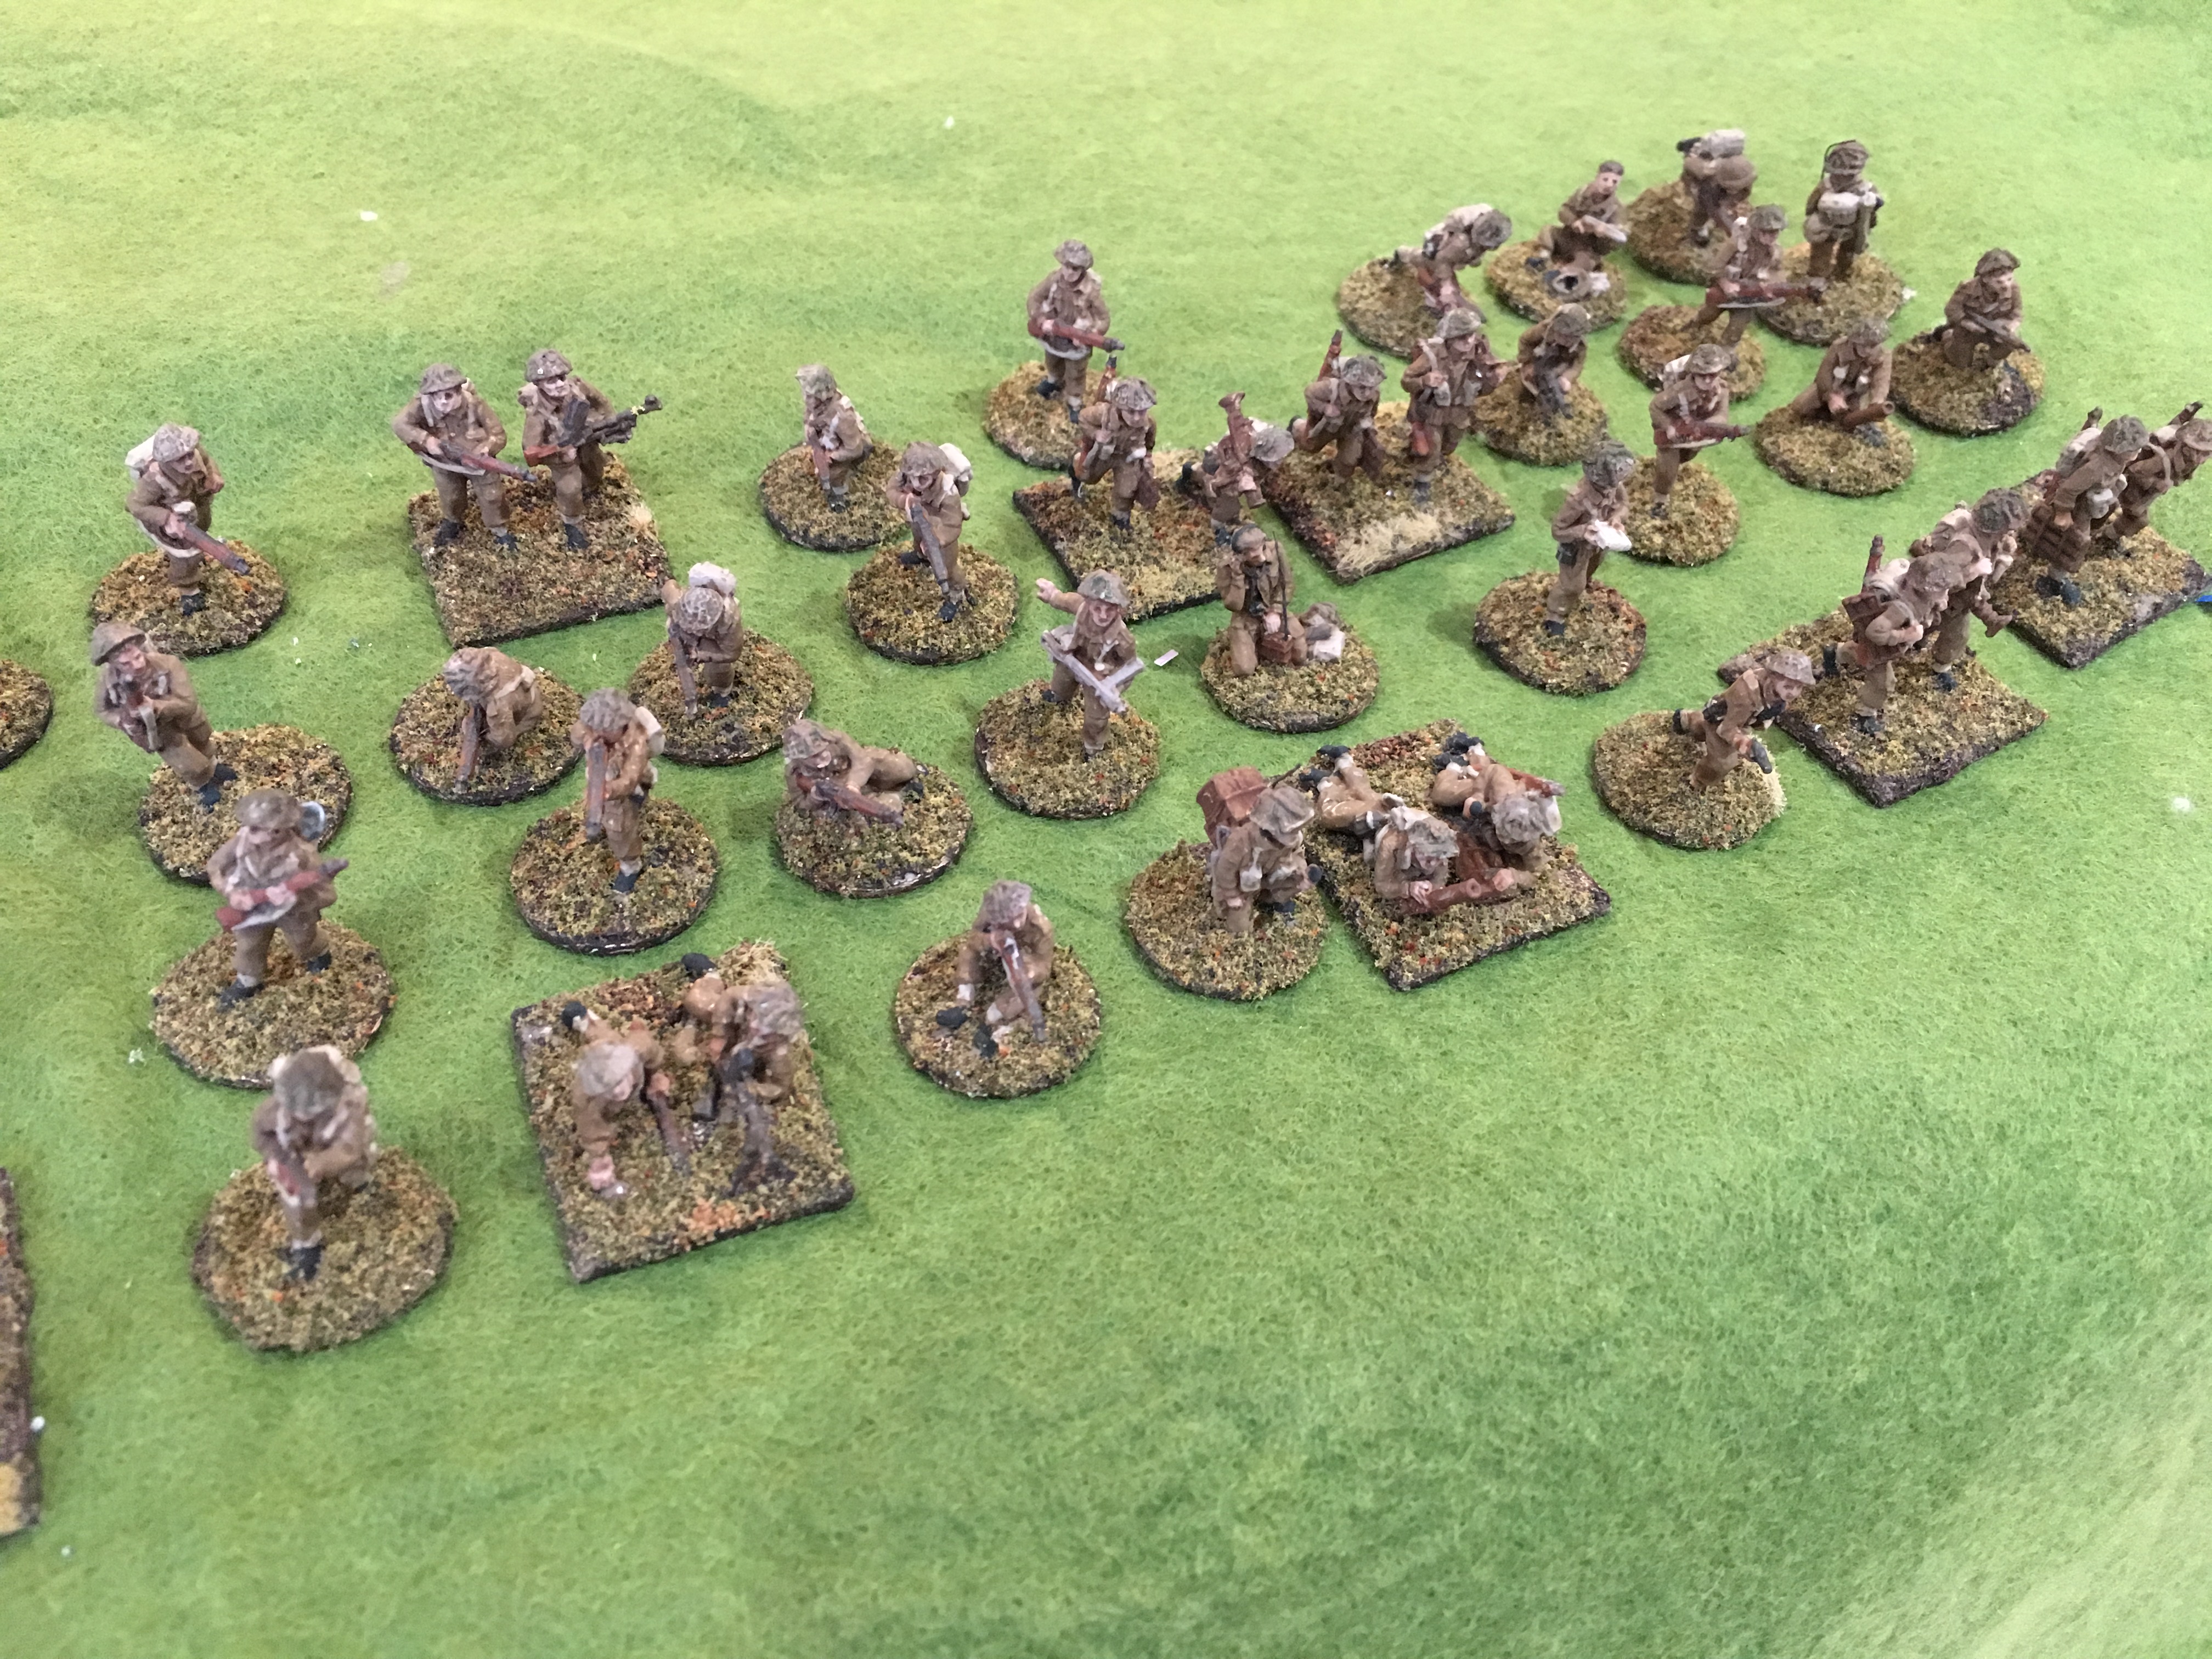
So a lot to ponder. Do I want to recreate these battles on the tabletop? They would be a good test of wargames rules. My 20mm WW2 armies are 1943 British and German. But I do have a job lot US 6mm miniatures, and some German models that might be used. 6mm armies are quick to build, so I might well give it a go in this scale. Maybe it is a good opportunity try out Battlefront rules, which seem to have been designed with US-German encounters in mind.