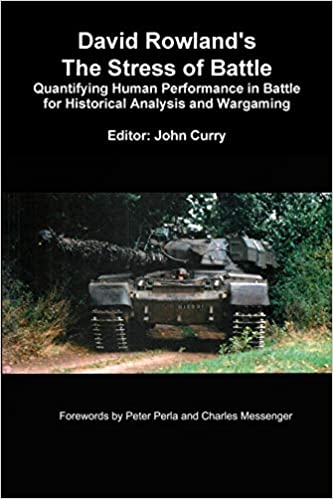
This is an astonishing book, first published back in 2005, with a second edition in 2019, which recently came into the Caliver bookshop. Despite the subtitle the book is not aimed at hobby wargames – more the sort of thing armed forces would run. But there is a lot of interest for us hobbyists. Like a lot of highly insightful works, what it says is bloomin’ obvious once you have read it, but somehow it changes the way you think about things profoundly – in this case the behaviour of men in battle conditions.
The book describes a journey in what is called “Operational Research” in the context of analysing military combat. It started with trying to understand why the combat performance of weapons was so far below what went on in the firing rage, and to quantify this “degradation” and the various factors that affected it. It describes a journey of analysing progressively more complex situations, to get a better understanding of the components of weapon and human effectiveness.
The main journey started in the 1970s with trials using real (British Army) troops in staged battles using laser pulse devices mounted on guns and sensors on the vehicles and people to simulate fire without risk of injury. The first set were tank battles, and then there were a series of infantry battles with armoured support. The tank exercises revealed a number of interesting insights n how battles evolved, and quickly descended into mini-battles with just a few tanks on either side (or one to one) – this was staged in Germany in classic rolling terrain. The infantry exercises showed huge amounts of degradation – reduced weapon effectiveness compared with the effective maximum on shown on firing ranges. Rifle effectiveness was just 5%, and machine-guns 21%.
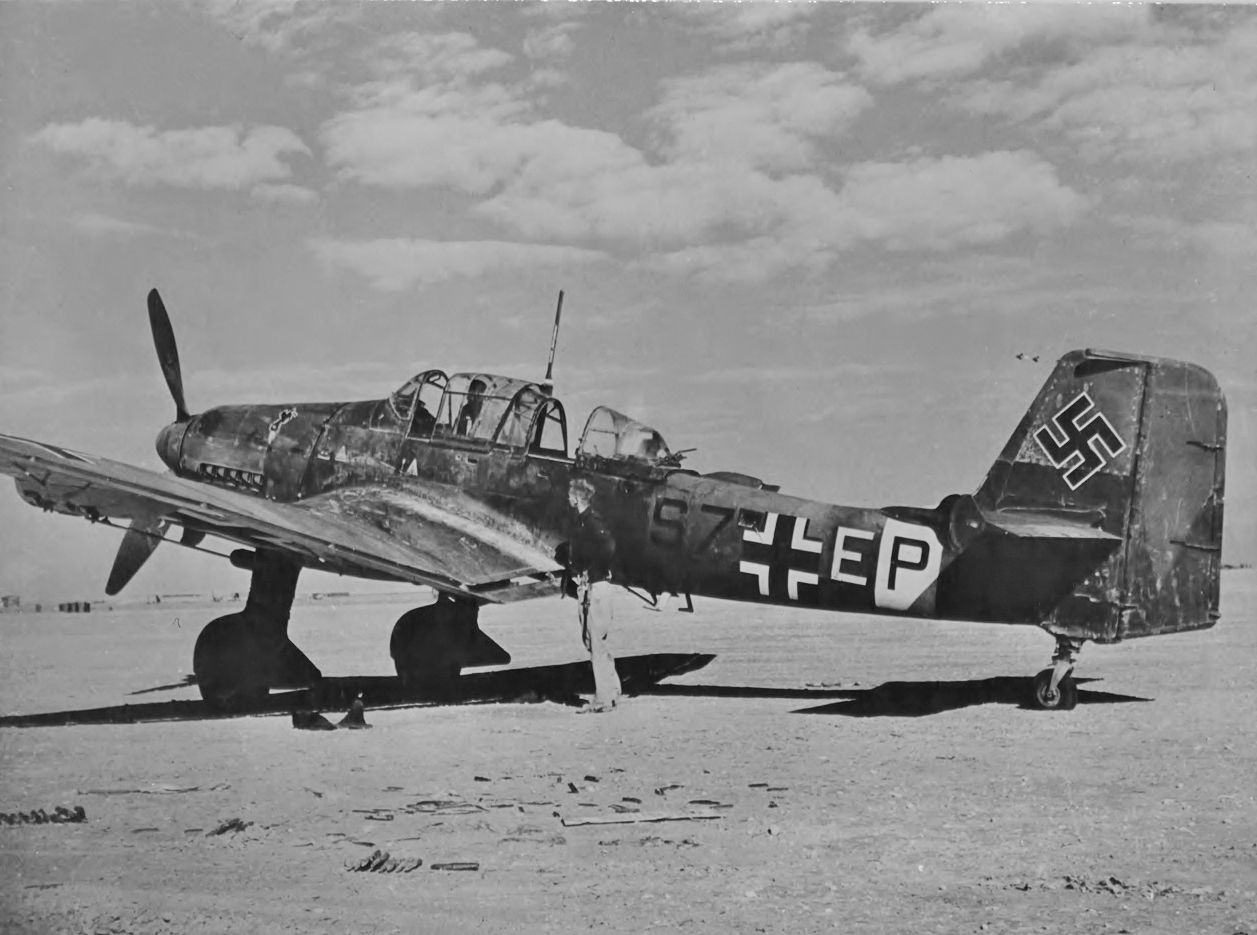
The next step was to look at historical data, using the trial data as the basis for estimating some of the variables (such as the relative effectiveness of rifles over machine-guns). They looked at the effectiveness of defence fire against an attack, starting with the simplest situation of attacks in the open. They used data going back to the US Civil War, on the basis that the dynamics of small arms fire have not changed much since the rifle replaced the musket. Still, later wars tended to provide more usable data, so WW2 tended to dominate. They progressively added complexities – preparatory bombardments, suppression fire from tanks, prepared defences and so on. They moved on to consider fighting in built-up areas, including the effects of rubble, and woods. Overall they found a further degradation compared to laser-simulation trials of 90%. In other words rifle fire was at just 0.5% of theoretical effectiveness (depending on various conditions), and machine-guns 2%.
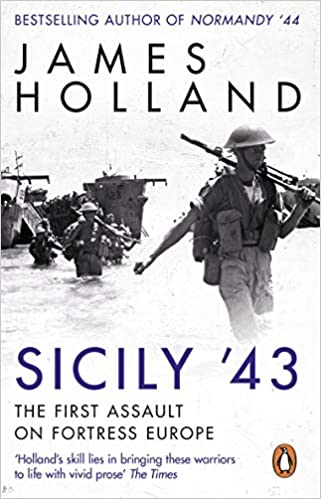
The researchers were clear that this degradation had a lot to do with how individuals responded to danger. Two observers from WW2 were particularly on their minds. The first British Lt-Col Lionel Wigram, who went to Sicily in July 1943 to observe infantry behaviour:
His principal finding was that in every platoon there were “six gutful men who will go anywhere”, with “twelve ‘sheep’ who will follow that short distance behind if they are well led”. But there were also ‘”four to six who will run away”. It made uncomfortable reading and apparently General Montgomery suppressed it on the grounds that it would be bad for morale. In addition, Wigram himself lost his temporary rank and was posted to a battalion in Italy as a Major, only to be killed.
David Rowland’s Stress of Battle p61-62
Also quoted was Lt-Col SLA Marshall of the US Army who was commissioned study to infantry behaviour immediately after the war. He observed that only on average only 15% of men took an active part in battle with their weapons, and rarely more than 25% even under intense local pressure. The average was higher for heavy weapons. This was based on battles in NW Europe and the Pacific; he claimed the rate of participation was much higher in Korea. This analysis was pretty subjective but it clearly pointed to an important truth.
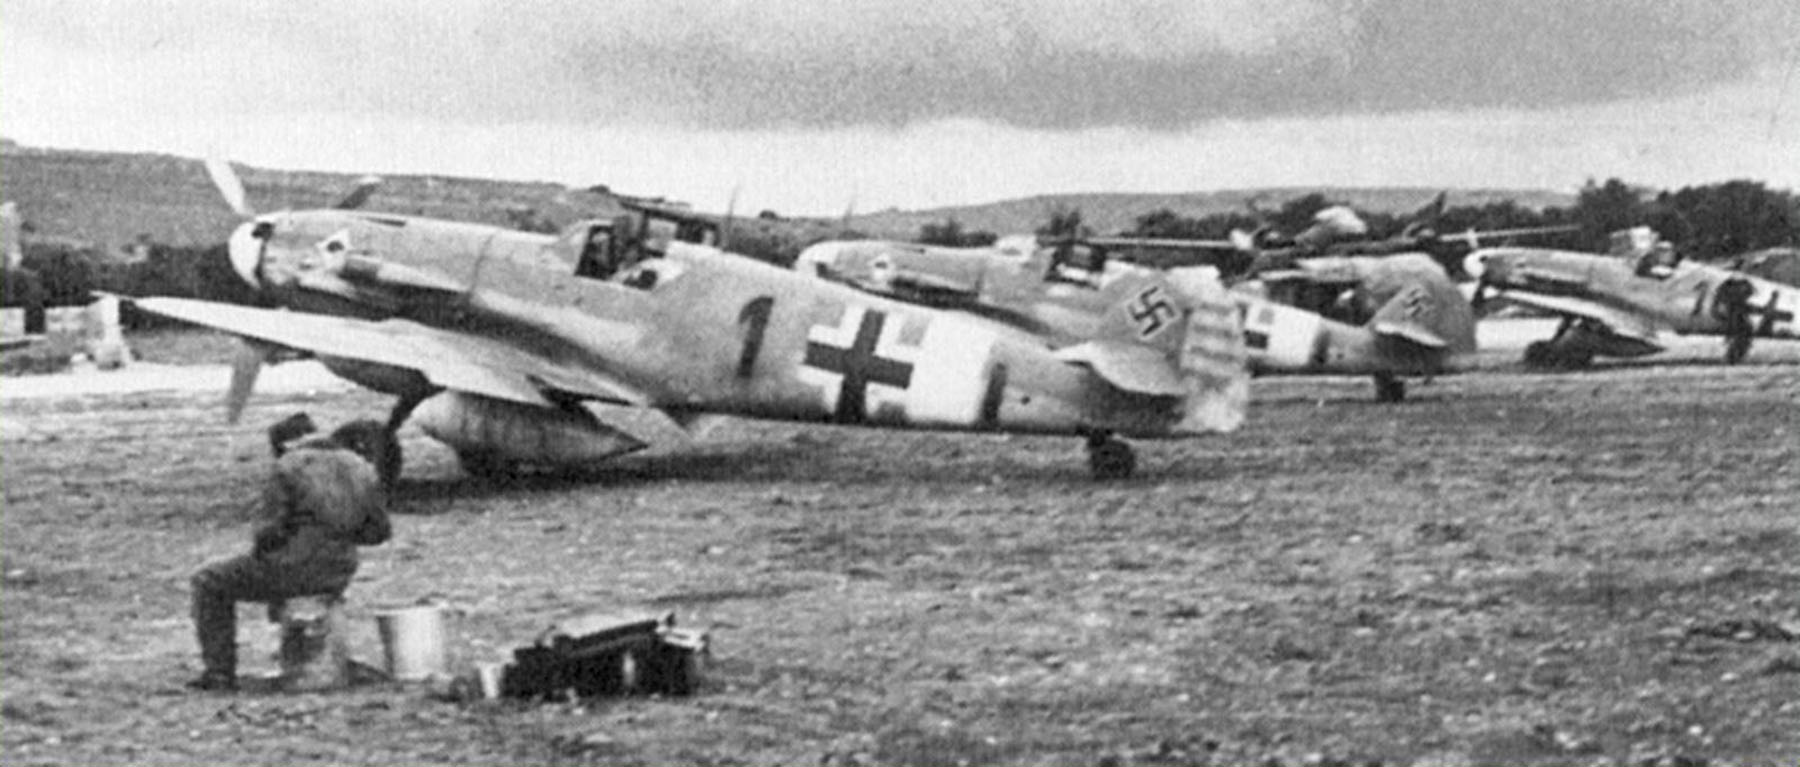
All this became clearer in the next phase of the research, when the team looked at battles involving armour. This started with looking at the effectiveness of anti-tank guns against tank attacks, as these data were easiest to make sense of. Their data came initially from encounters by British guns in the Western Desert and Tunisia. Unlike infantry battles, they were examining relatively small numbers of weapons, and the individual performance of weapons was more apparent. They saw that the results were heavily influenced by what they called “heroic behaviour”, which usually resulted in a gallantry award. This covered 20-30% of guns. To cut a long story short, they found support for a model closely approximating to Wigram’s observations for infantry. There were three groups of men: “heroes”, those with degraded performance, and those who took no part at all. The ratios were consistent with Wigram’s observation (18:55:27). Incidentally Wigram’s ratio of ‘gutful” is quite high; anti-tank crew performance tended to be led by the best performer in the group, who was usually at least sergeant rank – Marshall’s ratio of 15% would be typical of infantrymen. I think Wigram was following the British 78th Battleaxe division, who were veterans. There was some variation of performance within each group, but these were minor compared to the variation between the groups; there was no continuum of individual performance. The heroic group operated at a similar level to the soldiers in the non-lethal trials, the “followers” (my terminology) operated at about 30% of this level, and the “shirkers” did not participate in the battle at all. They picked out examples from the battles that they studied, of some guns killing over a dozen tanks, while other guns from the same unit were abandoned without firing a shot. Looking more closely at the heroes, they found that this correlated strongly with rank. A much higher proportion of NCOs than other ranks, and higher proportion of officers to NCOs. Doubtless the causality of this worked both ways.
The studies went on to look at progressively more complex situations in armour combats, and then to look at the effects of surprise and shock, but the three classes of behaviour was the critical finding. There were a number of other findings that will be of interest to wargamers. Two were very striking:
- Defenders of urban areas proved to be at a substantial disadvantage to the attackers, usually suffering very heavy casualties. The most effective strategy for defence was to hold back forces in reserve and launch a counter-attack. This runs contrary to the expectations of those who aren’t infantrymen, but I think that experienced soldiers knew this. The Germans at Salerno seem to have understood this, for example, in their defence of Battapaglia. This does not apply if the built-up area has been reduced to rubble, which turns it into a more normal battlefield – though not if the bombardment is just before the attack, when the shock can have a major effect. Wargamers rarely understand this dynamic over built-up areas, suffering something of a Hougoumont complex – treating all built-up areas like the heroically defended farm complex at Waterloo (and its neighbour La Haye Sainte). It doesn’t help that in larger scale games a village is often represent by a single building model. While this result was derived mainly from WW2 data, I think it is timeless.
- Anti-tank guns proved two to three times more effective than tanks at destroying tanks, in spite their lack of mobility and protection. Mobile anti-tank guns (portees and self-propelled guns) had similar performance to towed guns, and even the open-turreted M10 (generally highly disadvantaged in wargames) was more similar to its towed equivalent than tanks. The authors explanation is equally unexpected: it is because they had a higher proportion of “heroes” manning them, specifically they were more likely to have an officer or senior NCO in command, or an officer could easily move from gun to gun and exert influence (or actually take over the firing himself). They had no need to look for alternative explanations, though they were able to dream up a few.
For me the dog that didn’t bark was differences in troop quality. Of course the data was seldom good enough to produce different estimates for different types of troops. It was drawn overwhelmingly from battles between British, American and German troops. These men came from similar societal backgrounds, were trained in roughly similar ways, and they were mainly conscripts. So, although modern writers like to talk up the superior quality of German troops, it shouldn’t be so surprising that when you get down to platoon and company level the troops behaved similarly. On two occasions did the researchers try to distinguish elite units. When looking at troops defending rubble they noted that the defenders on several occasions were German paratroops (Monte Cassino loomed large, but there were other battles covering 40% of the data). Allowing for their greater allocation of machine-guns, the researchers found a slightly better performance for the paratroopers, but not a significant one. The also looked at the performance of Gurkha troops, and found a slightly higher proportion of gallantry awards, indicating a higher proportion ‘heroes”, and so better combat performance. The effects were not decisive.
The three types of behaviour in combat, and their rough proportions and linkage to seniority is timeless, I think – and much of the art of warfare is based on managing this fact, from the invention of the Greek phalanx onwards. I have often said that the relatively lacklustre performance of Austrian troops in Napoleonic times came down to a lower ratio of cadres in their large companies. When a period of campaigning had increased the cadre ratio (attrition affects the cadres less), they performed better, such as in 1800, when they nearly ended Napoleon’s career at Marengo. Elite units are created to increase the proportion of “heroes” and eliminate the shirkers – though possibly at a substantial cost to the rest of the army.
And for wargamers? In most games we use large figure scales and we can average out the effects. Even in WW2 games, where the figure ratios are often 1 to 1, we like to group people together in teams, so that the individual behaviour is averaged, and let the dice do the rest. But this works less well for armoured warfare, where we tend to assume all vehicles are crewed by heroes. This produces a better game, given that tank numbers tend be quite low, and so an only one in four chance of the tank being fully functional can easily take the fun away. Still the examples given of a single 6-pounder destroying multiple German tanks (mainly Panzer IIIs I think) could not happen if those tanks had been manned by fully functioning crews.
This book has been around for a bit, and it must have influenced some rules writing. I can see its influence on the Too Fat Lardies offerings, especially I Ain’t been Shot Mum and its Big Men. But generally our games work more like those non-lethal trials with laser-pulse weapons.
This book isn’t a particularly easy read. It uses a lot of technical language and even for someone like me that knows a bit about statistical analysis, it is quite to follow at times – the blurb suggests that its many charts help make things clear, but they didn’t for me. But you can skip through those bits – and I don’t hesitate to recommend this book for anybody who wants to understand land warfare better, especially WW2.