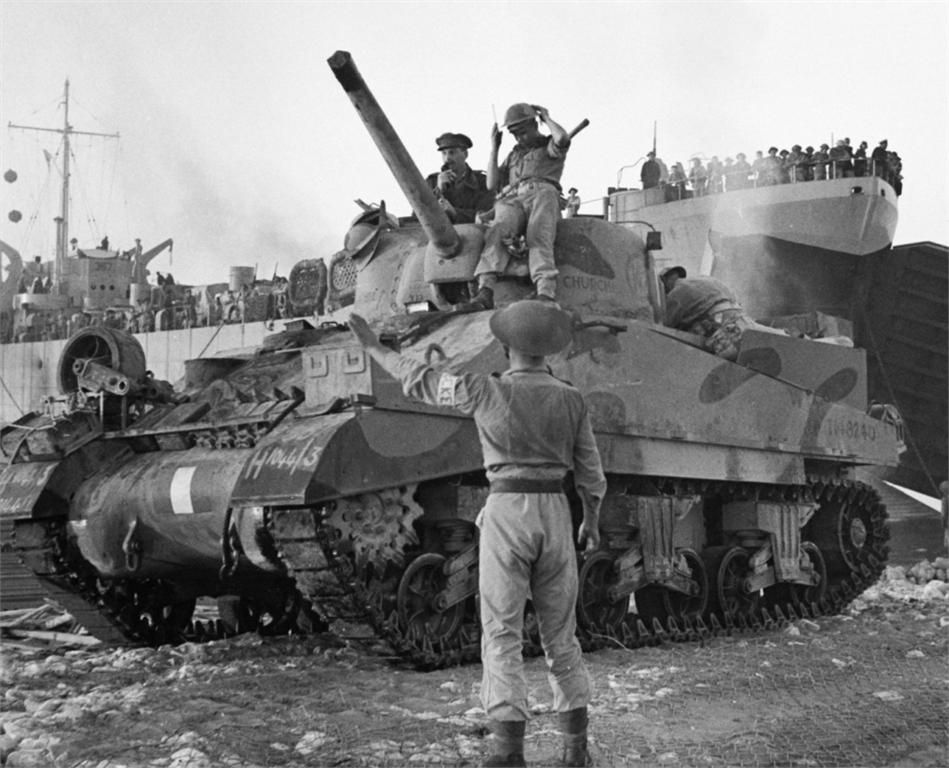
 Like so many men of my age, Airfix polystyrene plastic kits and polythene figures played a big role in my boyhood. It some cases, like me, it led to a lifelong interest in wargaming. In the 1960s and 1970s it took up much of the space now taken by computer games. I spent hours in seclusion working on my kits or reading up about WW2 aircraft, tanks and ships without needing to do any tiresome social interaction. My wife is amazed at my ability to identify WW2 aircraft from the briefest glimpse on film footage.
But times changed and Airfix, the leading company in the business, fell on hard times. It is now part of the Hornby group, and going through a minor revival. Meanwhile my interest was renewed with the discovery of a number of my old models in the loft, and led to my current 1943 project – reviving something that I had left off in 1979, when I left home at the age of 21.
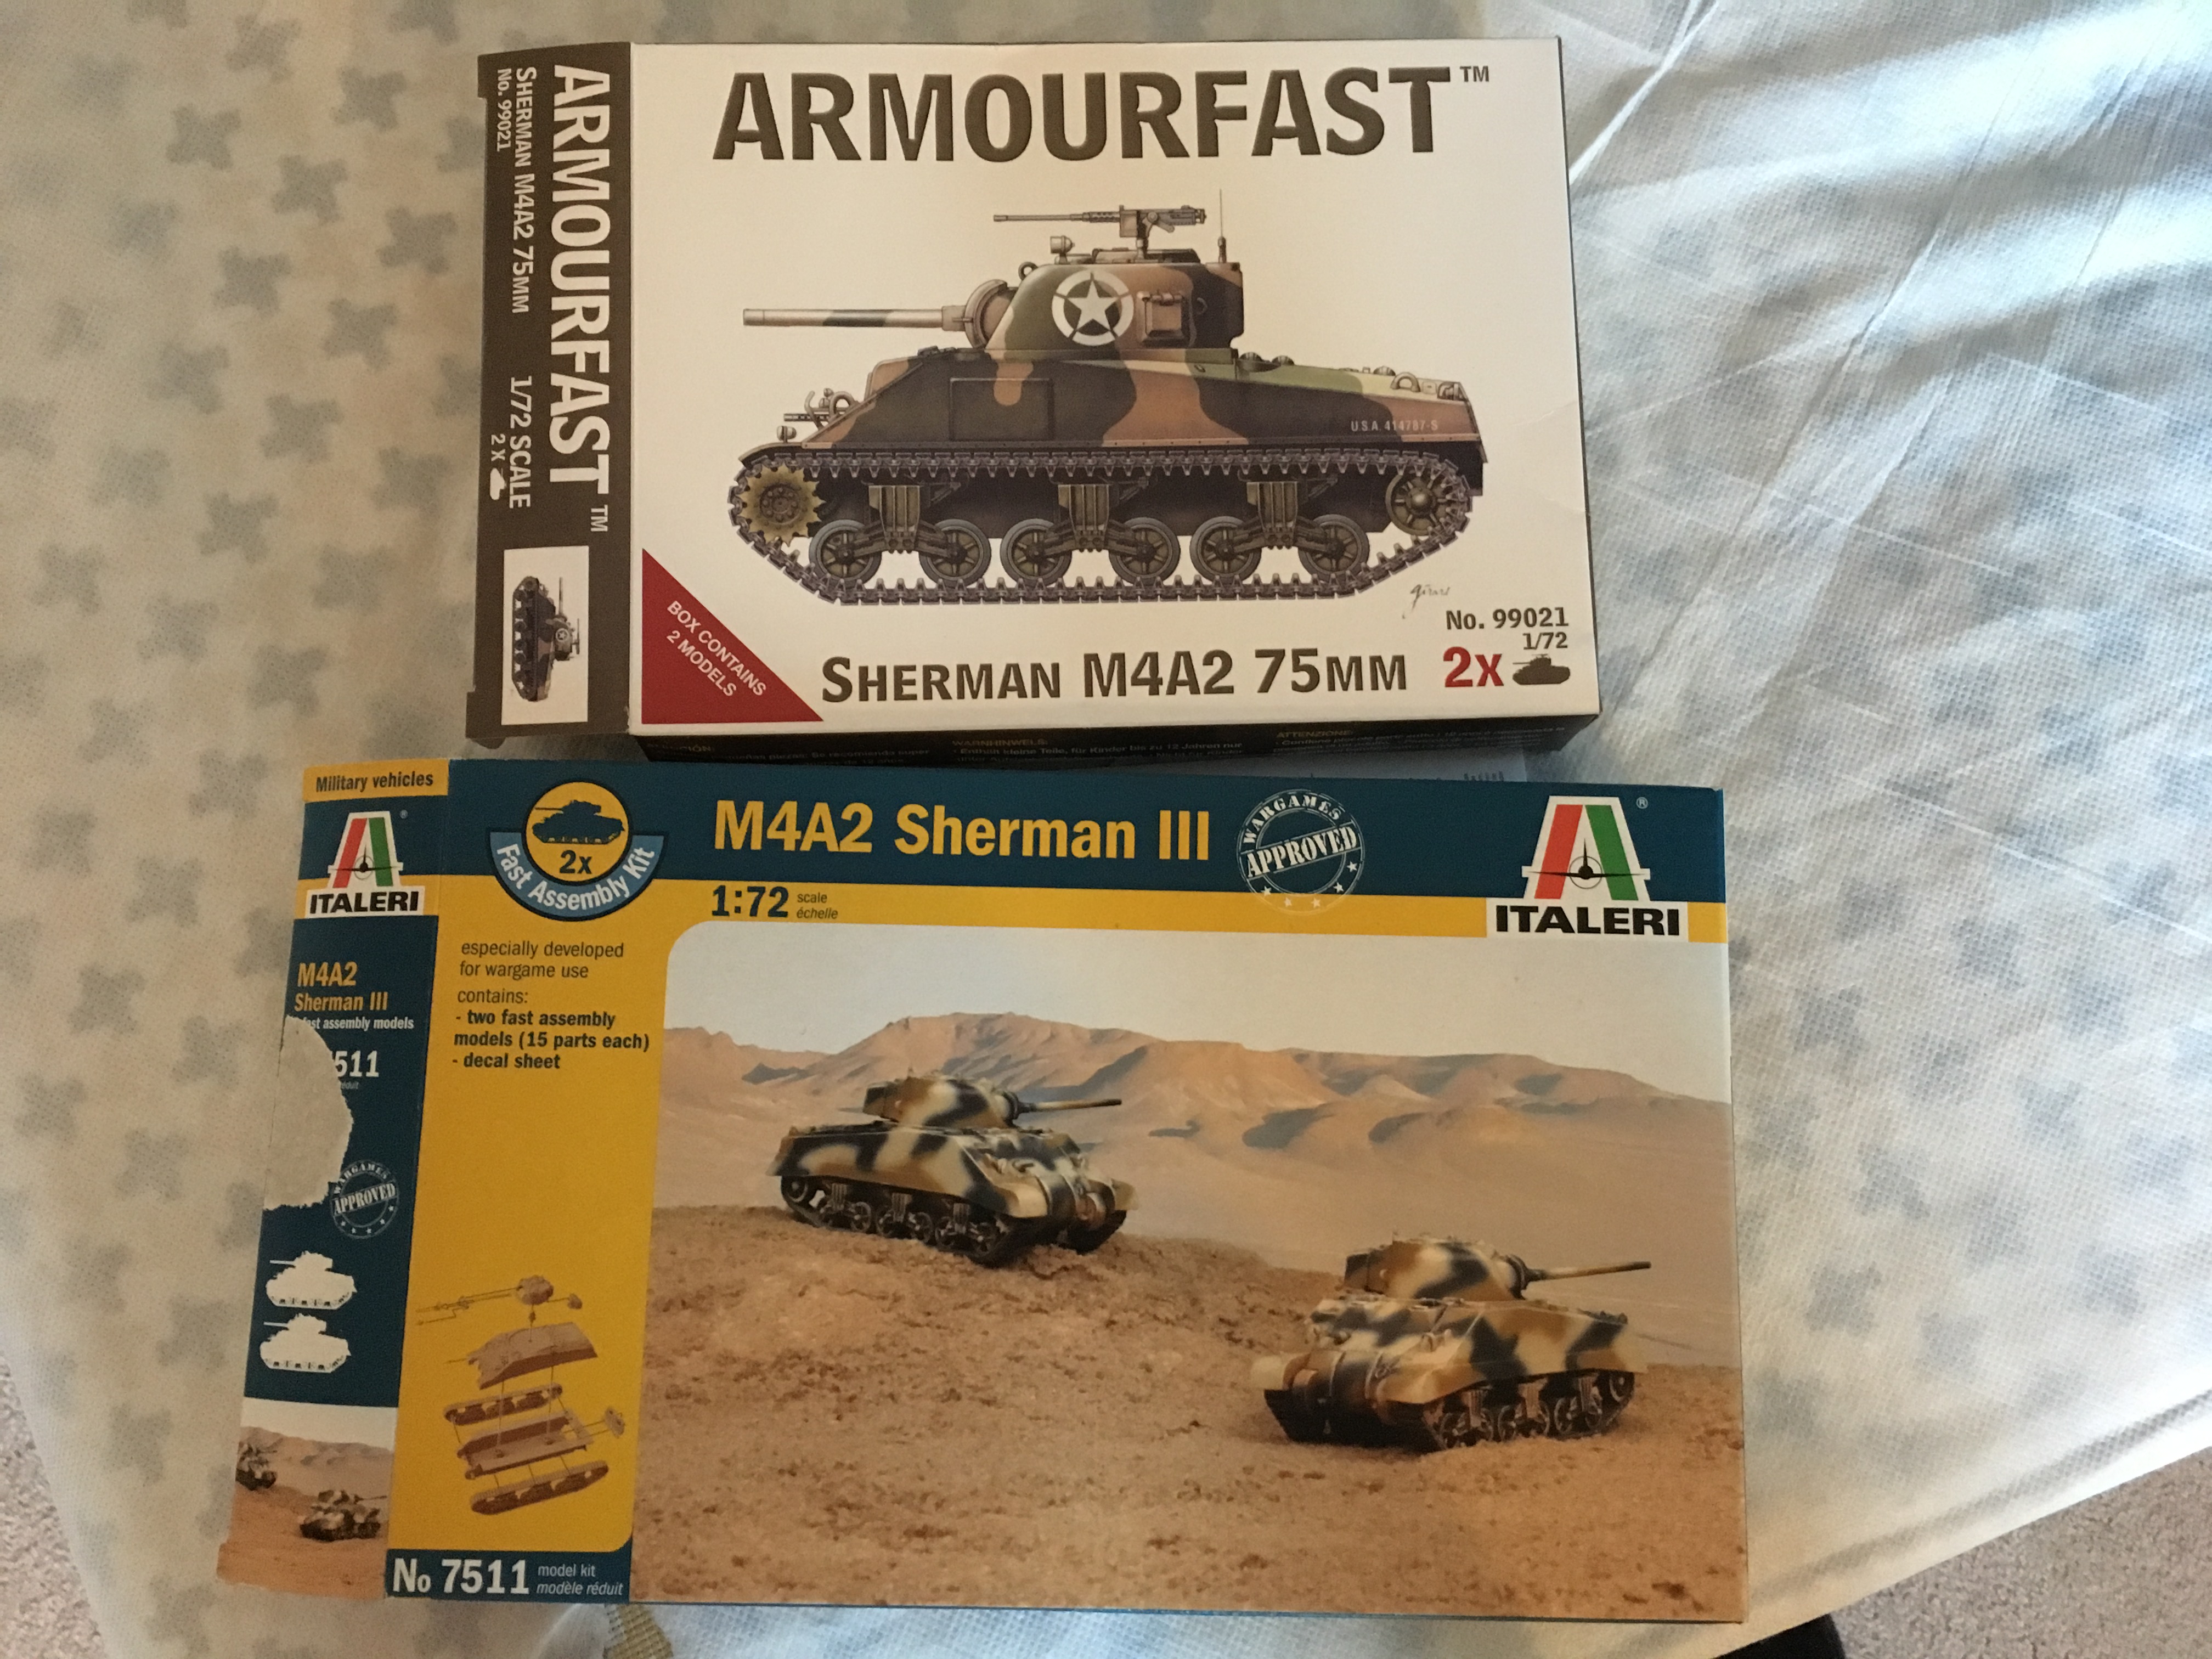
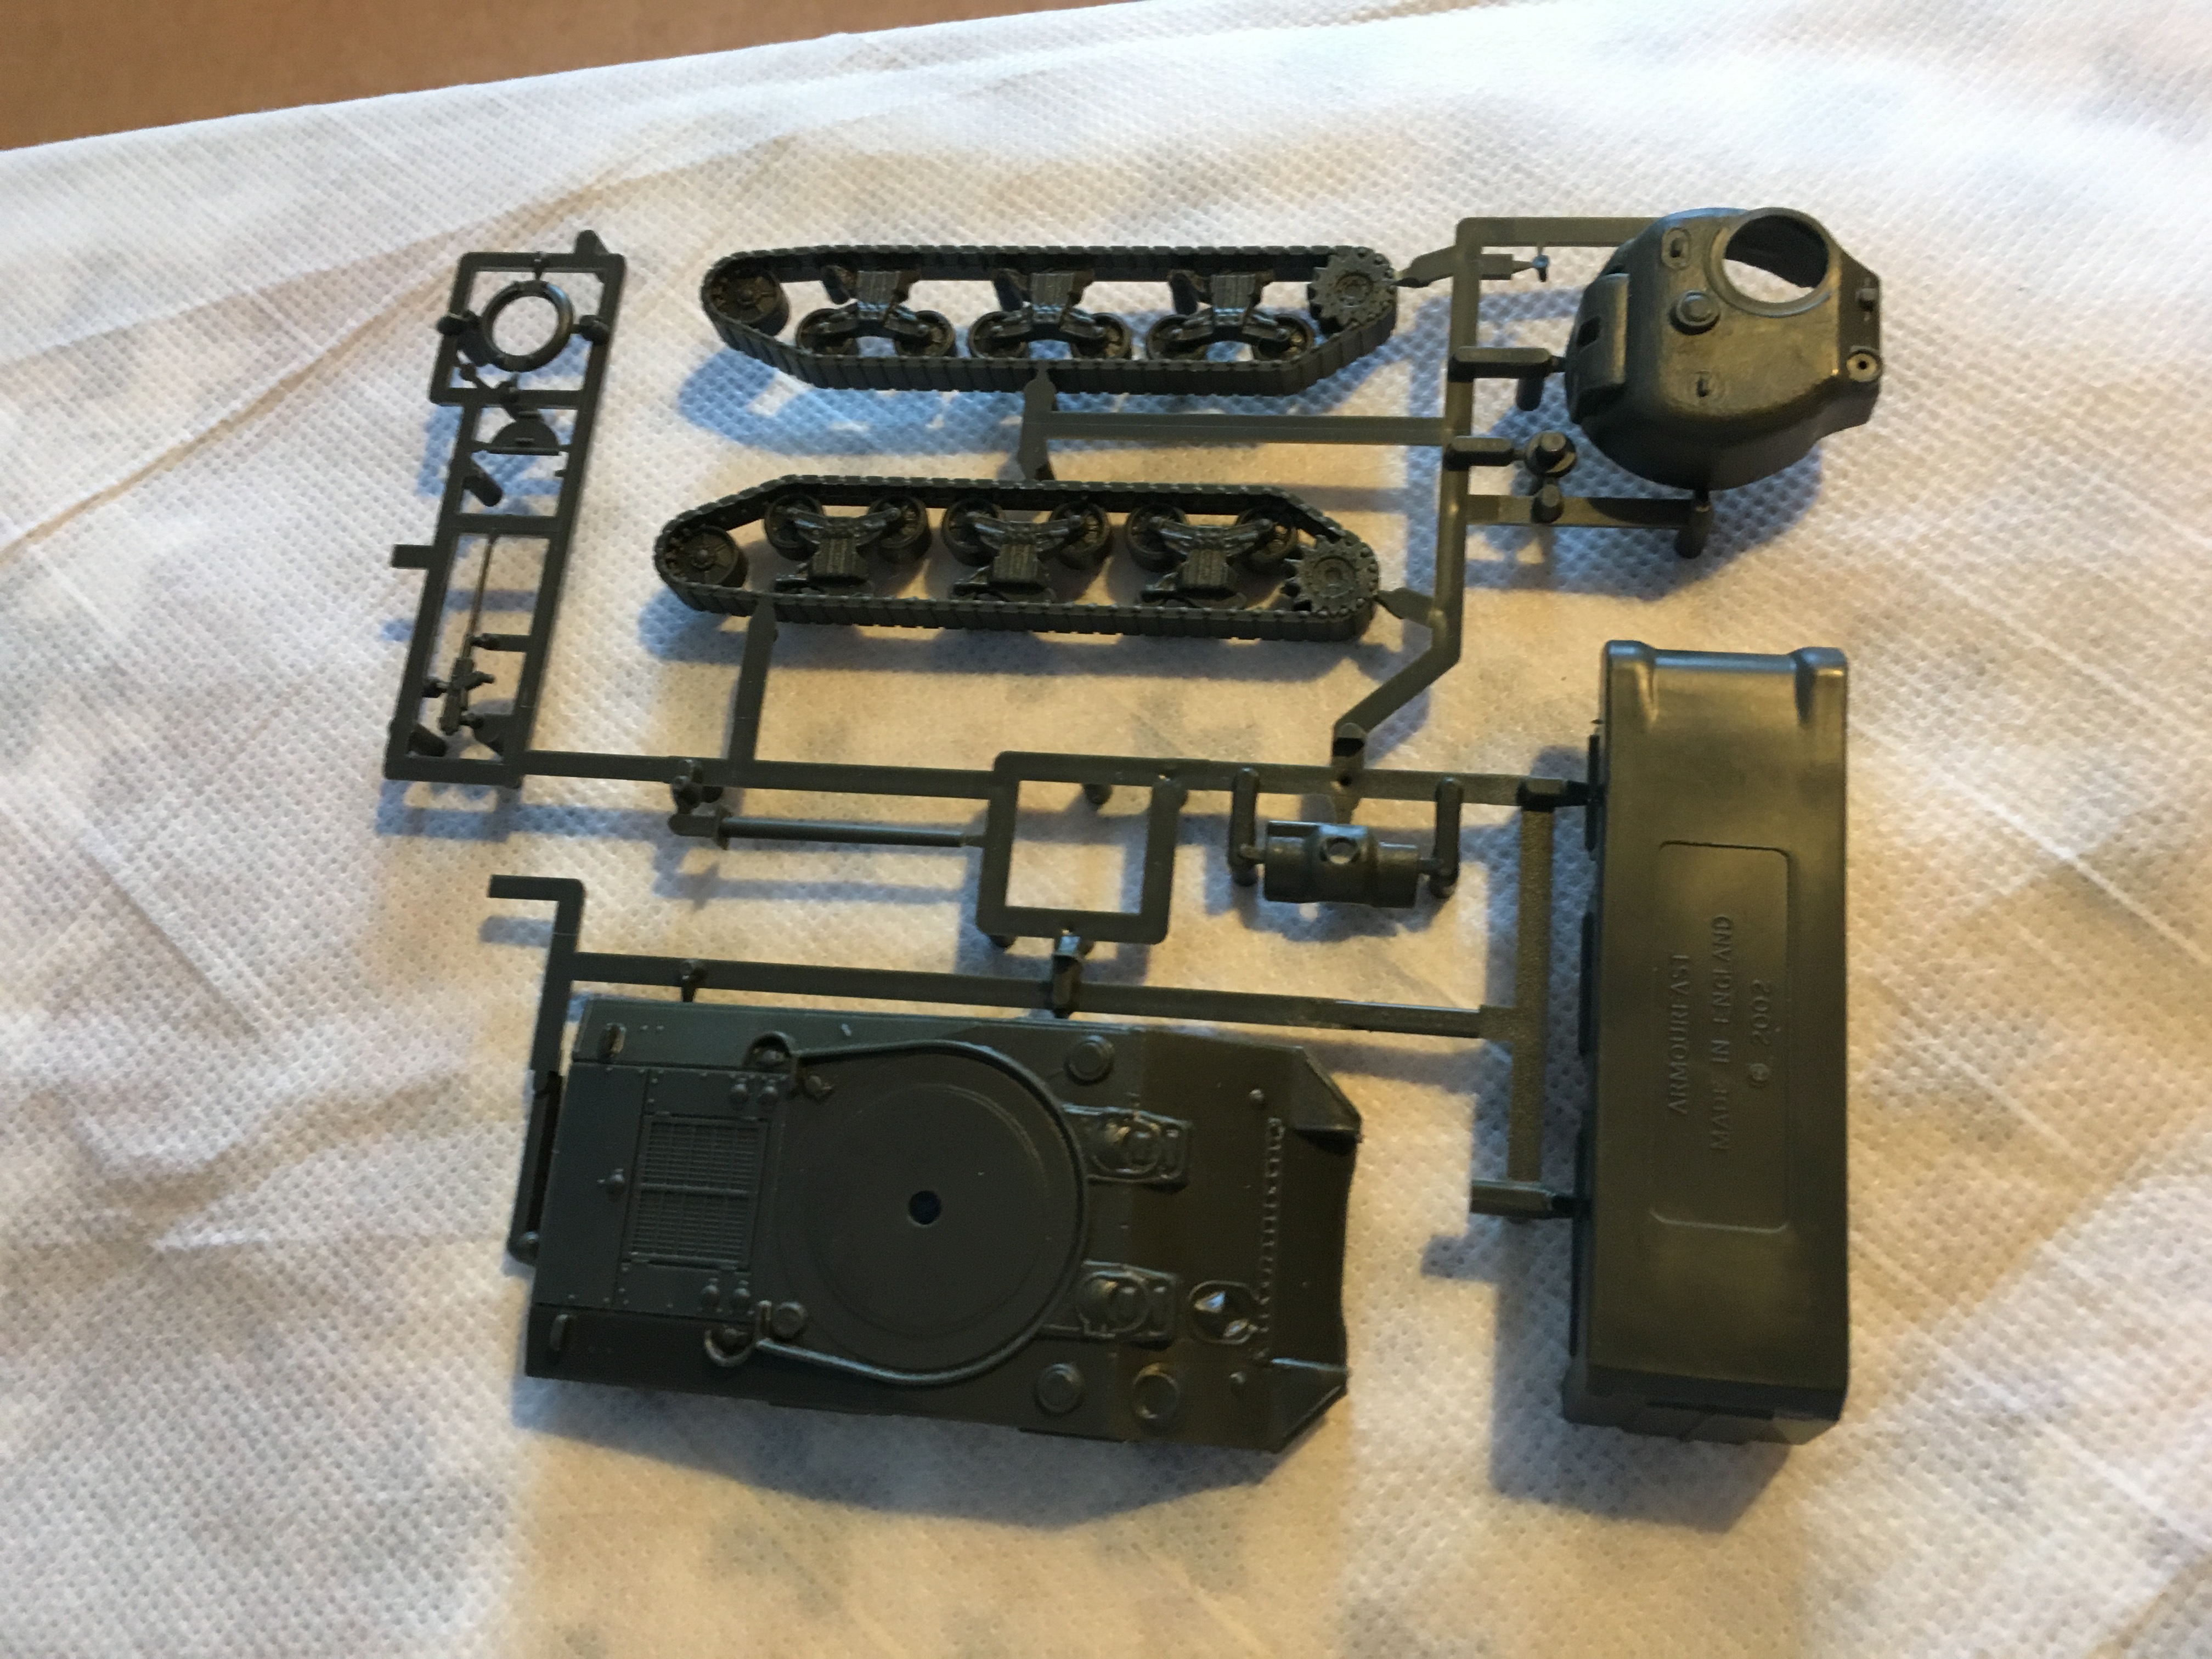
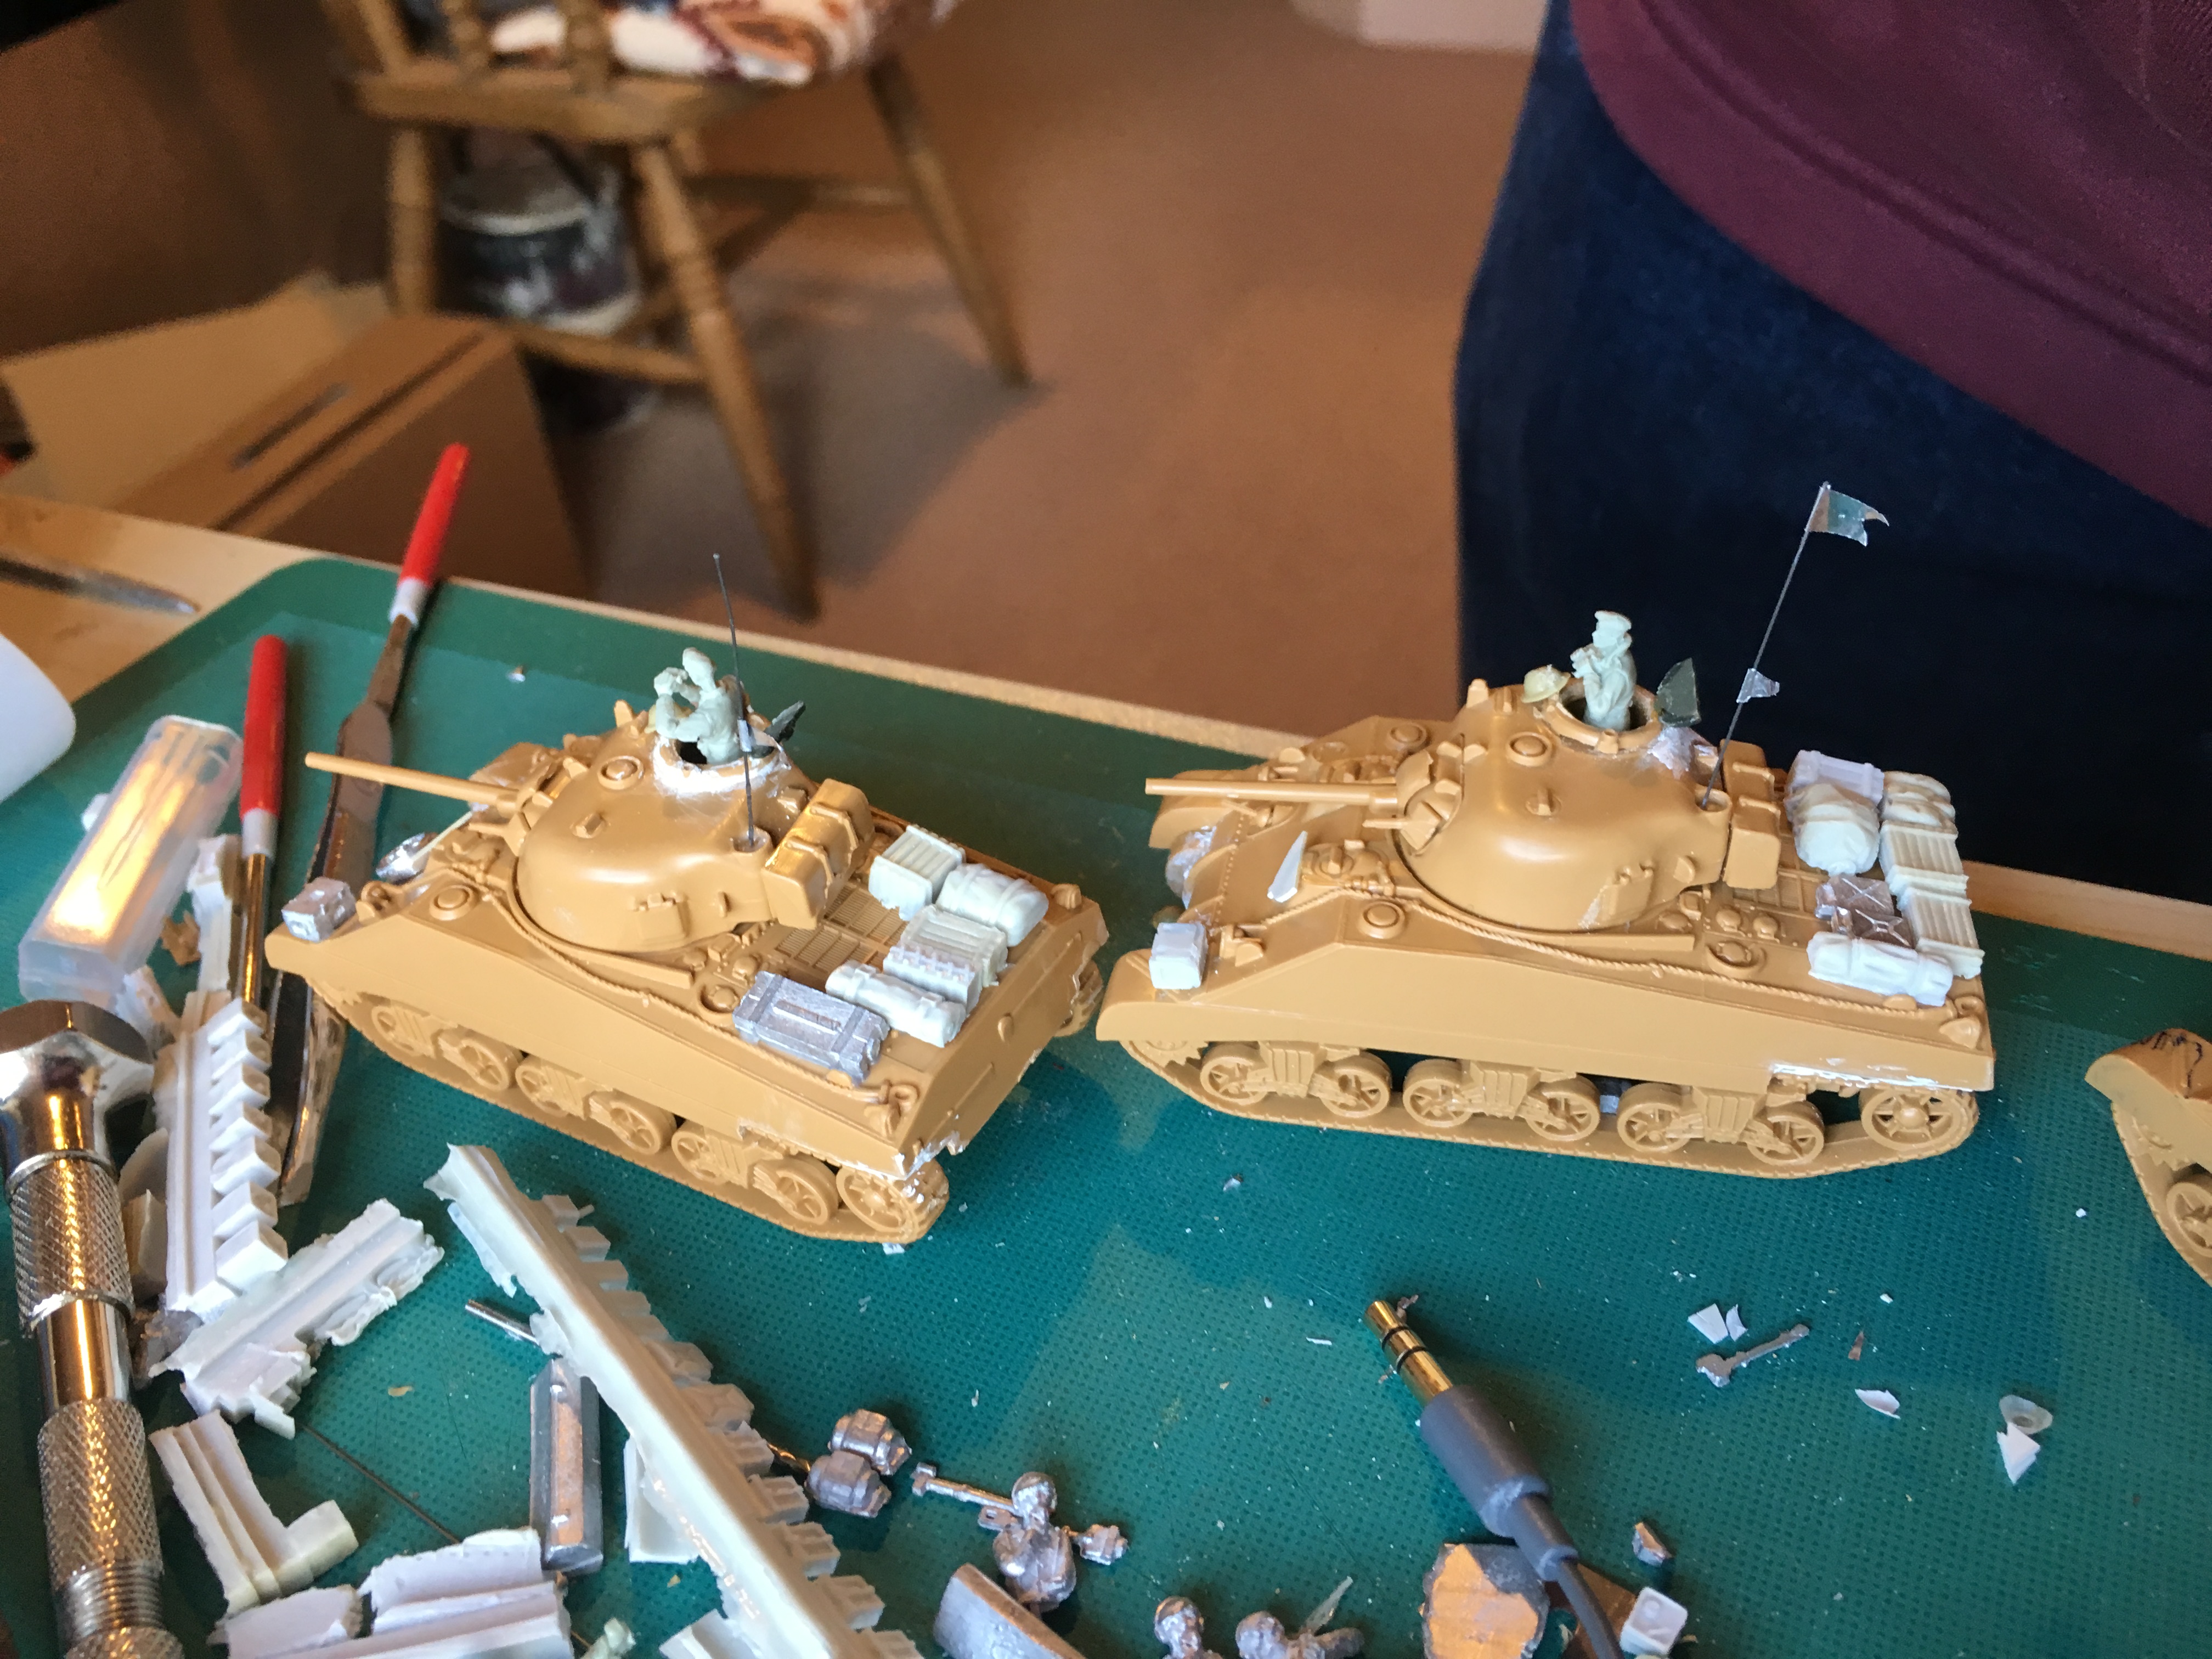
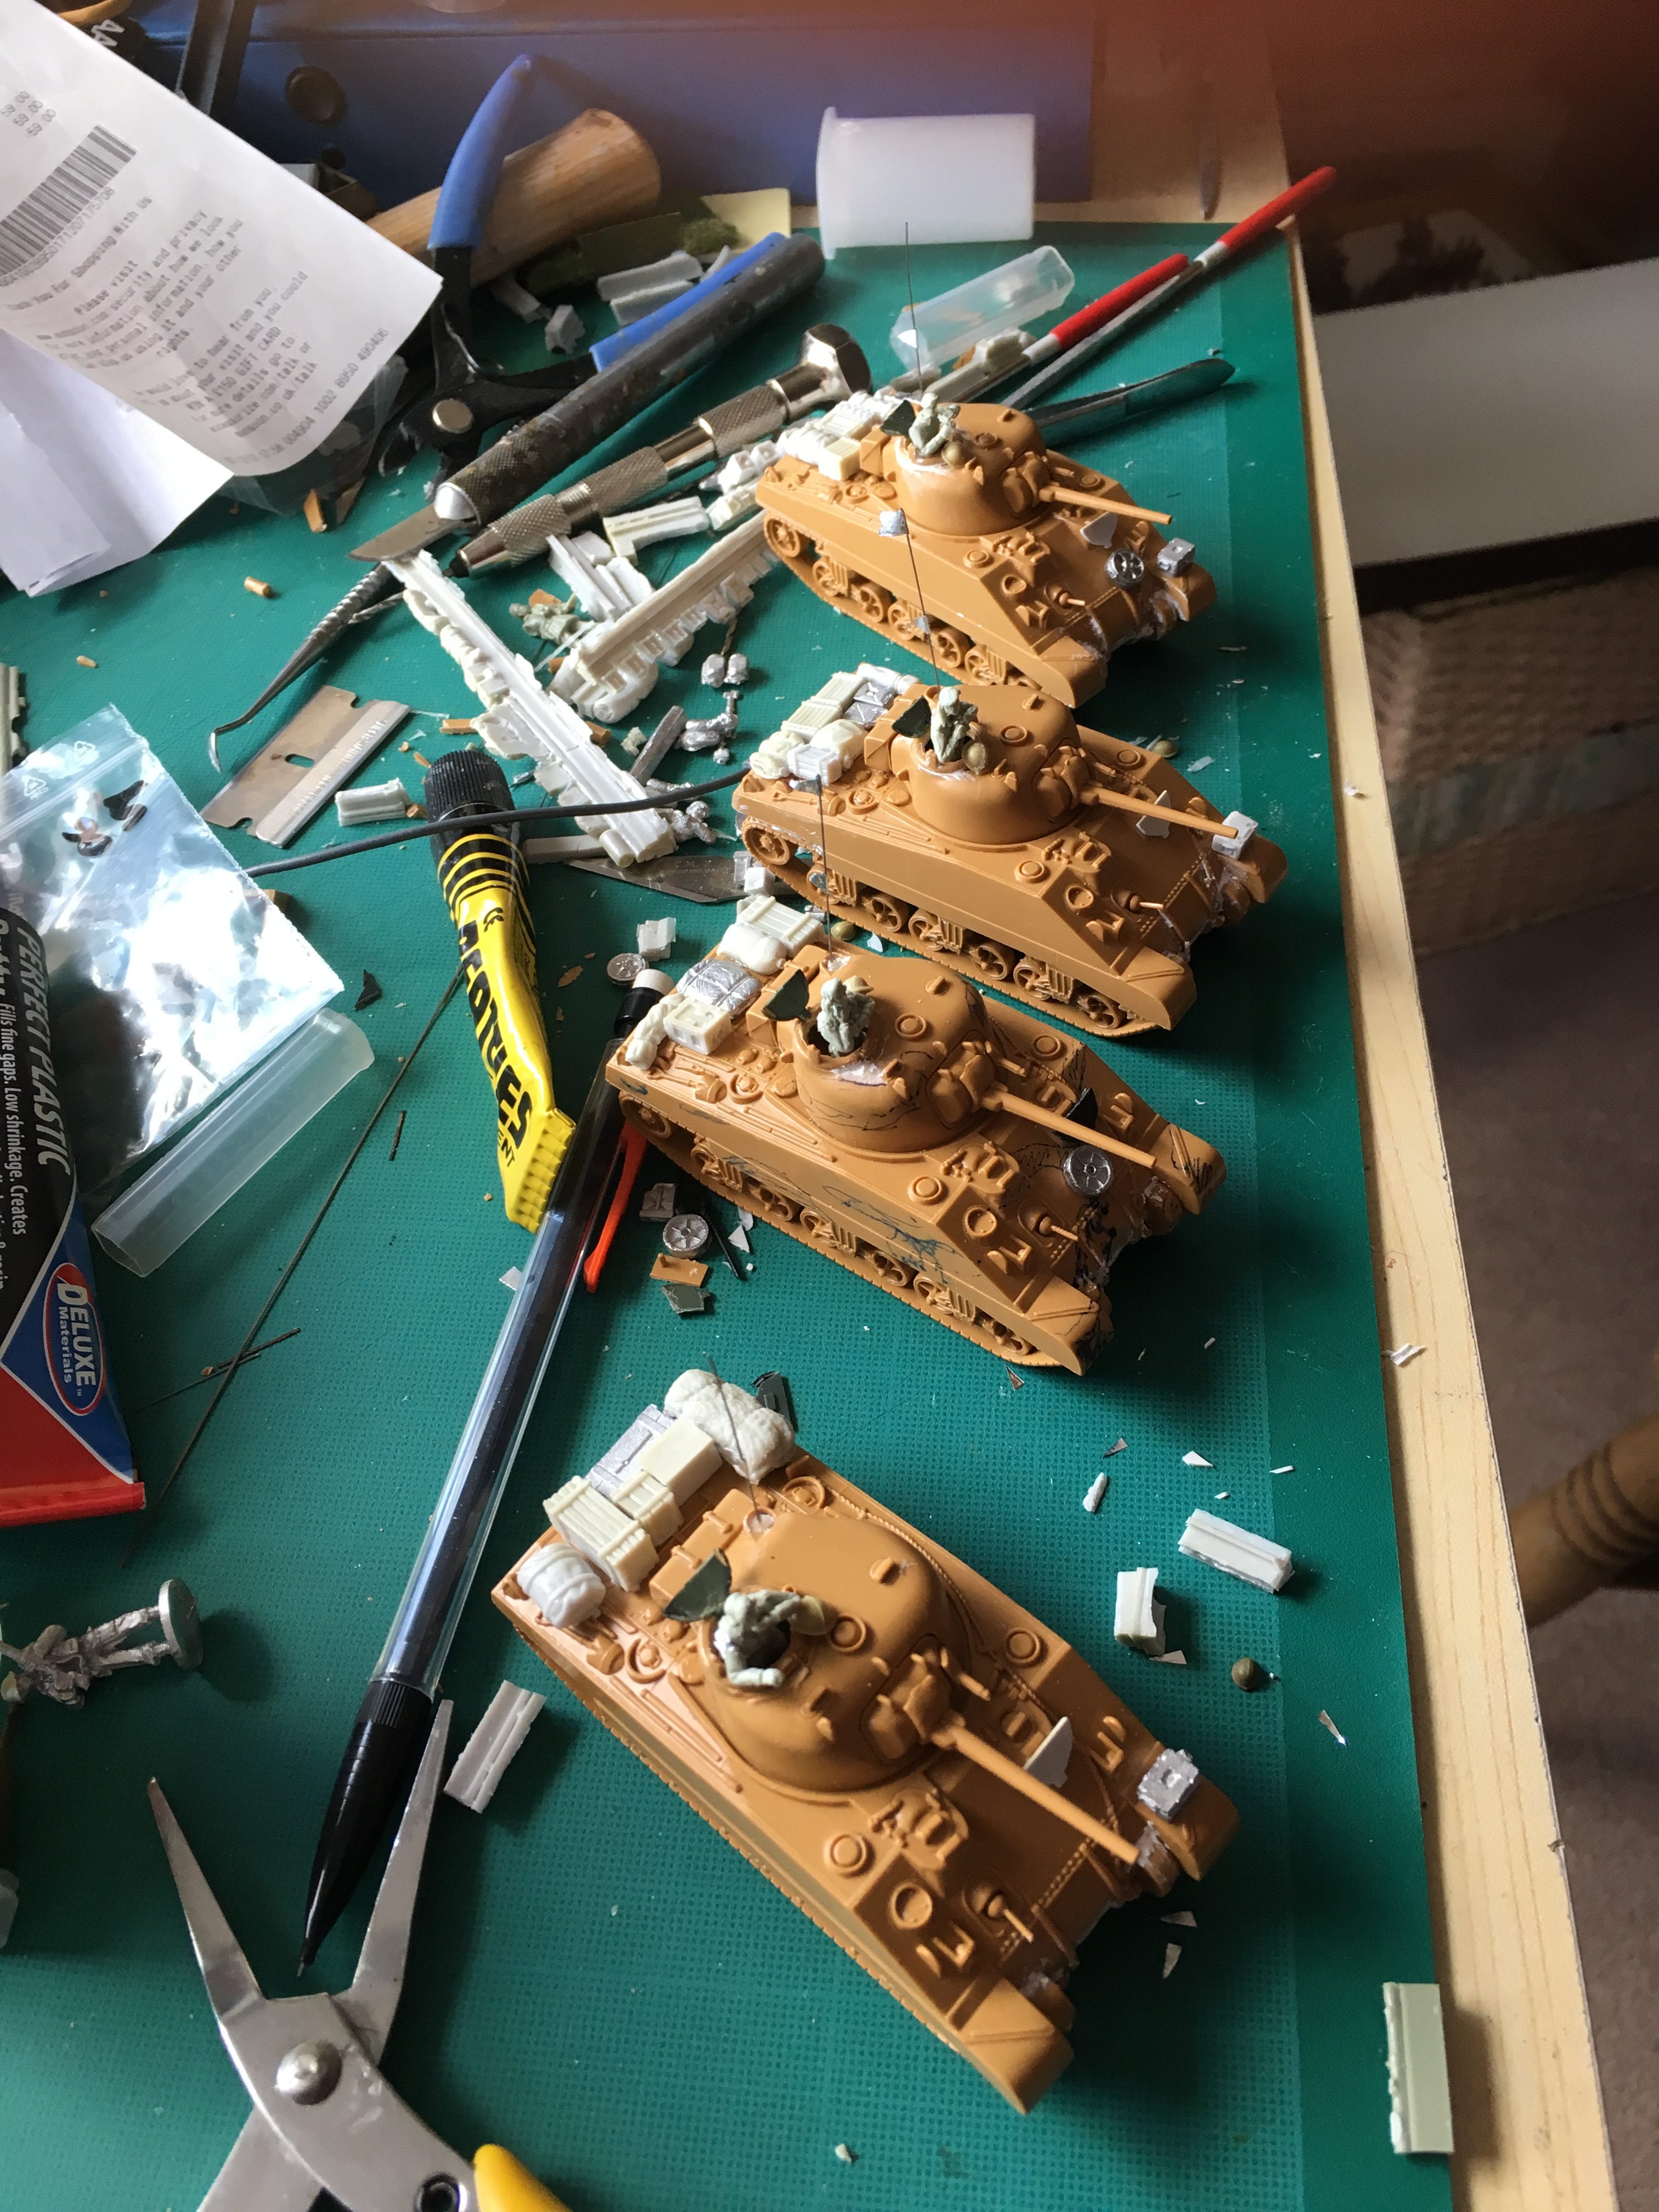
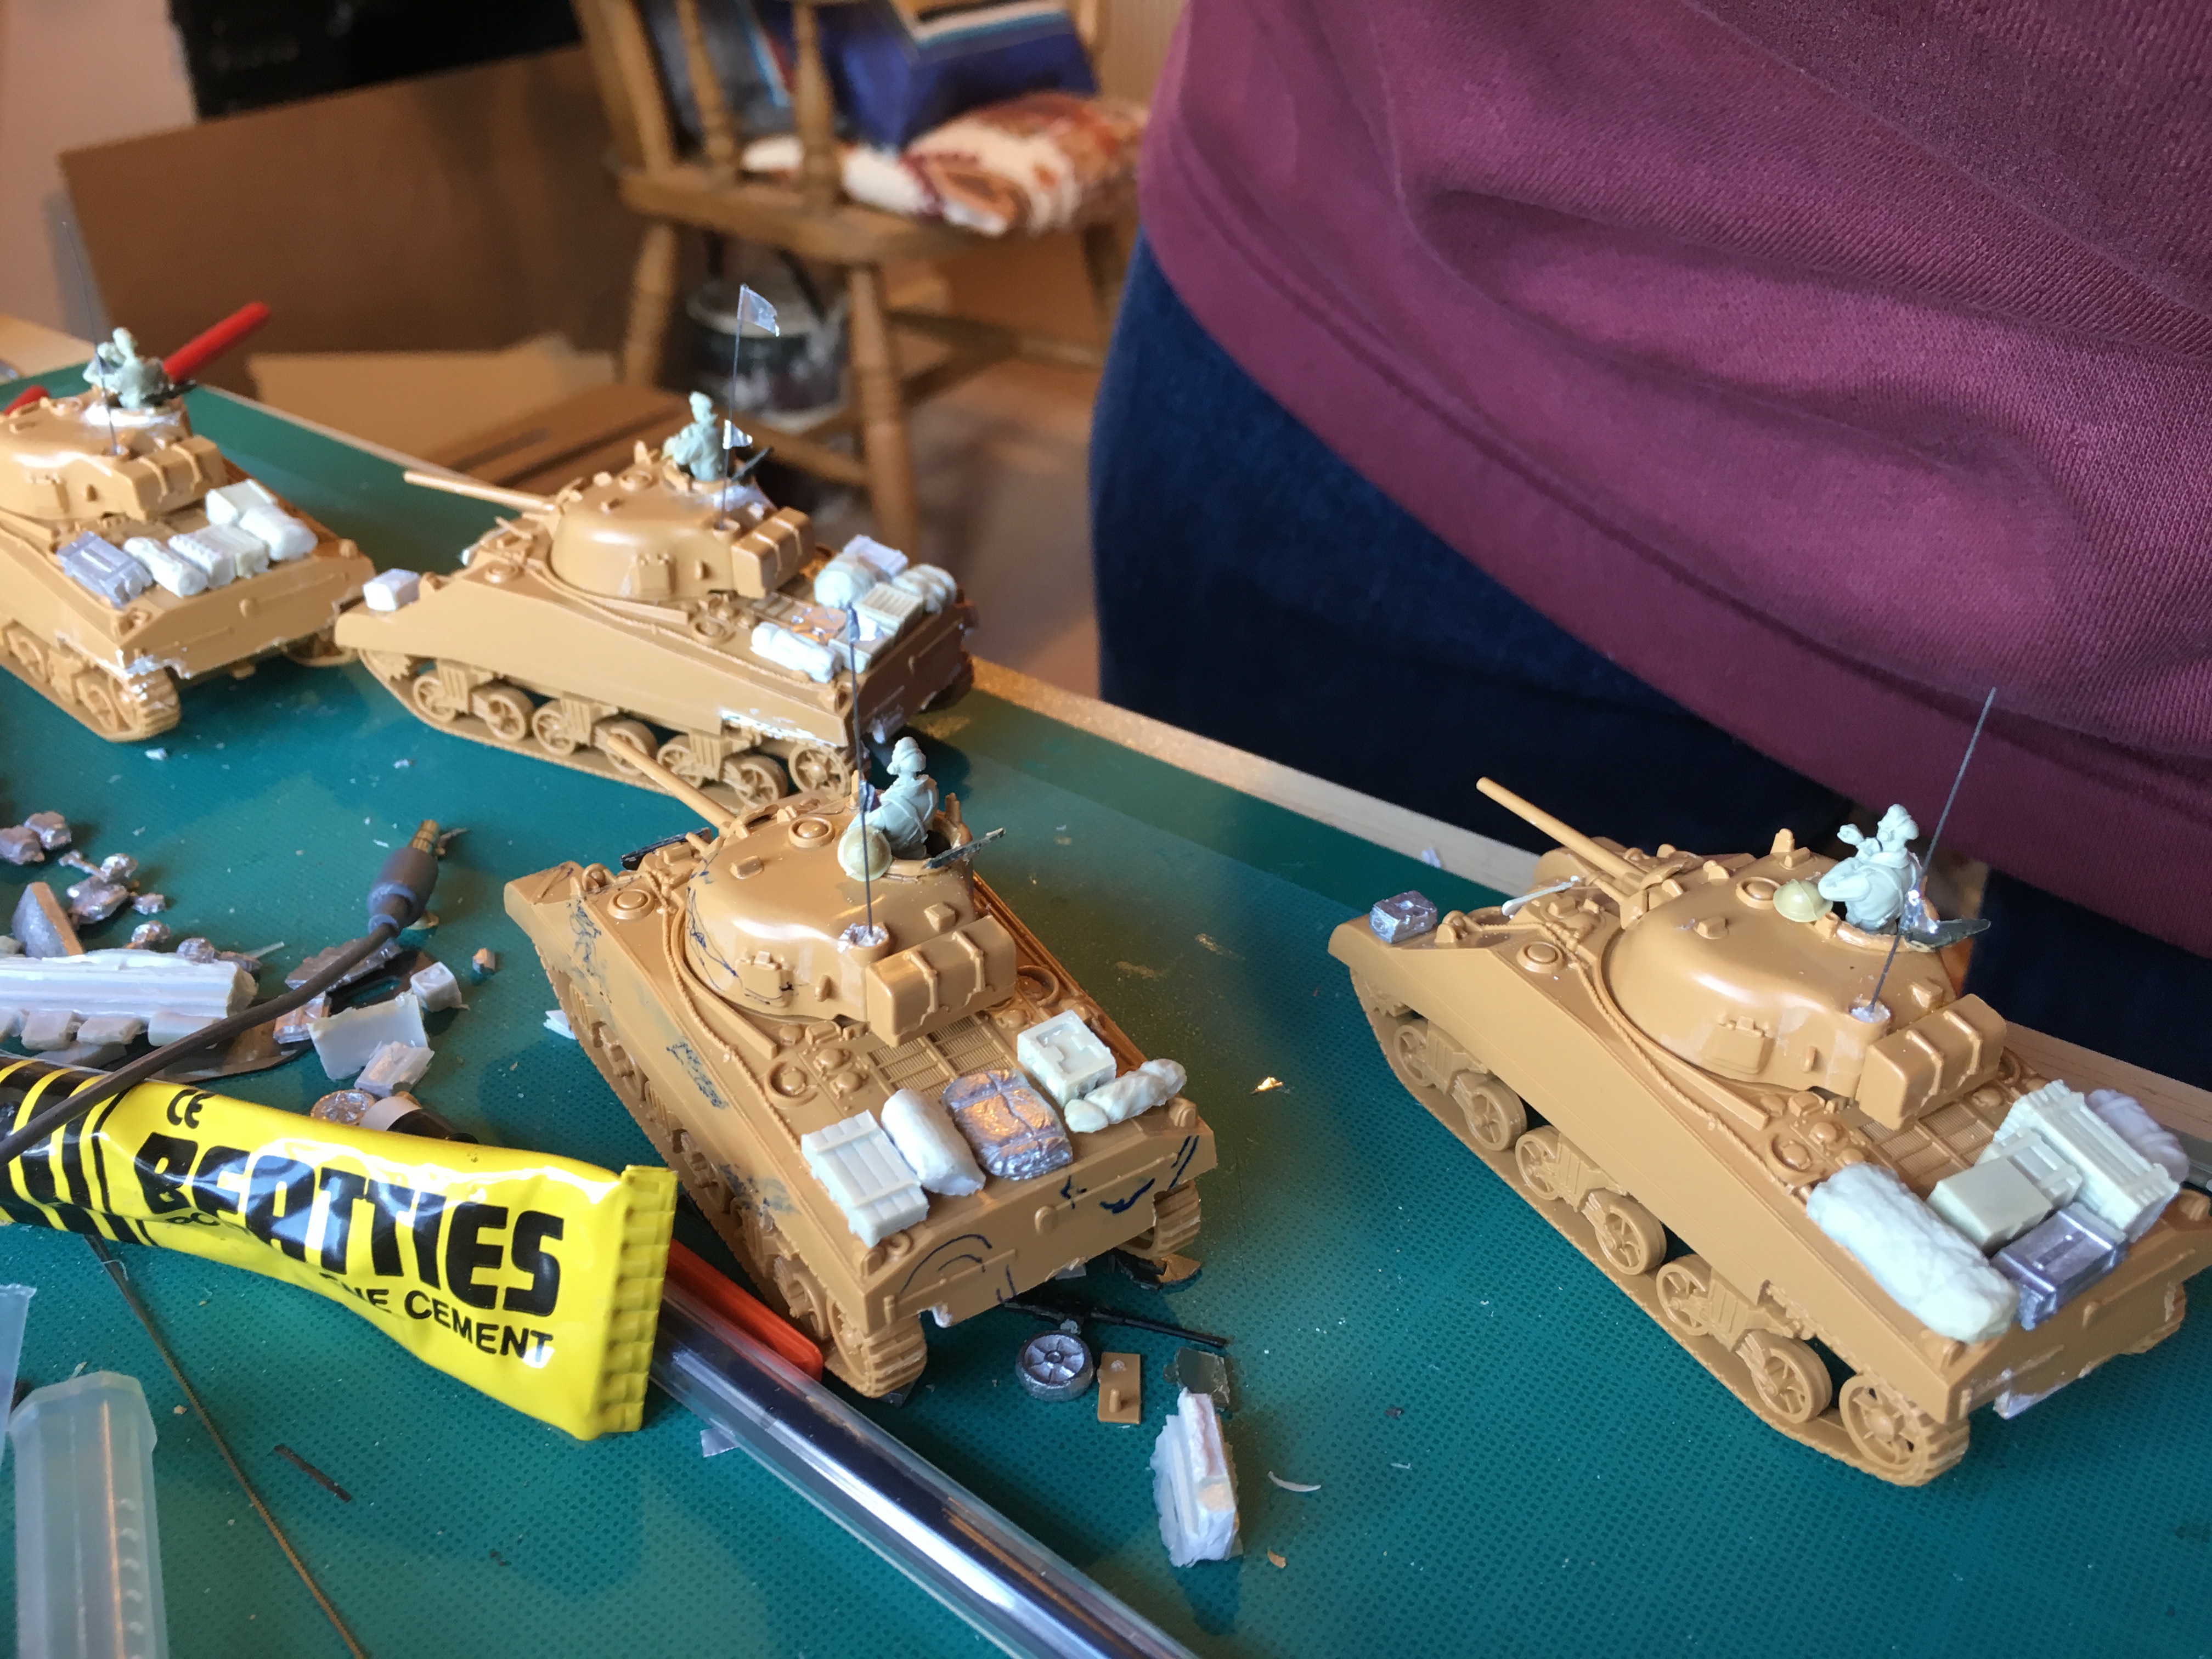
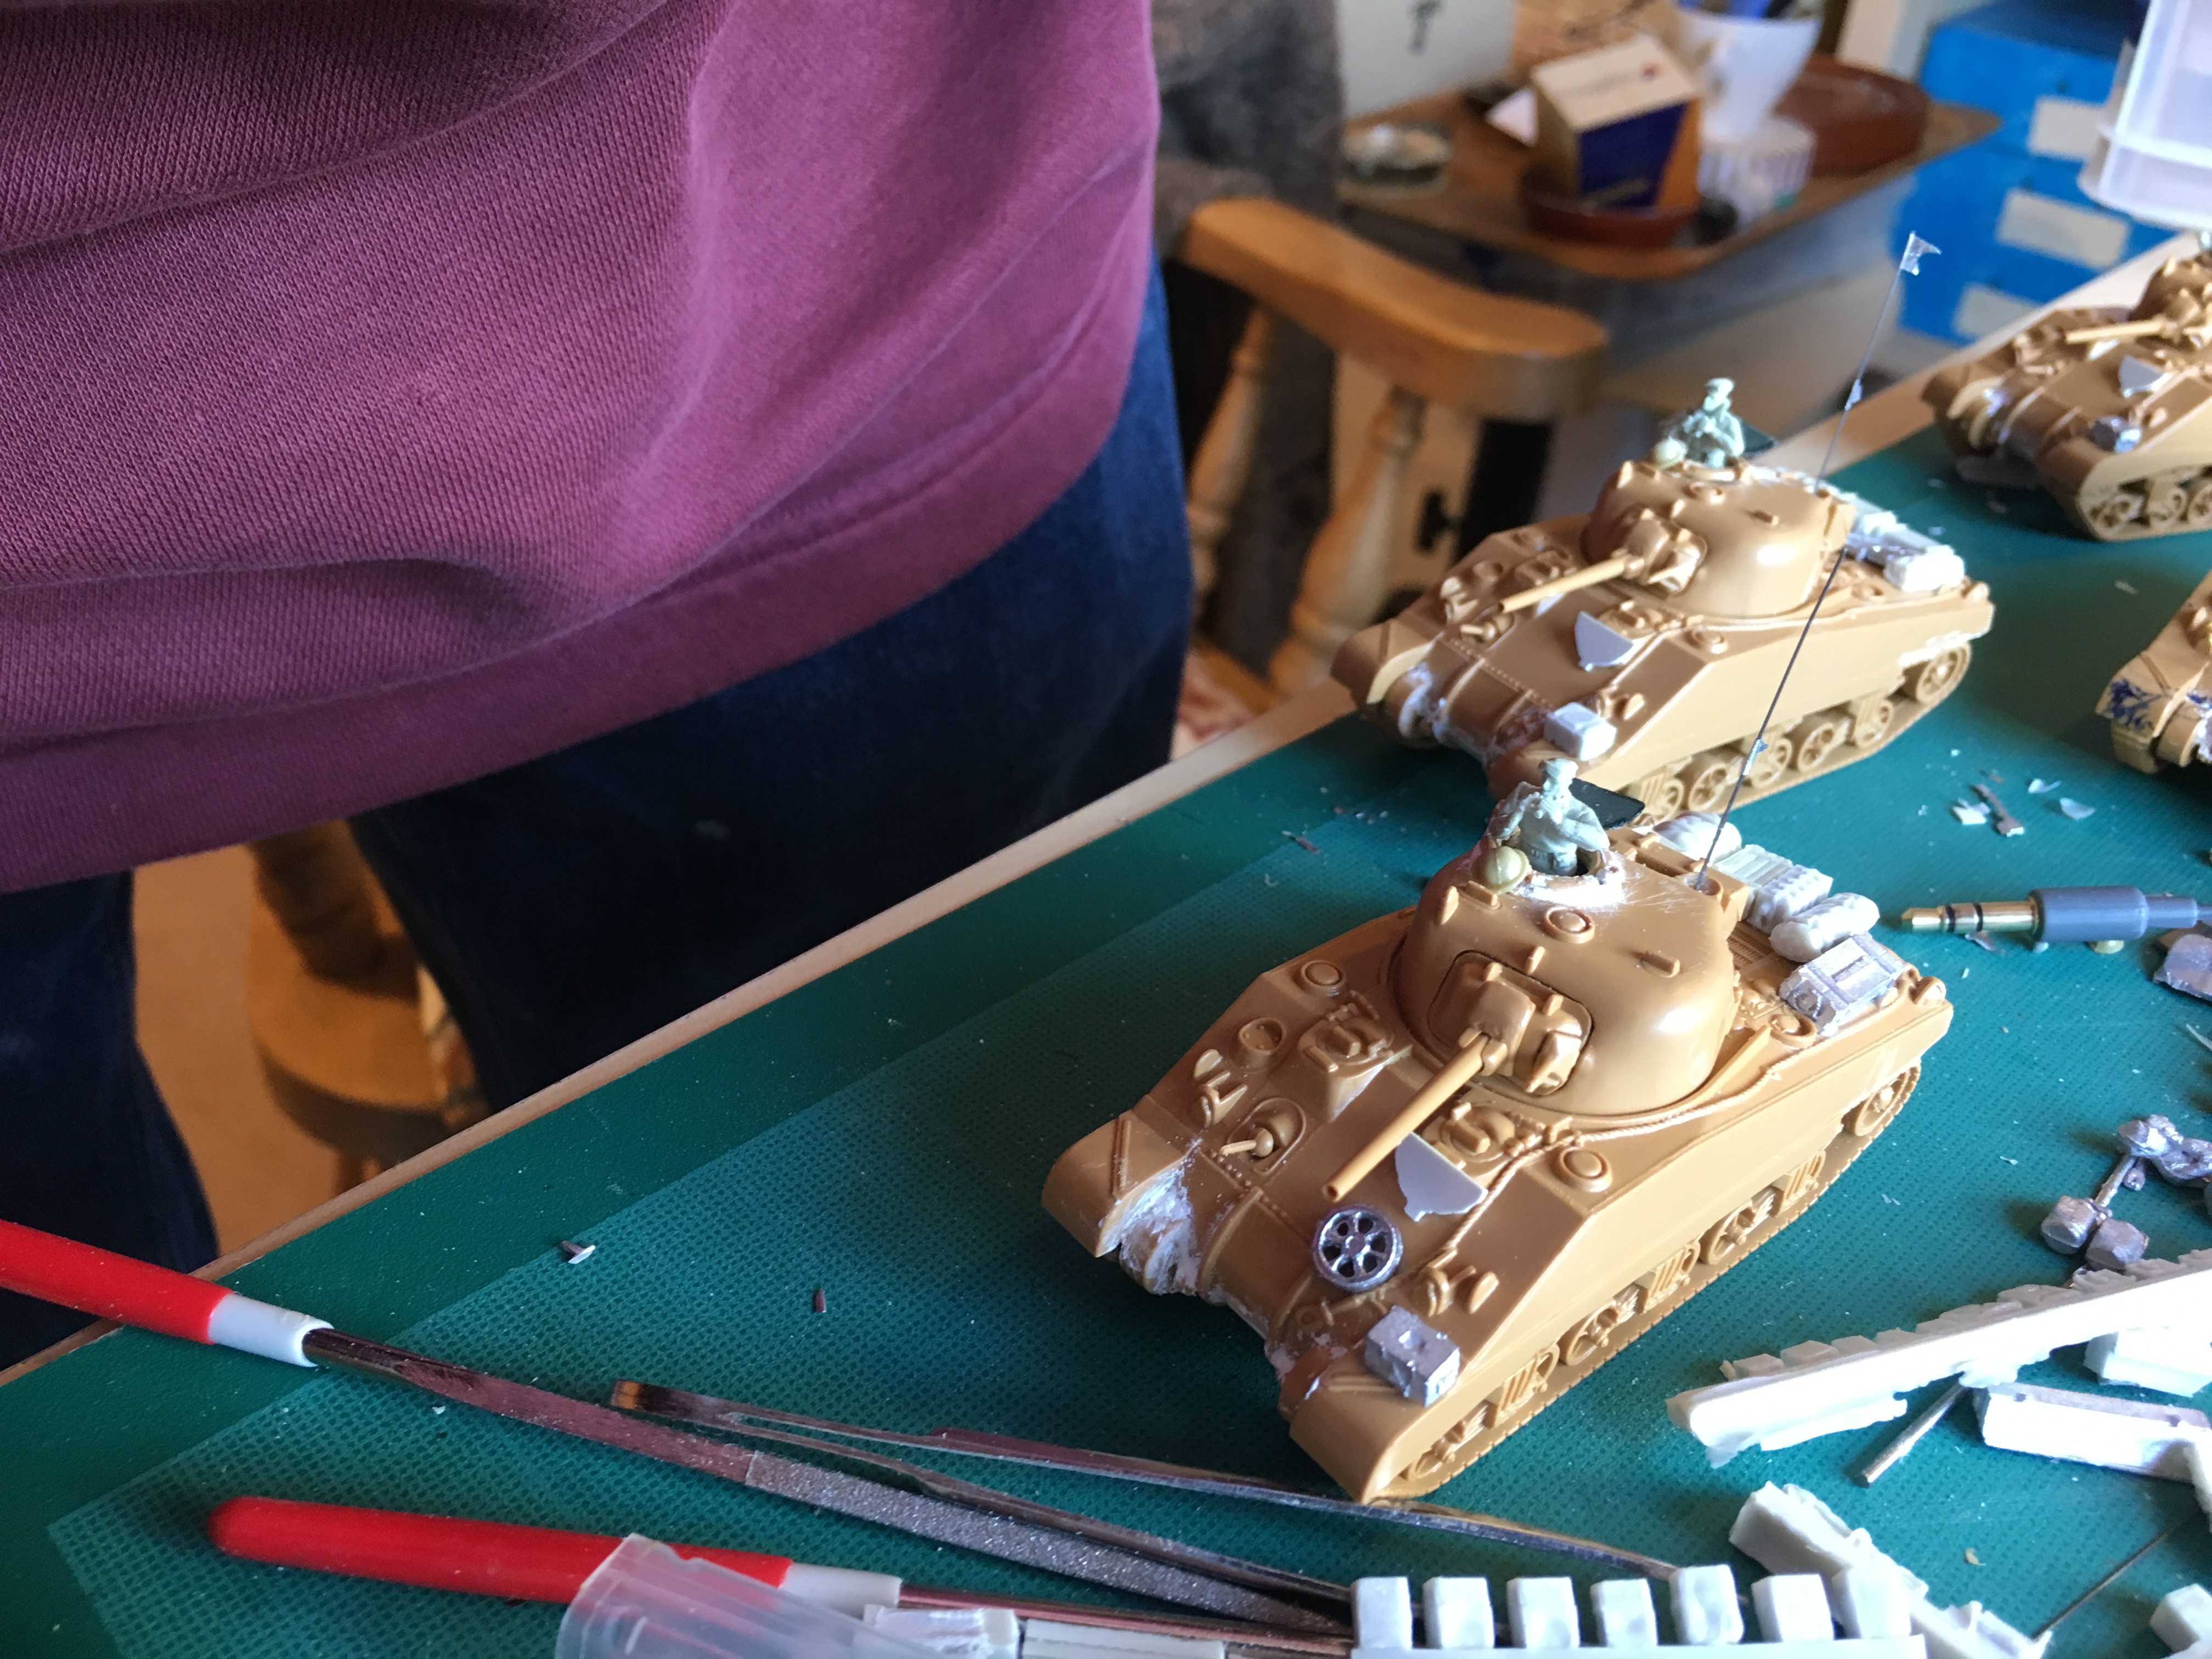
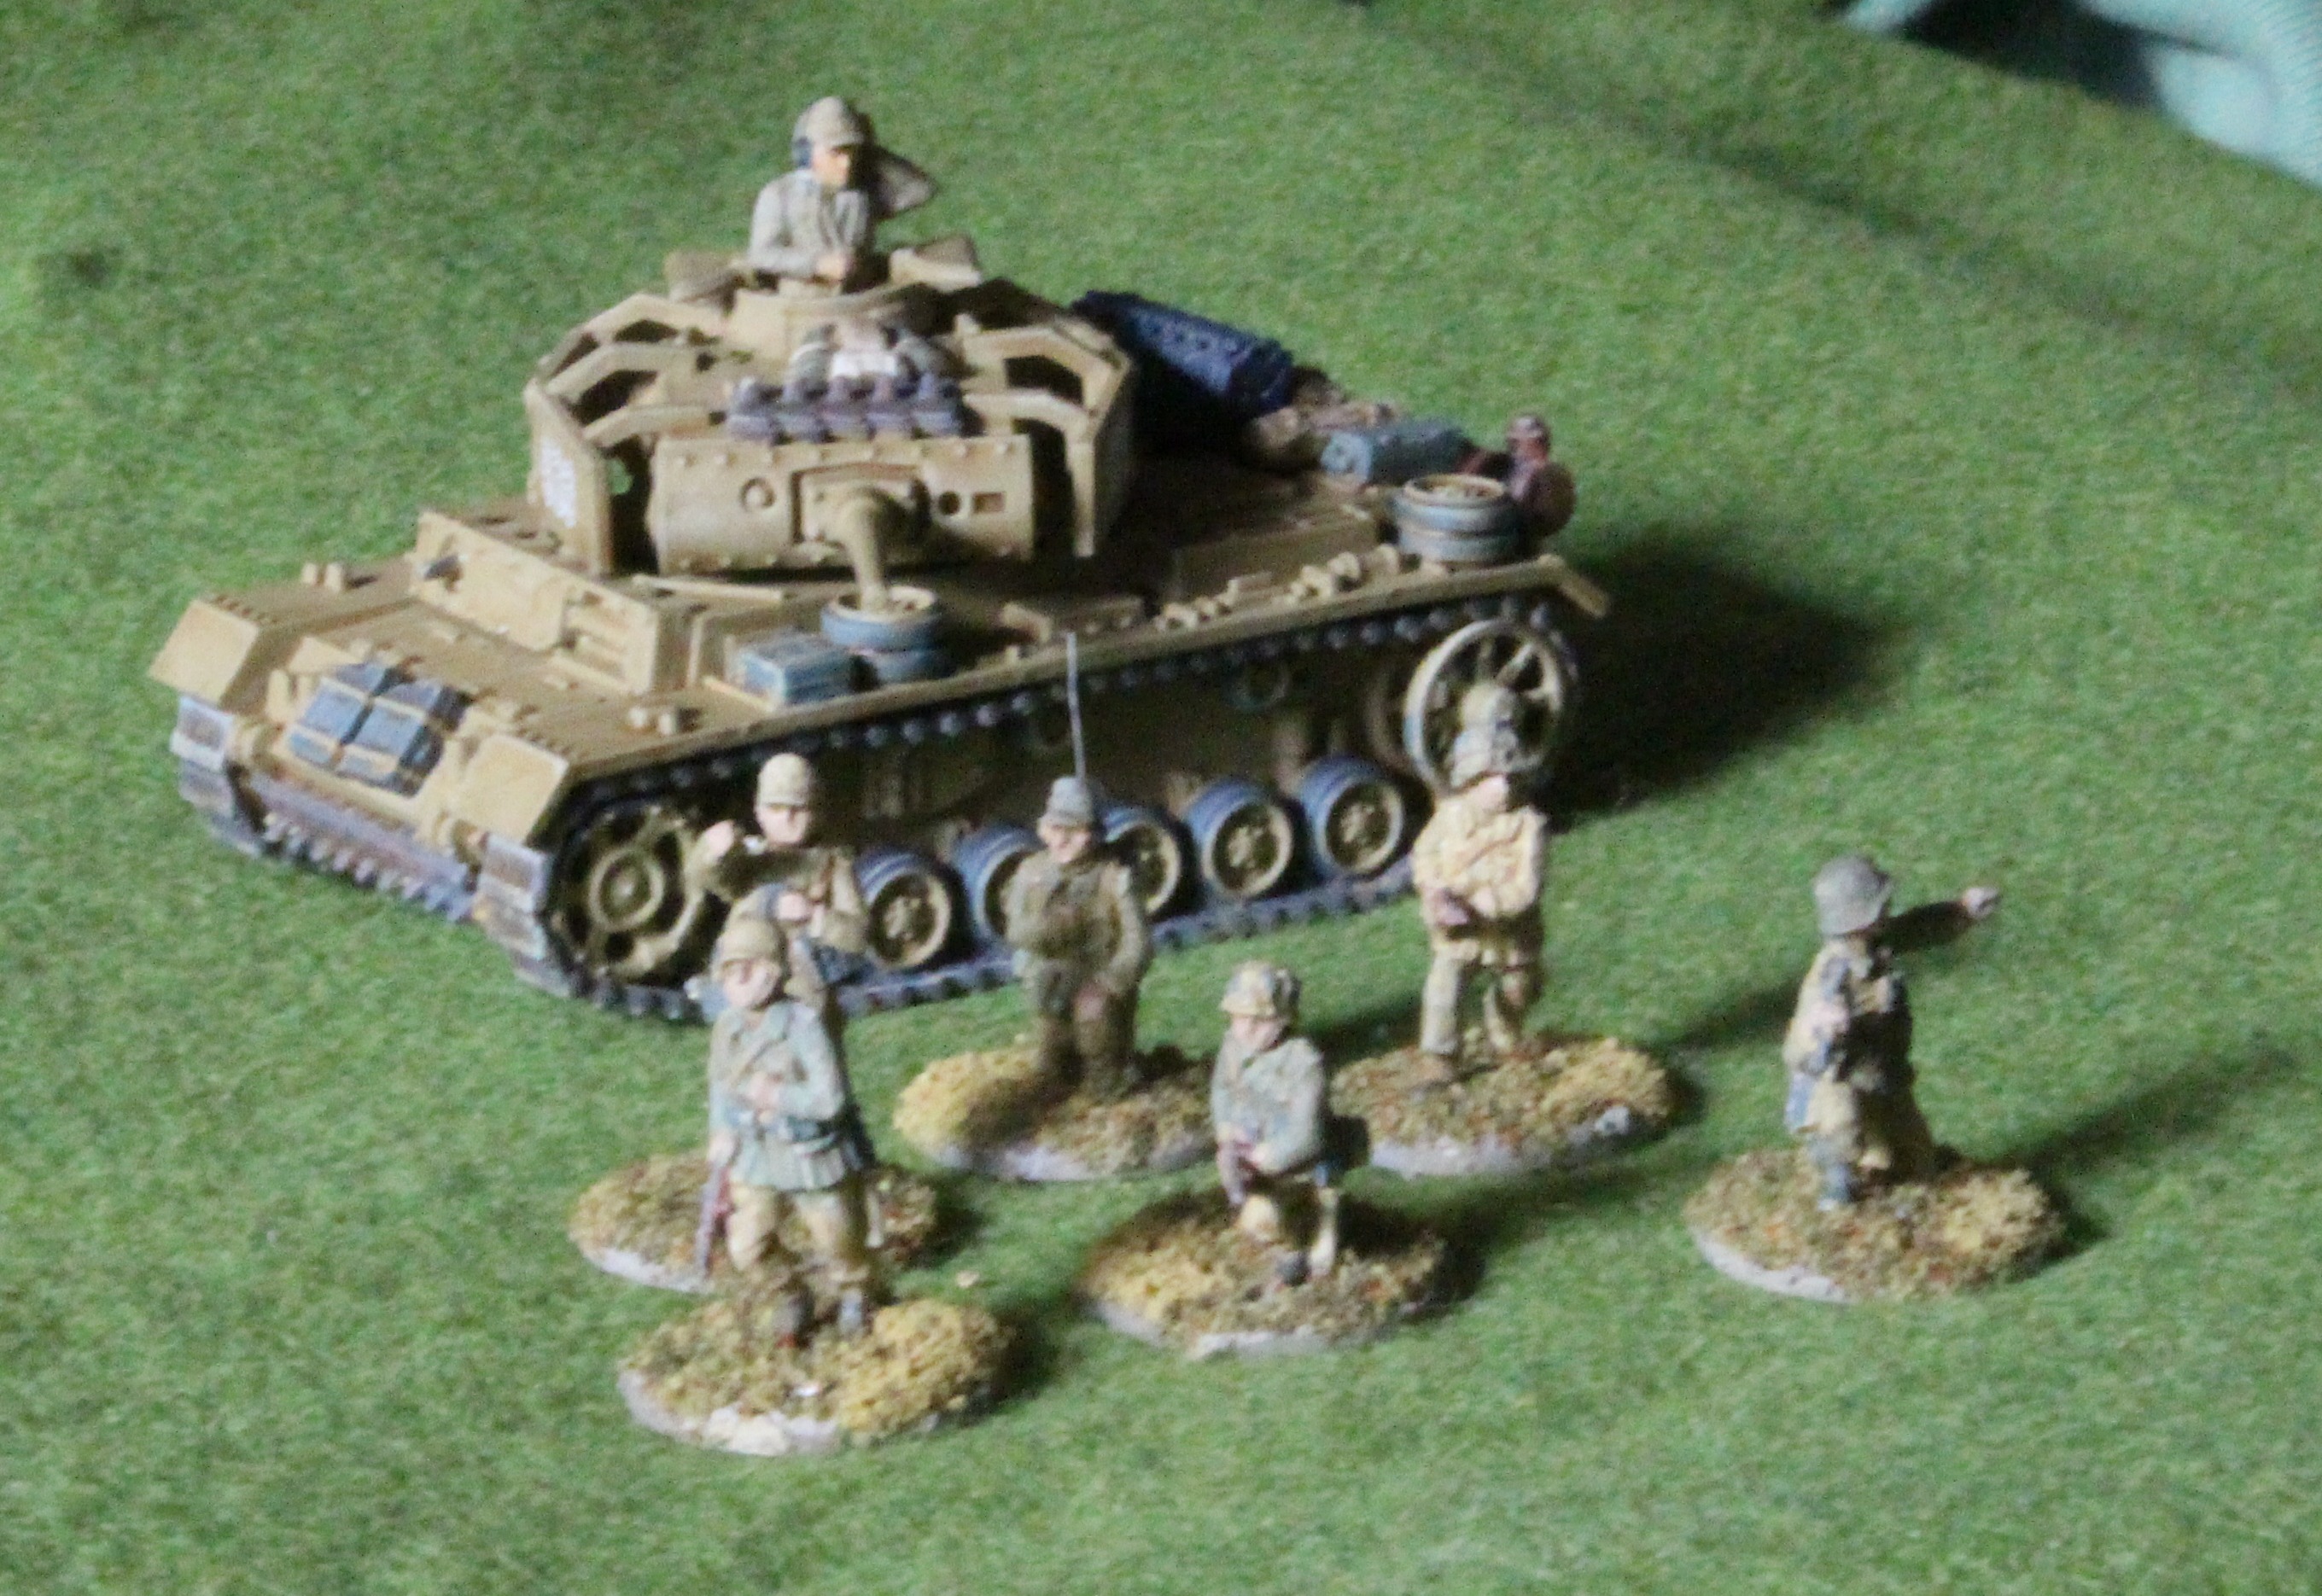
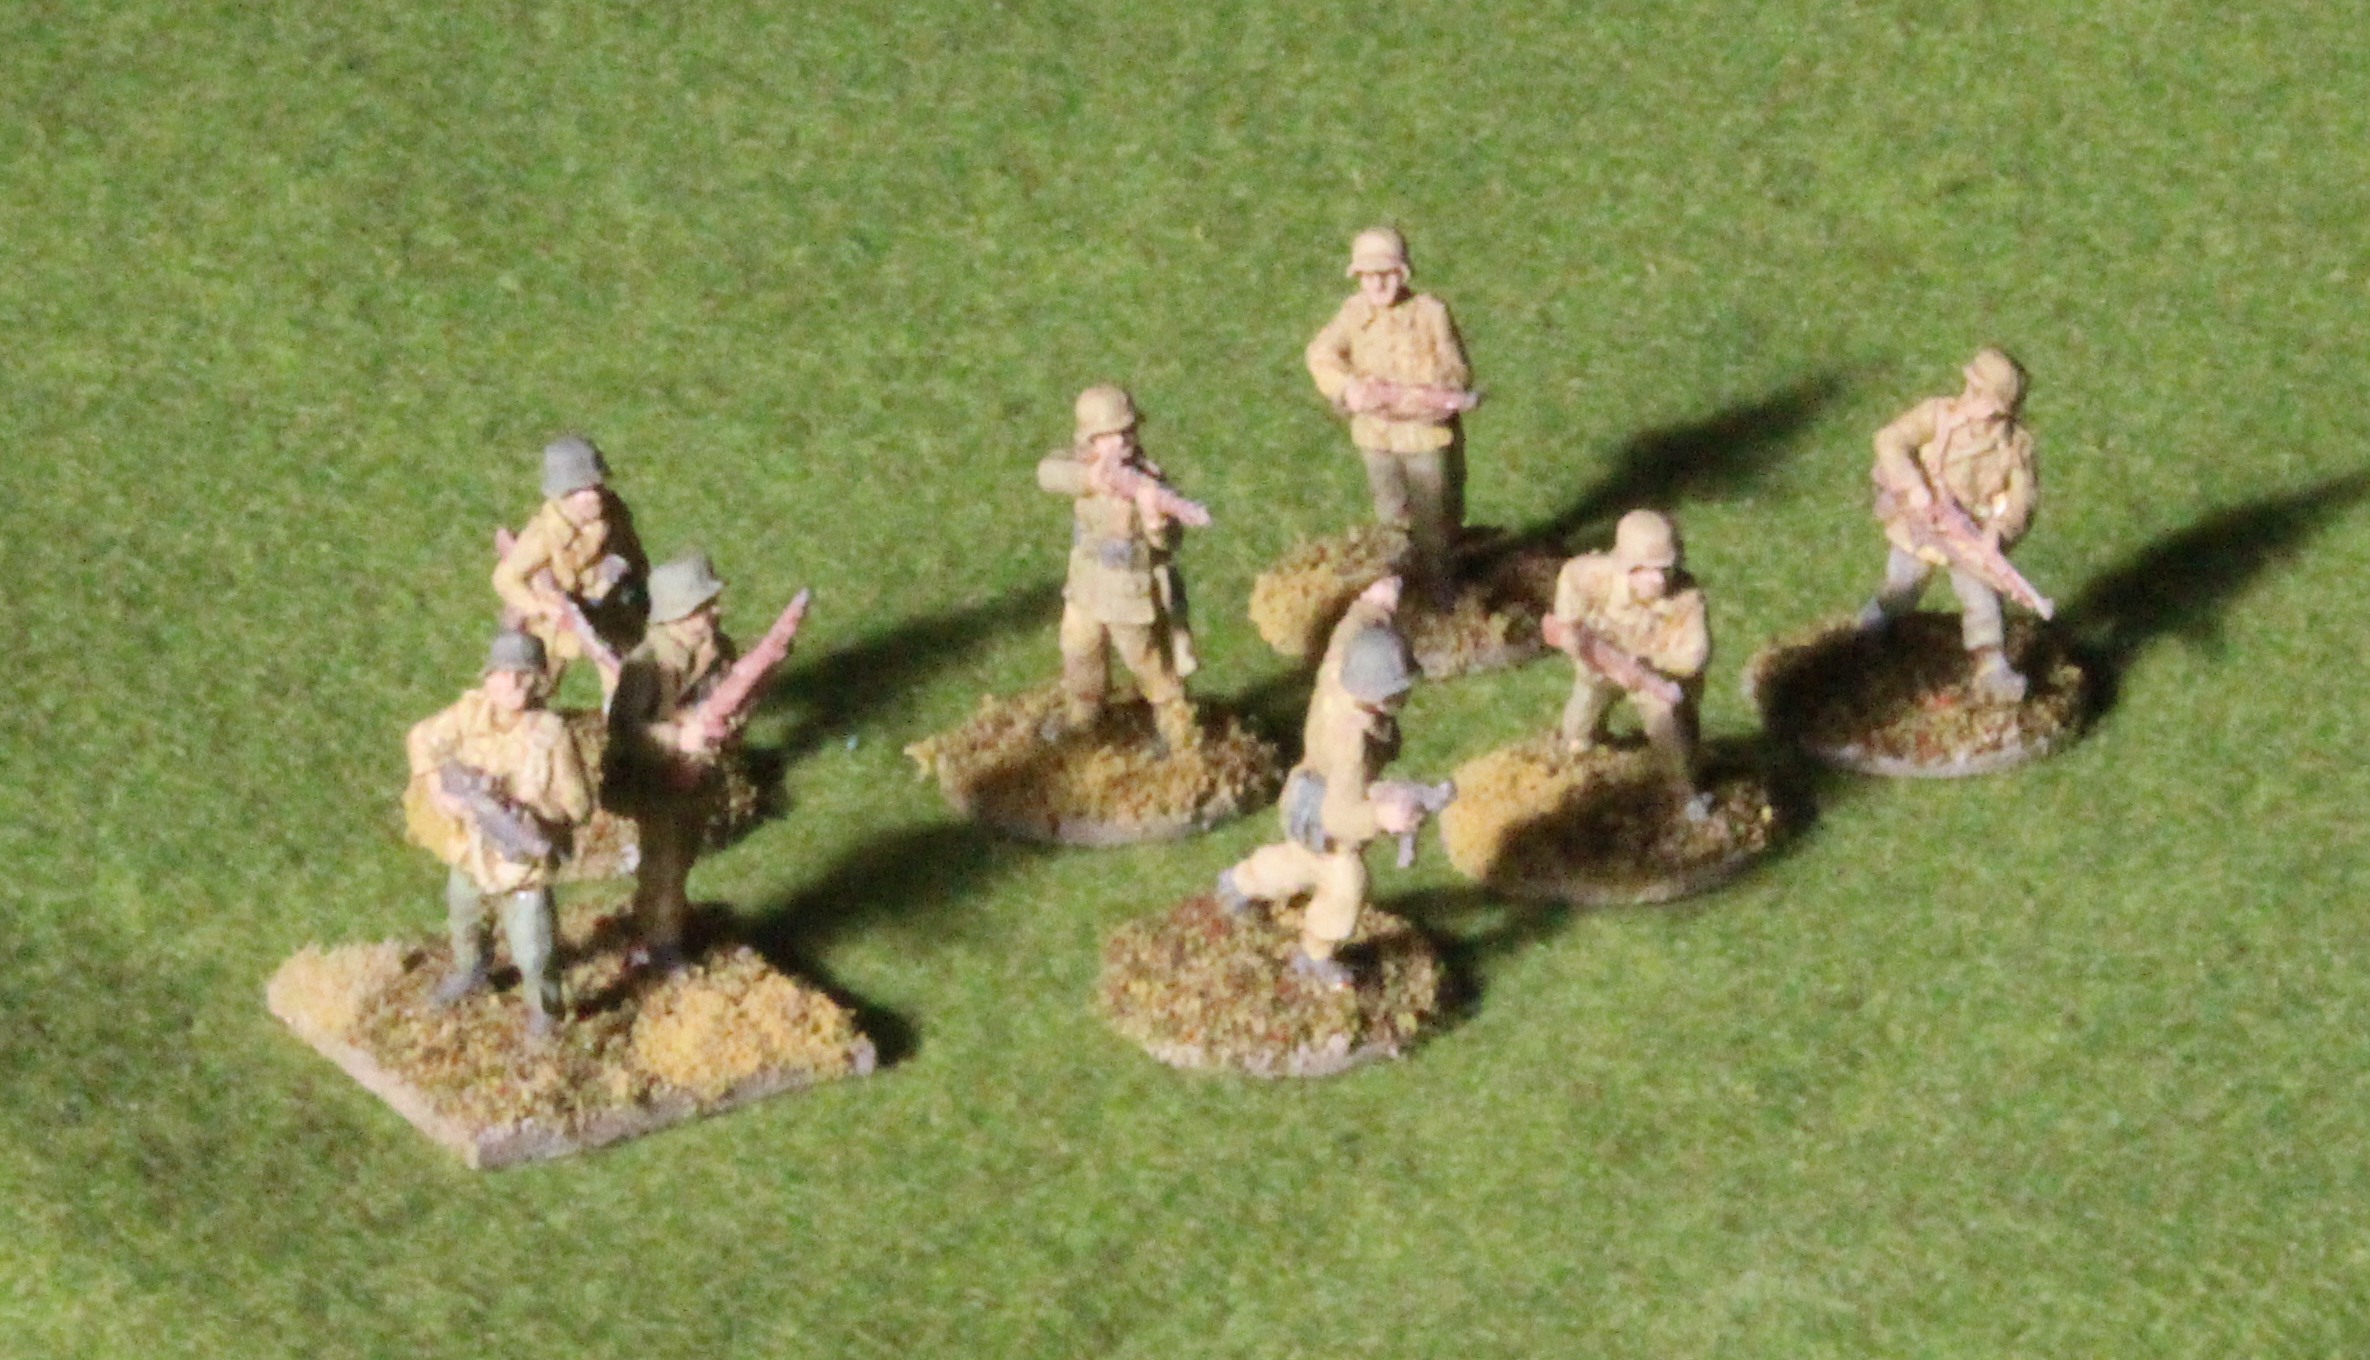
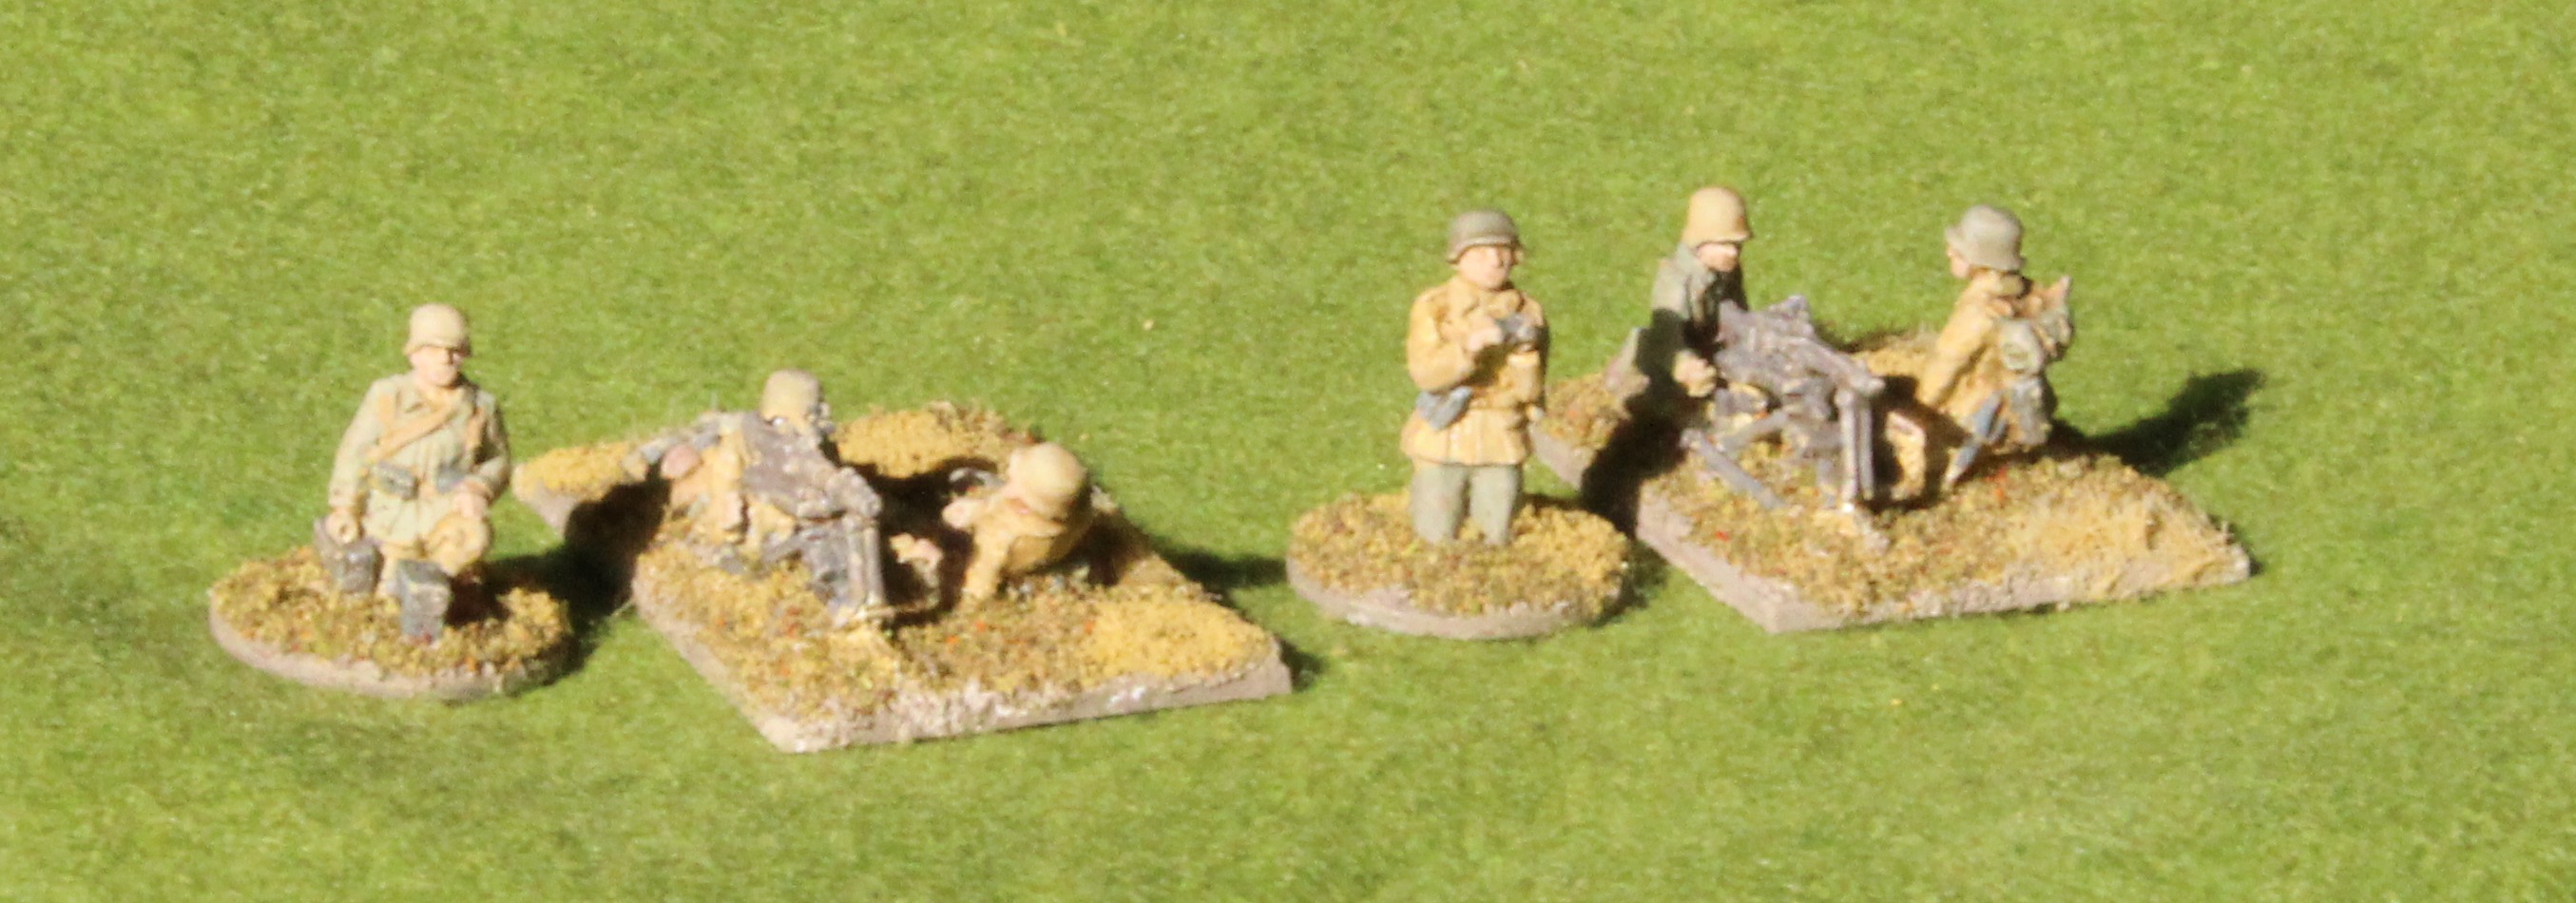
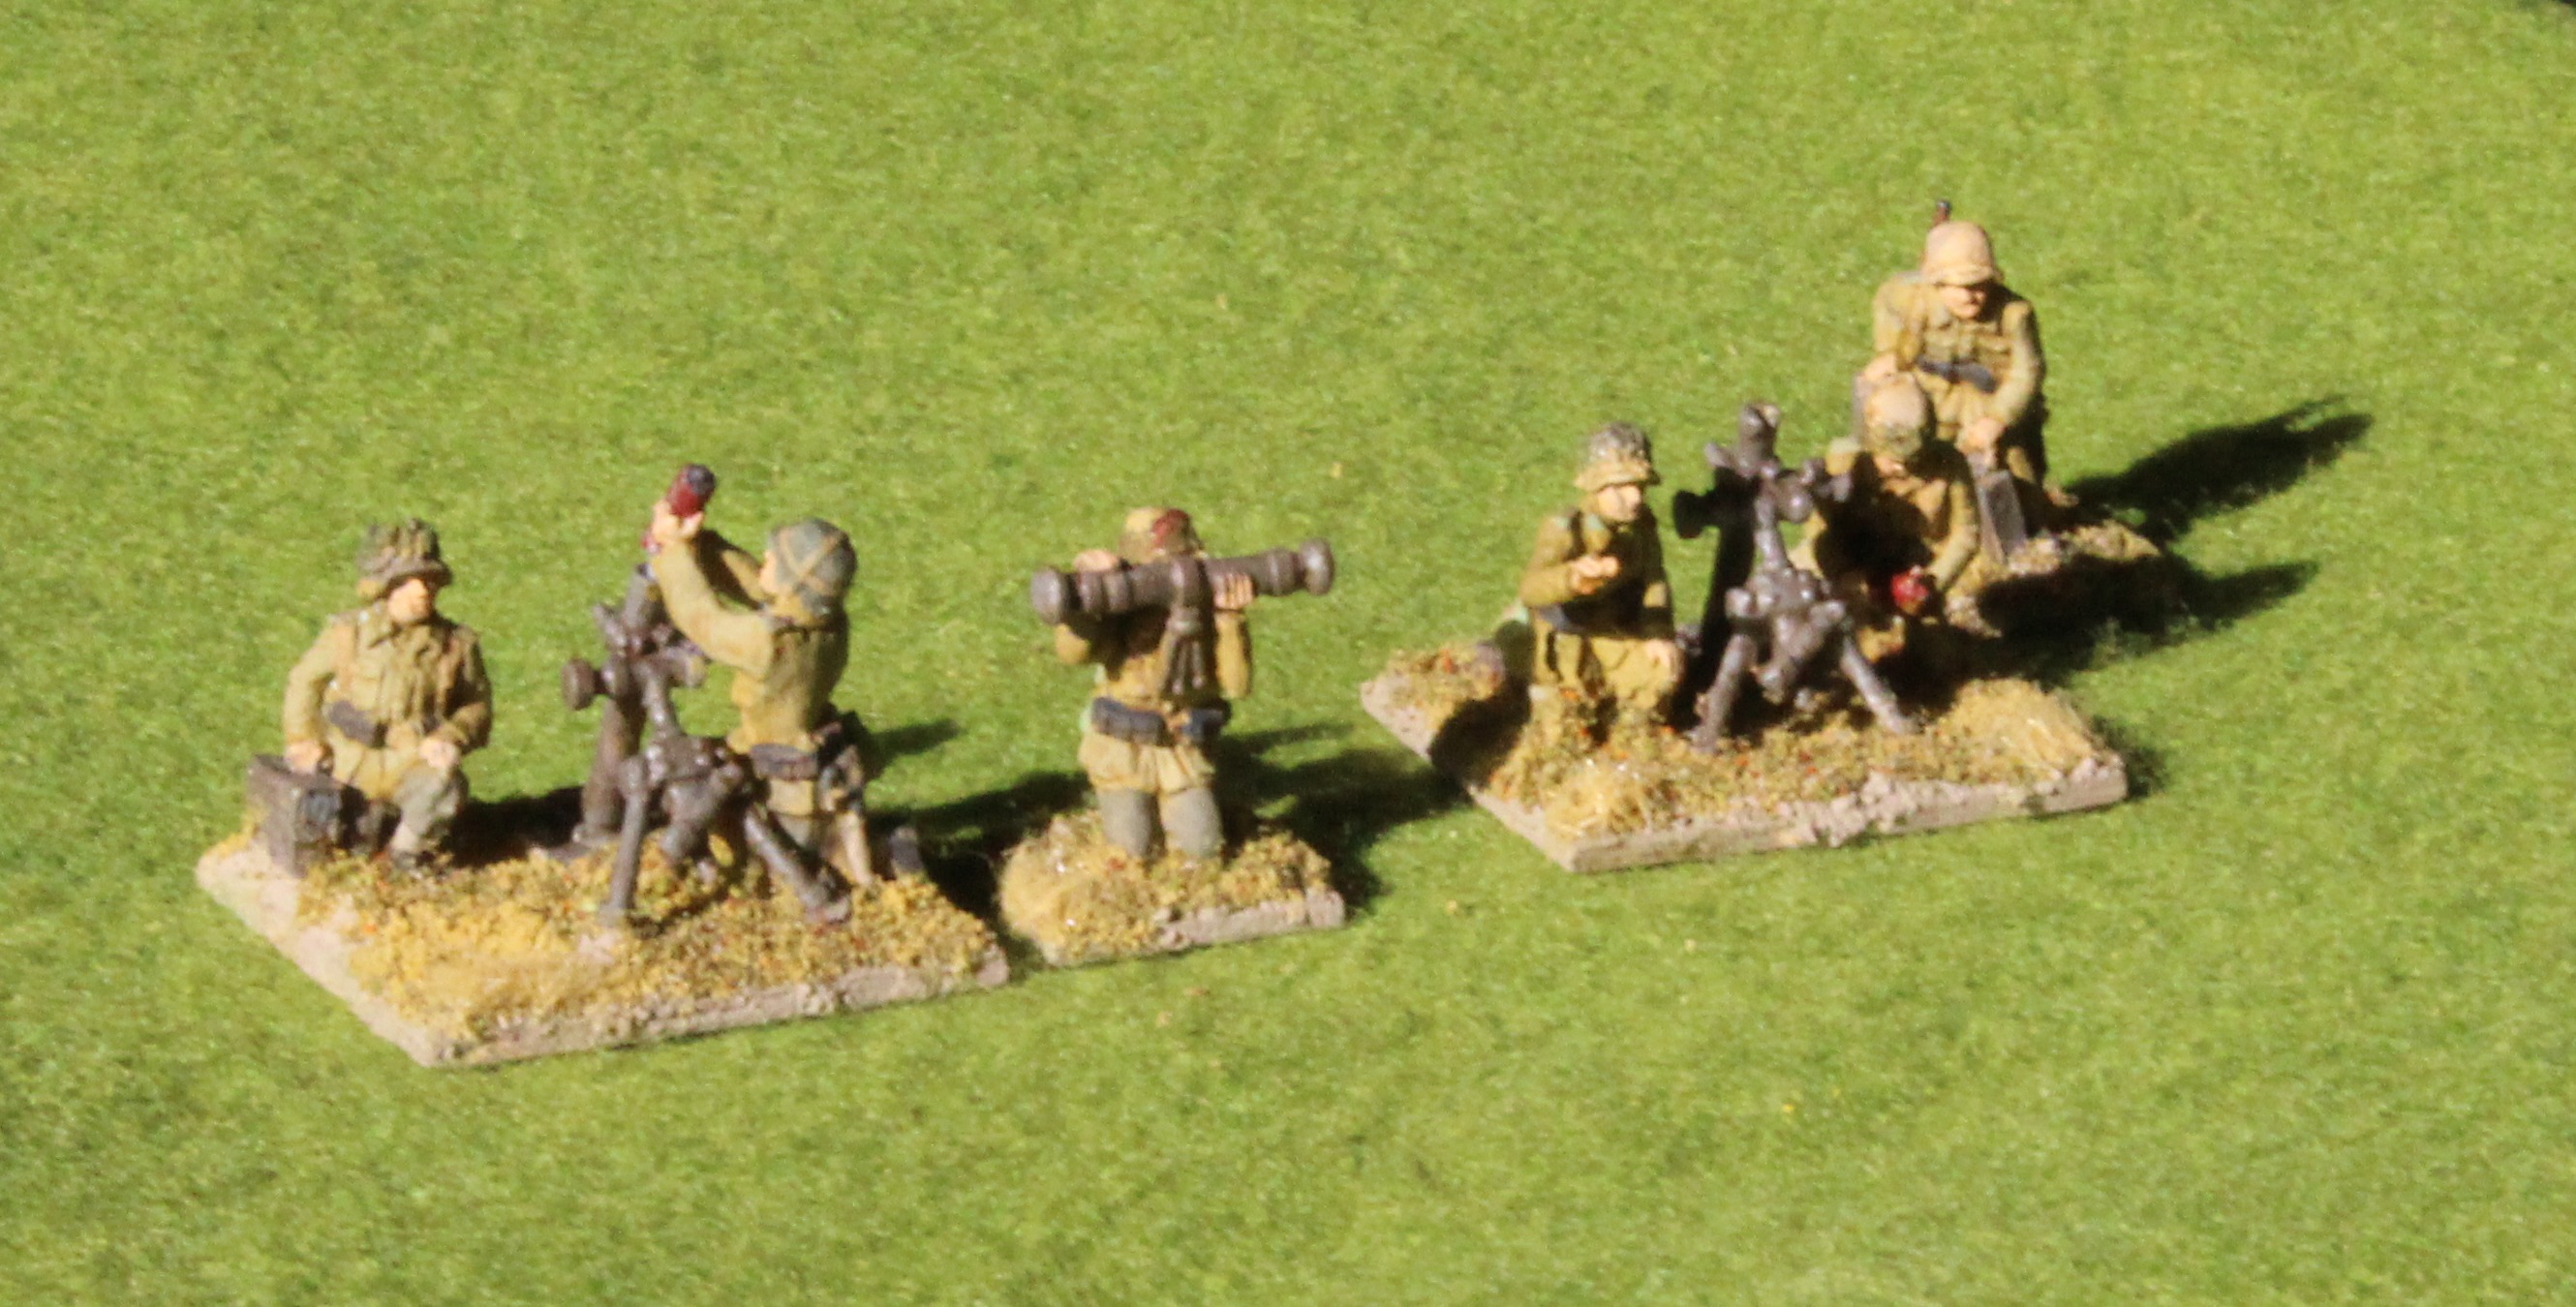
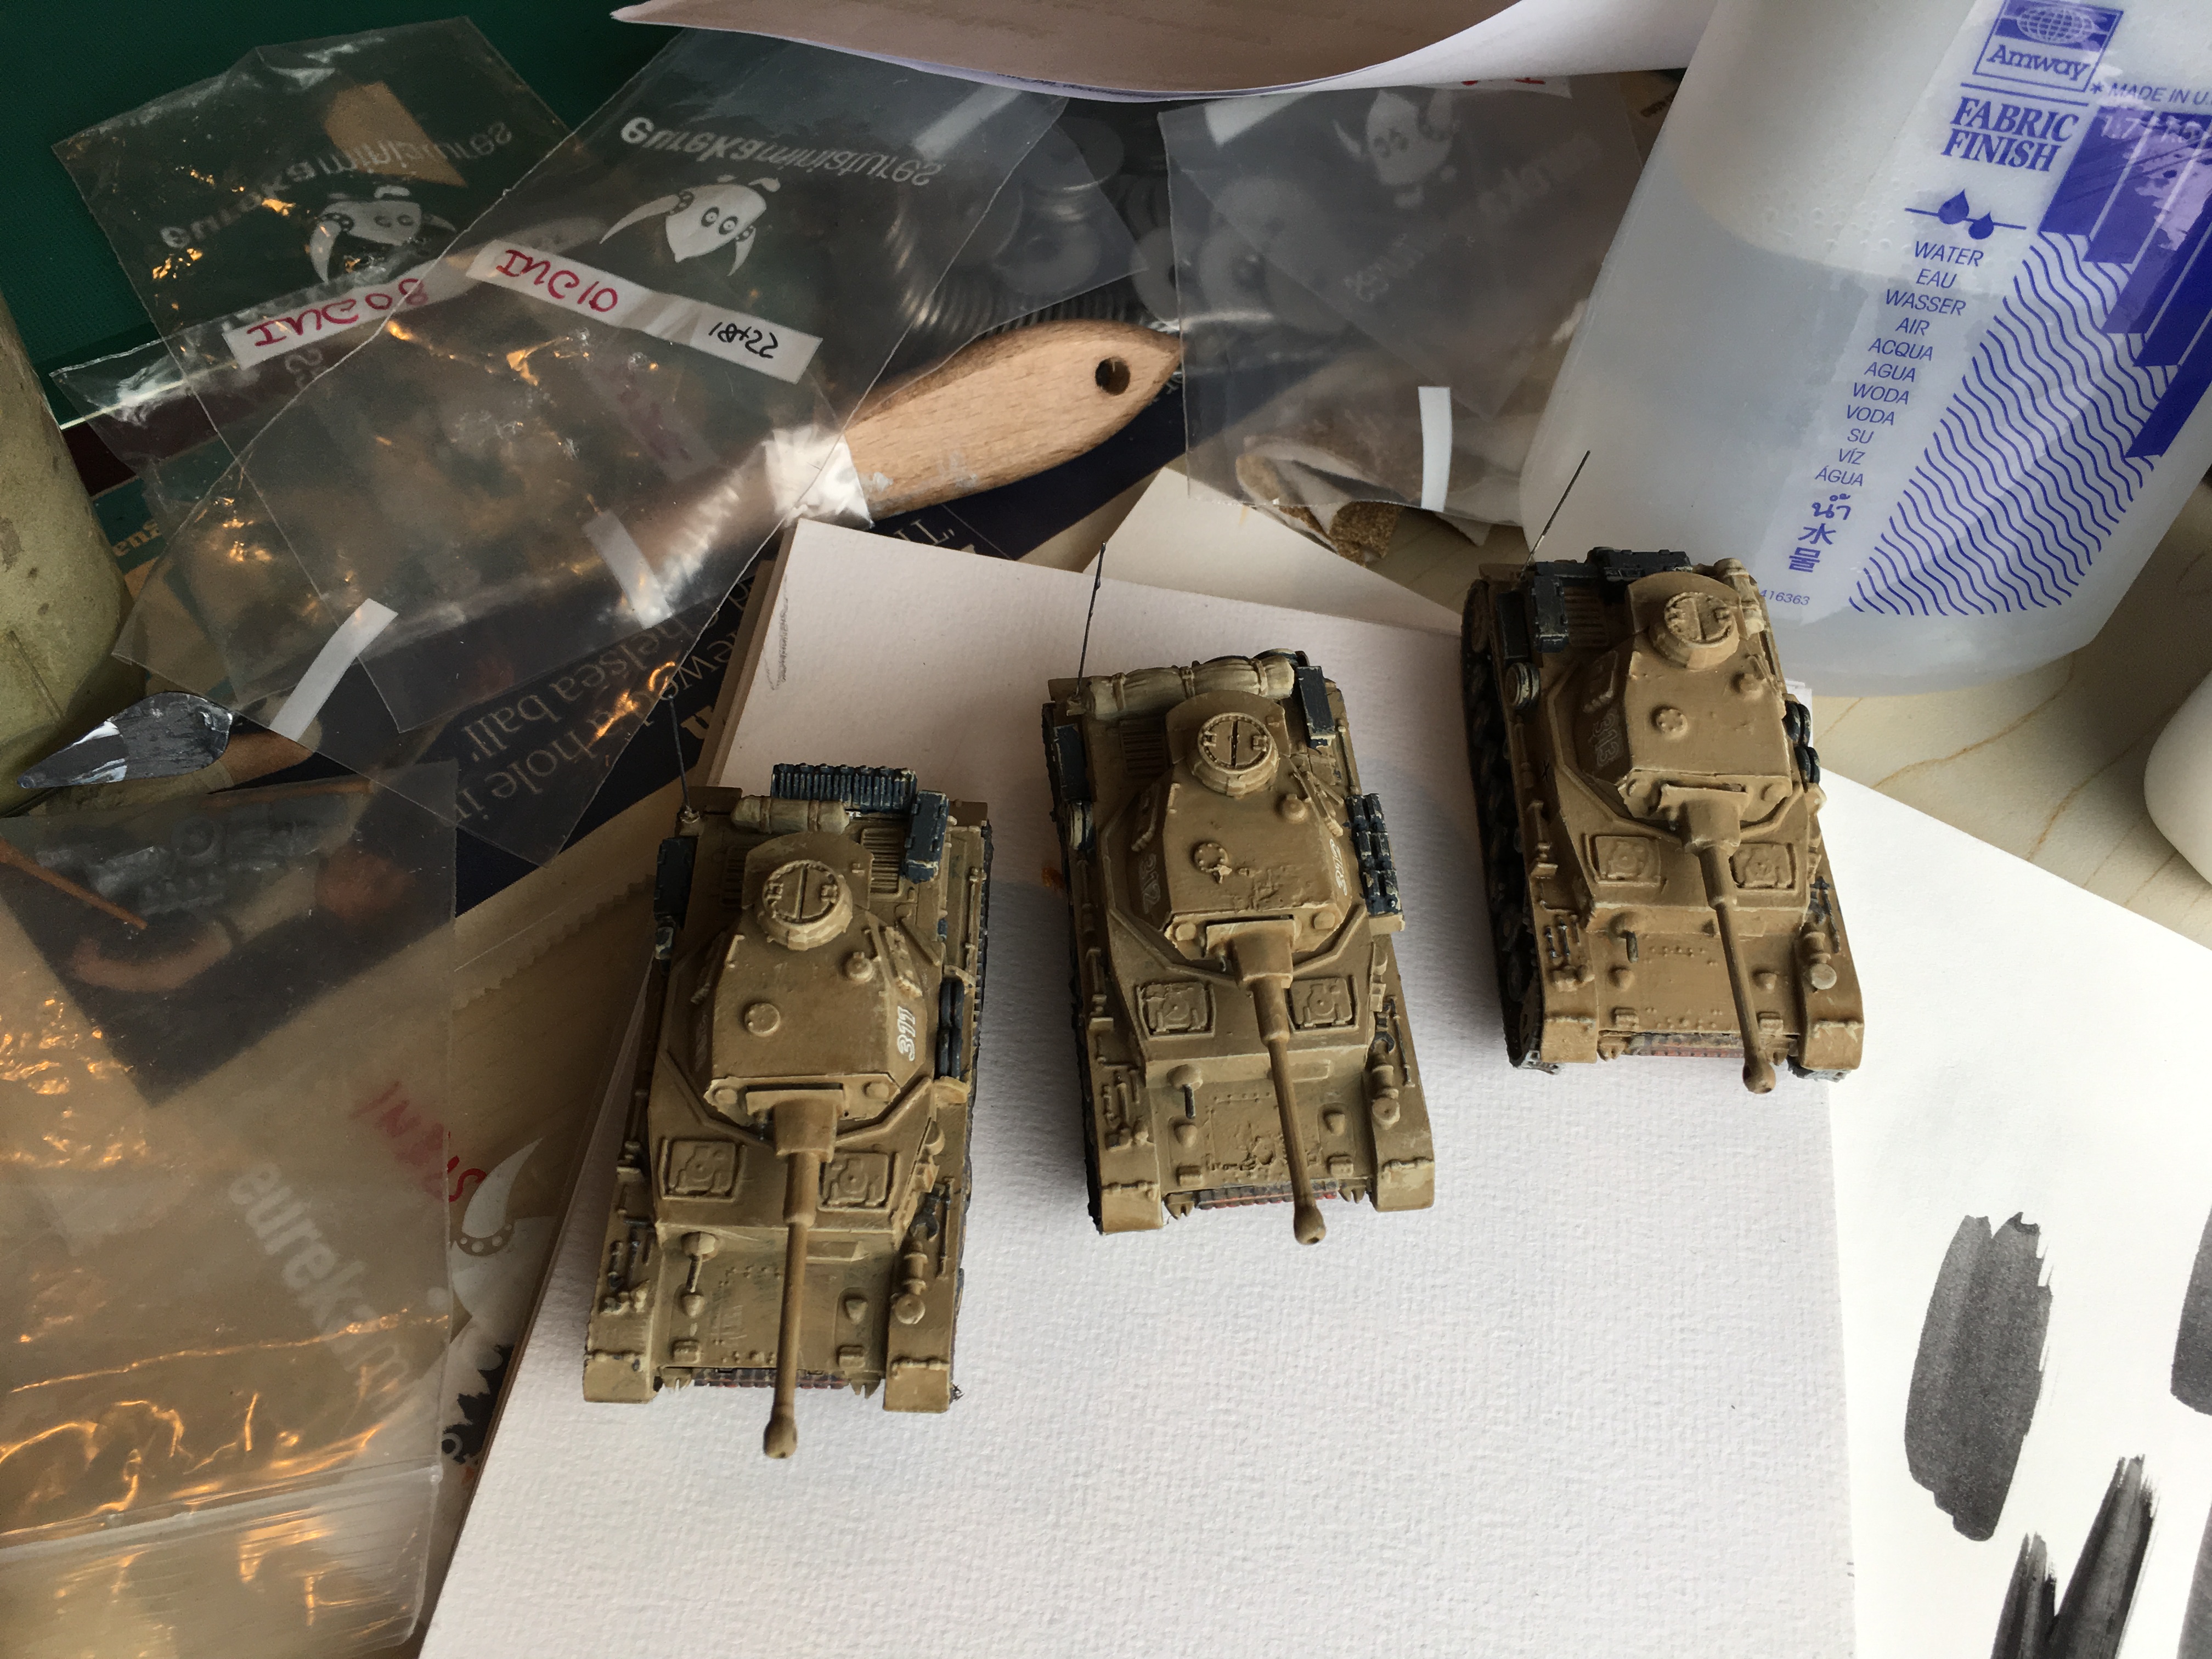
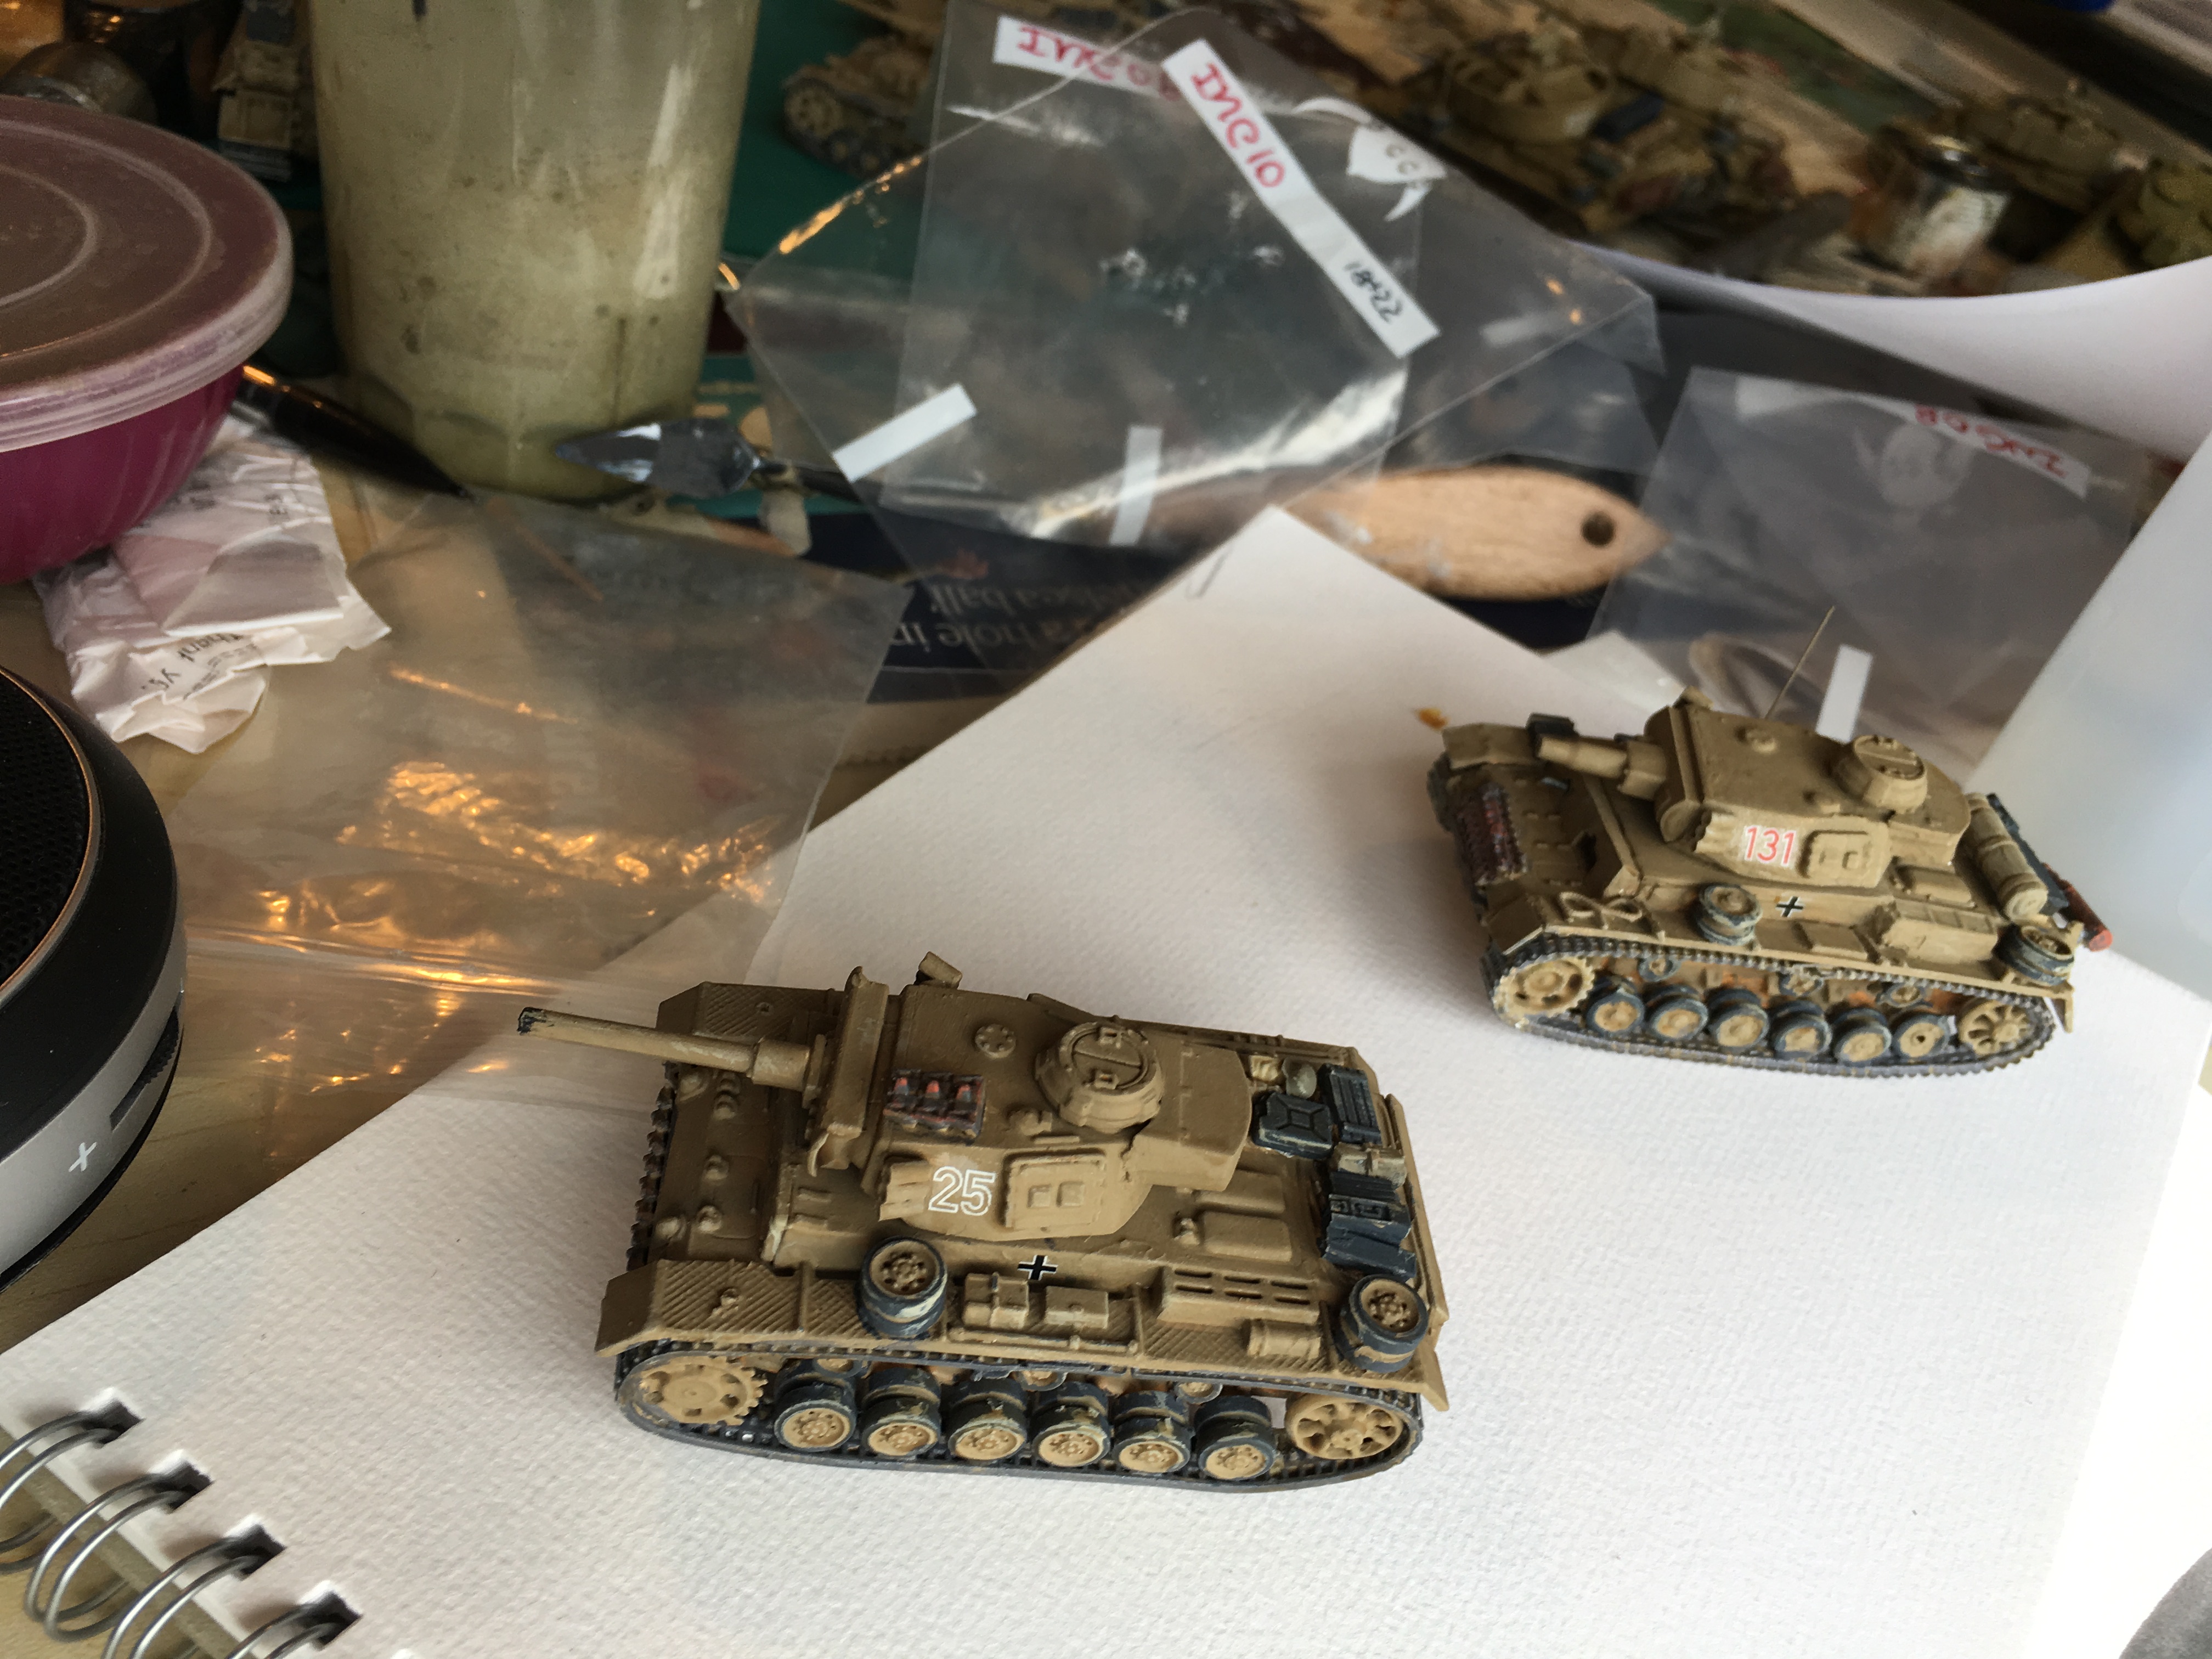
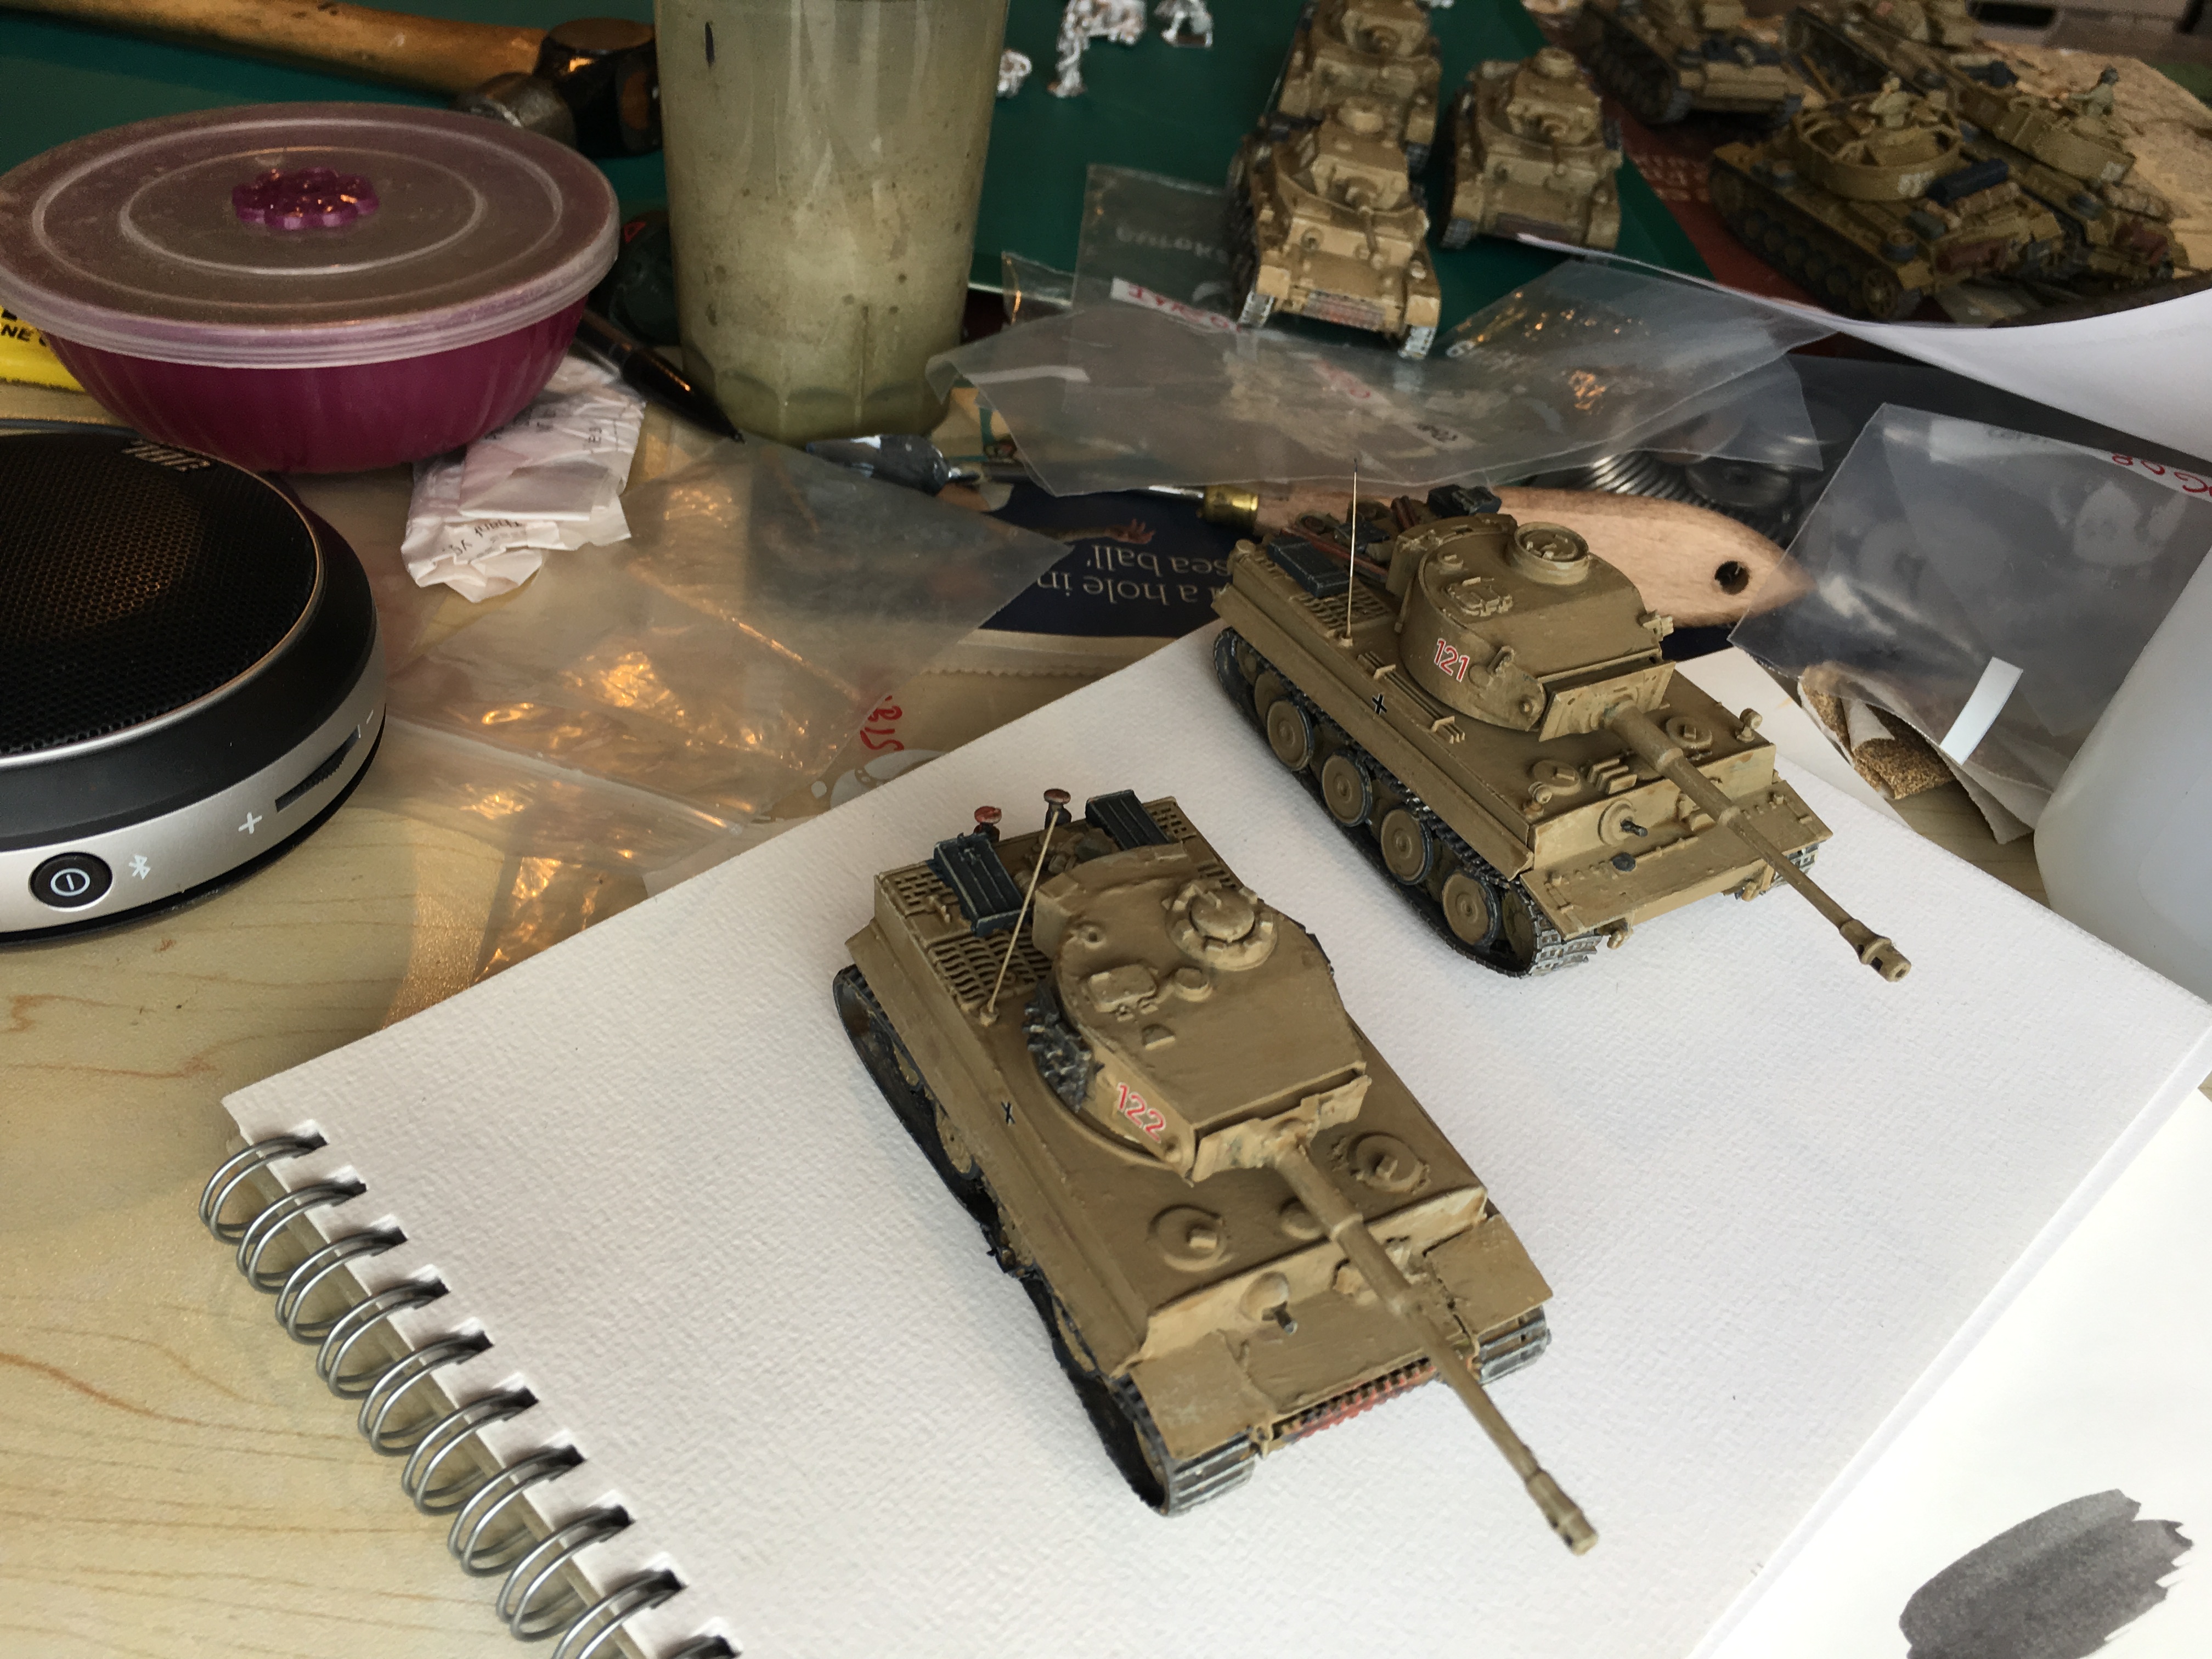
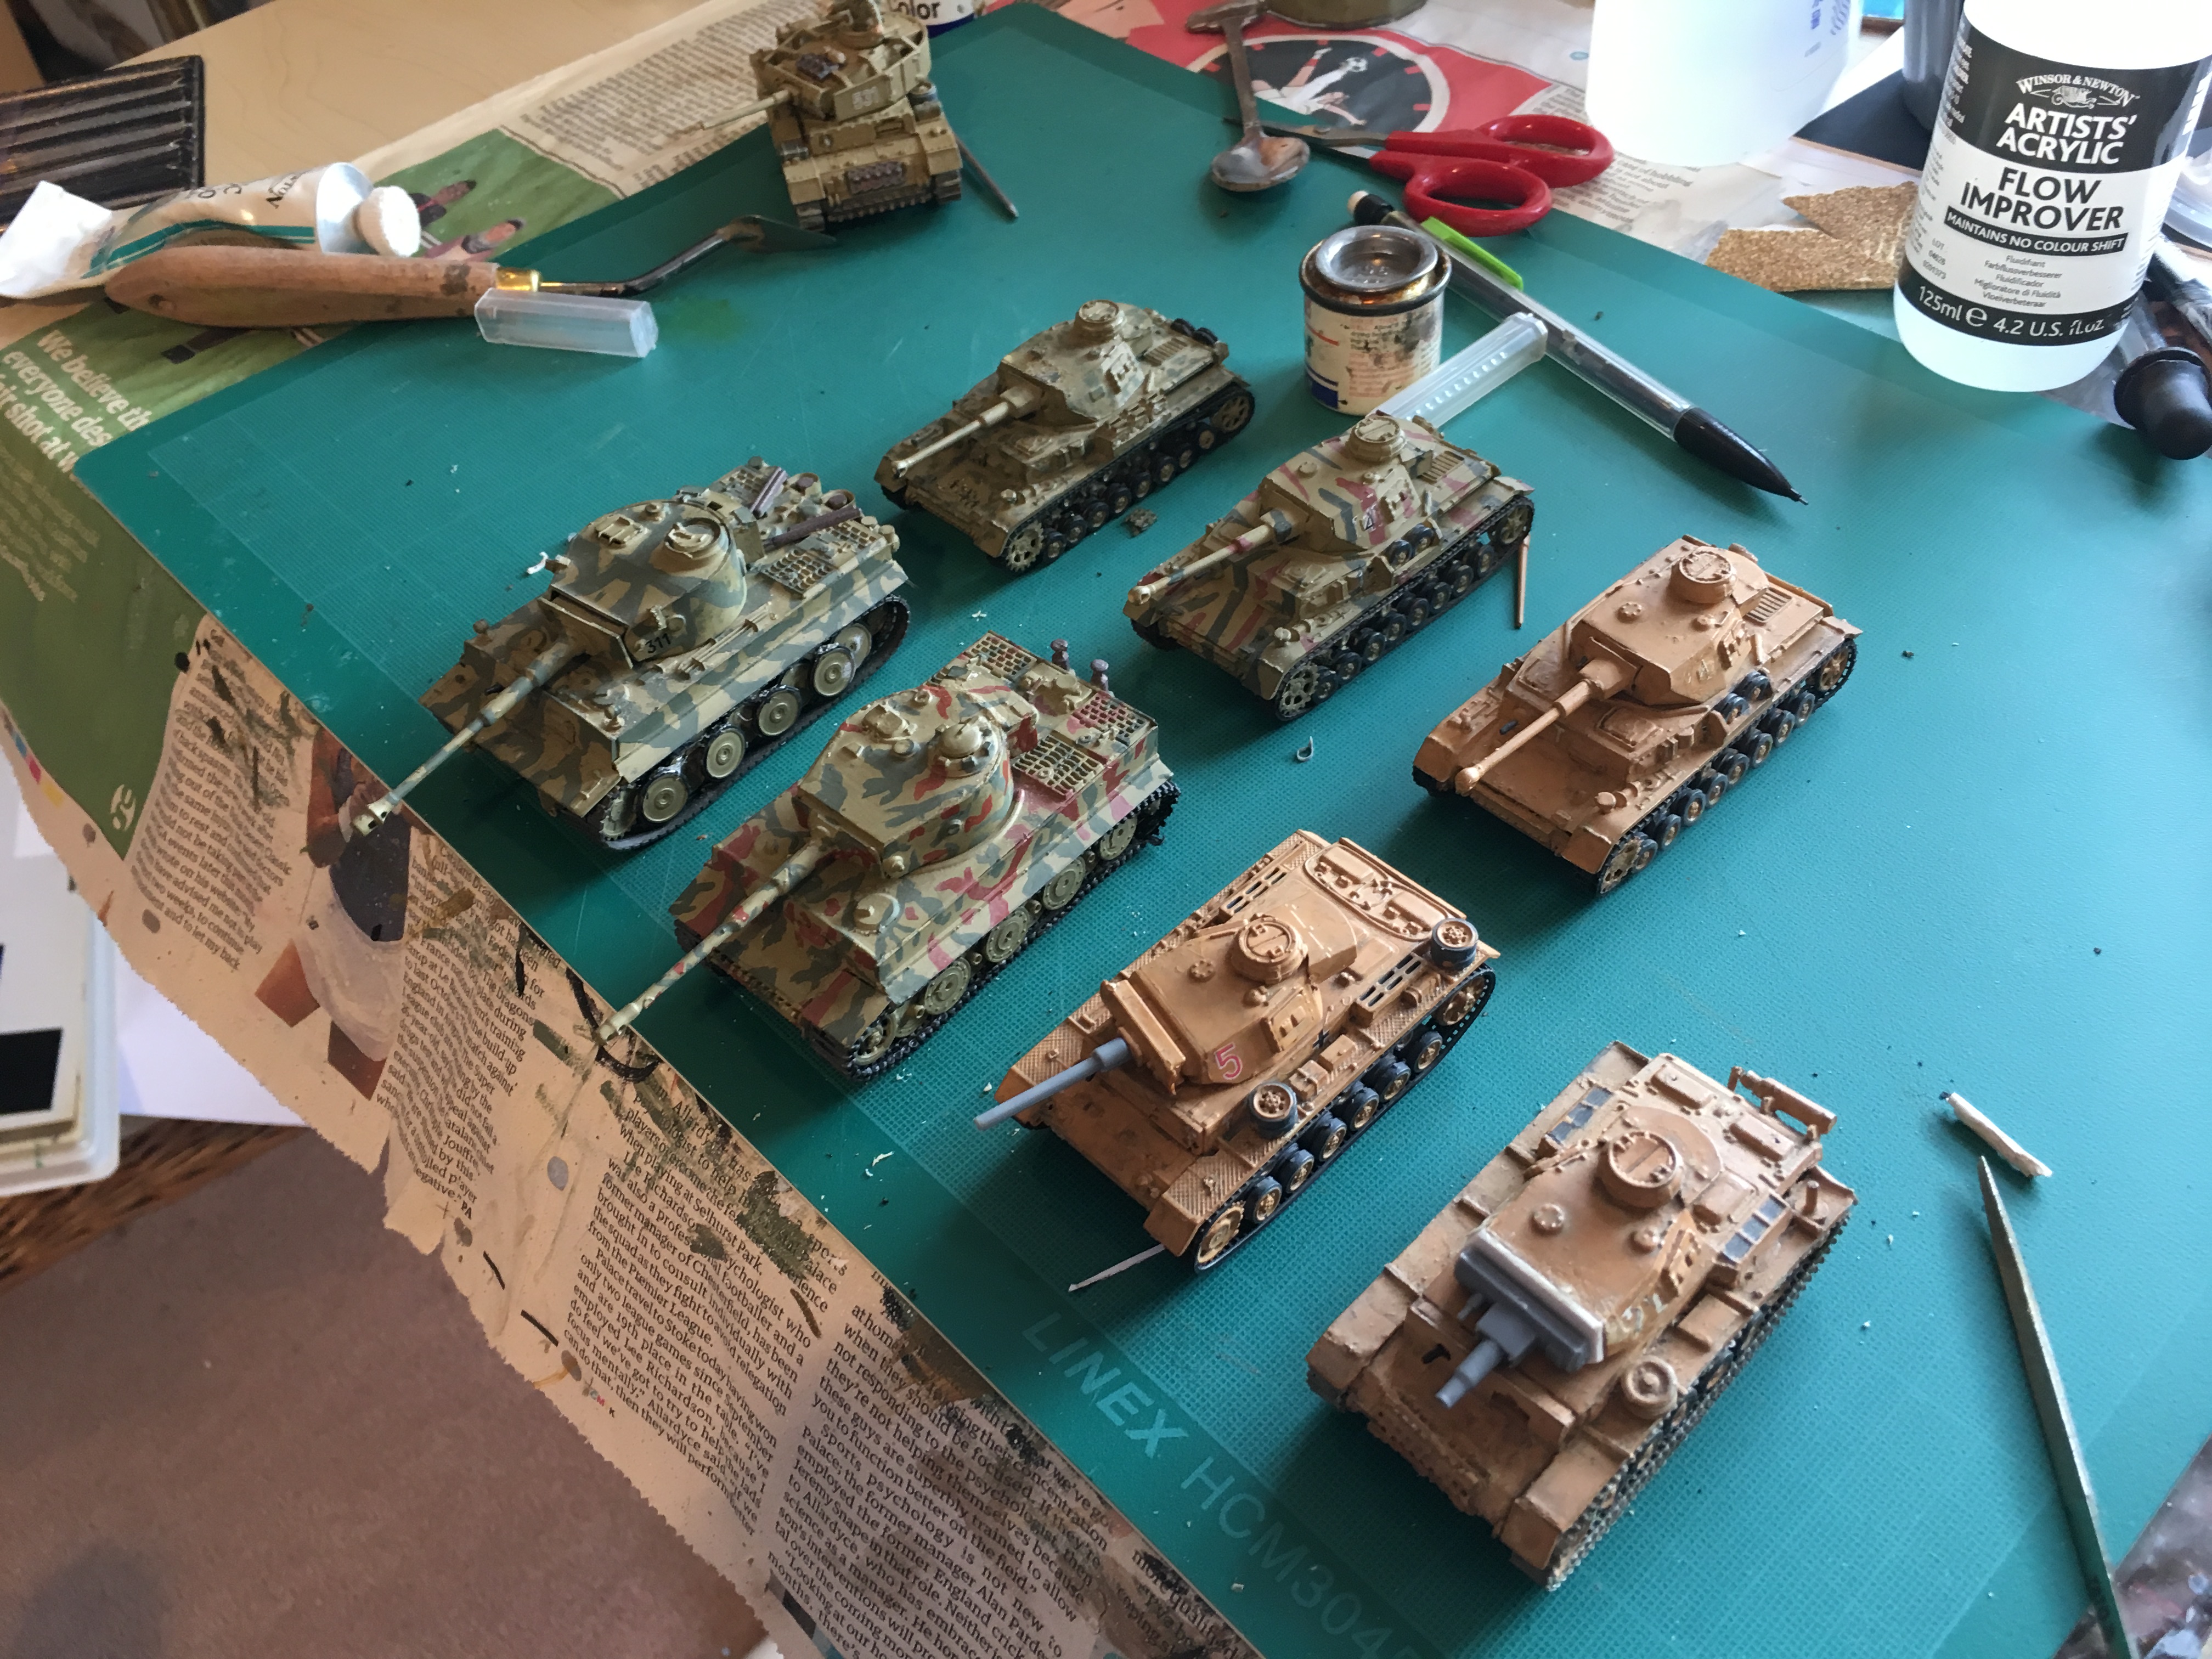
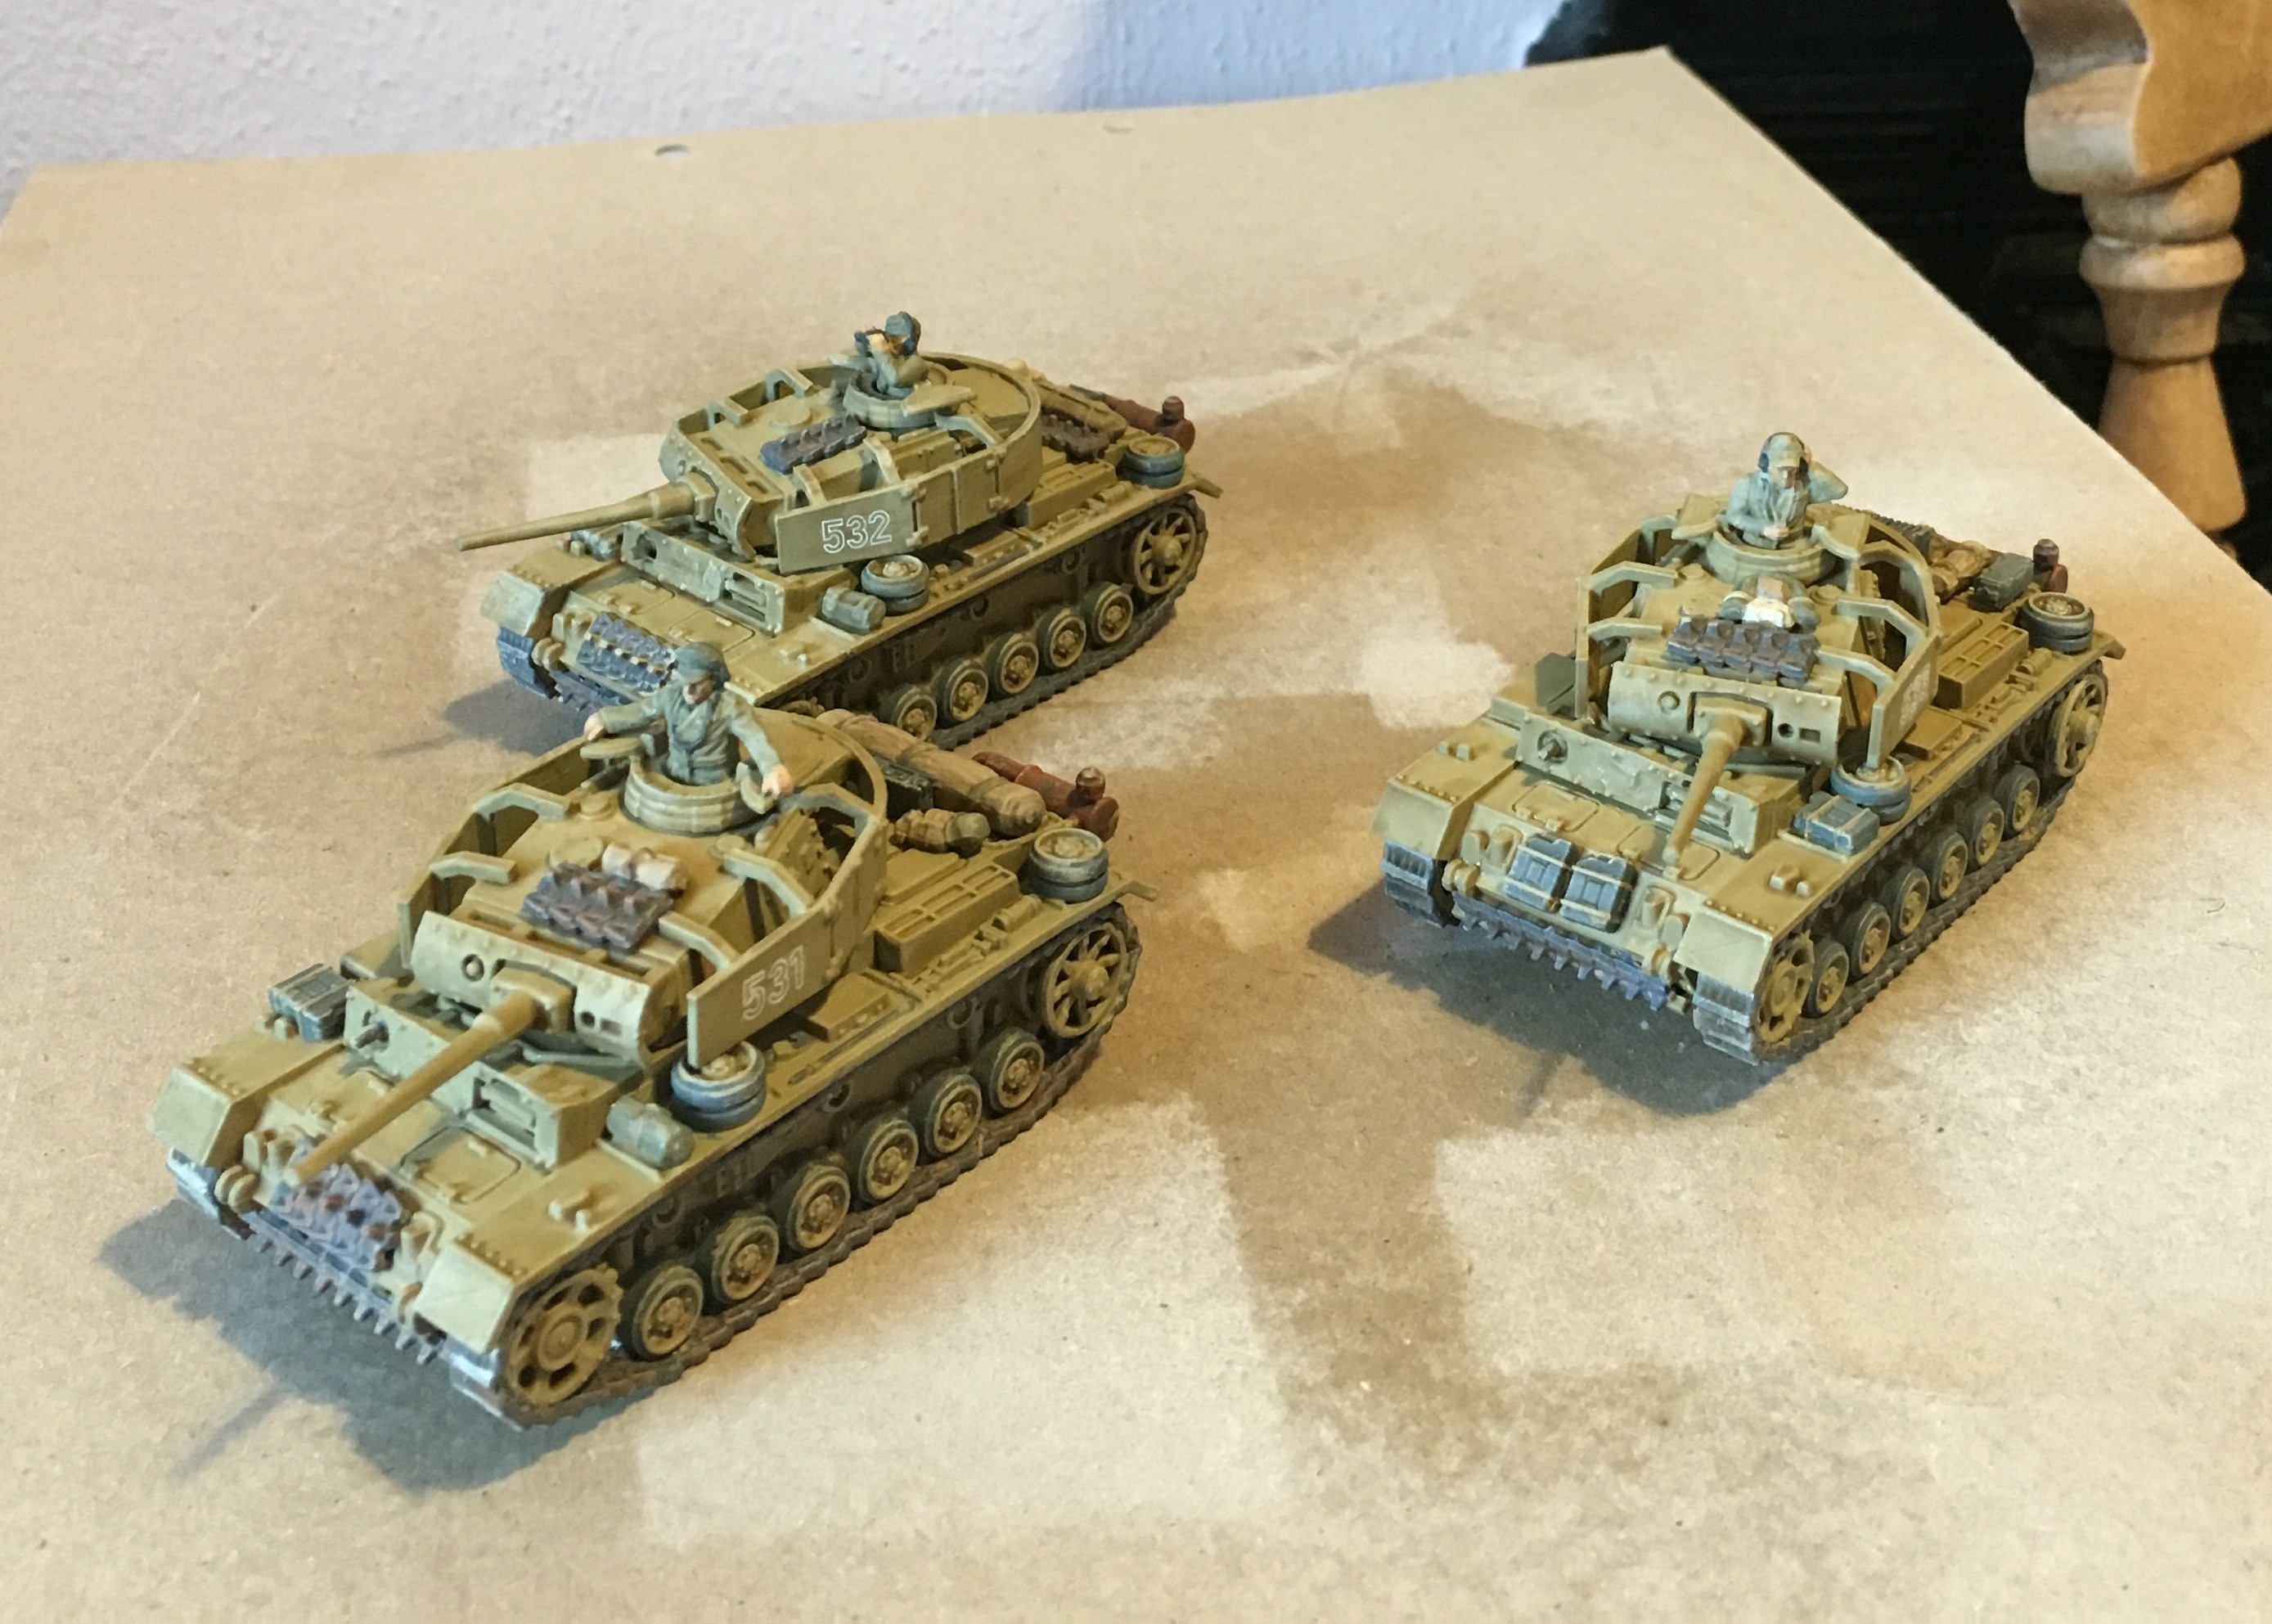
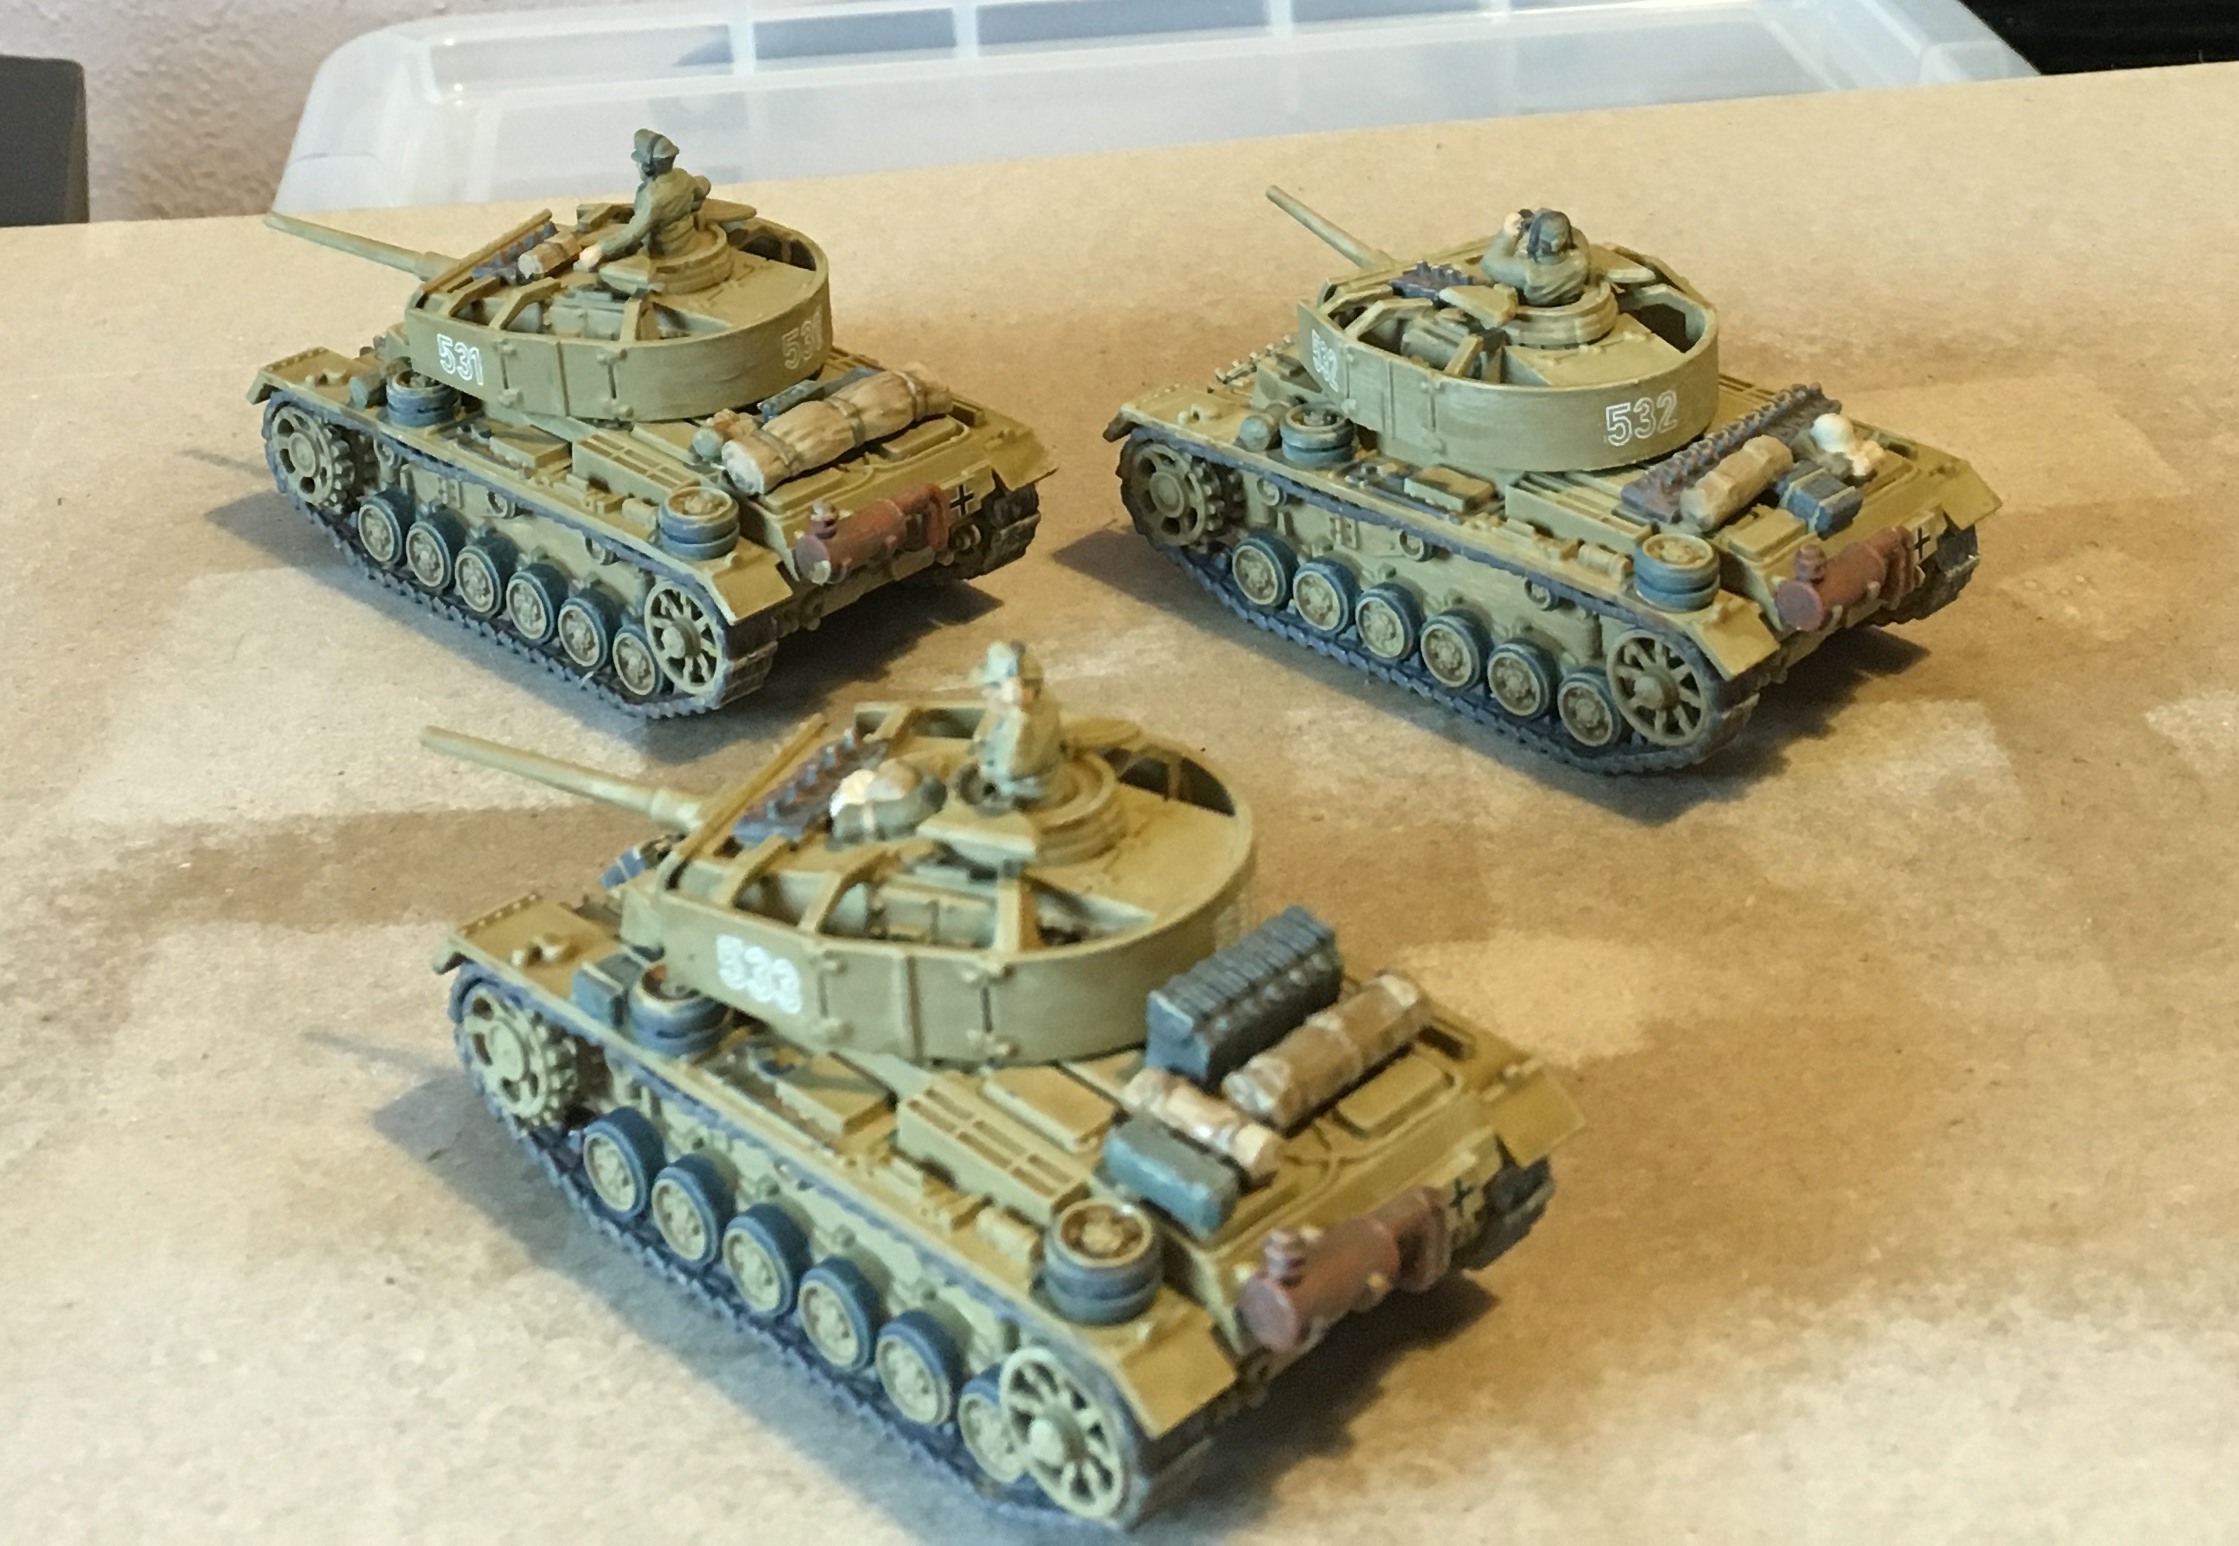
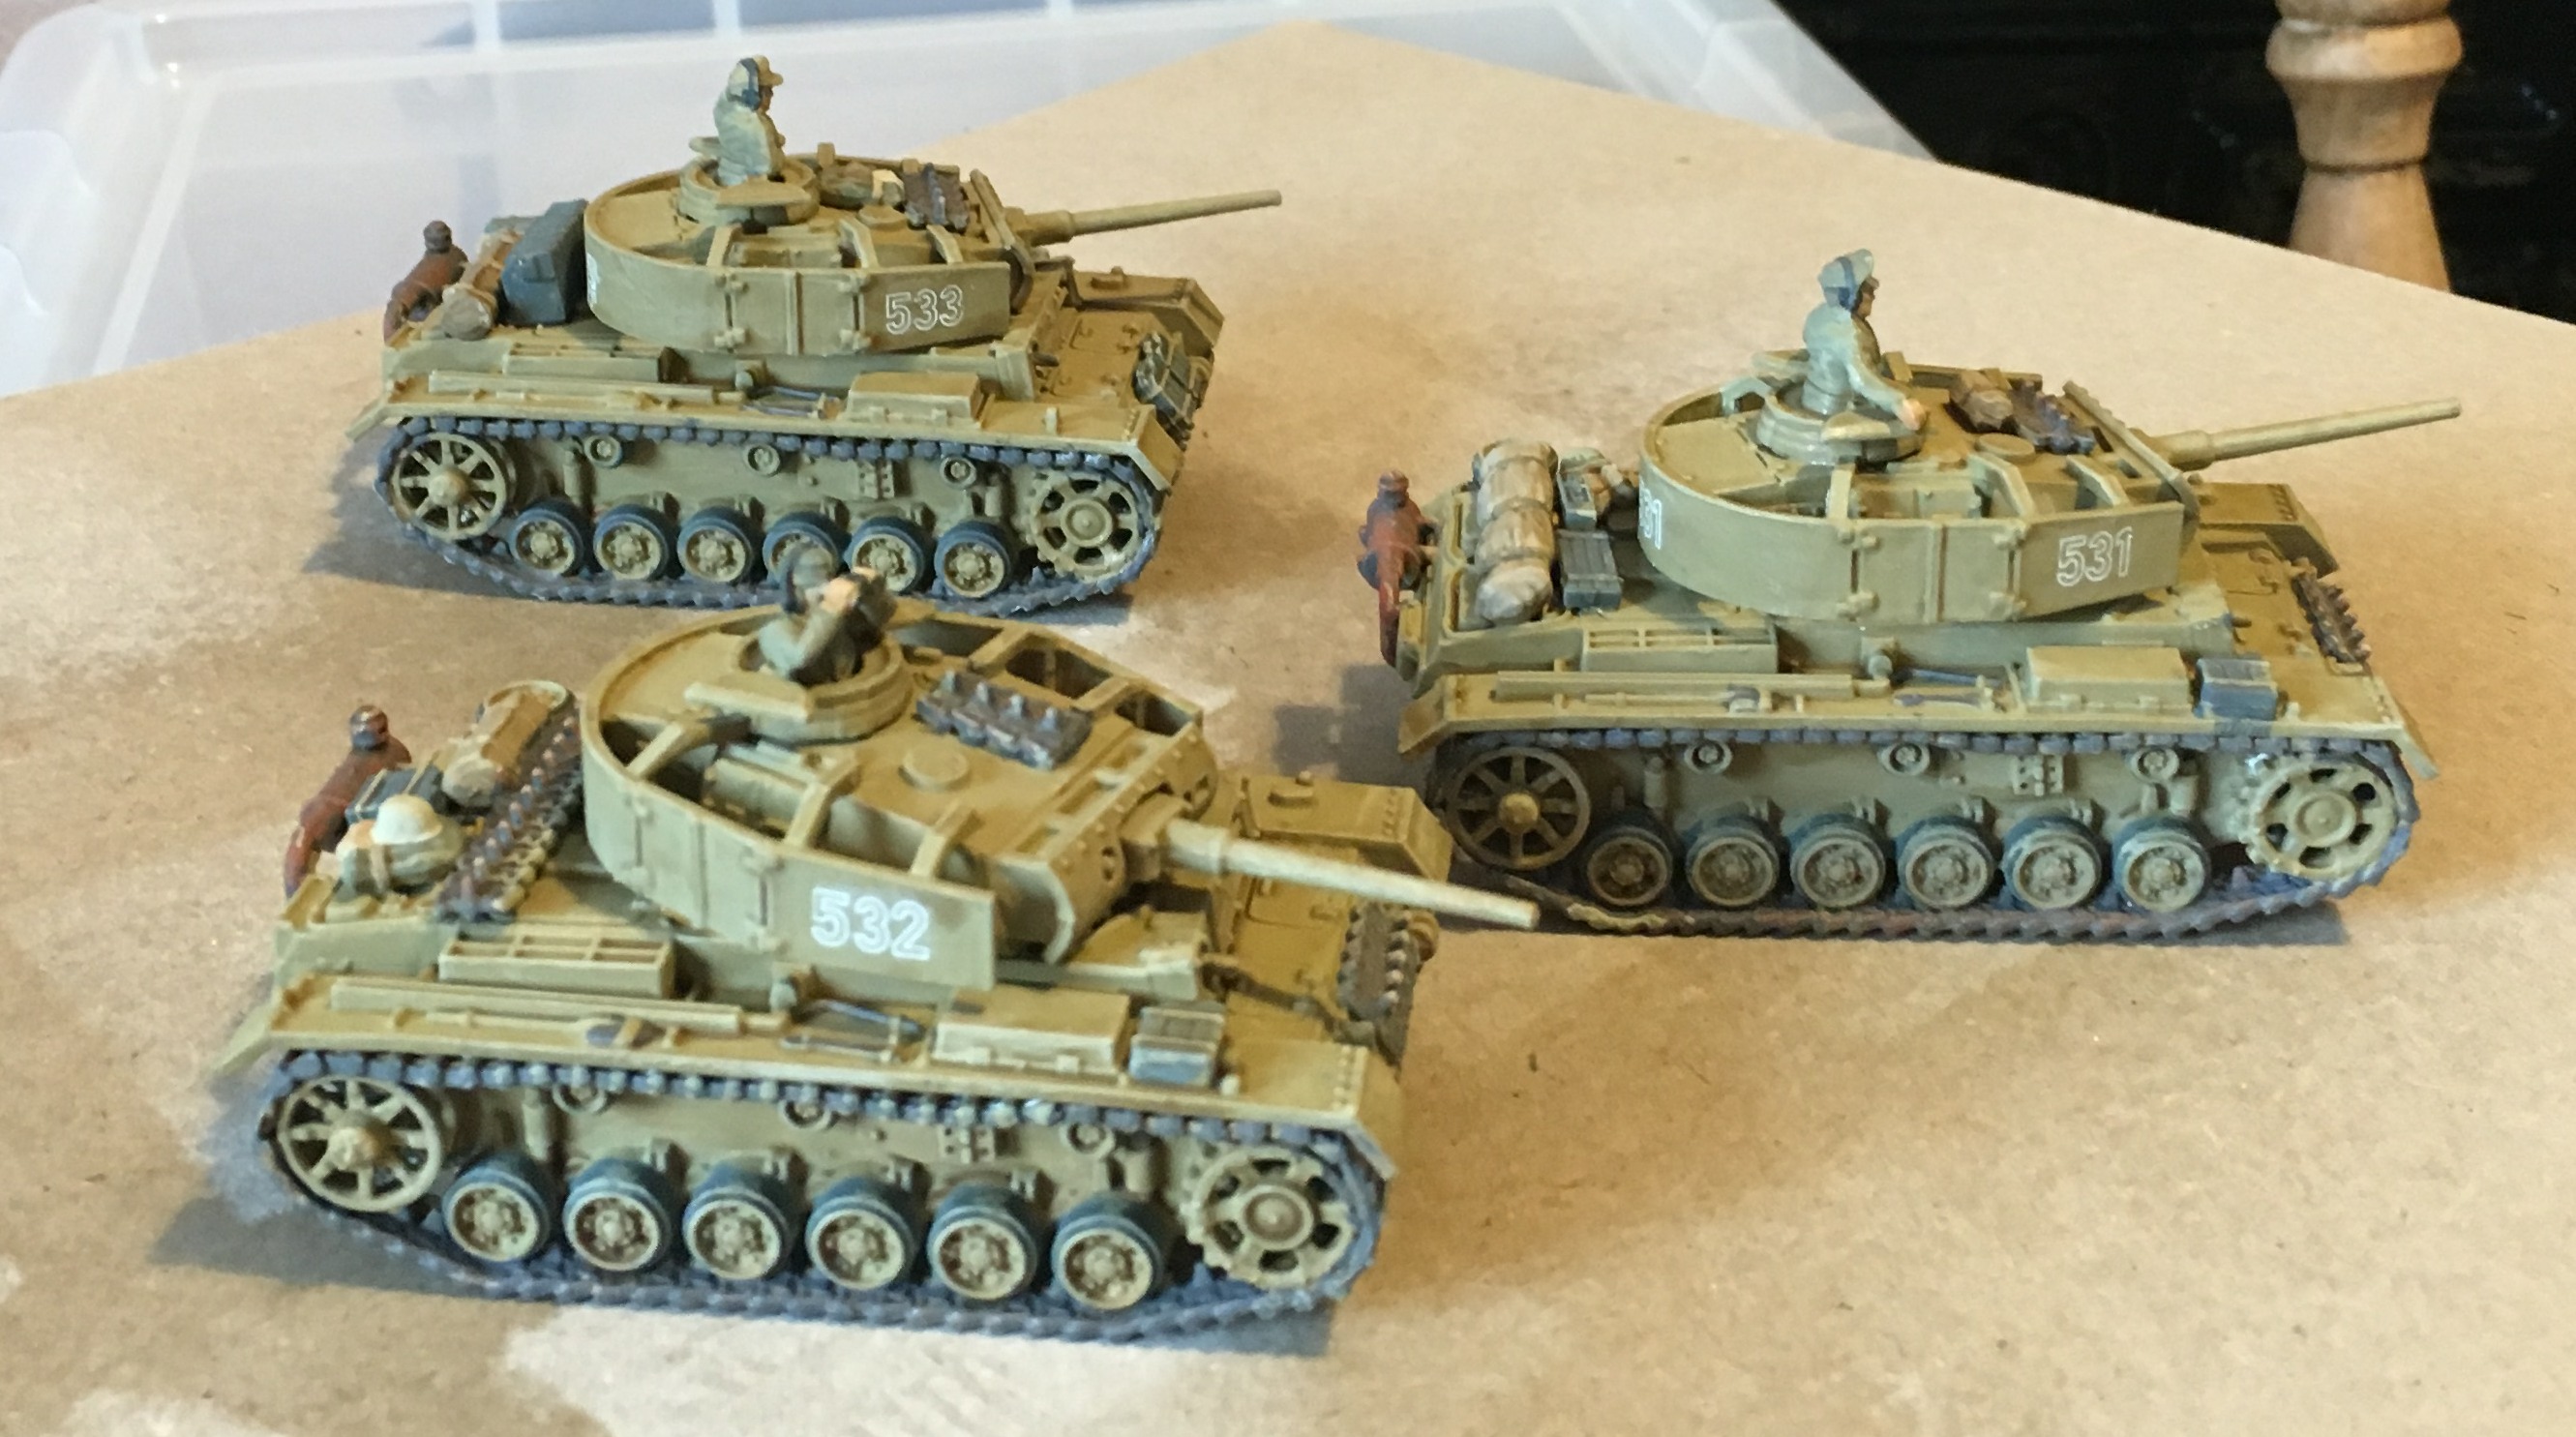
Funnily enough, I find the old Airfix stuff unsatisfactory these days. The land models are in 1/76 scale when I prefer 1/72. They are a bit fiddly to put together, and I don’t like the polythene tracks used on the tanks. And some of the old models (I’m thinking of the Sherman and the Tiger) are a bit crude. The polythene figures are even more unsatisfactory. Though the material enables a fine level of detailing, it doesn’t take paint very well. and though the figures improved considerably over time, I still don’t like them. The Germans are early war when I want mid to late war. The British don’t look right at all. and they are 1/76 – though this matters less on figures. Plastic Soldier Company (PSC) do a wonderful range of plastic models which are much better suited to my needs. AB’s metal figures are exquisite, even if the weapons are a bit chunky.
So I was a bit surprised when I got a promotional email from Airfix advertising their Vintage Classics releases. They provoked some genuine interest. Airfix’s range these days is rather limited, mainly based on aircraft, and modernised and retooled. Clearly there was demand for some of the old models, which were worth re-releasing without modernising. The promotional material is unashamedly nostalgic, pointing out that they are using the old artwork too, some of which is a bit crude. These releases are mainly vehicles and ships, which don’t feature strongly, or at all, in current ranges. First to come out, though, are WW1 plastic figures. These were probably the best figures that Airfix produced, with sets for British, French, German and Americans, and a British horse artillery set. I bought the lot as a teenager, and I still have them. There some familiar problems. A lot of useless poses. The British and Germans are early war, the French and Americans later. So no Lewis gunner. Still, though I’m very interested in WW1 from a historical perspective, I have ruled it out as a wargaming/modelling project. What interests me are the WW2 vehicles, none of which have been released yet.
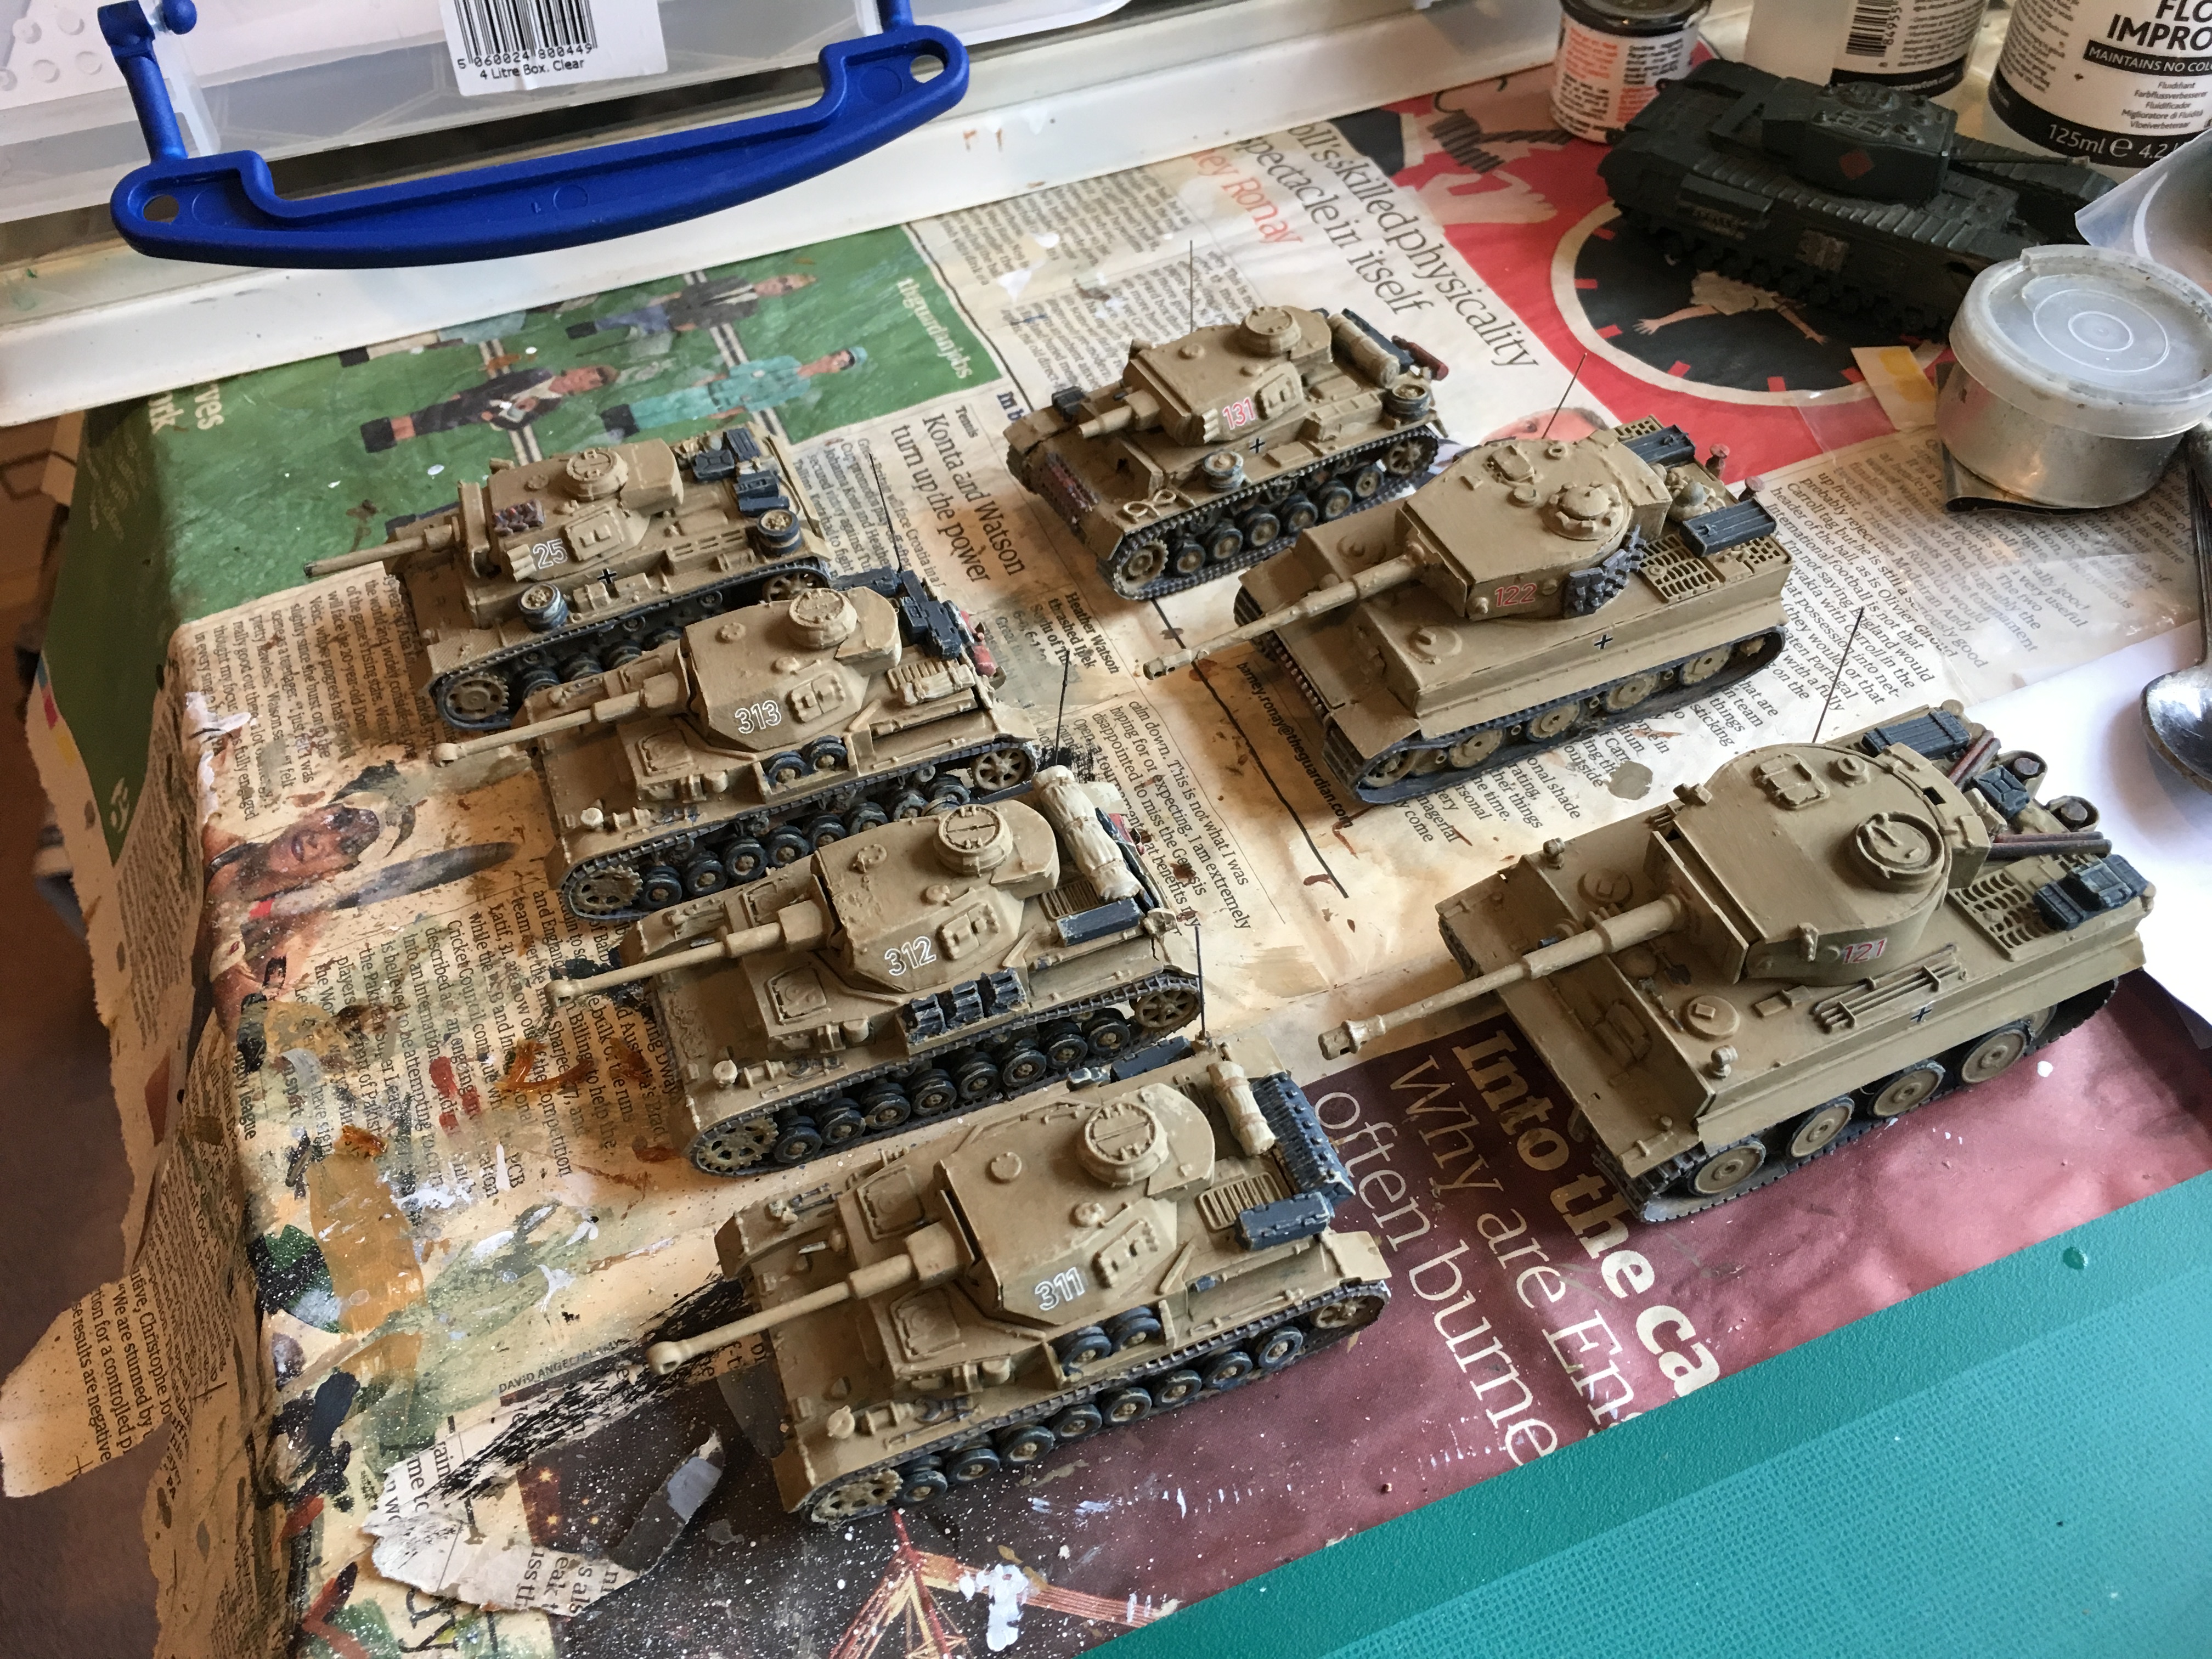
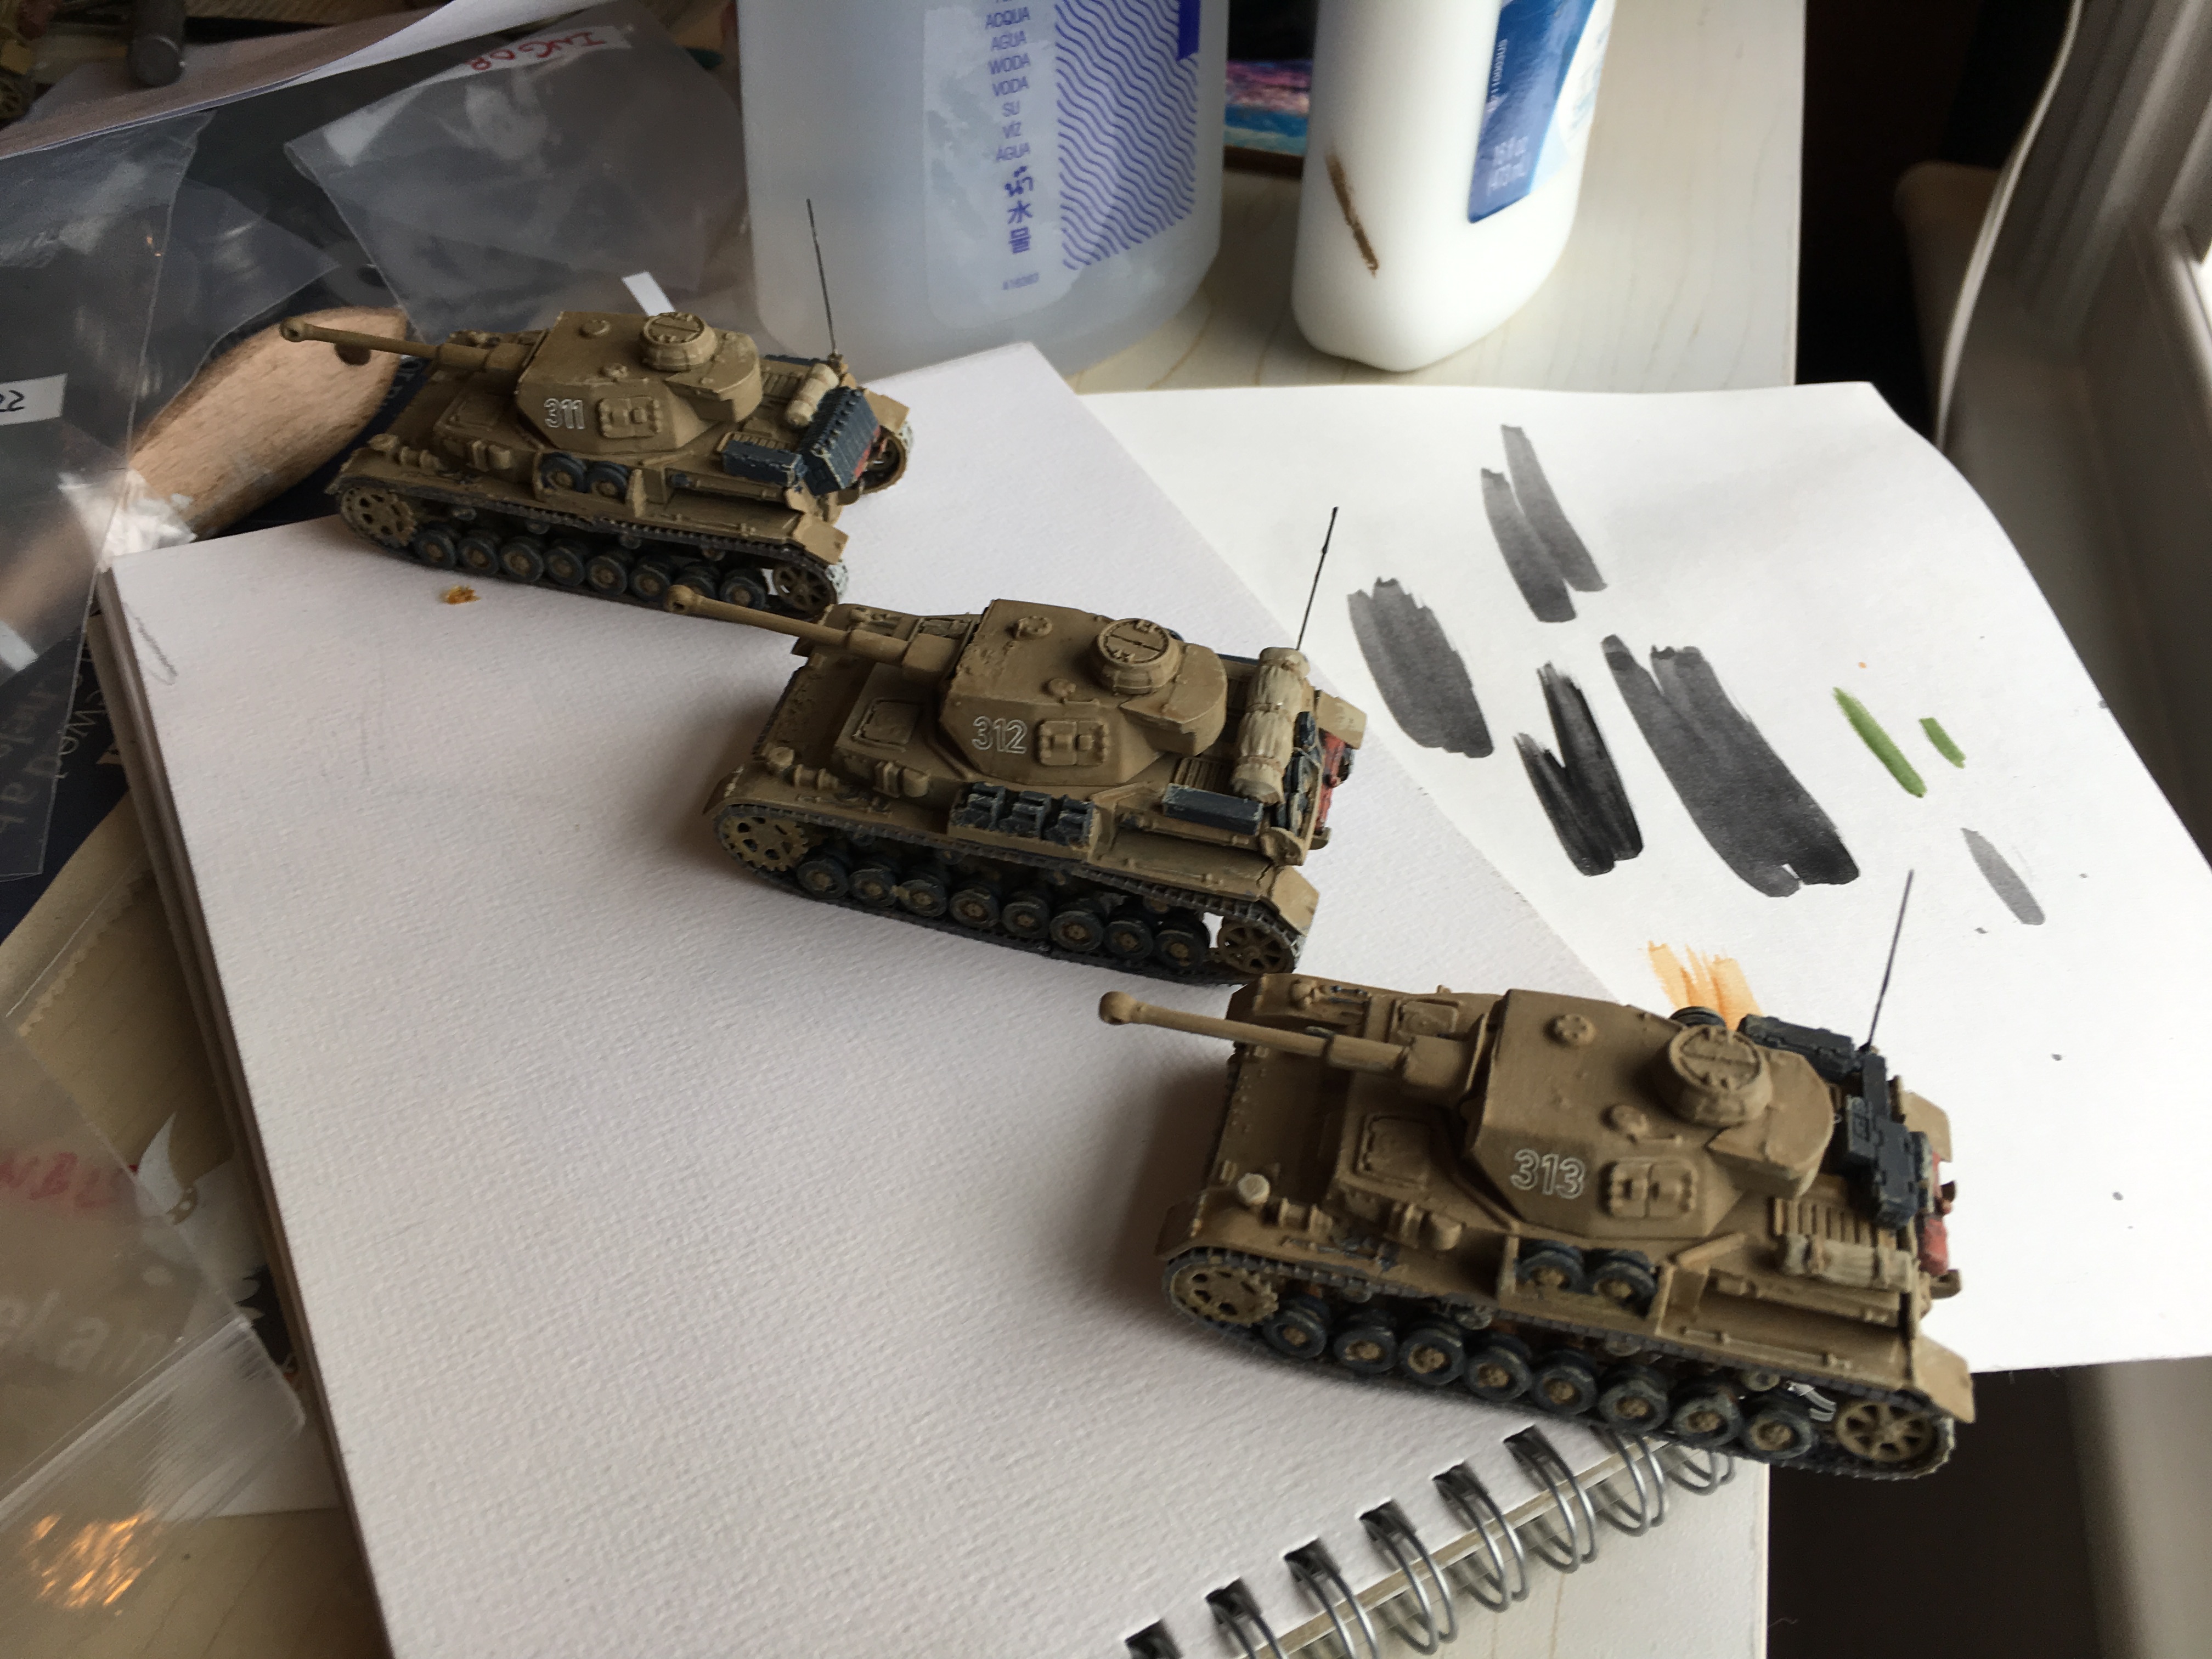
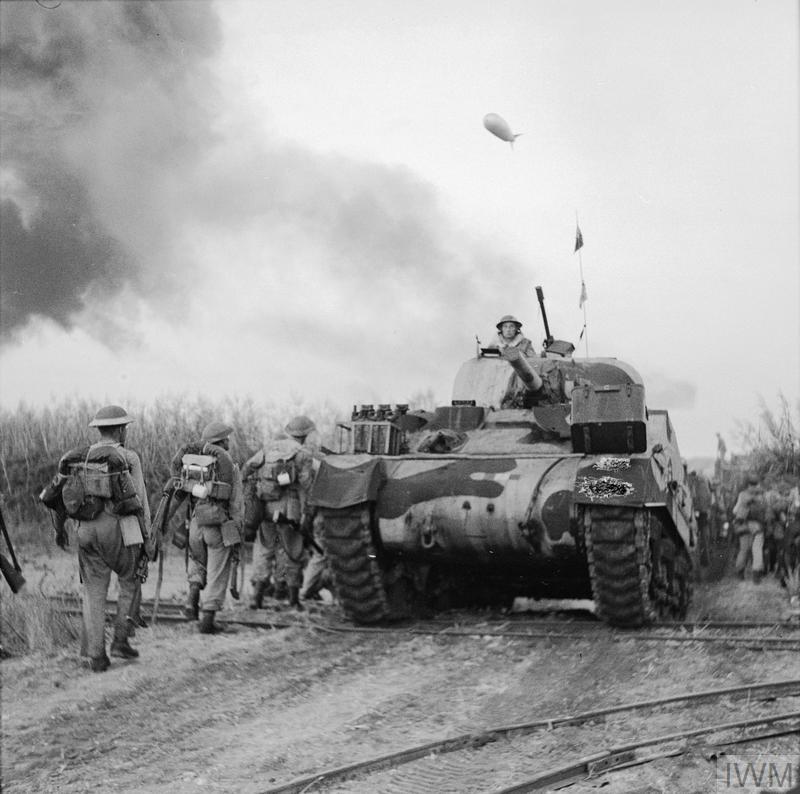
These are the Matador and 5.5in gun, 88mm Flak gun and tractor, 25pdr and Quad, Bren carrier and 6pdr, 40mm Bofors and tractor, M3 half track, PAK 40 and truck, Panzer IV, Panther tank, StuG III, Churchill VII, and T34. Of these I already have the M3 half track, Bren/6pdr, Pz IV and Churchill in abundance. I am pressing them into use – but if I was buying new I would go to PSC. The Airfix 25pdr/Quad model was a nice one (I actually have the gun model converted into a 17pdr Partridge, using the Panther barrel) – but PSC do a good one too which include things like a muzzle-brake. The Panther and StuG III are strong on nostalgia (being amongst the first AFV models I owned) but are early models and a little crude (the gun barrels are a little thin, the are 1/76, and have those polythene tracks). There are good alternatives from PSC and others. I already have the Armourfast StuG III. The T34 isn’t in scope for my project; we had a lot of fun with this model, but I’m sure a lot of modern offerings beat it. The Pak 40 and truck are a late model that I never owned – so probably quite good. But I’ve already bought them from PSC, and 1/72 is a more satisfactory scale.
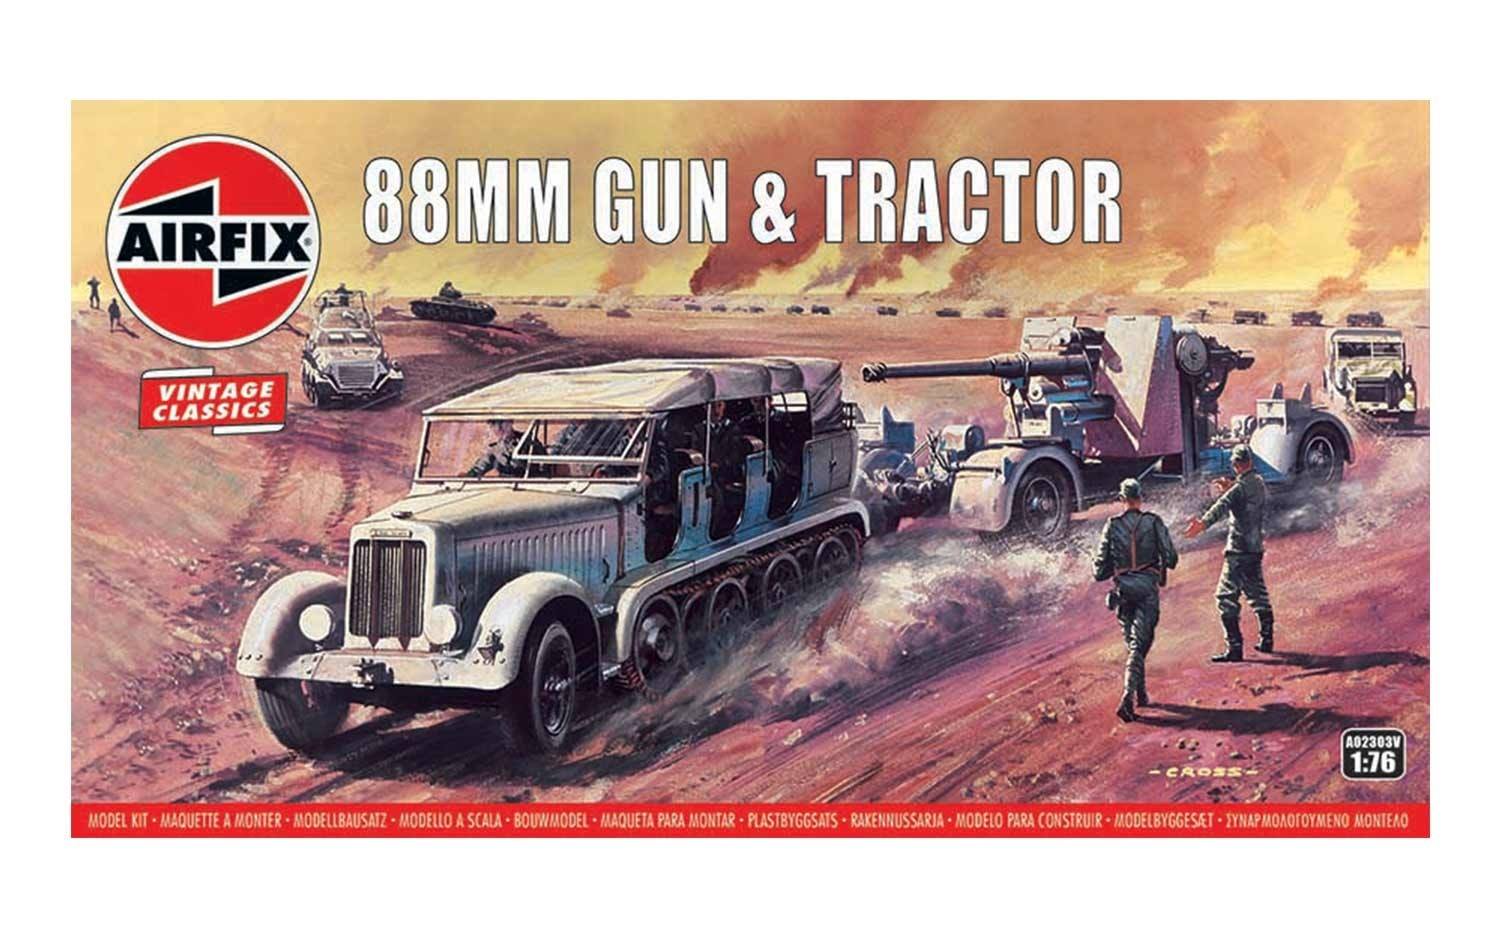 That leaves three models. Firstly the 88 (with SdKfz 7 tractor). This was a lovely model, though the only crew were some stiff passengers for the tractor. It was quite feasible to take the gun from deployed to transported mode. The 88 and SdKfz 7 are not in the PSC range and are harder to find in 1/72. Actually, though an iconic weapon it is rather neglected in wargames – it was really a long range weapon and not so well suited to the skirmish games that comprise games with larger models. Still, I do want one. I’m also less worried about 1/72 for these larger pieces. In fact I had been wondering whether this model was still available.
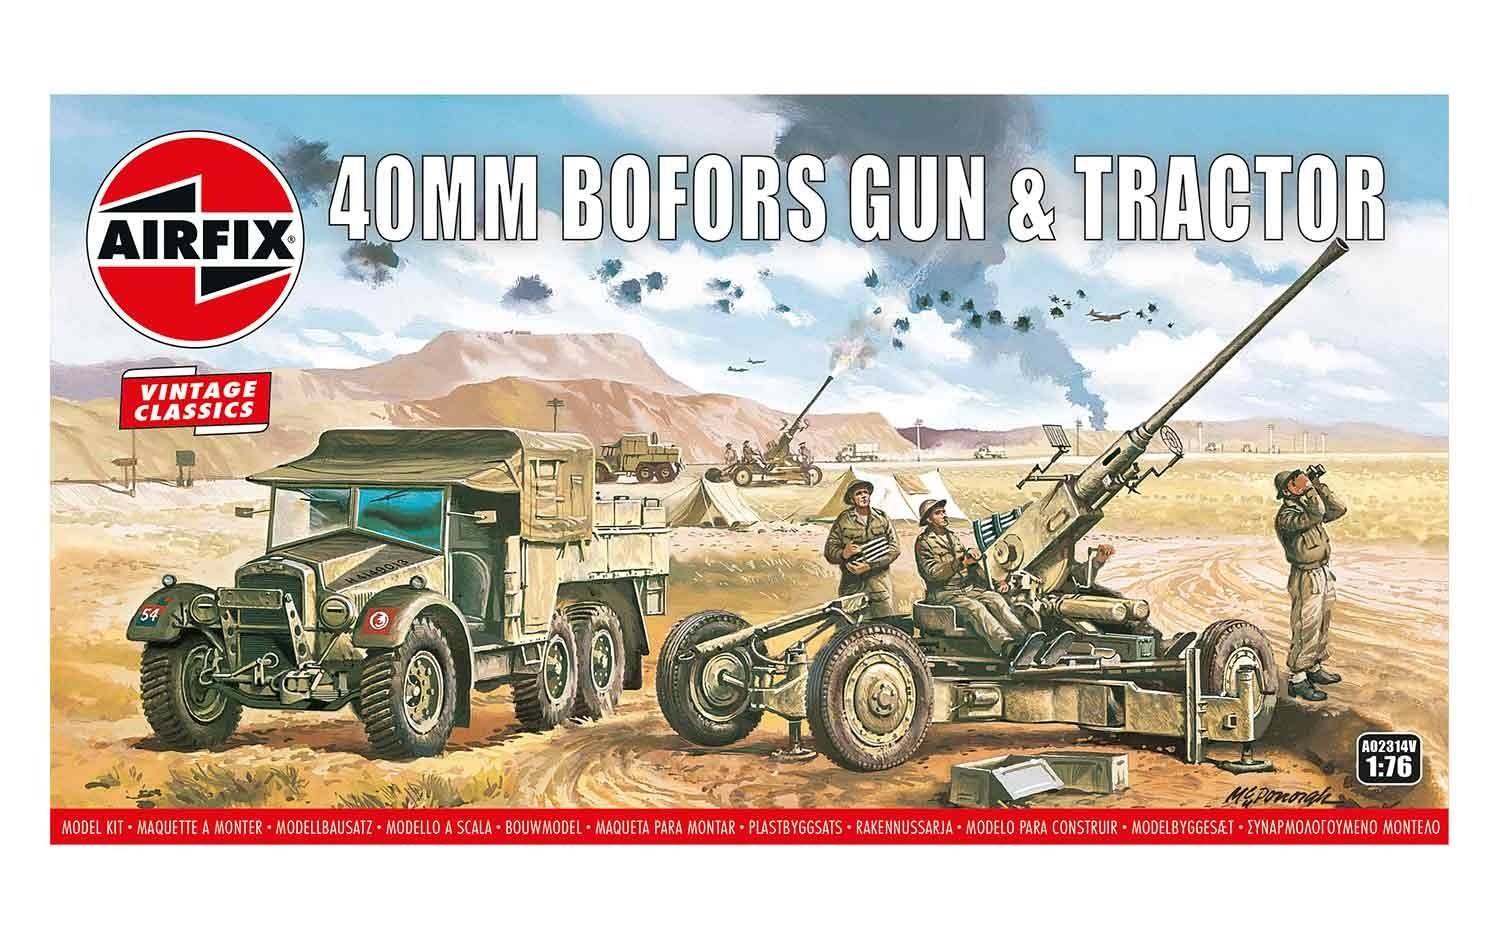
I never owned the Bofors gun – it was a later model – which means the standard is likely to be quite high. It is another piece that is harder to get. But I would like to bring in aircraft and AA guns at some point, and the Bofors guns played a big role in the rear areas of the Sicily and Salerno beach heads, which in the latter case came into the front line at some points. The Morris 15 cwt tractor is a useful item too – though I’d prefer these smaller trucks to be in 1/72.
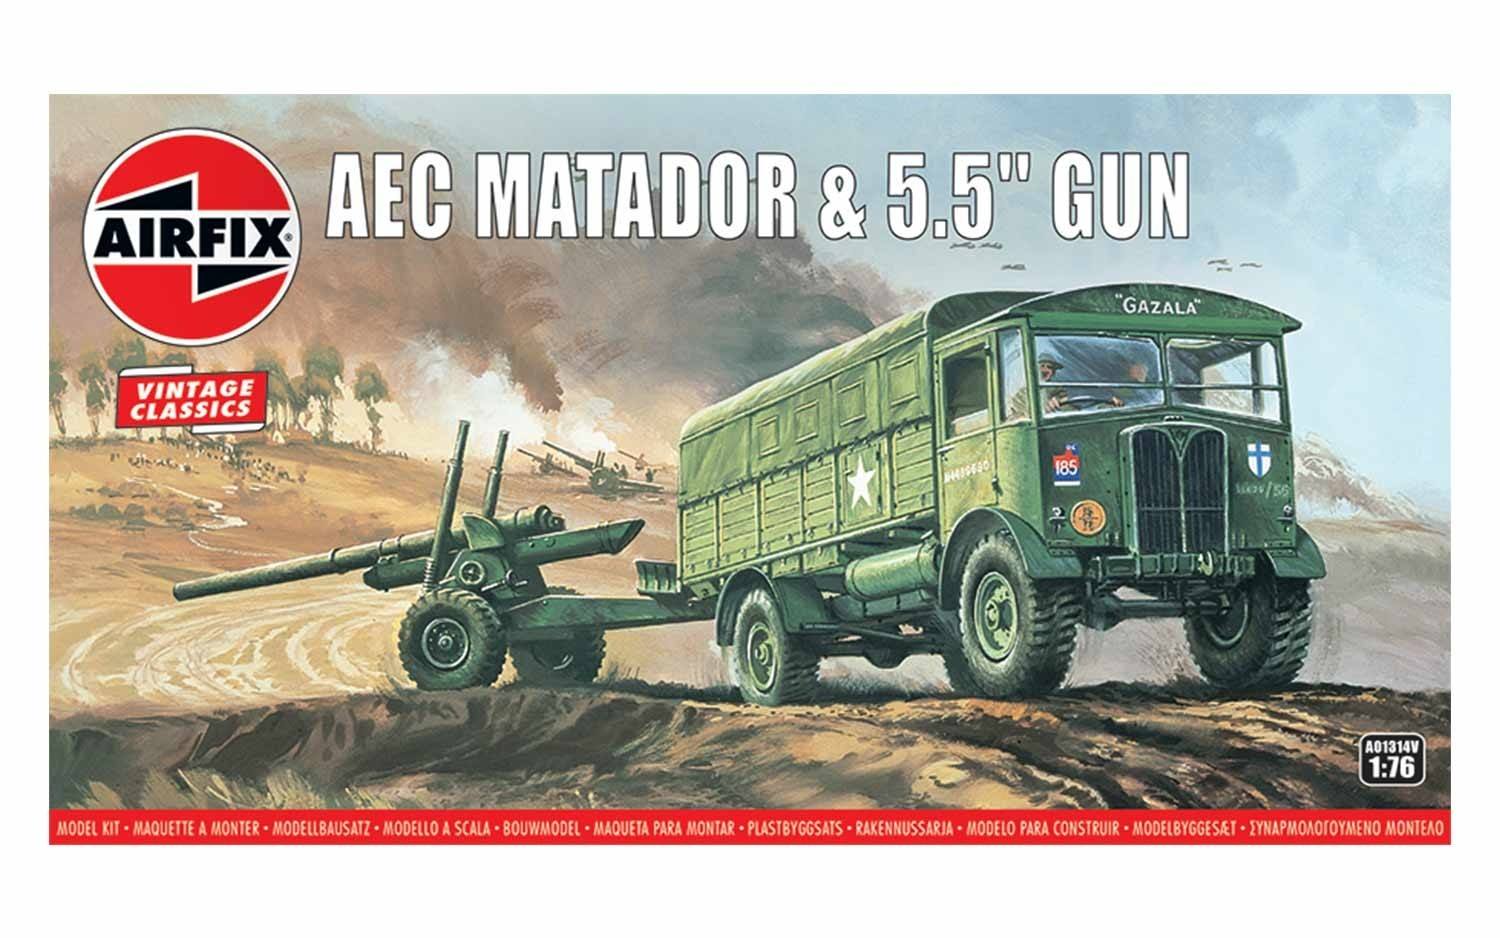
And finally the 5.5in/Matador. This where nostalgia really kicks in. I really don’t need these for my wargaming. Medium artillery is off-table stuff. But this was one of my favourites as a child/teenager. It’s hard to say exactly why. The model we had wasn’t even mine – it was my younger brother’s – and painted up by my older brother (easily the most accomplished modeller among us). The gun was a simple but very satisfactory model. The Matador looked just like any other lorry at first, but we soon came to appreciate its size (actually a bit like the SdKfz 7). The Matador was a magnificent bit of British engineering. So I feel that I have to have it. Even two.
 One final point is worth making. These models are good value for money. You can get them in metal (SHQ) or, (in some cases) resin (Milicast), but at a lot more cost. The Matador/5.5in combination would cost £20 at SHQ; the Airfix model is, or will be, £5.99. The Zvezda plastic Bofors gun costs £7.99 without a tractor; the Airfix offer is £8.99 with the Morris (though I don’t know what either of these supply for crews – they are easy enough to get in metal). It’s the same story with the 88. They aren’t available yet, but I’m in no hurry. I have a plastic mountain to get through.
Update: June 2022
I did indeed buy these models within a year – two of each, though I had only planned to buy one of the Bofors guns. And it turns out that the Morris tractor was designed just for the Bofors role, and not for pulling other artillery types.
I have just assembled one of the 88s and tractor . This turned out to be a big disappointment. The parts were ill-fitting – and there is no realistic possibility of using the same model for in transit and deployed, as we were able to do back in the day. There may have been a bit too much of a warm glow in my memory – I don’t think the complicated running wheel assembly ever was especially crisp fitting. But something has happened to the moulds since the 1970s. Let’s hope the others are better – though the Matador/5.5 is a very old model too.
I will assemble the second Sdkfz 7 tractor – not very nice to assemble but the end result is acceptable. I don’t think I will bother with the second 88 though.